Downloaded 166 times


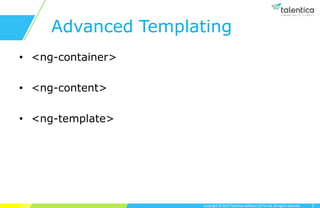
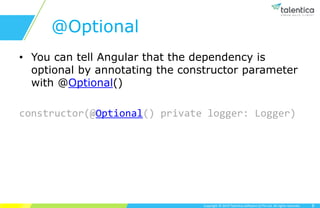
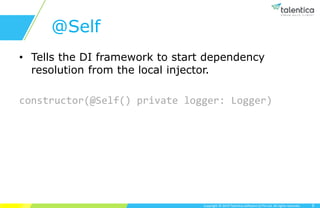

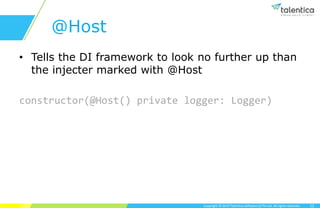
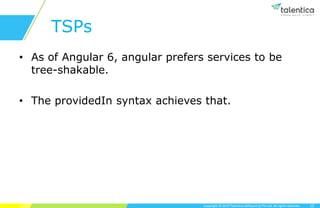


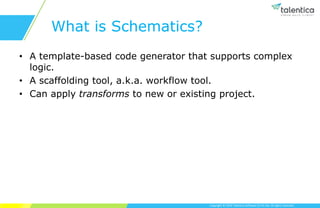


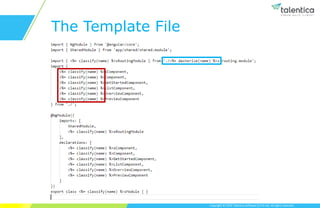
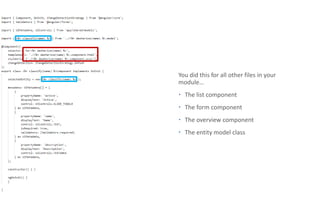
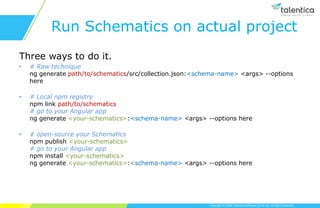

The document provides an in-depth look at advanced Angular concepts such as templating, dependency injection, change detection strategies, and lazy loading modules. It introduces Angular schematics—a template-based code generator and scaffolding tool—to automate code generation and emphasizes best practices for developing Angular applications. Key topics covered include using various Angular elements like <ng-container>, <ng-content>, <ng-template>, and dependency resolution techniques in Angular's ecosystem.