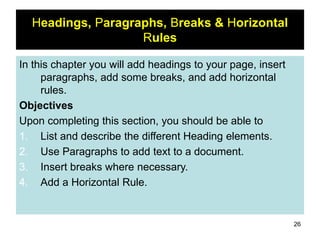
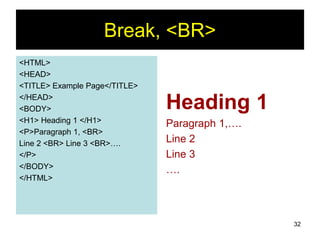
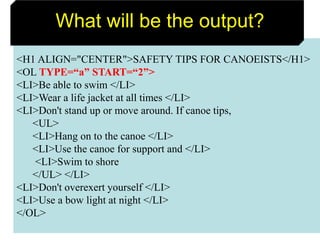
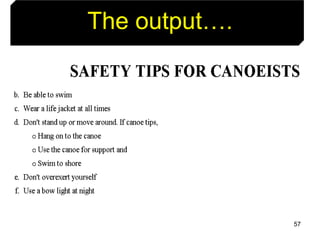
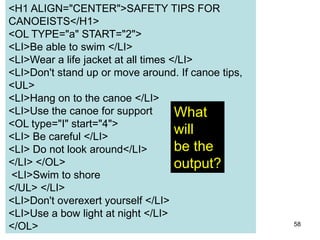
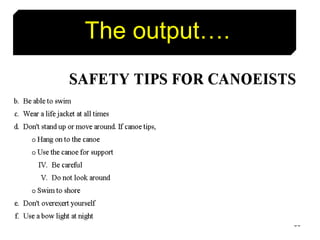
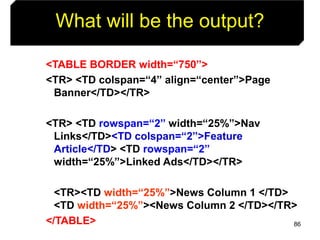
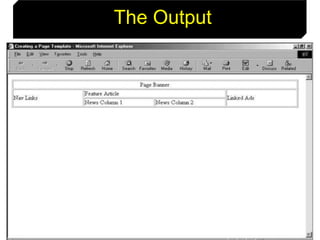
This document provides an introduction to HTML and covers various topics related to creating HTML documents, including:
1. Definitions of key terms like HTML, URL, and browser.
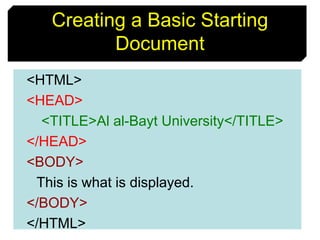
2. How to create a basic HTML document structure and set document properties using tags like <HTML>, <HEAD>, <TITLE>, and <BODY>.
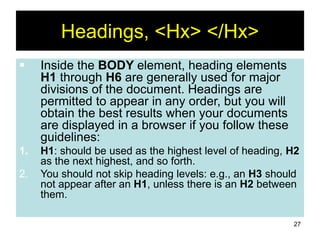
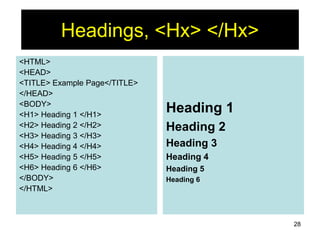
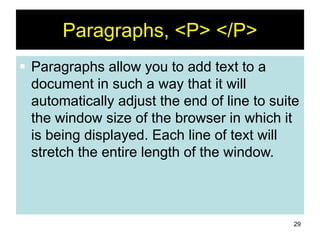
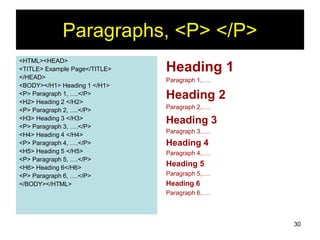
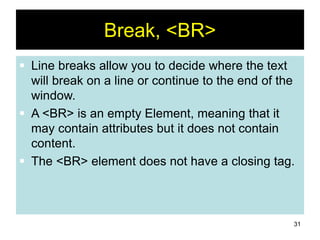
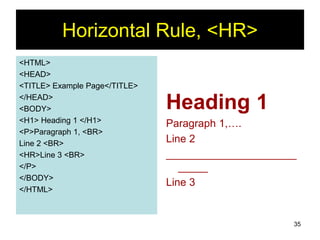
3. How to format text within HTML documents using tags like <H1>-<H6> for headings, <P> for paragraphs, <BR> for breaks, and <HR> for horizontal rules.


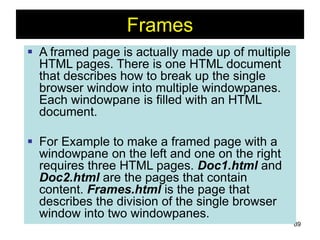


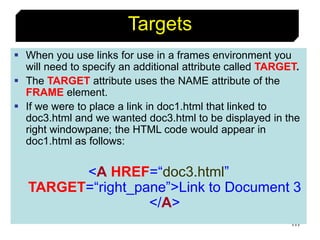

![120
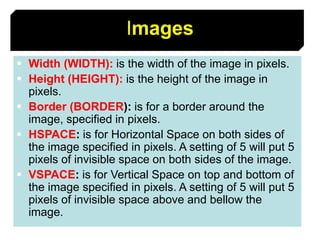
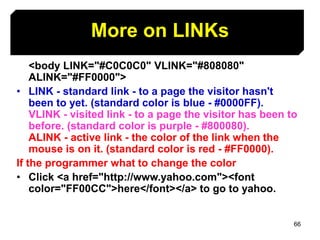
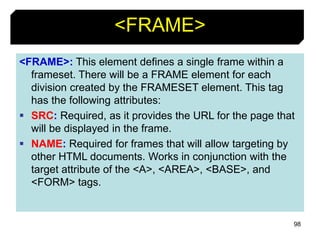
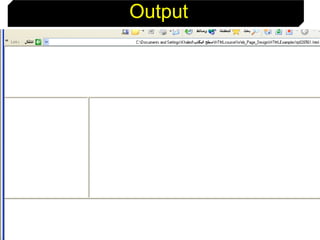
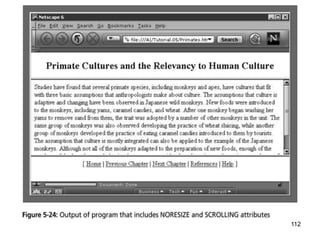
Targeting links to frames
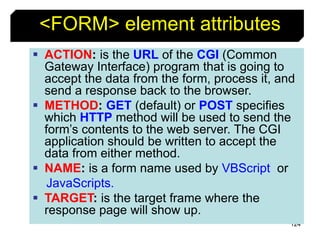
The TARGET attribute allows you to specify the frame into which a page
is to be loaded into in a frames setting.
<A HREF=“chap1.html” TARGET=“_self”> [Chapter 1]</A>
<A HREF=“chap1.html” TARGET=“_parent”> [Chapter 2]</A>
Parent window Learning HTML
[Chapter 1][Chapter 2][Chapter 3]
chap1.html
chap2.html](https://image.slidesharecdn.com/902350htmljar-231026085727-3981cd2f/85/902350_HTML_Jar-ppt-120-320.jpg)
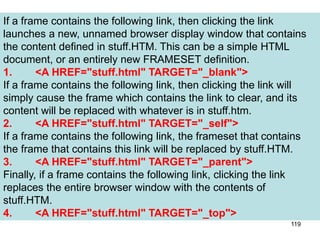
![121
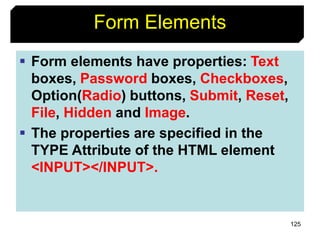
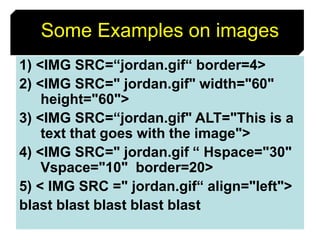
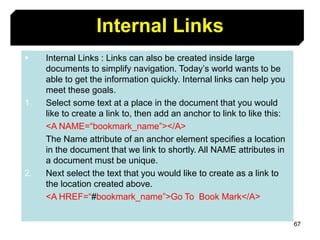
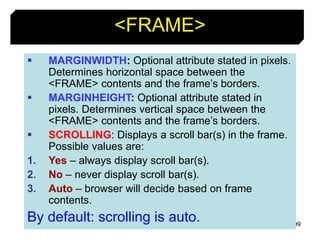
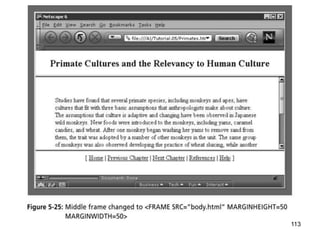
Targeting links to frames
The TARGET attribute allows you to specify the frame into which a
page is to be loaded into in a frames setting.
<A HREF=“chap1.html” TARGET=“bottom”> [Chapter 1]</A>
<A HREF=“chap2.html” TARGET=“bottom”> [Chapter 2]</A>
<A HREF=“chap3.html” TARGET=“bottom”> [Chapter 3]</A>
Learning HTML
[Chapter 1][Chapter 2][Chapter 3]
chap1.html
chap2.html
chap3.html](https://image.slidesharecdn.com/902350htmljar-231026085727-3981cd2f/85/902350_HTML_Jar-ppt-121-320.jpg)