Download as PDF, PPTX
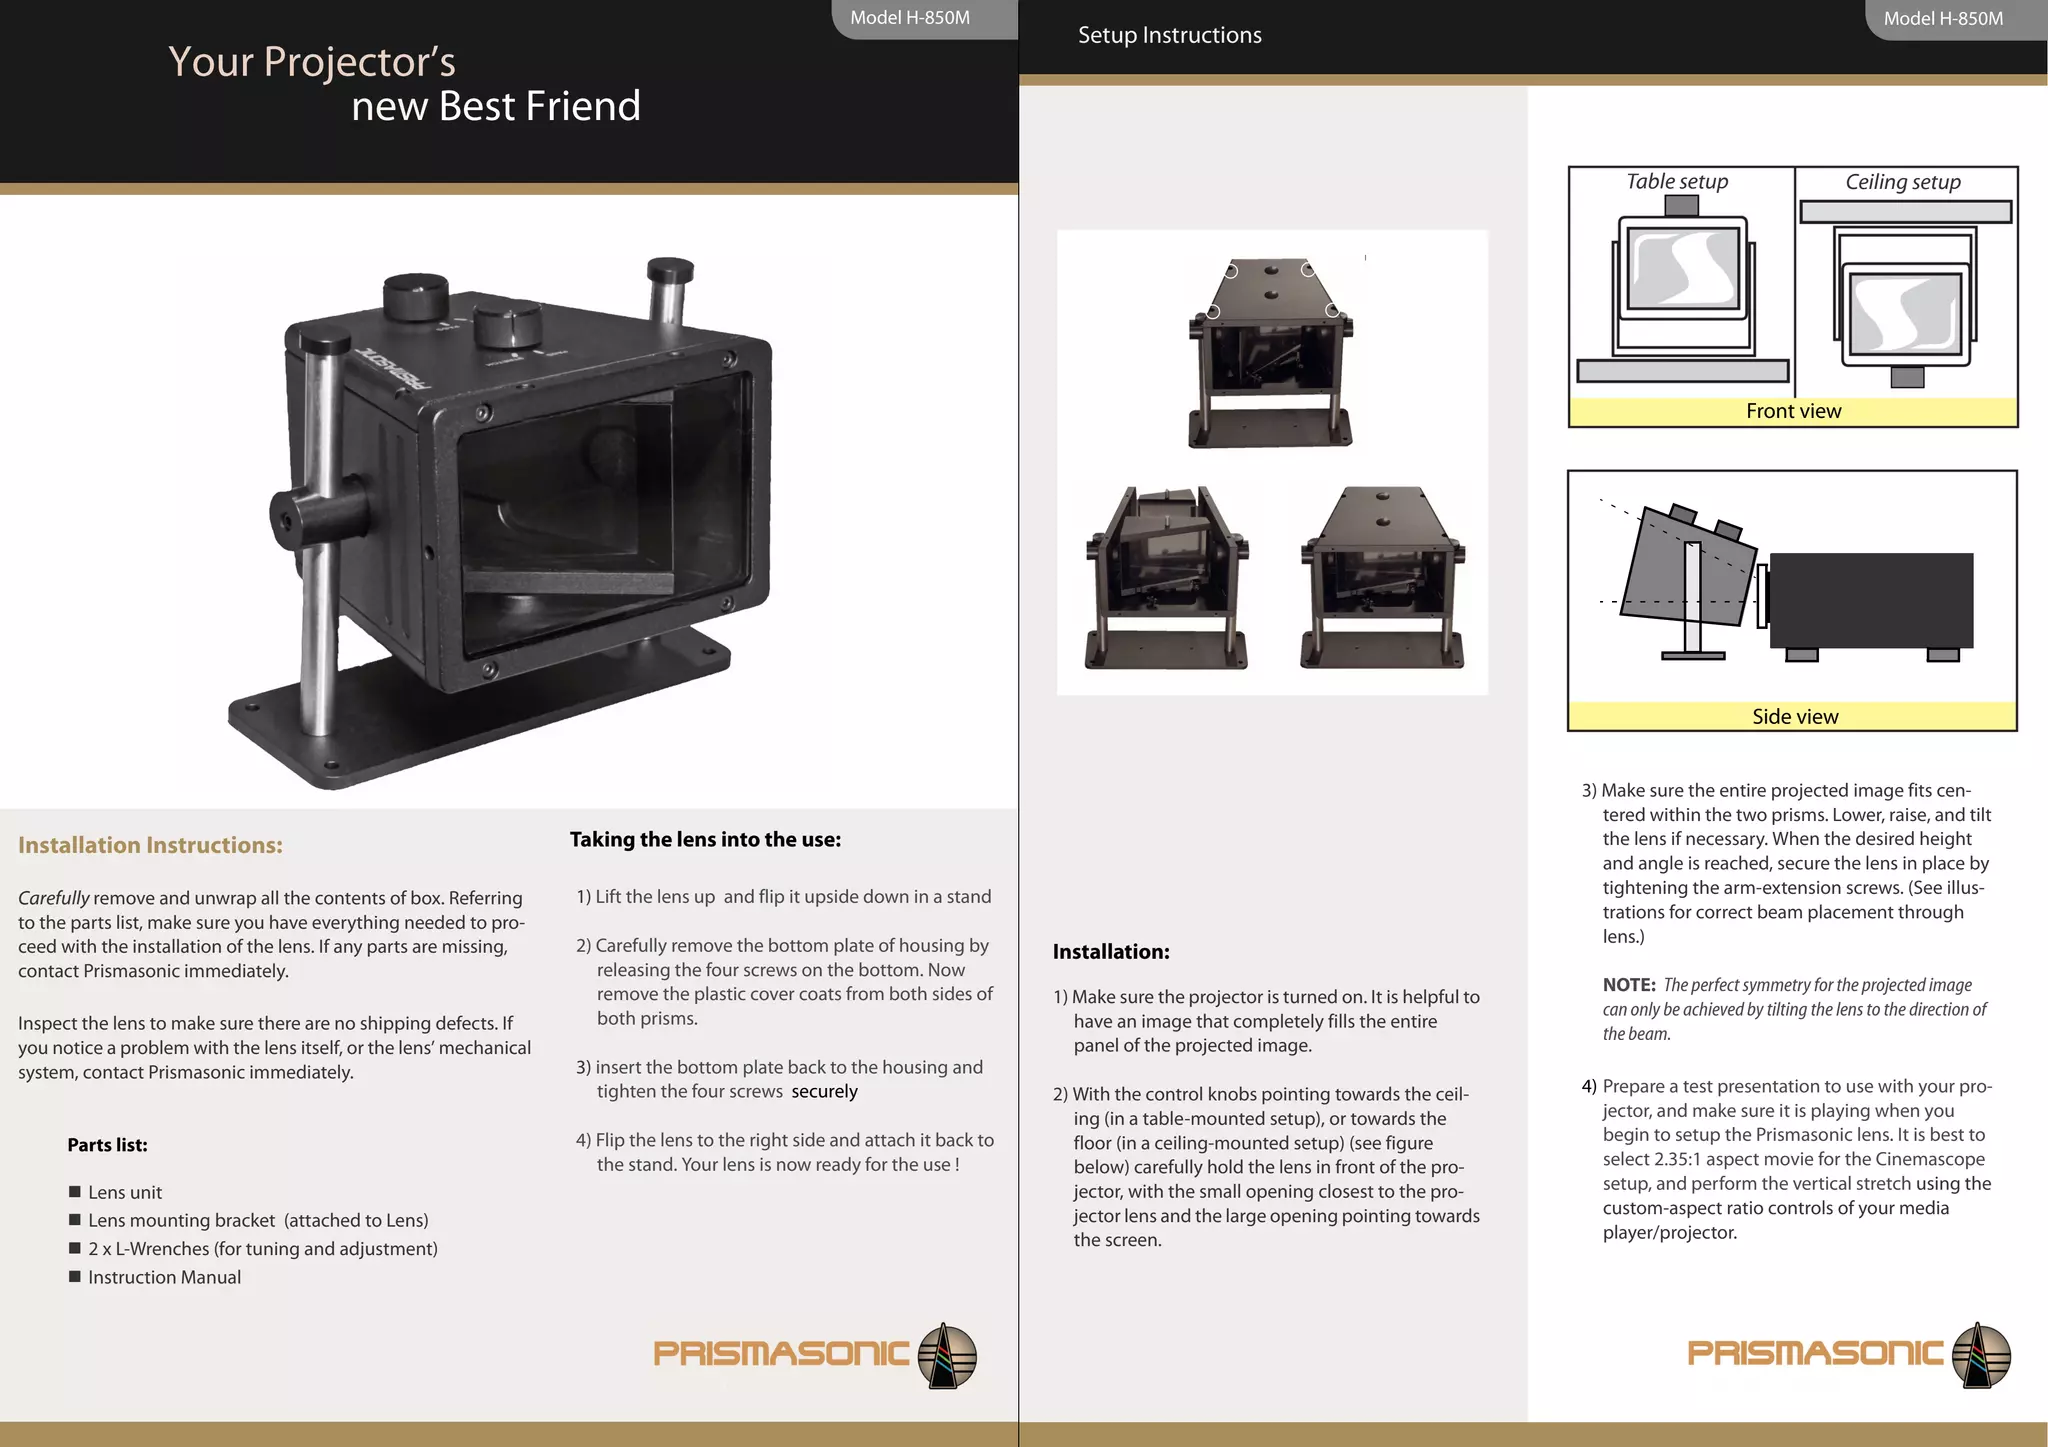
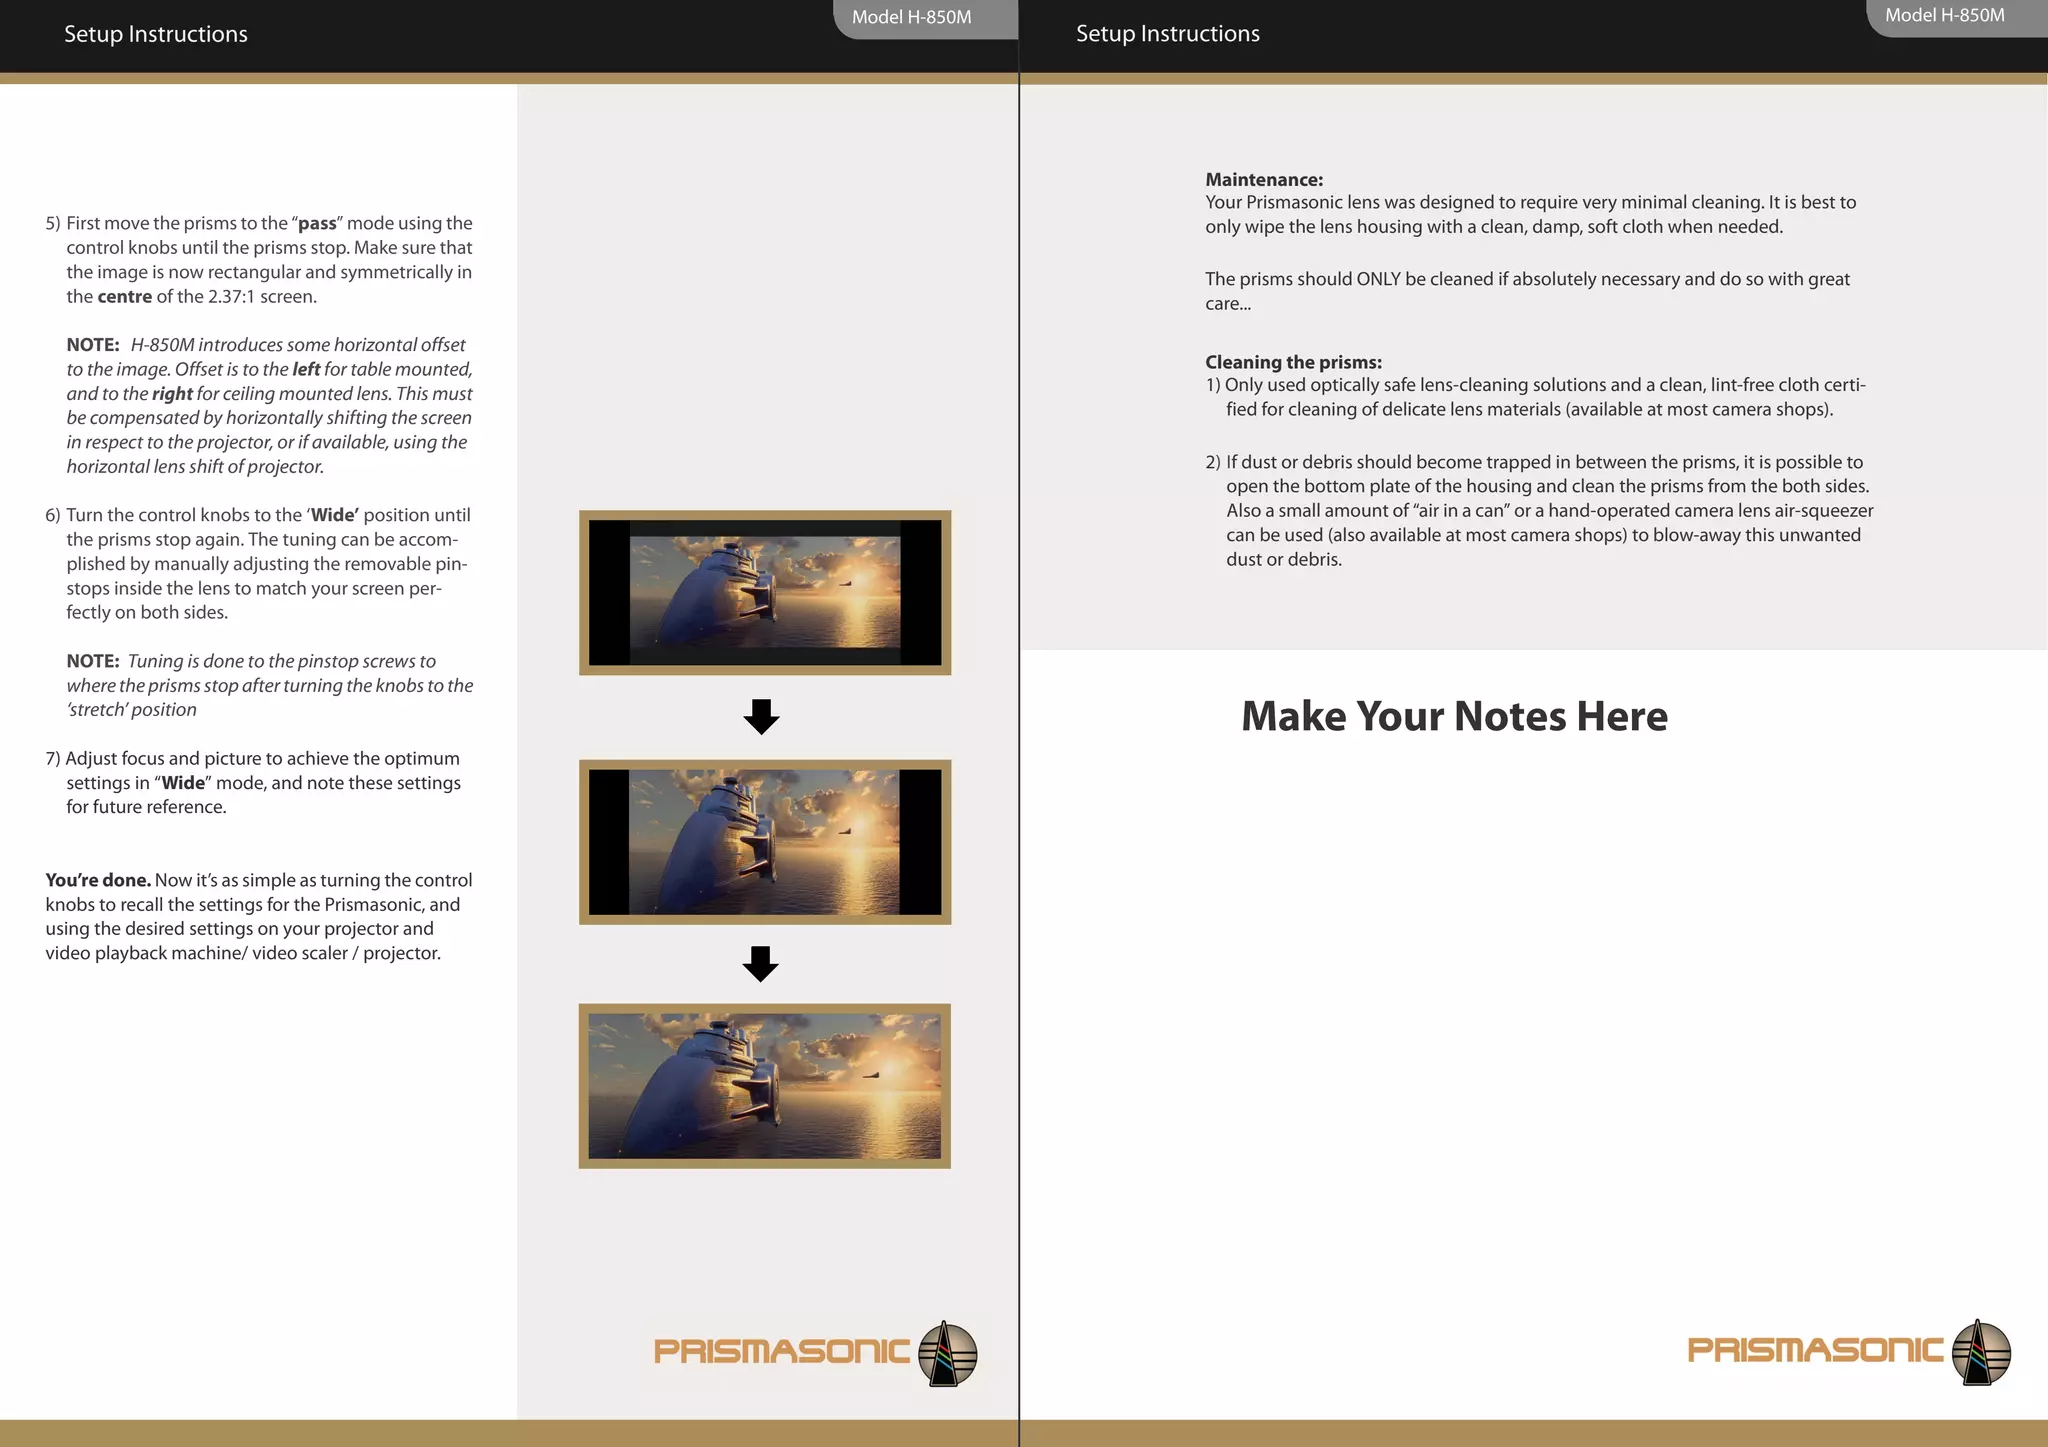

1) The document provides setup instructions for the Prismasonic Model H-850M lens. 2) Key steps include mounting the lens in front of the projector, using control knobs to move the prisms into pass and wide modes to adjust the image, and tuning the pinstops to match the screen size. 3) Proper cleaning of the prisms and housing is described.


