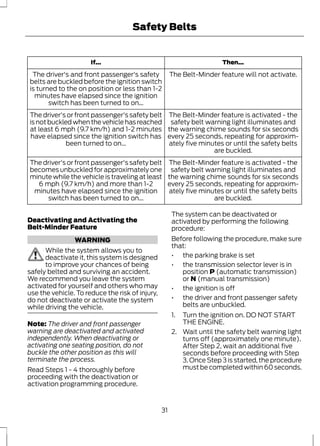
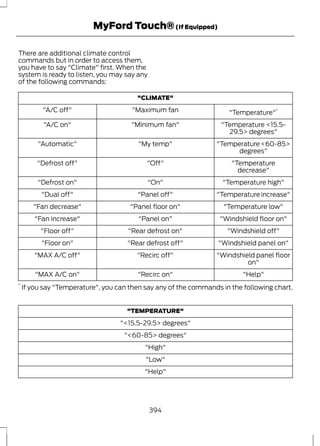
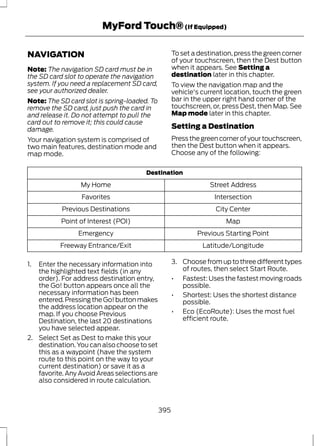
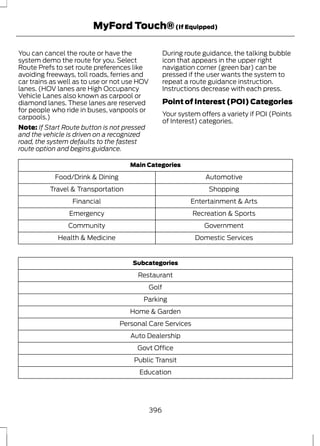
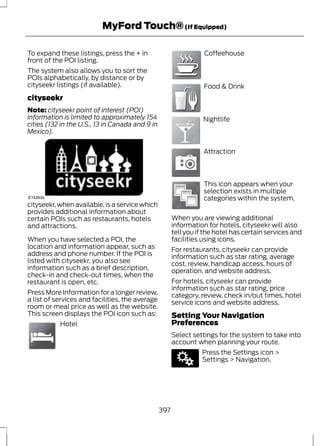
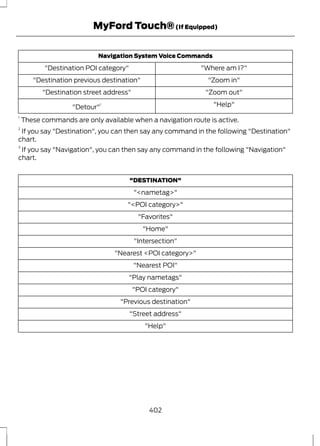
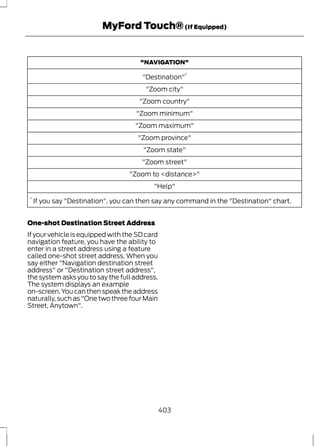
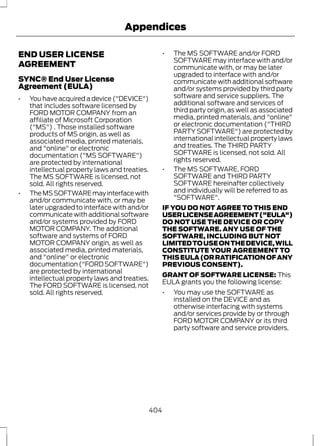
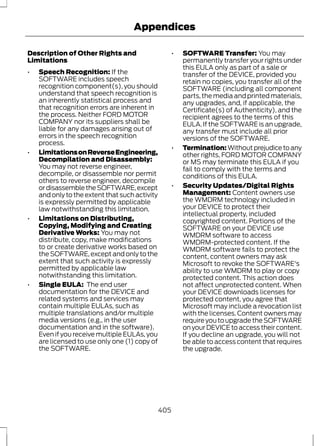
This document contains information about vehicle features and operating instructions. It includes sections on child safety seats, safety belts, airbags, remote controls, security features, climate controls and more. The manufacturer reserves the right to change specifications without notice. Reproducing this document without permission is prohibited.


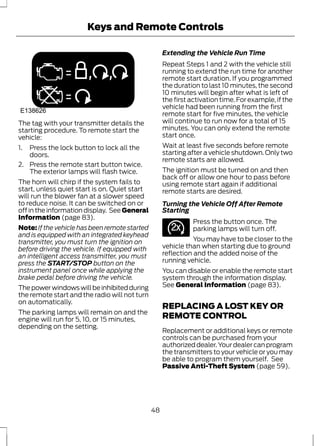

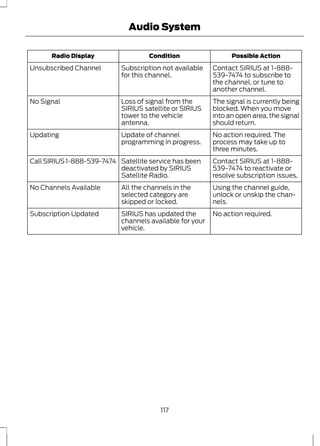


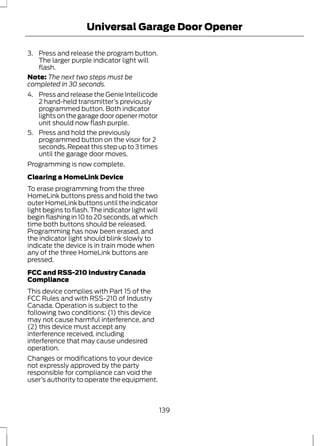

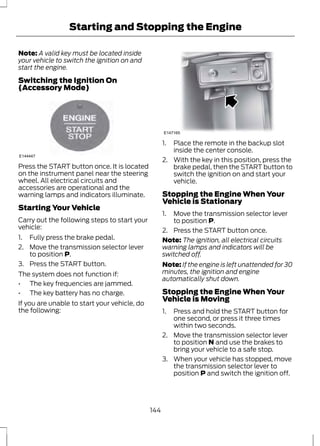


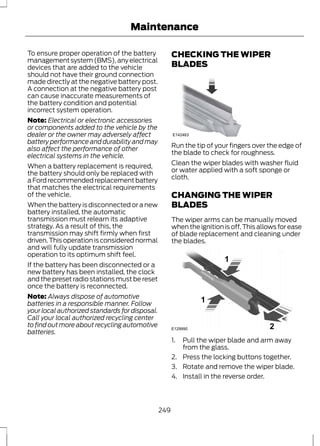
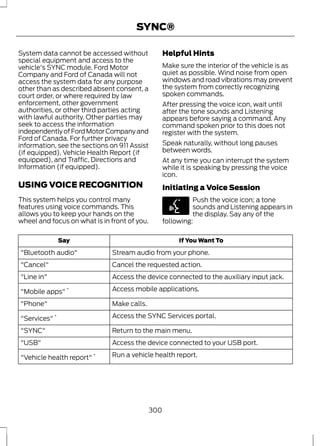
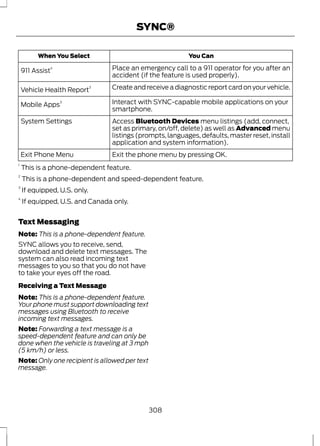
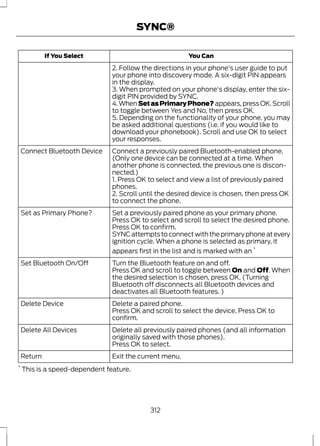
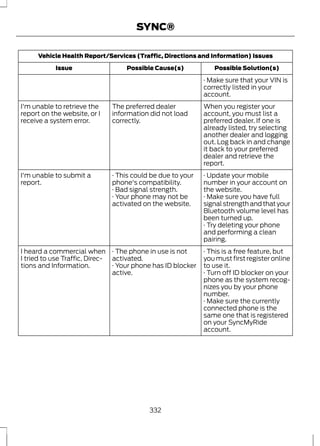
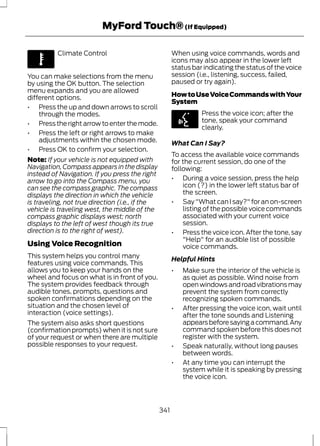
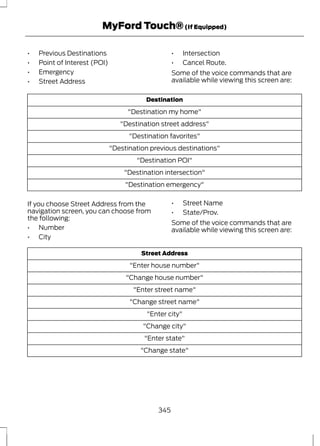
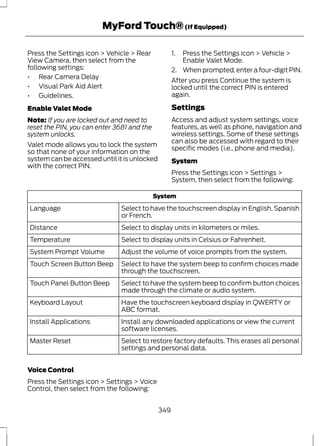
![Parking Aids
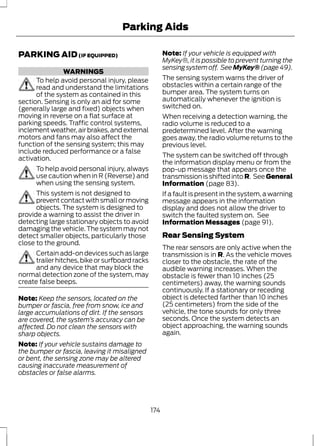
The system does not position the vehicle where I want in the space
The vehicle is rolling in the opposite direction of the transmission (i.e. rolling forward
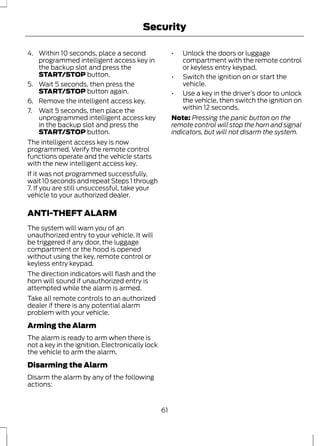
when R [Reverse] is selected)
The transmission is in R (Reverse); the vehicle must be moving forward to detect a
parking space
An irregular curb along the parking space prevents the system from aligning the vehicle
properly
Vehicles or objects bordering the space may not be positioned correctly
The vehicle was pulled too far past the parking space. The system performs best when
you drive the same distance past the parking space
The tires may not be installed or maintained correctly (i.e. not inflated correctly, improper
size, or of different sizes)
A repair or alteration has changed detection capabilities
A parked vehicle has a high attachment (i.e. salt sprayer, snowplow, moving truck bed,
etc.)
The parking space length or position of parked objects changed after your vehicle passed
The temperature around your vehicle changes quickly (i.e. driving from a heated garage
into the cold, or after leaving a car wash)
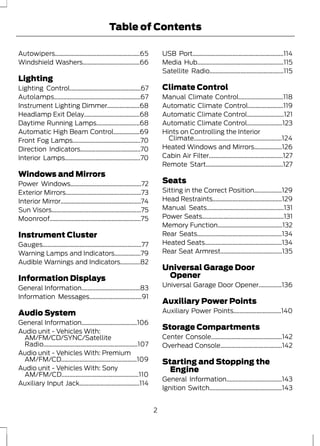
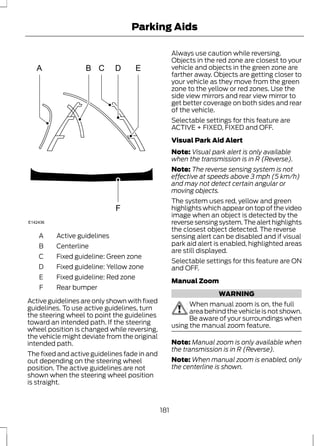
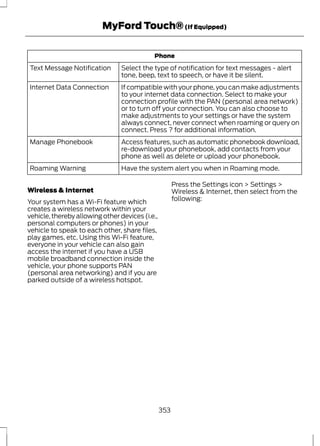
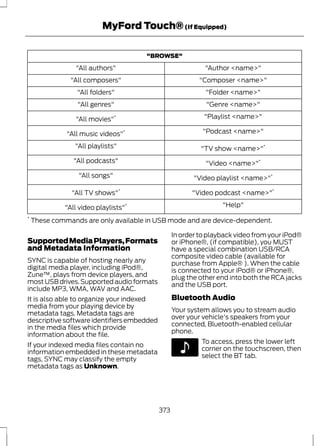
REAR VIEW CAMERA (IF EQUIPPED)
WARNINGS
The rear view camera system is a
reverse aid supplement device that
still requires the driver to use it in
conjunction with the interior and exterior
mirrors for maximum coverage.
Objects that are close to either
corner of the bumper or under the
bumper, might not be seen on the
screen due to the limited coverage of the
camera system.
Back up as slow as possible since
higher speeds might limit your
reaction time to stop the vehicle.
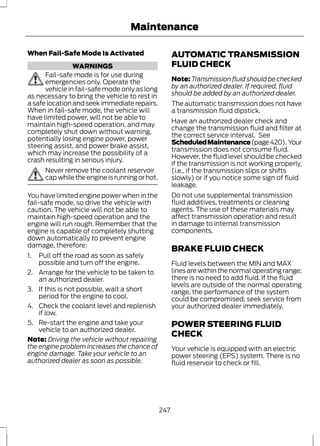
WARNINGS
Use caution when using the rear
video camera and the trunk is ajar. If
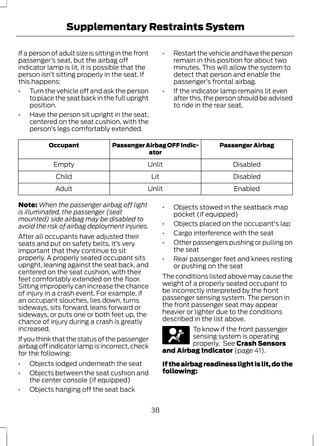
the trunk is ajar, the camera will be
out of position and the video image may
be incorrect. All guidelines (if enabled)
have been removed when the trunk is ajar.
Use caution when turning camera
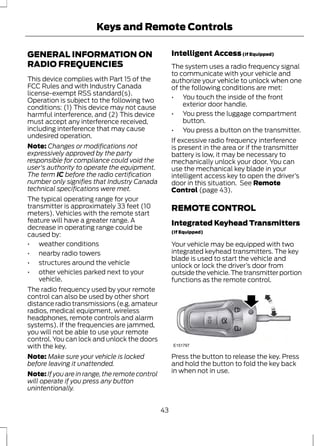
features on or off while in R
(Reverse). Make sure the vehicle is
not moving.
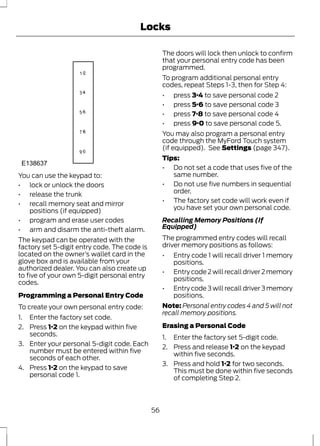
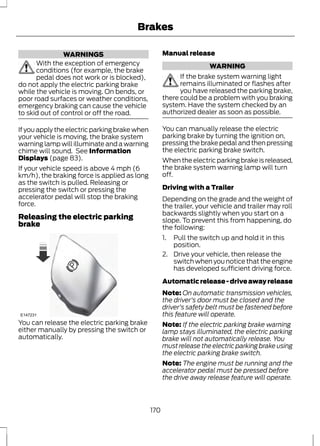
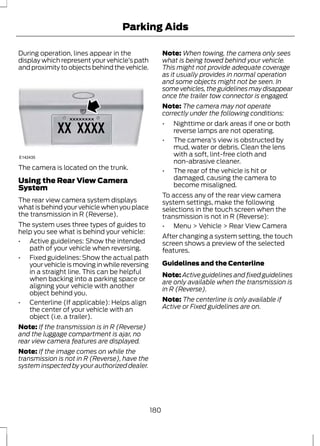
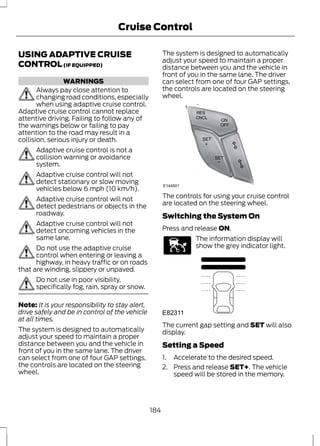
The rear view camera system provides a
video image of the area behind the vehicle.
The image will be displayed in either in the
rear view mirror or the display in the center
of the instrument panel.
179](https://image.slidesharecdn.com/13fusion1-140905063922-phpapp02/85/13fusion1-181-320.jpg)
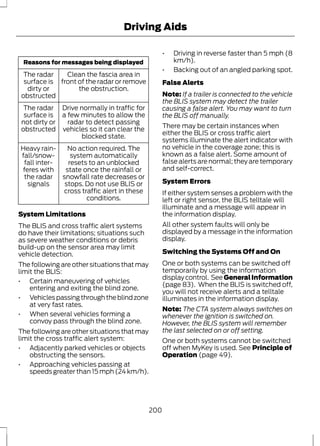
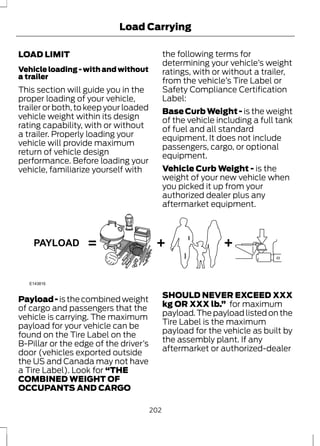

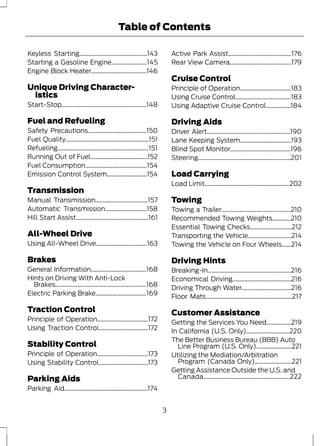
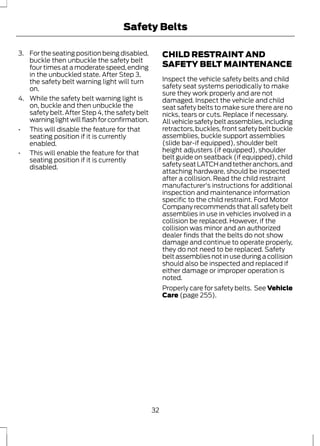
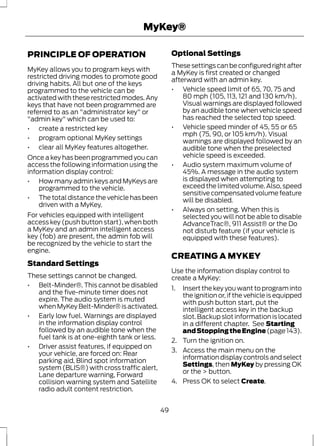
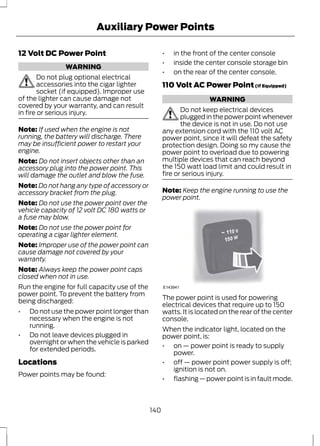
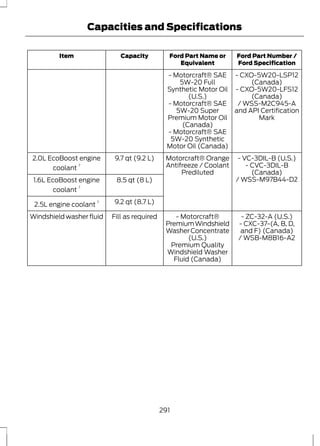
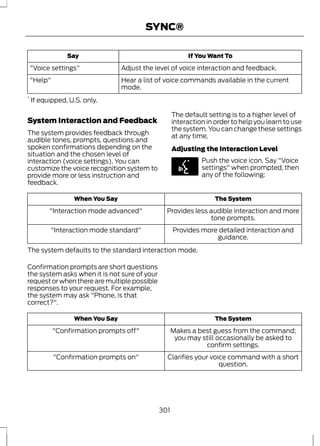
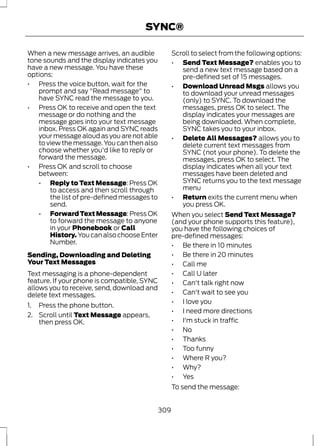
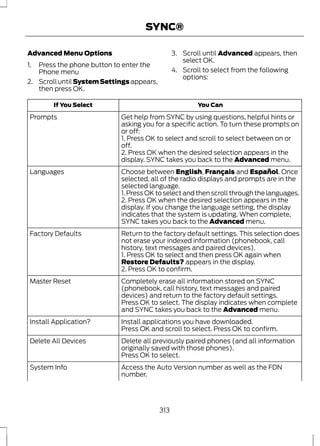
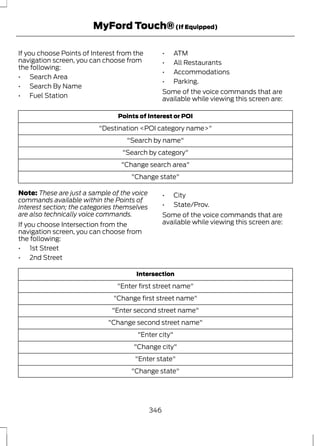
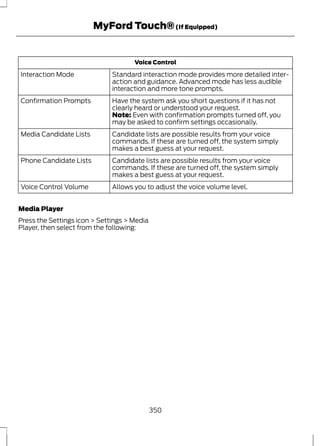
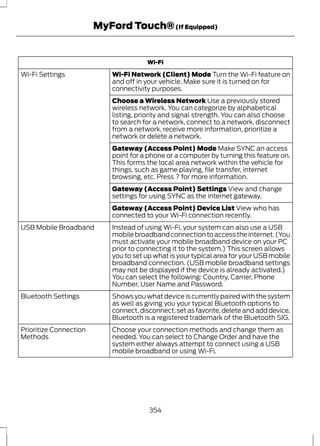
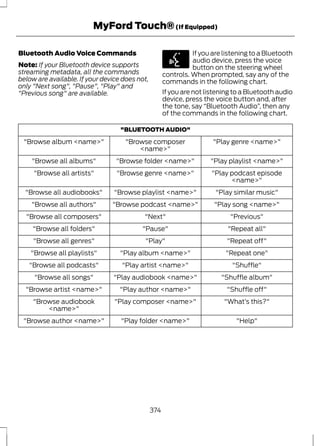
![Load Carrying
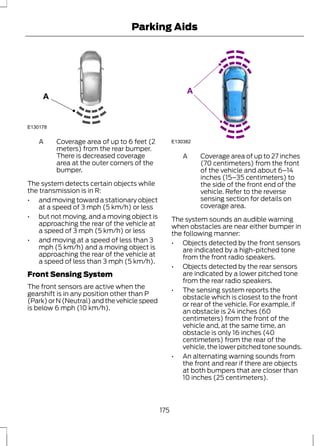
Maximum Loaded Trailer
Weight - is the highest possible
weight of a fully loaded trailer the
vehicle can tow. It assumes a
vehicle with only mandatory
options, no cargo (internal or
external), a tongue load of
10–15% (conventional trailer) or
king pin weight of 15–25% (fifth
wheel trailer), and driver only (150
lb. [68 kg]). Consult your
authorized dealer (or the RV
and Trailer Towing Guide
provided by your authorized
dealer) for more detailed
information.
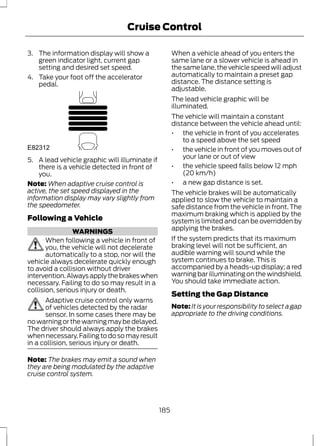
Tongue Load or Fifth Wheel
King Pin Weight - refers to the
amount of the weight that a trailer
pushes down on a trailer hitch.
Examples: For a 5000 lb. (2268
kg) conventional trailer, multiply
5000 by 0.10 and 0.15 to obtain a
proper tongue load range of 500
to 750 lb. (227 to 340 kg). For an
11500 lb. (5216 kg) fifth wheel
trailer, multiply by 0.15 and 0.25
to obtain a proper king pin load
range of 1725 to 2875 lb. (782 to
1304 kg).
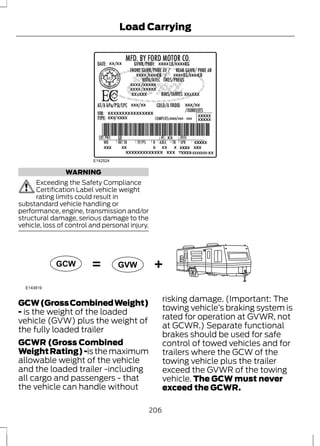
WARNINGS
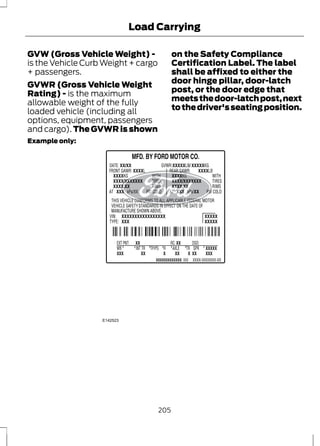
Do not exceed the GVWR or the
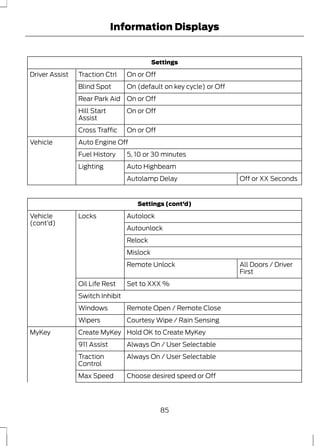
GAWR specified on the Safety
Compliance Certification Label.
WARNINGS
Do not use replacement tires with
lower load carrying capacities than
the original tires because they may
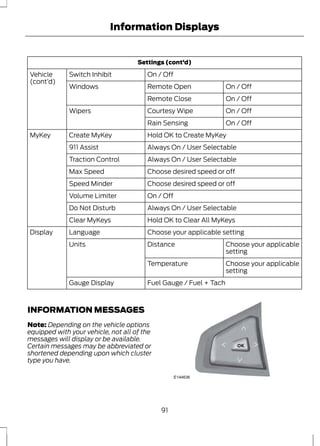
lower the vehicle’s GVWR and GAWR
limitations. Replacement tires with a higher
limit than the original tires do not increase
the GVWR and GAWR limitations.
Exceeding any vehicle weight rating
limitation could result in serious
damage to the vehicle and/or
personal injury.
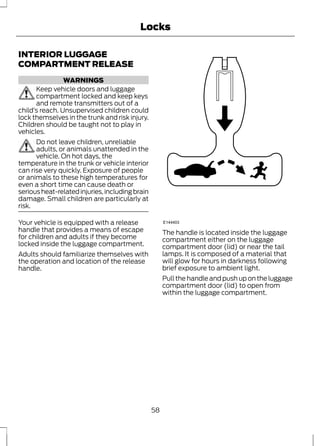
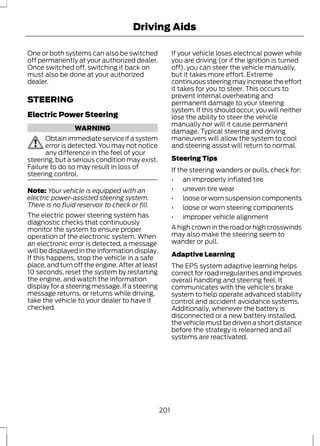
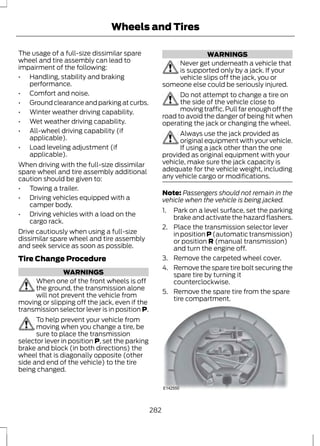
Steps for determining the
correct load limit:
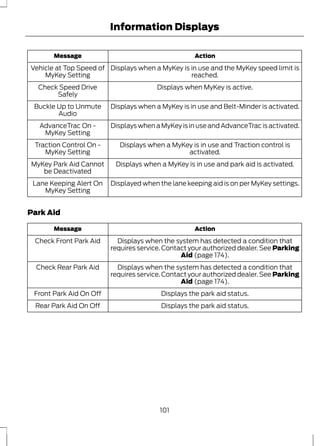
1. Locate the statement "The
combined weight of occupants
and cargo should never exceed
XXX kg or XXX lb." on your
vehicle’s placard.
2. Determine the combined weight
of the driver and passengers that
will be riding in your vehicle.
3. Subtract the combined weight
of the driver and passengers from
XXX kg or XXX lb.
4. The resulting figure equals the
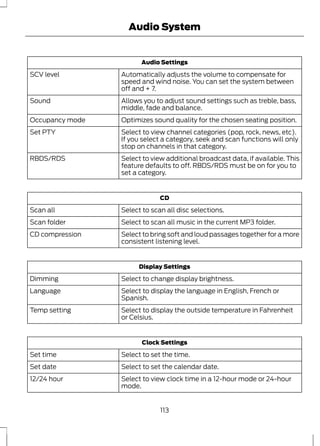
available amount of cargo and
luggage load capacity. For
example, if the “XXX” amount
equals 1,400 lb. and there will be
five 150 lb. passengers in your
vehicle, the amount of available
cargo and luggage load capacity
is 650 lb. (1400-750 (5 x 150) =
650 lb.). In metric units (635-340
(5 x 68) = 295 kg.)
207](https://image.slidesharecdn.com/13fusion1-140905063922-phpapp02/85/13fusion1-209-320.jpg)
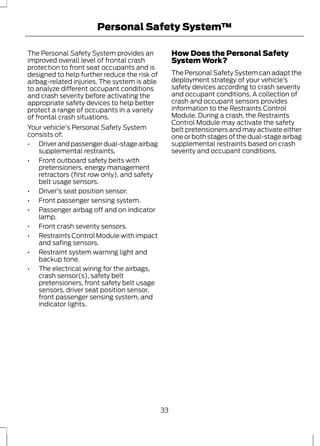
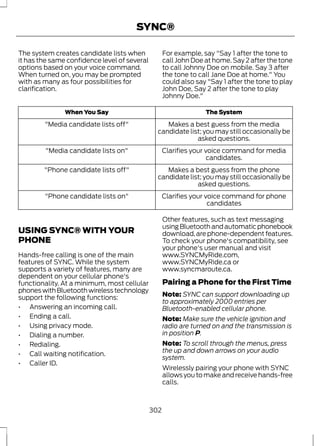
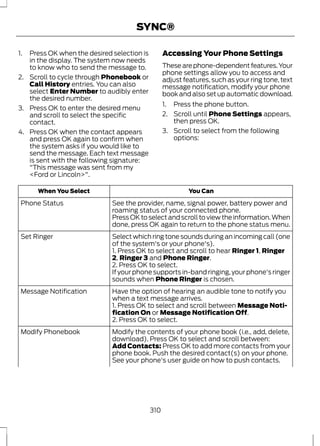
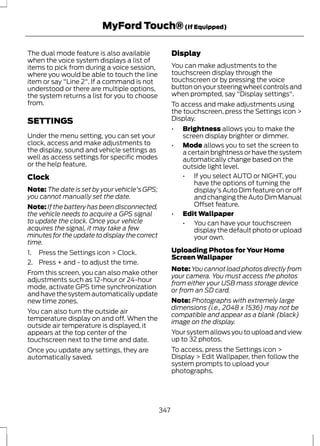
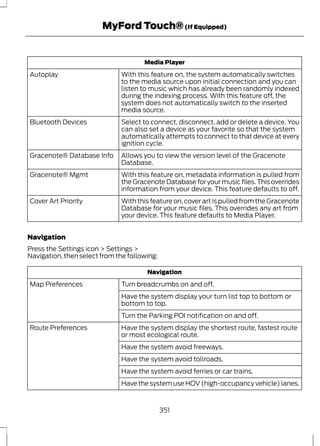
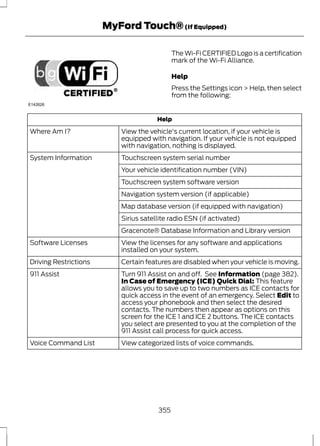
![Driving Hints
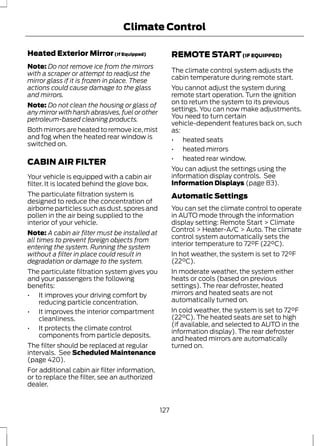
BREAKING-IN
You need to break in new tires for
approximately 300 miles (480
kilometers). During this time, your vehicle
may exhibit some unusual driving
characteristics.
Avoid driving too fast during the first 1000
miles (1600 kilometers). Vary your speed
frequently and change up through the
gears early. Do not labor the engine.
Do not tow during the first 1000 miles
(1600 kilometers).
ECONOMICAL DRIVING
Fuel economy is affected by several things
such as how you drive, the conditions you
drive under and how you maintain your
vehicle.
There are some things to keep in mind that
may improve your fuel economy:
• Accelerate and slow down in a smooth,
moderate fashion.
• Drive at steady speeds.
• Anticipate stops; slowing down may
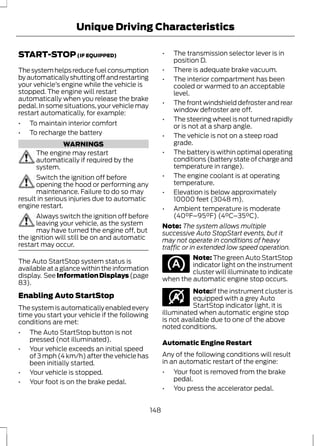
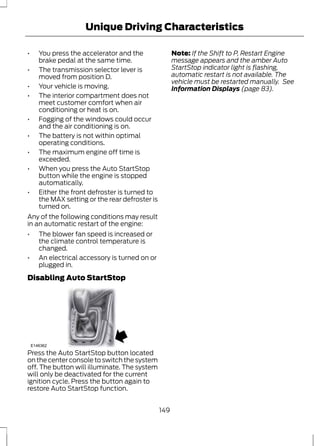
eliminate the need to stop.
• Combine errands and minimize
stop-and-go driving.
• When running errands, go to the
furthest destination first and then
work your way back home.
• Close the windows for high-speed
driving.
• Drive at reasonable speeds. (Traveling
at 65 mph/105 kph uses about 15%
less fuel than traveling at 75 mph/121
kph).
• Keep the tires properly inflated and use
only the recommended size.
• Use the recommended engine oil.
• Perform all regularly scheduled
maintenance.
There are also some things you may want
to avoid doing because they reduce your
fuel economy:
• Avoid sudden or hard accelerations.
• Avoid revving the engine before turning
off the car.
• Avoid long idle periods.
• Do not warm up your vehicle on cold
mornings.
• Reduce the use of air conditioning and
heat.
• Avoid using speed control in hilly
terrain.
• Do not rest your foot on the brake
pedal while driving.
• Avoid carrying unnecessary weight
(approximately 1 mpg [0.4
kilometers/liter] is lost for every 400
lbs [180 kilograms] of weight carried).
• Avoid adding particular accessories to
your vehicle (e.g. bug deflectors,
rollbars/light bars, running boards, ski
racks).
• Avoid driving with the wheels out of
alignment.
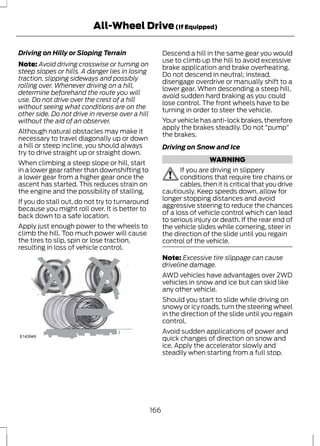
DRIVING THROUGH WATER
Note: Driving through deep water above
the recommended levels can cause vehicle
damage.
Note: Once through the water, always dry
the brakes by moving your vehicle slowly
while applying light pressure on the brake
pedal. Wet brakes do not stop the vehicle
as quickly as dry brakes.
216](https://image.slidesharecdn.com/13fusion1-140905063922-phpapp02/85/13fusion1-218-320.jpg)


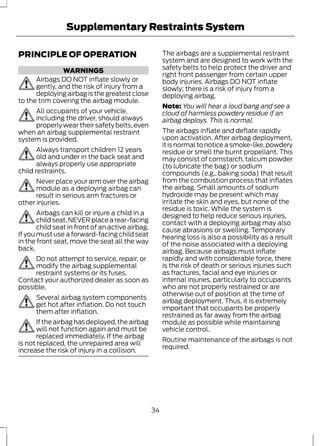
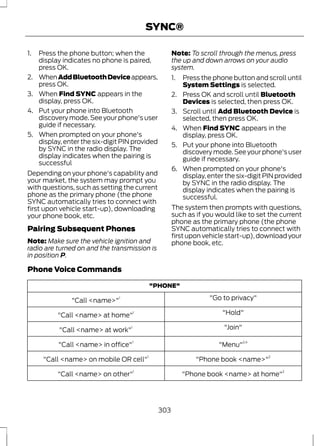
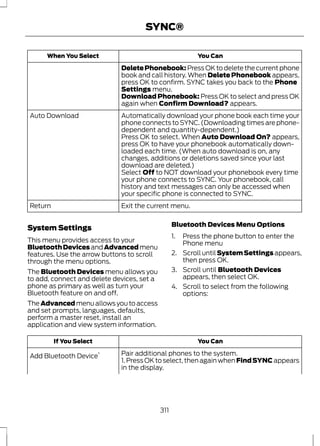
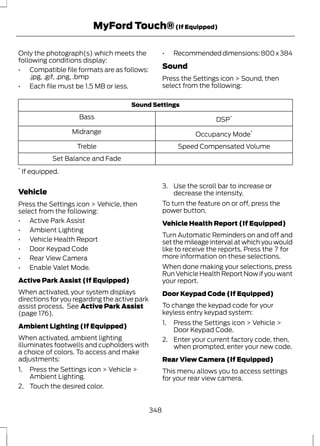
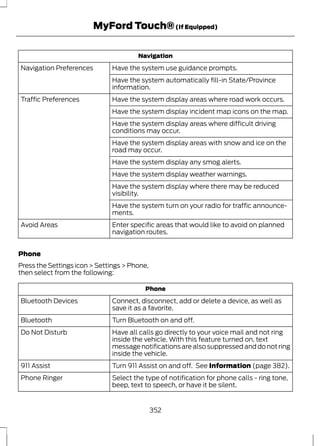
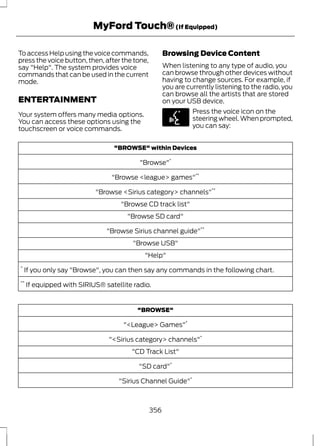
![Vehicle Care
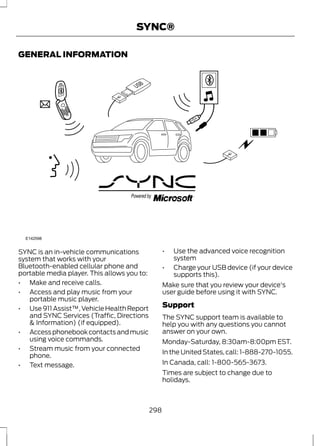
GENERAL INFORMATION
Your Ford or Lincoln authorized dealer has
many quality products available to clean
your vehicle and protect its finishes.
CLEANING PRODUCTS
For best results, use the following products
or products of equivalent quality:
Motorcraft® Bug and Tar Remover
(ZC-42)
Motorcraft® Custom Bright Metal Cleaner
(ZC-15)
Motorcraft® Detail Wash (ZC-3-A)
Motorcraft® Dusting Cloth (ZC-24)
Motorcraft® Engine Shampoo and
Degreaser (U.S. only) (ZC-20)
Motorcraft® Engine Shampoo (Canada
only) (CXC-66-A)
Motorcraft® Multi-Purpose Cleaner
(Canada only) (CXC-101)
Motorcraft® Premium Glass Cleaner
(Canada only) (CXC-100)
Motorcraft® Premium Quality Windshield
Washer Fluid (Canada only) [CXC-37-(A,
B, D or F)]
Motorcraft® Premium Windshield Washer
Concentrate (U.S. only) (ZC-32-A)
Motorcraft® Professional Strength Carpet
& Upholstery Cleaner (ZC-54)
Motorcraft® Spot and Stain Remover (U.S.
only) (ZC-14)
Motorcraft® Ultra-Clear Spray Glass
Cleaner (ZC-23)
Motorcraft® Vinyl Cleaner (Canada only)
(CXC-93)
Motorcraft® Wheel and Tire Cleaner
(ZC-37-A)
CLEANING THE EXTERIOR
Wash your vehicle regularly with cool or
lukewarm water and a neutral pH
shampoo, such as Motorcraft® Detail
Wash.
• Never use strong household detergents
or soap, such as dish washing or
laundry liquid. These products can
discolor and spot painted surfaces.
• Never wash a vehicle that is “hot to the
touch” or during exposure to strong,
direct sunlight.
• Dry the vehicle with a chamois or soft
terry cloth towel in order to eliminate
water spotting.
• Immediately remove items such as
gasoline, diesel fuel, bird droppings and
insect deposits because they can cause
damage to the vehicle’s paintwork and
trim over time. Use Motorcraft® Bug
and Tar Remover.
• Remove any exterior accessories, such
as antennas, before entering a car
wash.
Note: Suntan lotions and insect repellents
can damage any painted surface; if these
substances come in contact with your
vehicle, wash off as soon as possible.
Exterior Chrome
Note: Never use abrasive materials such as
steel wool or plastic pads as they can
scratch the chrome surface.
Note: Do not use chrome cleaner, metal
cleaner or polish on wheels and wheel
covers
255](https://image.slidesharecdn.com/13fusion1-140905063922-phpapp02/85/13fusion1-257-320.jpg)

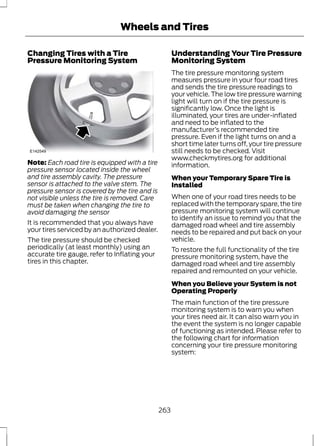
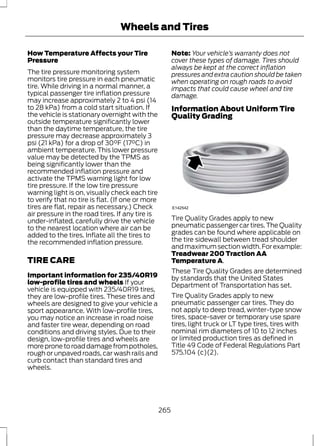
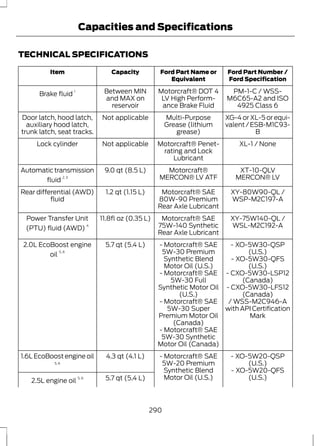
![Wheels and Tires
*Inflation pressure: A measure
of the amount of air in a tire.
*Standard load: A class of
P-metric or Metric tires designed
to carry a maximum load at 35 psi
[37 psi (2.5 bar) for Metric tires].
Increasing the inflation pressure
beyond this pressure will not
increase the tire’s load carrying
capability.
*Extra load: A class of P-metric
or Metric tires designed to carry a
heavier maximum load at 41 psi
[43 psi (2.9 bar) for Metric tires].
Increasing the inflation pressure
beyond this pressure will not
increase the tire’s load carrying
capability.
*kPa: Kilopascal, a metric unit of
air pressure.
*PSI: Pounds per square inch, a
standard unit of air pressure.
*Cold tire pressure: The tire
pressure when the vehicle has
been stationary and out of direct
sunlight for an hour or more and
prior to the vehicle being driven for
1 mile (1.6 kilometers).
*Recommended inflation
pressure: The cold inflation
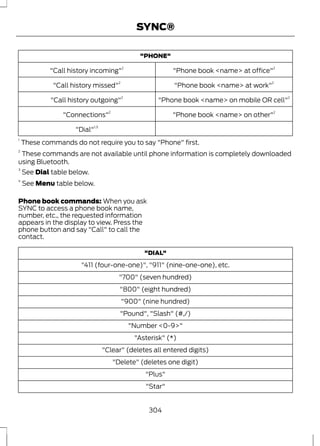
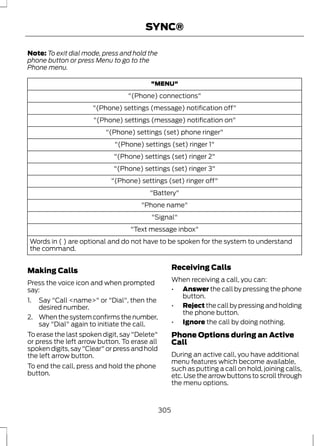
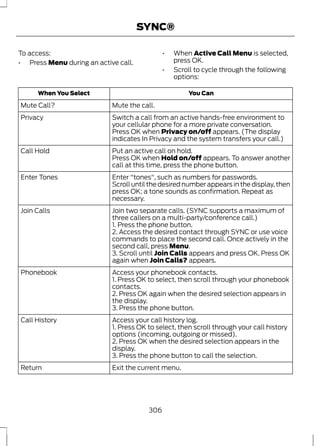
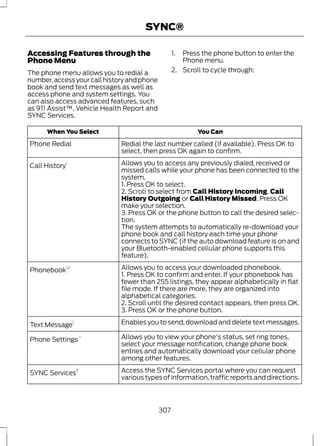
pressure found on the Safety
Compliance Certification Label
(affixed to either the door hinge
pillar, door-latch post, or the door
edge that meets the door-latch
post, next to the driver's seating
position), or Tire Label located on
the B-Pillar or the edge of the
driver’s door.
*B-pillar: The structural member
at the side of the vehicle behind
the front door
* Bead area of the tire: Area of
the tire next to the rim.
* Sidewall of the tire: Area
between the bead area and the
tread.
* Tread area of the tire: Area of
the perimeter of the tire that
contacts the road when mounted
on the vehicle.
*Rim: The metal support (wheel)
for a tire or a tire and tube
assembly upon which the tire
beads are seated.
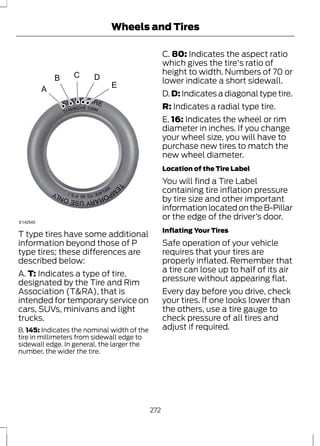
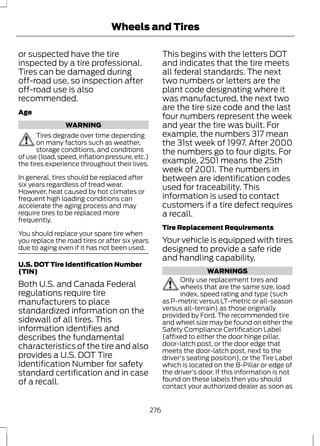
Information Contained on the Tire
Sidewall
Both U.S. and Canada Federal
regulations require tire
manufacturers to place
standardized information on the
sidewall of all tires. This
information identifies and
267](https://image.slidesharecdn.com/13fusion1-140905063922-phpapp02/85/13fusion1-269-320.jpg)

![Wheels and Tires
of the driver’s door. The cold
inflation pressure should never be
set lower than the recommended
pressure on the Safety
Compliance Certification Label or
Tire Label.
When weather temperature
changes occur, tire inflation
pressures also change. A 10°F
(6°C) temperature drop can
cause a corresponding drop of 1
psi (7 kPa) in inflation pressure.
Check your tire pressures
frequently and adjust them to the
proper pressure which can be
found on the Safety Compliance
Certification Label or Tire Label.
To check the pressure in your
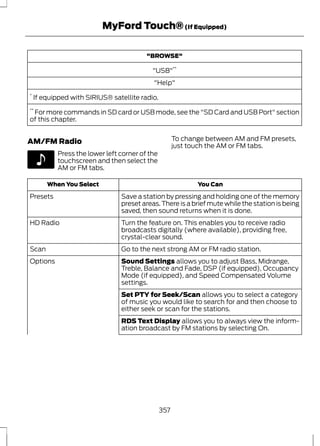
tire(s):
1. Make sure the tires are cool,
meaning they are not hot from
driving even a mile.
Note: If you are checking tire pressure when
the tire is hot, (i.e. driven more than 1 mile
[1.6 km]), never bleed or reduce air pressure.
The tires are hot from driving and it is normal
for pressures to increase above
recommended cold pressures. A hot tire at
or below recommended cold inflation
pressure could be significantly
under-inflated.
Note: If you have to drive a distance to get
air for your tire(s), check and record the tire
pressure first and add the appropriate air
pressure when you get to the pump. It is
normal for tires to heat up and the air
pressure inside to go up as you drive.
2. Remove the cap from the valve
on one tire, then firmly press the
tire gauge onto the valve and
measure the pressure.
3. Add enough air to reach the
recommended air pressure.
Note: If you overfill the tire, release air by
pressing on the metal stem in the center of
the valve. Then recheck the pressure with
your tire gauge.
4. Replace the valve cap.
5. Repeat this procedure for each
tire, including the spare.
Note: Some spare tires operate at a higher
inflation pressure than the other tires. For T
type mini-spare tires (refer to the Dissimilar
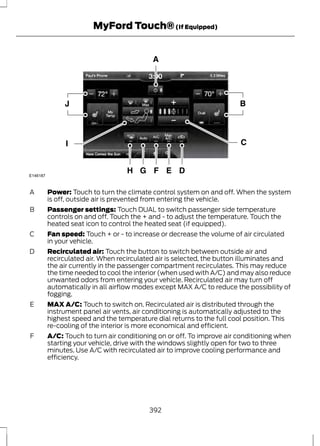
spare wheel and tire assembly information
for a description): Store and maintain at 60
psi (4.15 bar). For full-size and dissimilar
spare tires (refer to the Dissimilar spare
wheel and tire assembly information for a
description): Store and maintain at the
higher of the front and rear inflation pressure
as shown on the Tire Label.
6. Visually inspect the tires to
make sure there are no nails or
other objects embedded that
could poke a hole in the tire and
cause an air leak.
7. Check the sidewalls to make
sure there are no gouges, cuts or
bulges.
274](https://image.slidesharecdn.com/13fusion1-140905063922-phpapp02/85/13fusion1-276-320.jpg)


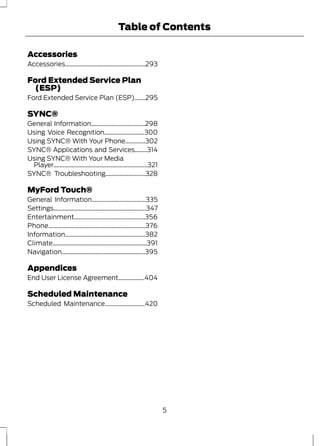
![Scheduled Maintenance
Perform the services shown in the
following tables when specified or within
3000 miles (4800 kilometers) of the OIL
CHANGE REQUIRED message appearing
in the information display.
• Example 1: The OIL CHANGE
REQUIRED message comes on at 28751
miles (46270 kilometers); perform the
30000 mile (48000 kilometer)
automatic transmission fluid
replacement.
• Example 2: The OIL CHANGE
REQUIRED message has not come on,
but the odometer reads 30000 miles
(48000 kilometers); perform the
engine air filter replacement. (i.e.,
Intelligent Oil-Life Monitor® was reset
at 25000 miles [40000 kilometers].)
Towing a Trailer or Using a Car-top Carrier
Change engine oil and filter as indicated by the information
display and perform services listed in the Normal Sched-uled
Maintenance chart.
As required
Inspect frequently, service Inspect and lubricate U-joints.
as required
Every 30000 miles (48000 Change automatic transmission fluid.
km)
Extensive Idling or Low-speed Driving for Long Distances, as in Heavy Commercial Use
(i.e. Delivery, Taxi, Patrol Car or Livery)
Change engine oil and filter as indicated by the information
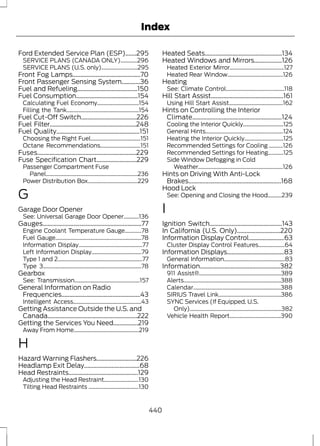
display and perform services listed in the Normal Sched-uled
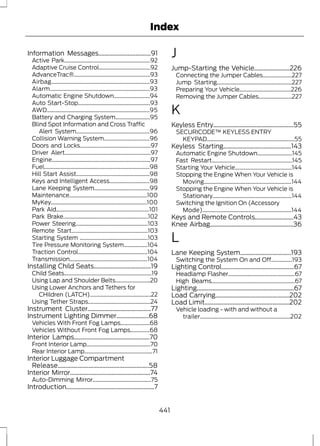
Maintenance chart.
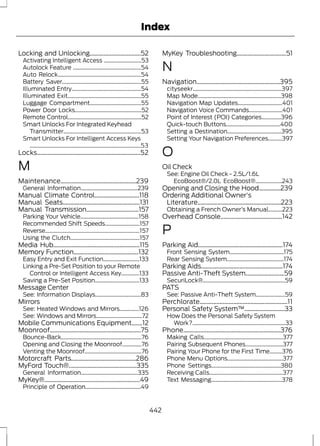
As required
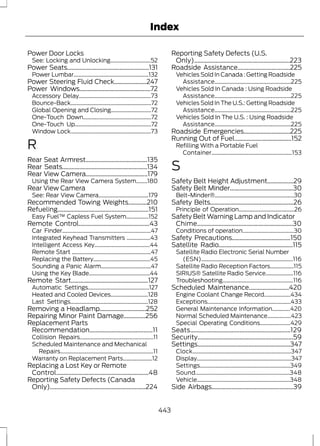
Inspect frequently, service · Replace cabin air filter (if equipped).
as required · Replace engine air filter.
Every 30000 miles (48000 Change automatic transmission fluid.
km)
Every 60000 miles (96000 Replace spark plugs.
km)
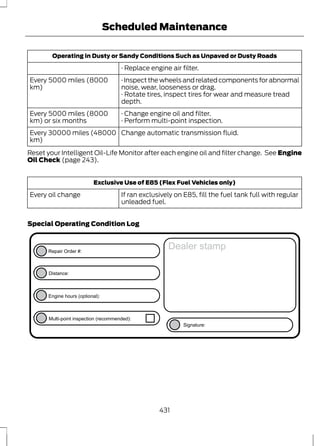
Operating in Dusty or Sandy Conditions Such as Unpaved or Dusty Roads
Inspect frequently, service · Replace cabin air filter (if equipped).
as required
430](https://image.slidesharecdn.com/13fusion1-140905063922-phpapp02/85/13fusion1-432-320.jpg)