Family Tree DIY Project
•
0 likes•151 views

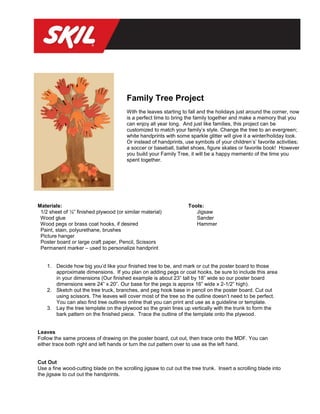
Check-out this fun Family Tree project – a perfect addition to any home this Fall!

Recommended
More Related Content
What's hot
What's hot (15)
Similar to Family Tree DIY Project
Similar to Family Tree DIY Project (20)
Recently uploaded
Recently uploaded (20)
Family Tree DIY Project
- 1. Family Tree Project With the leaves starting to fall and the holidays just around the corner, now is a perfect time to bring the family together and make a memory that you can enjoy all year long. And just like families, this project can be customized to match your family’s style. Change the tree to an evergreen; white handprints with some sparkle glitter will give it a winter/holiday look. Or instead of handprints, use symbols of your children’s’ favorite activities; a soccer or baseball, ballet shoes, figure skates or favorite book! However you build your Family Tree, it will be a happy memento of the time you spent together. Materials: Tools: 1/2 sheet of ½” finished plywood (or similar material) Jigsaw Wood glue Sander Wood pegs or brass coat hooks, if desired Hammer Paint, stain, polyurethane, brushes Picture hanger Poster board or large craft paper, Pencil, Scissors Permanent marker – used to personalize handprint 1. Decide how big you’d like your finished tree to be, and mark or cut the poster board to those approximate dimensions. If you plan on adding pegs or coat hooks, be sure to include this area in your dimensions (Our finished example is about 23” tall by 18” wide so our poster board dimensions were 24” x 20”. Our base for the pegs is approx 16” wide x 2-1/2” high). 2. Sketch out the tree truck, branches, and peg hook base in pencil on the poster board. Cut out using scissors. The leaves will cover most of the tree so the outline doesn’t need to be perfect. You can also find tree outlines online that you can print and use as a guideline or template. 3. Lay the tree template on the plywood so the grain lines up vertically with the trunk to form the bark pattern on the finished piece. Trace the outline of the template onto the plywood. Leaves Follow the same process of drawing on the poster board, cut out, then trace onto the MDF. You can either trace both right and left hands or turn the cut pattern over to use as the left hand. Cut Out Use a fine wood-cutting blade on the scrolling jigsaw to cut out the tree trunk. Insert a scrolling blade into the jigsaw to cut out the handprints.
- 2. Finish Sand all the pieces for a smooth finish. Stain or paint the tree and leaves as desired, let dry. Using a permanent marker or small paintbrush, personalize each handprint with child’s name and age, if desired. Apply a coat of polyurethane over all to seal. If you are using wooden pegs or coat hooks, screw those into the tree base. Add the picture hanger onto the back. Next, lay the tree flat, arrange the leaves in an attractive design and glue them to the branches. Let dry.