e-Textile Project using LilyPad Arduino Protosnap components (sewn on felt)
•Download as PPTX, PDF•
0 likes•1,080 views


Recommended
Recommended
More Related Content
Featured
Featured (20)
e-Textile Project using LilyPad Arduino Protosnap components (sewn on felt)
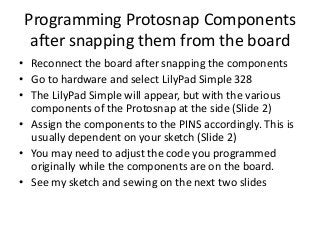
- 1. Programming Protosnap Components after snapping them from the board • Reconnect the board after snapping the components • Go to hardware and select LilyPad Simple 328 • The LilyPad Simple will appear, but with the various components of the Protosnap at the side (Slide 2) • Assign the components to the PINS accordingly. This is usually dependent on your sketch (Slide 2) • You may need to adjust the code you programmed originally while the components are on the board. • See my sketch and sewing on the next two slides
- 2. I did not assign the RGB light. I programmed it by assigning specific PINS to be output for the RGB, and used the Digital Write Function (see code on Slide 5.
- 4. Sewing http://www.youtube.com/watch?v=3V-13Qs_7r8 I ran out of thread for the LEDs… This is where my beads will my sewn. I realize this is too long for a bracelet. Hence I will put it on my T-shirt. The buzzer will be damaged if washed, so I intend to either use fabric glue or simple stitches to get this onto the shirt.
- 5. Codes Switch function works once assigned. I used two lights from the RGB here. PIN 9 and 10 were connected to Blue and Red specifically. We need to set pinMode PIN 9 and 10 to be Output. Note that for RGB, DigitaWrite PIN# LOW means ON. DigitaWrite PIN# HIGH means OFF. This is opposite to the LEDs.
- 6. Codes
- 7. Codes
- 8. Other Points • The battery can be charged while the board is connected to the USB. The switch on the board will function unless detached from the USB • Be careful – do not leave the battery unattached. It can burn out and cause a fire.