How to Create a Report in Power BI Desktop.pdf
•
0 likes•19 views

Power BI desktop helps import data, transform data, visualize the data, and create reports, and these reports you can share with other people in your organization. Here are the steps to create a report in Power BI Desktop.

Recommended
More Related Content
Similar to How to Create a Report in Power BI Desktop.pdf
Similar to How to Create a Report in Power BI Desktop.pdf (20)
More from OmnePresentTechnolog1
More from OmnePresentTechnolog1 (8)
Recently uploaded
Recently uploaded (20)
How to Create a Report in Power BI Desktop.pdf
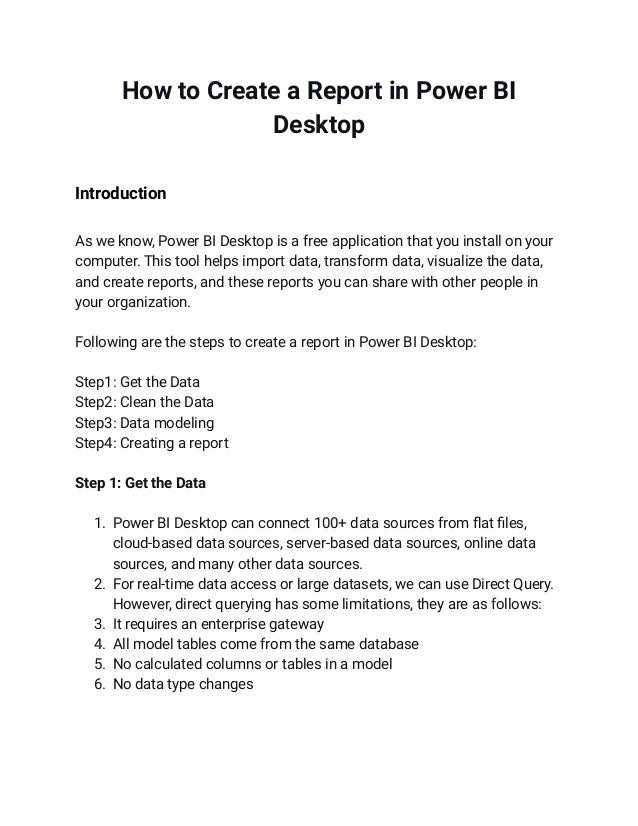
- 1. How to Create a Report in Power BI Desktop Introduction As we know, Power BI Desktop is a free application that you install on your computer. This tool helps import data, transform data, visualize the data, and create reports, and these reports you can share with other people in your organization. Following are the steps to create a report in Power BI Desktop: Step1: Get the Data Step2: Clean the Data Step3: Data modeling Step4: Creating a report Step 1: Get the Data 1. Power BI Desktop can connect 100+ data sources from flat files, cloud-based data sources, server-based data sources, online data sources, and many other data sources. 2. For real-time data access or large datasets, we can use Direct Query. However, direct querying has some limitations, they are as follows: 3. It requires an enterprise gateway 4. All model tables come from the same database 5. No calculated columns or tables in a model 6. No data type changes
- 2. The following image shows the connection window for connecting different data sources in PowerBI Desktop. Step 2: Clean the Data You need to clean the data before using it in a report to improve the report's performance. Power Query in Power BI Desktop allows us to clean the data, merge the data, and append the data from different sources. Reports require cleaned data that is fixed or has no incorrect, corrupted, incorrectly formatted, duplicated or incomplete data within a database.
- 3. Transforming Data is part of data cleaning that consists of operations like renaming objects, combining queries, fixing metadata, filtering rows, eliminating columns, and adding columns. Configuring the Properties is also part of data cleaning which consists of operations like sorting the order, hidden objects, formatting the objects or columns, changing the datatype, summarization, etc. The following image shows the power query window for cleaning and transforming data in PowerBI Desktop. Step 3: Data Modeling When you import the data from different data sources, you need to create relationships between them. Data modeling is the feature used to connect multiple data sources in Power BI tools using a relationship. There are different types of relationships. They are one-to-one relationships, one-to-many relationships, many-to-one relationships, and many-to-many relationships. The following image shows the data-modeling, window-managing relationship between the table in PowerBI Desktop.
- 4. Step 4: Creating Report PowerBI Desktop is based on the concept that a picture is worth many thousands of words. It consists of a visualization pane that lets you create clear and convincing visuals that tell you and your audience far more than the profusion of figures ever could. Power BI Desktop lets you make a suitable dataset into different visuals ● Pie Chart ● Donut Chart ● Bar chart ● Column Chart ● Stacked bar/column chart ● Clustered bar/column chart ● Line chart ● Area chart ● Funnel Chart ● Waterfall Chart ● Gauge ● Slicer The visualization pane in the image of the Power BI desktop below is used to select the chart used in the report and the columns used in the data pane to create this View.
- 5. The report is a combination of different visuals, which may consist of graphs, charts, slicers, cards, and many other visuals. You can create a particular chart by selecting visuals from the visualization pane and data from the field pane. Once charts are added to a report, they can be interactive with end-users using filters. The following filters can be used in the report to filter the rows and see some specific values. The following image shows the report's final look, which consists of cards, slicers, buttons, and different charts.
- 6. Power BI has a multitude of advantages that make it stand apart as a BI tool. For more information, get in touch with us.