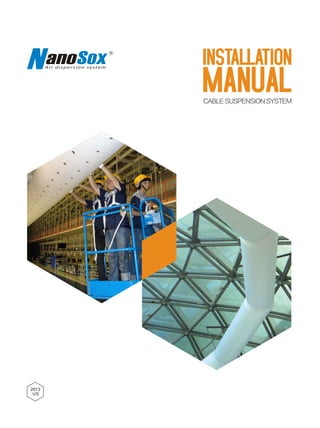
cable-suspension.pdf
•
0 likes•3 views

fabric duct connection

Recommended
Recommended
More Related Content
Similar to cable-suspension.pdf
Similar to cable-suspension.pdf (20)
More from Durkeesox(Wuhan)Air Dispersion System Co.,Ltd
More from Durkeesox(Wuhan)Air Dispersion System Co.,Ltd (6)
Recently uploaded
Recently uploaded (20)
cable-suspension.pdf
- 2. Eyebolt Turnbuckle Cable clamp Clip 3 16" cable suspension Thimble 1 16" cable suspension Cable clamp Eyebolt Thimble turnbuckle Clip
- 3. INSTALLATION STYLE Clip Cable clamp Turnbuckle Eyebolt Inlet Air Dispersion Orifice 3 16" Cable Suspension 1 16" Cable Suspension End cap H L 2" 2" 4" 2" roof 2" 2" 6" H 2" roof 2" 2" 2" 6" 2" 4" 6" L H roof Beam 2" 4" 6" H roof Beam 3 1 6 " cable suspension Eyebolt Turnbuckle Cable clamp Thimble 3 16" cable suspension T u r n b u c k l e E y e b o l t I n l e t A i r D i s p e r s i o n O r i f i c e C l i p C a b l e c l a m p End cap 1 16" Cable Suspension 3 16" Cable Suspension C l i p C a b l e c l a m p T u r n b u c k l e E y e b o l t 1 1 6 " C a b l e S u s p e n s i o n 3 1 6 " C a b l e S u s p e n s i o n
- 4. 5 8" Flat washer Spring washer Steel roof truss L2"X3 16" Channel steel M1 2"Snap ring
- 5. 5mm Galvanized Cable 5mm Galvanized Cable DKA09022302A
- 6. PREPARATION & LALCULATION PROCESS & IMPLEMENTATION 2 1 3 4 5 6 1 2 3 1 2 3 Cut Cut Measure Measure Measure the sizes of bracket, cutting and perforating according to the drawing. Measure the sizes of bracket, cutting and perforating according to the drawing. Drill Drill Drill holes for fixing of eyebolt and expansion bolt Drill holes for fixing of eyebolt and expansion bolt Group brackets Group brackets Group brackets as per design drawing Group brackets as per design drawing Weld Weld Weld bracket firmly and the welding part shall be neat. Weld bracket firmly and the welding part shall be neat. Paint Paint Brush rustproof paint once and finish paint twice, ensure the exterior color is massy and even. Brush rustproof paint once and finish paint twice, ensure the exterior color is massy and even. Find out Box No. 1 in the accessory box. Find out Box No. 1 in the accessory box. Open No. 1 accessory box and take out the accessory packing list. Open No. 1 accessory box and take out the accessory packing list. Correspond packing list to find out the accessories corresponding to each duct segment. Correspond packing list to find out the accessories corresponding to each duct segment. Find out No. 1 main material box with the help of the external packing list. Find out No. 1 main material box with the help of the external packing list. Find out the information bag in No. 1 which contains the general assembly drawing for the project installation. Find out the information bag in No. 1 which contains the general assembly drawing for the project installation. Find out the duct segment needed per each duct and packing code of each segment by general assembly drawing. Find out the duct segment needed per each duct and packing code of each segment by general assembly drawing. height from cable to top of duct cable spacing 3:00 & 9:00 2 00 & 10 00 Dia inch mm height from cable to top of duct cable spacing inch mm inch mm 2 5 inch mm inch mm 5 3