Download as PDF, PPTX


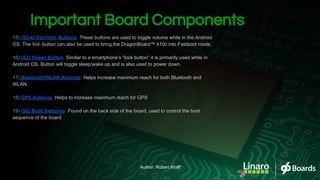


![./adb root
./adb remount
mount -o rw,remount /system
exit out of adb shell
./adb pull /etc/init.qcom.post_boot.sh
(add to the post_boot.sh)
set -A pins 938 915 1017 926 937 930 914 971 901 936 935
for i in 0 1 2 3 4 5 6 7 8 9 10
do
echo ${pins[i]} > /sys/class/gpio/export
chmod 777 /sys/class/gpio/gpio${pins[i]}
chmod 777 /sys/class/gpio/gpio${pins[i]}/value
chmod 777 /sys/class/gpio/gpio${pins[i]}/direction
done
./adb push init.qcom.post_boot.sh /etc/init.qcom.post_boot.sh
./adb reboot
./adb root
./adb shell
cd /sys/class/gpio (to check if they’re their)
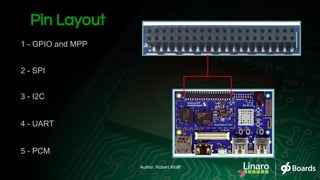
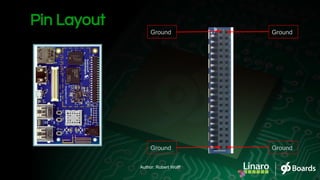
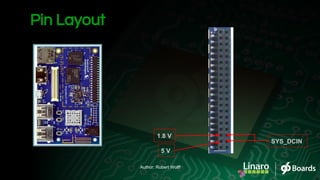
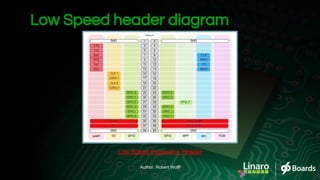
GPIO Access with Android OS
Author: Robert Wolff](https://image.slidesharecdn.com/dragonboard410cworkshop-viewonly-160831151013/85/Dragon-board-410c-workshop-slideshow-47-320.jpg)

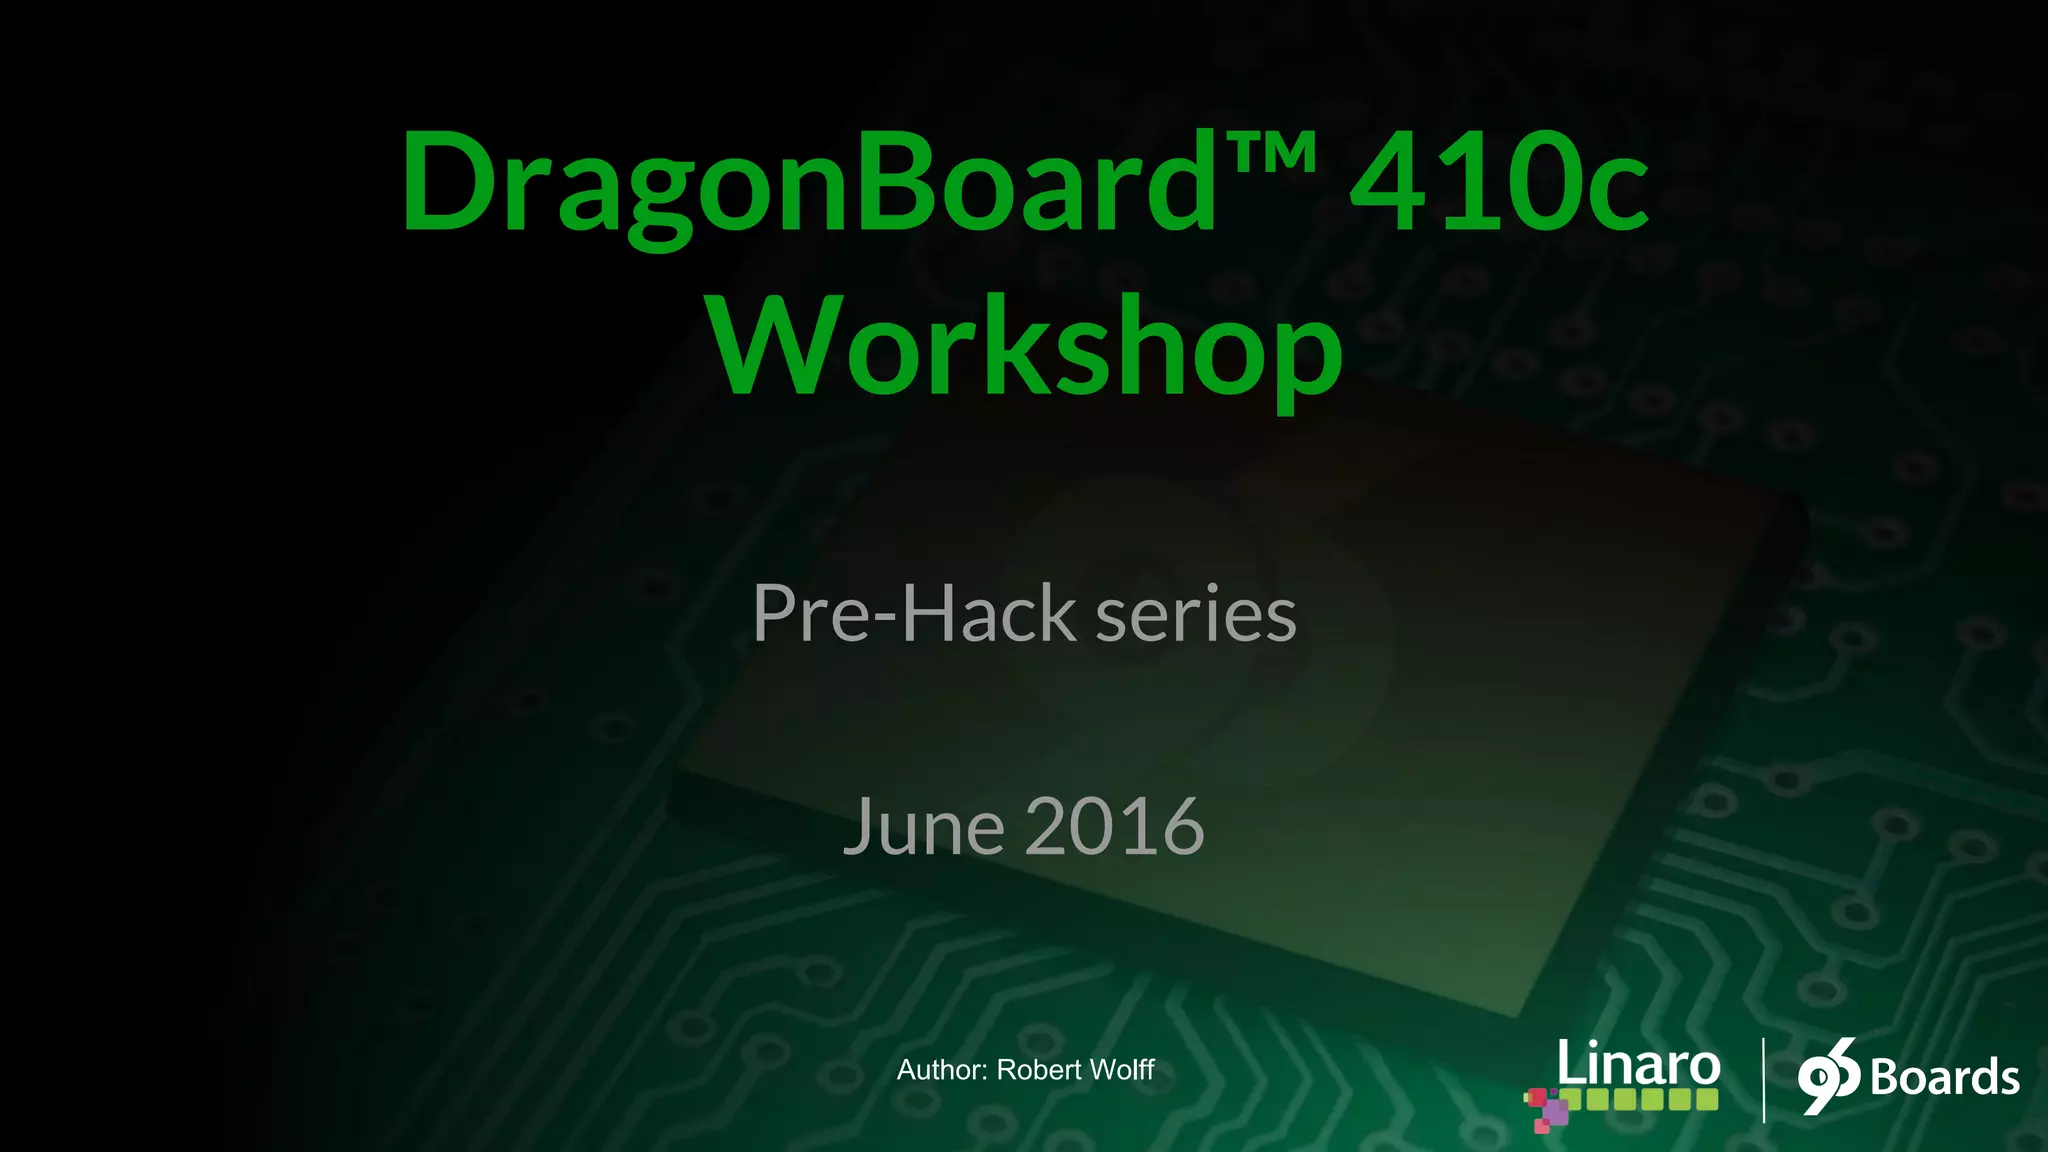
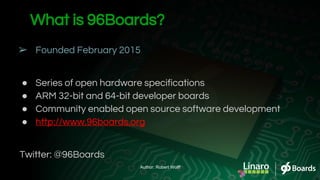
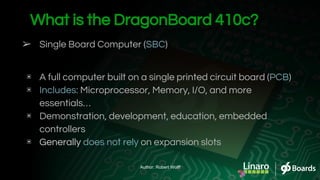
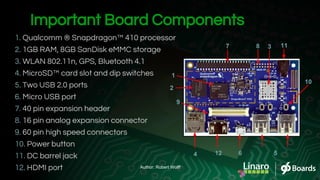
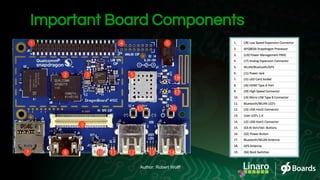
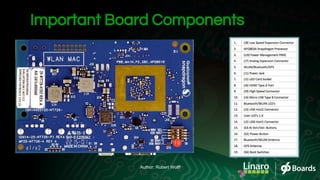
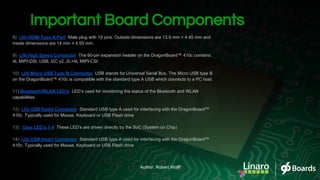
This document provides an overview and introduction to the DragonBoard 410c single board computer from Robert Wolff of Linaro. It begins with introductions and background on Linaro and the 96Boards project. An overview of the DragonBoard 410c hardware components and specifications is given. Available software, documentation, and community resources are outlined. The document concludes with preparations and demonstrations of accessing the GPIO pins and using I2C interfaces through both terminal commands and C libraries.