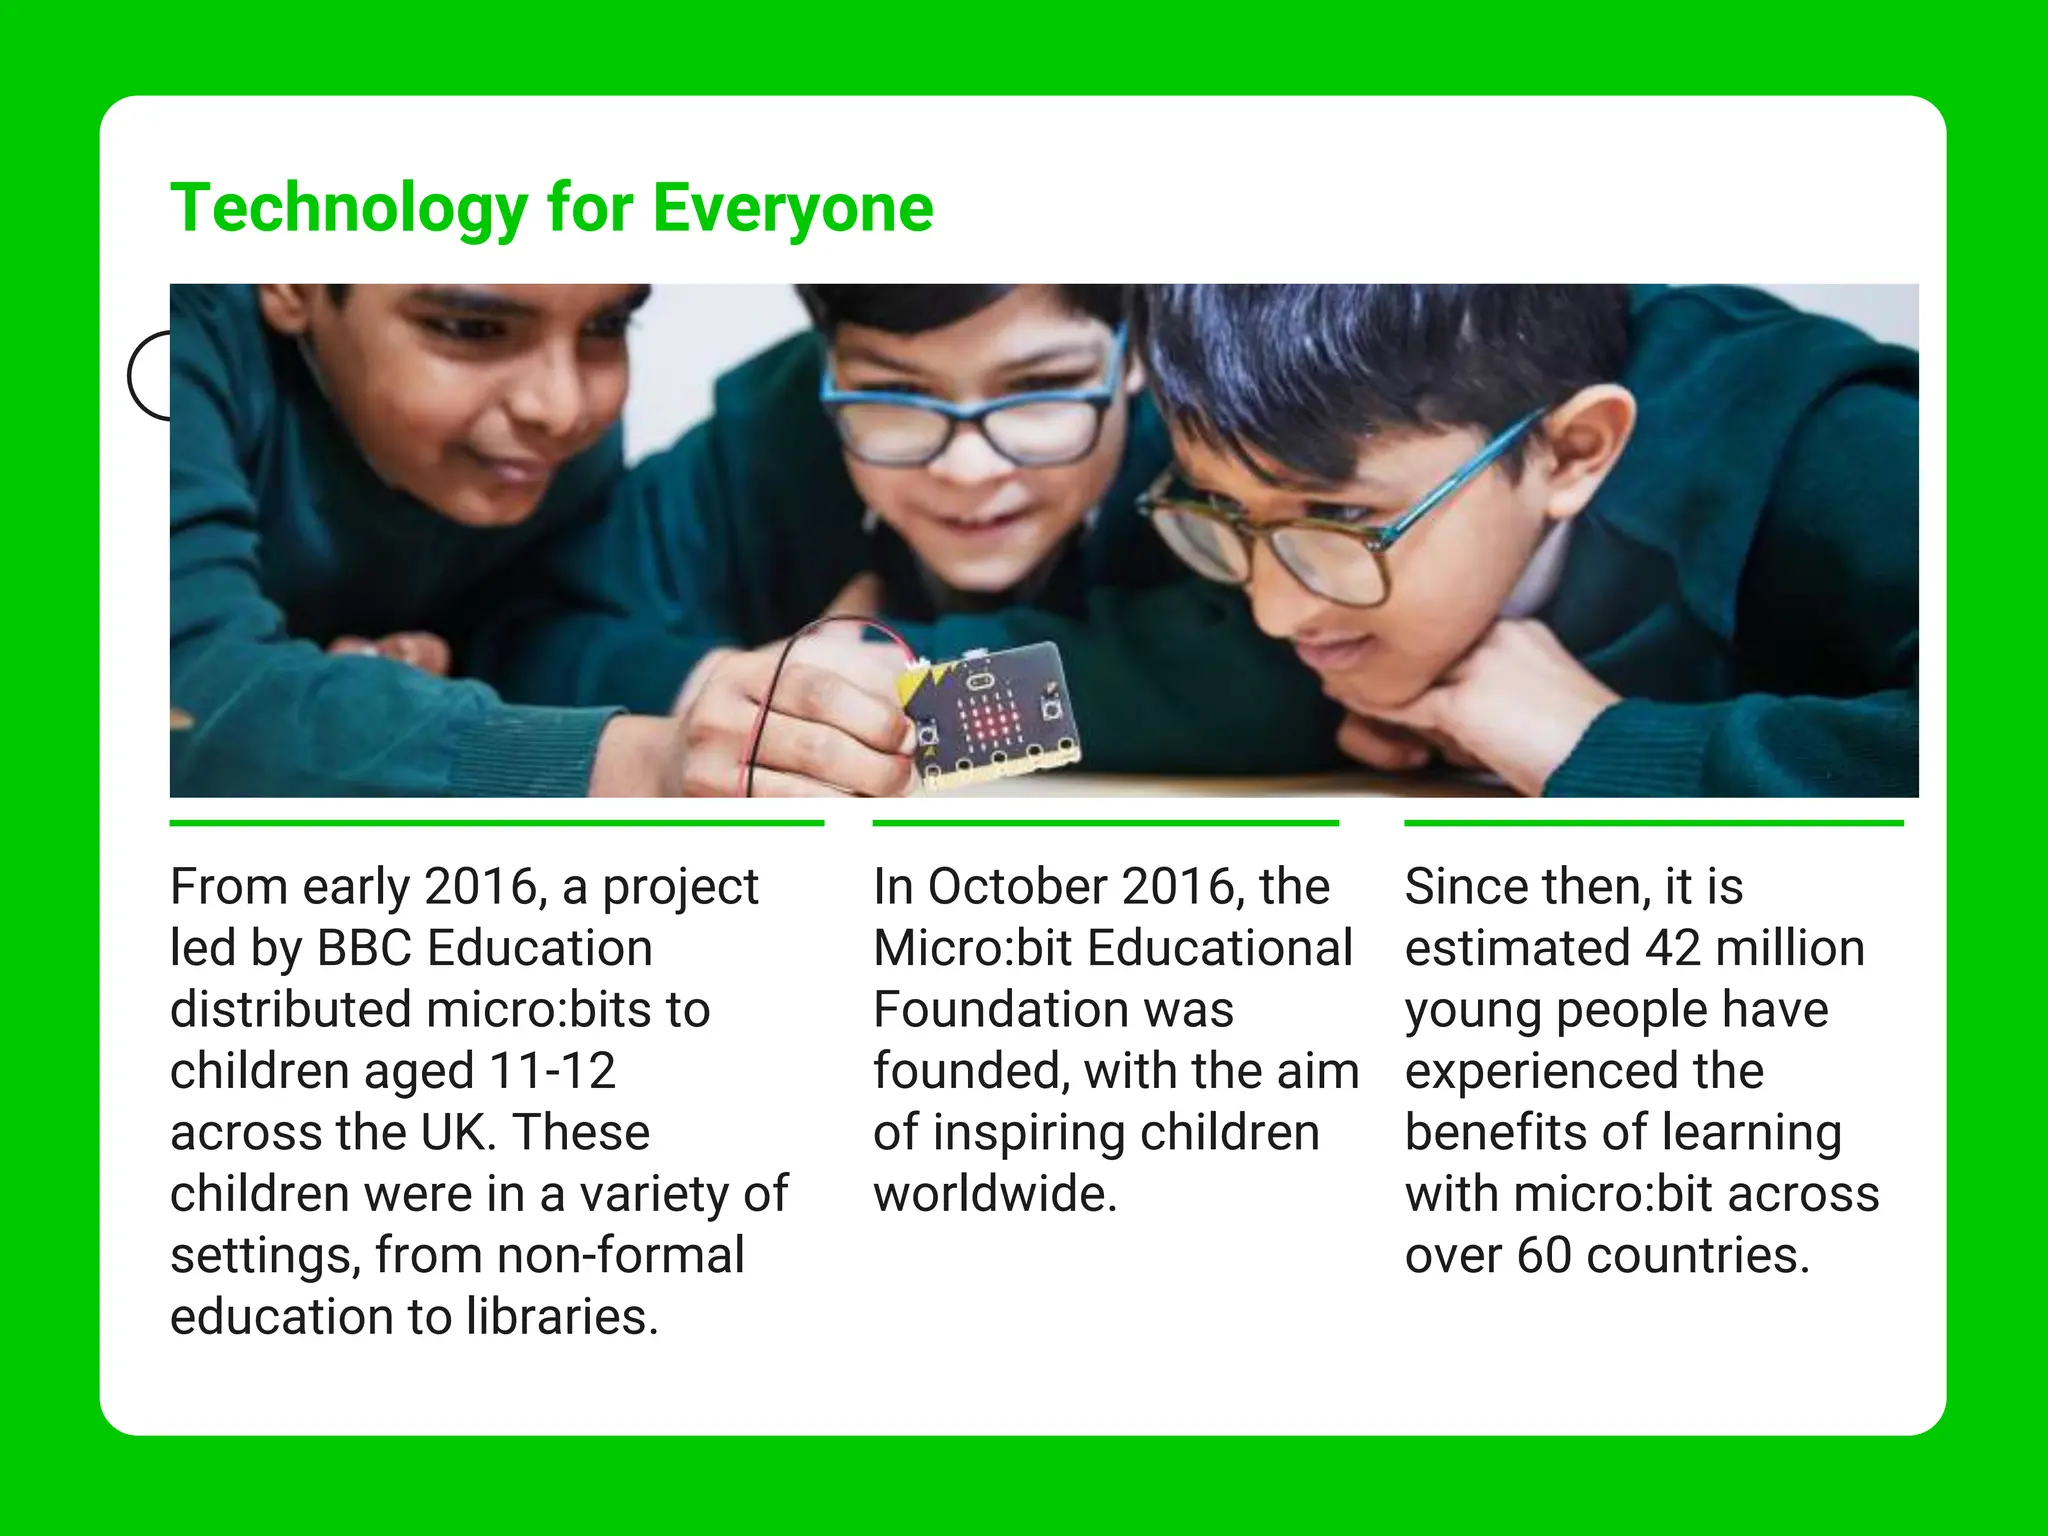
2. The Micro:bit Educational
Foundation is a not-for-profit
organisation. Their aim is to
inspire children to ‘create their
best digital future’.
Technology for Everyone
Originally the micro:bit was part of
BBC’s Make It Digital campaign.
29 partners contributed to create
various resources and offer their
expertise to the campaign.
From early 2016, a project
led by BBC Education
distributed micro:bits to
children aged 11-12
across the UK. These
children were in a variety of
settings, from non-formal
education to libraries.
Who is behind the BBC micro:bit? Their story
In October 2016, the
Micro:bit Educational
Foundation was
founded, with the aim
of inspiring children
worldwide.
Since then, it is
estimated 42 million
young people have
experienced the
benefits of learning
with micro:bit across
over 60 countries.
4. micro:bit V2
USB data cable
safety guide
micro:bit cardboard case
battery pack and connector
2 x AAA batteries
a Get started manual
What Is a micro:bit?
When you receive your BBC micro:bit, everything you need to make a good
start is included in the cardboard box.
The cardboard box contains:
The micro:bit is a pocket-sized computer.
It has an LED light display, buttons, microphone, sensors and many
input/output features. These features can be programmed to let you
physically interact with the world around you.
5. The micro:bit was developed to inspire higher levels of engagement and
creativity. The capabilities of the micro:bit allow for collaborative
learning. The hands-on experience will encourage communication
amongst children.
Using a micro:bit is an amazing way to engage children in lessons.
It is a hands-on experience where children are able to be creative whilst
building on their computational skills.
A micro:bit can be accessed by children of all computing abilities.
It allows for children to be active learners where they are more likely to
retain the information they have learnt.
The possibilities
of the micro:bit
are almost endless.
Benefits of Using a BBC micro:bit
The only real
limitations are
deciding on a project
to embark on!
6. Using a micro:bit will help you to cover aspects of the computing
curriculum.
Computer science can be a really tricky subject to cover, especially if you
are not a confident coder. With a micro:bit, you will be able to cover the
following national curriculum aims with ease:
• design, write and debug programs that accomplish specific goals,
including controlling or simulating physical systems; solve problems by
decomposing them into smaller parts
• use sequence, selection and repetition in programs; work with various
forms of input and output
• use logical reasoning to explain how some simple algorithms work and
to detect and correct errors in algorithms and programs
Curriculum Links
7. Depending on the program or project you choose to create with your
micro:bit, the children could be accessing more than just the computing
curriculum.
The cross-curricular links with a micro:bit are endless.
Embarking on a micro:bit project could allow children to access:
Curriculum Links
computing science mathematics
music art and design
design technology geography
8. Sometimes, the hardest part of using technology is not setting things up
but figuring out what its capabilities are in the first place. The micro:bit is
no exception to this. The micro:bit caters for all users, from confident
coders to those who may need some support.
Beginner programs
beating heart
step counter
dice
rock, paper, scissors
badge
showing emotions
thermometer
animal tracker
Intermediate programs
nightlight
headphone connection
treasure hunt
touch timer
touch stopwatch
clap-o-meter
Advanced programs
guitar
tilt alarm
reaction game
energy cost calculator
How Can a BBC micro:bit Be Used?
What can I create with a micro:bit?
Here are just a few ideas of some micro:bit projects that you could create:
9. As you might have realised, the micro:bit will not work on its own. It needs
someone to program instructions on to it. In computing, those instructions
are called algorithms. Algorithms are used to create programs. These
programs are written in code.
To create a program you will
need either:
How can I set it up?
How to Get Started
What other equipment will I need?
a desktop or
laptop computer
with a web
browser and
Internet access
a phone or tablet
with the free
micro:bit app for
MakeCode
coding
OR
Once you have created your program, you will need to connect your BBC
micro:bit to your mobile or your desktop or laptop computer.
Click here
if you are connecting
via a desktop or
laptop computer.
Click here
if you are connecting
via a mobile device.
10. If you're using a desktop or laptop
computer to connect to the
micro:bit, you will need a micro
USB data cable.
Plug the micro USB data cable into your
micro:bit and then into your desktop or
laptop computer. The BBC micro:bit will
show up as a disk drive called
MICROBIT.
Connecting via a Desktop
or Laptop Computer
You should have received 30 of
these in your BBC micro:bit start
up boxes.
MICROBIT
11. Transferring a program to a micro:bit is called flashing.
This is because the program is copied to the micro:bit’s flash memory.
When the .hex file has been transferred to the MICROBIT drive, the
MICROBIT drive will disconnect and reconnect as the micro:bit resets. The
.hex file will not be visible on the MICROBIT drive but the program will be
on the micro:bit.
Transferring Files via Desktop
or Laptop Computer
To flash a program on to the micro:bit, you should:
• download your program as a .hex file from the code editor to your desktop
or laptop computer.
.hex
• drag and drop the .hex file on to the MICROBIT drive.
Microbit
When programs are
being flashed on to
the micro:bit, the
micro:bit will pause
and the yellow LED
on the back will blink.
12. As with all technology, micro:bits can experience problems, although these
are minor.
Error Codes
Luckily, if the micro:bit detects a fault it
will enter a ‘panic’ routine. In this ‘panic’
routine the micro:bit will display a sad
face on the LED screen followed by a
number. The number corresponds to a
specific error.
In all error cases, pressing the reset
button on the back of the micro:bit will
restart the program. Restarting the
program will clear out the RAM memory.
If restarting the micro:bit does not resolve the error,
there is more help and support on the micro:bit website.
13. Microphone
The micro:bit has a
built-in microphone.
The microphone LED will
light up if the
microphone is
measuring sound levels.
The microphone LED
also indicates where the
microphone
is located.
Buttons
The BBC micro:bit has
two buttons, A and B,
on the front. The
buttons can be
pressed separately or
together. Pressing the
buttons can be used to
trigger code.
LED Display and Light Sensor
The micro:bit has 25 LEDs arranged in a 5x5 grid. The LEDs can be used for displaying
pictures, words and numbers. They can also act as sensors and measure light levels.
Pins
You will notice that the micro:bit contains small holes on the edge. These are called pins and
these pins can be split into three categories: GPIO; 3V power; and GND.
The pins can be used to create circuits and physically connect the micro:bit to external things.
Touch Sensor
The gold logo also
works as a touch
sensor. It can be
used as an extra
button in your
programs.
3V Pin
The 3V pin can be used to
power accessories connected
to the micro:bit.
GND Pin
The GND pin is the
ground or Earth pin. It
can be used to
complete a simple
circuit when you
connect headphones,
LEDs or external
switches to the
micro:bit.
General Purpose Input and Output Pins
The GPIO pins are the three pins at the edge of the micro:bit labelled 0, 1 and 2. These pins can be
used with crocodile clips or strips of foil to connect devices such as headphones, buzzers or
switches made from cardboard and foil.
Parts of a BBC Micro:bit
The 3V and GND pins are connected to the power supply of the micro:bit.
These pins should not be connected together.
14. Parts of a BBC Micro:bit
Radio and
Bluetooth
The micro:bit can
communicate
wirelessly with other
micro:bits using radio
waves. Tablets can
also connect to the
micro:bit wirelessly
via Bluetooth.
Processor
The micro:bit
contains a
microprocessor. A
processor is
sometimes called the
‘brains’ of a
computer. The
processor receives
the inputs, runs the
programs and gives
outputs. It fetches,
decodes and carries
out the instructions
coded on an online
micro:bit editor.
Battery
The micro:bit can also
be powered using a
battery pack. Instead
of using a computer
to power it, the battery
pack can be plugged
into the micro:bit.
Using the battery pack
is very handy if you
want to take the
micro:bit outside.
USB interface
chip
The interface chip
allows you to
connect a computer
to a micro:bit so you
can transfer
programs to it and
power it.
Reset button
Use the reset button
to reset the micro:bit
or restart a program
from the beginning.
You can also place
the micro:bit into
power-saving sleep
mode by holding
down the button and
waiting until the red
LED on the left goes
dark before
releasing the button.
Compass
The micro:bit has a built-in compass that can
detect the direction in which it is facing and
measure the strength of magnetic fields.
Accelerometer
The micro:bit
contains a motion
sensor that
measures
movement. The
accelerometer can
detect when the
micro:bit is tilted left
to right, backwards
and forwards and up
and down.
Micro USB Socket
A micro USB can be used to connect a
computer or laptop to the micro:bit.
This allows the micro:bit to have programs
transferred to it and to be powered without
using a battery pack.
Single LEDs
The right-hand single LED on the back of the micro:bit will flash yellow when a
program is being flashed on to it. The left-hand single LED will light up red to show
that the micro:bit is being powered by either the micro USB socket or a battery pack.
15. Now that you have heard all of the theory behind the micro:bit and have a
good grasp of what a micro:bit is, let’s get to the good part.
Let’s Get Coding
If you are not familiar with Microsoft MakeCode interface, click here.
For the purpose of the following programs, we will be using Microsoft
MakeCode. You may choose to use other micro:bit editors.
To access Microsoft MakeCode, you can sign in if you have an account or
you can access the website without an account.
When you have opened
Microsoft MakeCode,
select New Project.
You are then given the option to name your
project. This is a good opportunity to teach
children about file naming conventions.
You could name this project ‘BBC micro:bit CPD’.
Once you have typed your
project name into the space,
select Create. You should
now see the Microsoft
MakeCode interface.
16. After each program, remove the coding blocks by dragging them over the
Blocks Toolbox.
We will be looking at basic programs that you can use with your class to
introduce the micro:bit to them. These programs showcase some, but
not all, of the capabilities of the micro:bit. As you progress through the
programs, you should notice that the coding required does become more
complex.
Accompanying these
slides are BBC
micro:bit: CPD Sheets
for you to use.
Let’s Get Coding
17. Getting Started
The simulator can be a great tool for
seeing the program run before flashing,
to allow the opportunity for debugging.
Heart LED
What you will need:
micro:bit
Microsoft MakeCode
USB data cable, if using a desktop or
laptop computer
battery pack, if using a mobile device
• Inside an on start Basic block, slot in the show icon Basic block.
• Ensure the heart is showing in the drop-down menu.
• To test your code, select the play button to start the simulator.
• Click on the download button to transfer the code to your micro:bit.
• Follow the directions on screen.
• When the code is transferred, you should see a heart appear in the LEDs.
Instructions:
18. Getting Started
Feeling Confident?
Can you alter the code so that
the heart only beats when
button A is pressed?
Beating Heart
What you will need:
micro:bit
Microsoft MakeCode
USB data cable, if using a desktop or laptop computer
battery pack, if using a mobile device
• Inside a forever Basic block, slot in the show icon Basic block.
• Ensure the heart is showing in the drop-down menu.
• Add a pause (ms) block and select 500 from the drop-down menu.
• Add another show icon Basic block.
• Select the smaller heart from the drop-down menu.
• Add another pause (ms) block and select 500 from the drop-down menu.
• Test your code using the the simulator.
• Download your program on to your micro:bit.
Instructions:
19. Now instead of a forever Basic block, you should have an on button A
pressed Input block.
However, you may have noticed
that the heart doesn’t beat
anymore. So now we need to
add a loop in. Now, add a
repeat Loops block and type 5
into the white space. Your
repeat loop should go around
the code you wish to repeat.
Beating Heart Loop
Did you notice any changes to your program?
How did you change your code?
20. Name Badge
• Inside a forever Basic block, slot in the show string Basic block.
• Type your name inside the white space on the show string Basic block.
• Test your code using the the simulator.
• Download your program on to your micro:bit.
Instructions:
Feeling Confident?
Can you alter the code so that the heart only beats when
button A is pressed?
21. Thermometer
• Select the on button pressed Input block and select A from the
drop-down menu.
• Insert a show number Basic block.
• Find the temperature (℃) Input block and move this into the
white space on the show number Basic block.
• Test your code using the the simulator.
• Download your program
on to your micro:bit.
Instructions:
22. Rock, Paper, Scissors
• Select the on shake Input block.
• Go into the Variables category and
make a new variable with the name 'tool'.
• Add a set tool to Variables block.
• Find the pick random 0 to 10 Math block,
and change the 10 to a 2.
• Insert the pick random 0 to 2 Math block over the 0 in the set tool to
Variables block.
• Insert an if…then…else Logic block.
• Find the 0 = 0 Logic block and slot this over true on the if…then…else block.
• Select the tool Variables block and slot this over the first 0 in the 0 = 0 block.
Instructions:
So far your code should look like this:
Feeling confident? Let's try something a bit more complex!
23. Rock, Paper, Scissors
• Click the plus symbol below the else in the if…then…else Logic block.
• Right-click the tool = 0 block, select
Duplicate and change the 0 to be a 1.
• Slot this duplicated block over true on the
second space in the if…then…else block.
• Select three show icon Basic blocks and
place these in the if…then…else block.
• Change the icons in the drop-down menus
to represent a rock, paper and scissors.
• Test your code using the simulator.
• Download your program on to your micro:bit.
Instructions:
24. Create a new program where
if button A is pressed a
smiley face appears and if
button B is pressed a sad
face appears.
The smiley face will represent true,
the sad face will represent false.
After each statement, press the
button that corresponds to either the
smiley or sad face.
True or False?
The process of putting a program on to the micro:bit is called flashing.
The micro:bit is limited to computing lessons.
The BBC micro:bit is for advanced coders only.
The micro:bit contains a temperature sensor.
The 3V and GND pins can be connected to each other.
Quiz Time