14
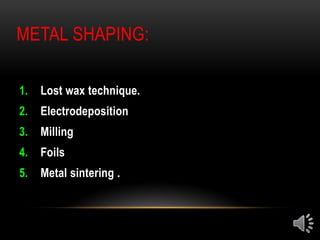
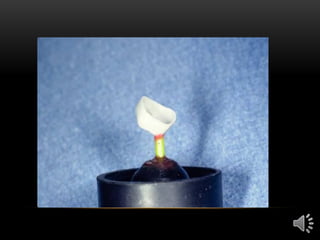
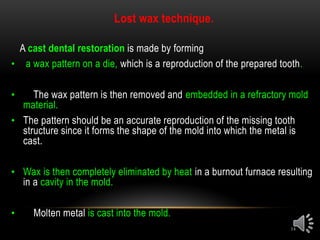
Lost wax technique.
Acast dental restoration is made by forming
• a wax pattern on a die, which is a reproduction of the prepared tooth.
• The wax pattern is then removed and embedded in a refractory mold
material.
• The pattern should be an accurate reproduction of the missing tooth
structure since it forms the shape of the mold into which the metal is
cast.
• Wax is then completely eliminated by heat in a burnout furnace resulting
in a cavity in the mold.
• Molten metal is cast into the mold.
15.
15
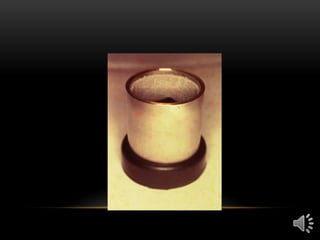
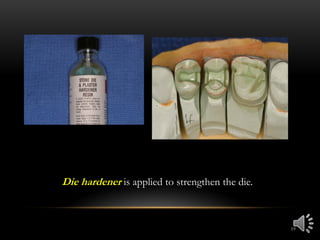
Die preparation forwax pattern construction:
Most common type of die material used is Type IV
stone.
Block out any undercuts on the die using cement or
resin as they may interfere with wax pattern removal
• Die Trimming:
• Using an acrylic bur the die is trimmed apical to the
F.L.
16.
16
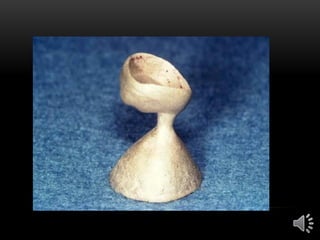
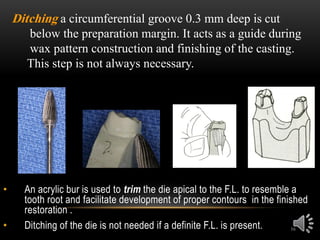
• An acrylicbur is used to trim the die apical to the F.L. to resemble a
tooth root and facilitate development of proper contours in the finished
restoration .
• Ditching of the die is not needed if a definite F.L. is present.
Ditching a circumferential groove 0.3 mm deep is cut
below the preparation margin. It acts as a guide during
wax pattern construction and finishing of the casting.
This step is not always necessary.
17.
17
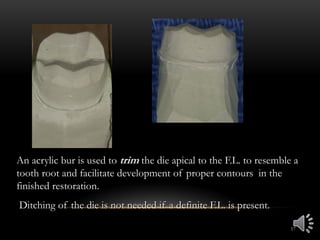
An acrylic buris used to trim the die apical to the F.L. to resemble a
tooth root and facilitate development of proper contours in the
finished restoration.
Ditching of the die is not needed if a definite F.L. is present.
18.
18
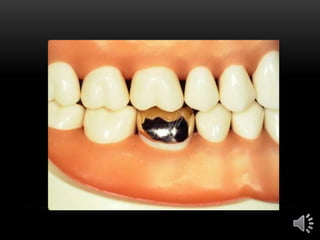
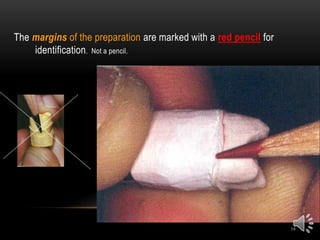
The margins ofthe preparation are marked with a red pencil for
identification. Not a pencil.
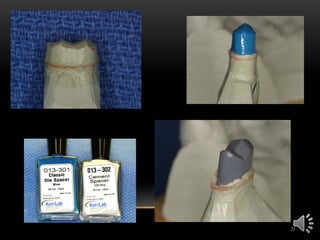
20
Die spacer isapplied( 20-40 µm) 1 mm short of the margin to provide an
even thickness of cement space and allow complete seating of the
restoration.
The free 1 mm cervical band on the die ensures intimate margin
adaptation and seating of the restoration.
Die lubricant is applied to prevent molton wax from sticking to the die.
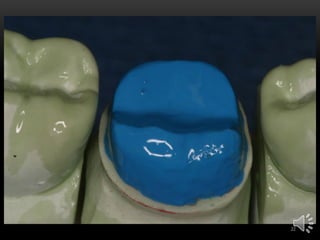
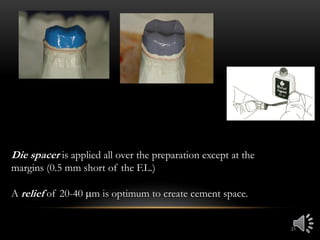
23
Die spacer isapplied all over the preparation except at the
margins (0.5 mm short of the F.L.)
A relief of 20-40 m is optimum to create cement space.
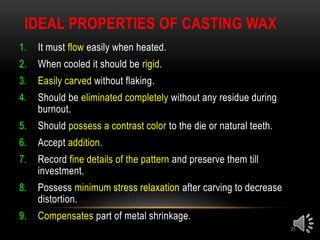
IDEAL PROPERTIES OFCASTING WAX
25
1. It must flow easily when heated.
2. When cooled it should be rigid.
3. Easily carved without flaking.
4. Should be eliminated completely without any residue during
burnout.
5. Should possess a contrast color to the die or natural teeth.
6. Accept addition.
7. Record fine details of the pattern and preserve them till
investment.
8. Possess minimum stress relaxation after carving to decrease
distortion.
9. Compensates part of metal shrinkage.
26.
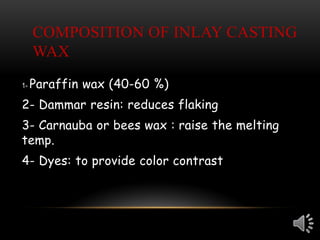
COMPOSITION OF INLAYCASTING
WAX
1- Paraffin wax (40-60 %)
2- Dammar resin: reduces flaking
3- Carnauba or bees wax : raise the melting
temp.
4- Dyes: to provide color contrast
27.
TYPES OF INLAYWAX:
(ACCORDING TO ADA)
• Type I: medium hardness wax
● Used with the direct technique for making
patterns in the oral cavity.
● must not flow appreciably at mouth
temperature
28.
• Type II:softer wax
● Used for the indirect fabrication of castings
● So, it must resist the flow at room temperature to
maintain their newly shaped forms.
29.
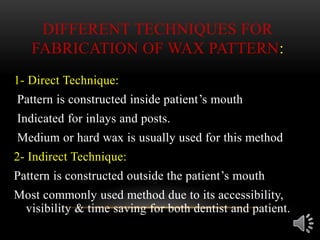
DIFFERENT TECHNIQUES FOR
FABRICATIONOF WAX PATTERN:
1- Direct Technique:
Pattern is constructed inside patient’s mouth
Indicated for inlays and posts.
Medium or hard wax is usually used for this method
2- Indirect Technique:
Pattern is constructed outside the patient’s mouth
Most commonly used method due to its accessibility,
visibility & time saving for both dentist and patient.
32
1. Dipping technique:
•The die is dipped into molten wax to produce a thin
uniform layer.
• This technique allows better adaptation to the die.
33.
33
2. Addition technique:
•Wax is added by heating the instrument in a Bunsen
flame, touching the wax then re-heating its shank in
the flame.
• Wax flows away from the hottest part of the
investment, so if the shank is heated a bead of wax
will flow off the tip.
• PKT No.1 → for large increments &
• PKT No.2 → for small additions.
Heat the shank only, wax
flows away from the
hottest area
34.
34
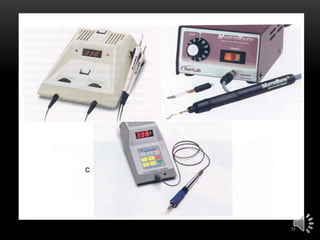
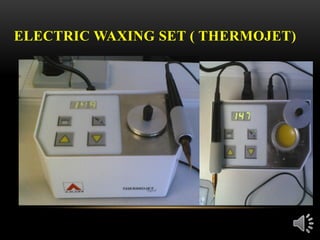
• Electric waxinginstruments are also used and have
proper temperature control.
Disadvantage:
• Stresses are induced due to multiple additions which
are released with time causing distortion and flaking of
the wax pattern.
36
3) Molten pressmethod:
Molten wax is added followed by pressure application
with fingers after each addition.
Advantage:
Wax is closely adapted and free of irregularities .i.e.
better than addition technique.
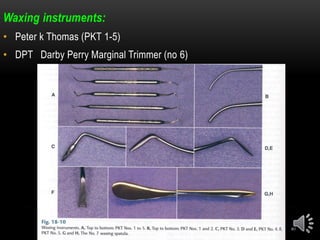
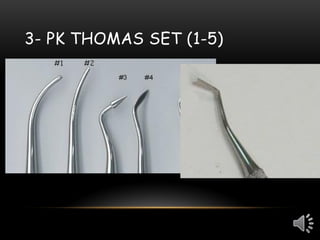
42
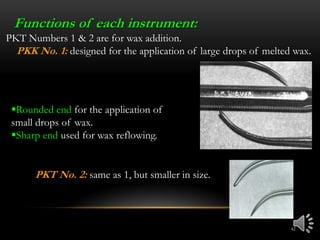
PKT No. 2:same as 1, but smaller in size.
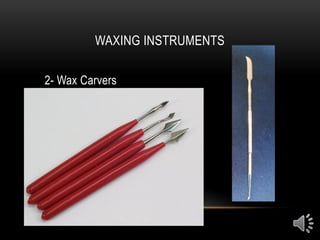
Functions of each instrument:
PKT Numbers 1 & 2 are for wax addition.
PKK No. 1: designed for the application of large drops of melted wax.
▪Rounded end for the application of
small drops of wax.
▪Sharp end used for wax reflowing.
43.
43
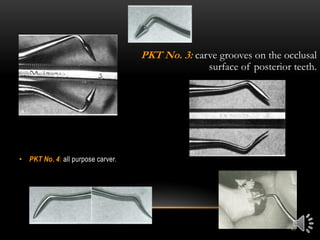
• PKT No.4: all purpose carver.
PKT No. 3: carve grooves on the occlusal
surface of posterior teeth.
44.
44
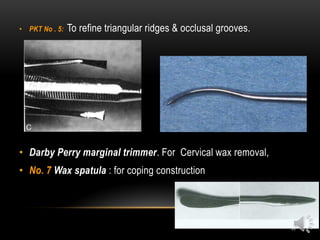
• PKT No. 5: To refine triangular ridges & occlusal grooves.
• Darby Perry marginal trimmer. For Cervical wax removal,
• No. 7 Wax spatula : for coping construction
FULL CONTOUR WAX-UP
•Lubricate die, adjacent teeth and opposing teeth
• Thoroughly remove excess with blast of air
• Fabricate coping
• Wax beyond finish line-allow wax to cool
• Remove excess beyond finish line
• Remove coping from die
• Examine coping with stereomicroscope
• Form proximal contacts & contours
• Develop occlusion
48.
COPING FORMATION
• Applydie lubricant
• Die
• Adjacent teeth
• Opposing teeth
• Apply wax to form coping
• Remove coping from die and inspect
internal of pattern for completeness


![Comparative Evaluation of Distortion in Wax Patterns Fabricated [Autosaved].pptx](https://cdn.slidesharecdn.com/ss_thumbnails/comparativeevaluationofdistortioninwaxpatternsfabricatedautosaved-251120030257-d5823d4f-thumbnail.jpg?width=640&height=640&fit=bounds)


