
Recommended
More Related Content
Viewers also liked
Recently uploaded
Recently uploaded (20)
User guide getting started - Select Your Meeting
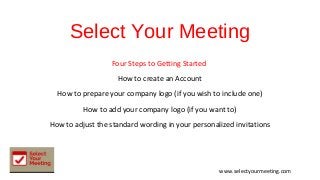
- 1. Select Your Meeting Four Steps to Getting Started How to create an Account How to prepare your company logo (if you wish to include one) How to add your company logo (if you want to) How to adjust the standard wording in your personalized invitations www.selectyourmeeting.com
- 2. Step 1 - Open and Create your account • Open Select Your Meeting • Open your internet browser and go to selectyourmeeting.com • If it’s your first time to use Select Your Meeting – click or select Try Free for 30 Days Tip: When creating your password it must have at least 8 characters • If you have already created an account - click
- 3. • When your SYM account opens – Your name will be displayed on the top right corner
- 4. Step 2 – Prepare your company logo If you don’t wish to add your company logo and use the default logo, you can skip steps 2 & 3 First prepare your company logo / banner (which will be included in your email invitations) – use a graphics program such as Photoshop or Illustrator to do this. The width for the banner has to be 566 Pixels and height you can vary (but a height of 100 Pixels works well) – save the image as a .png or jpeg file Please note: If you have any problems doing this – email gbrandon@encrosoft.com and Encrosoft will create one from a logo you provide and email it to you at no charge
- 5. Step 3 – Add your company logo • Select Your Name and then Settings – in the top right of the home page:
- 6. • Select towards the bottom of the Settings screen – ‘Edit Invite Email Design’: • Select Choose file and add the file for your logo / banner: • Then select: and you will have added your logo.
- 7. Step 4 – Add your personal invitation text • Open the section to view and edit your standard text that will appear in every invitation:
- 8. • This template contains the merge fields {{in brackets}} and the standard wording that appears in every email invitation:
- 9. • Here is an example of how I have changed my template and included my signature block (you can do something similar):
- 10. You Are All Set • Congratulations – your system is now ready for you to start using! There is a full User Guide with lots more information available in the top right menu of Select Your Meeting.