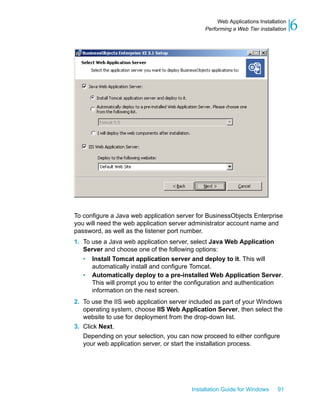
This document provides instructions for installing SAP BusinessObjects Enterprise XI 3.1 on Windows systems. It describes the system requirements, preparation steps, different installation types including new installations, custom/expand installations, and web tier installations. The document also covers silent installations, installing language packs, client tools, and maintenance/upgrades.
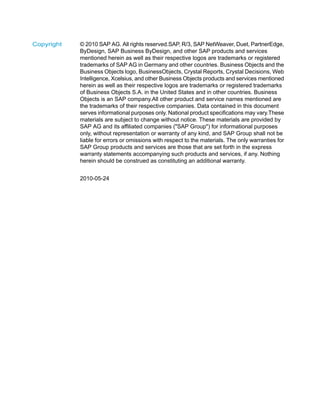


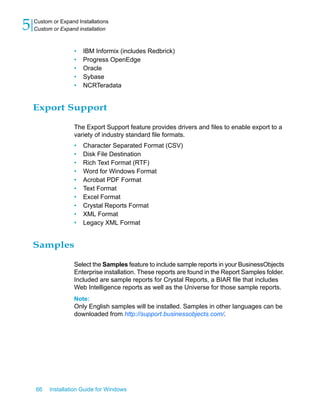
![To enter a Web Application Container Server (WACS) HTTP port
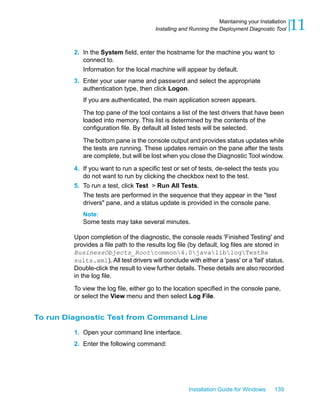
number
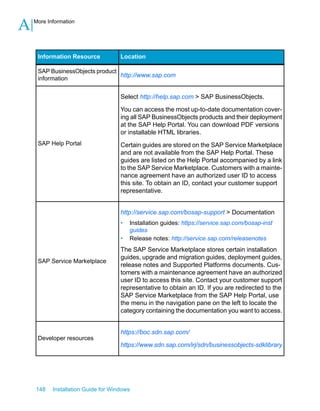
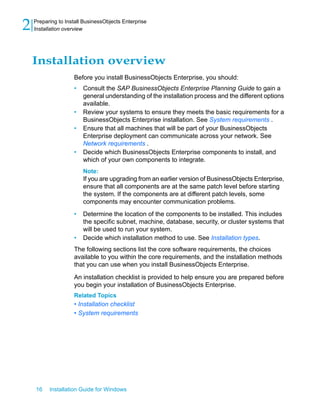
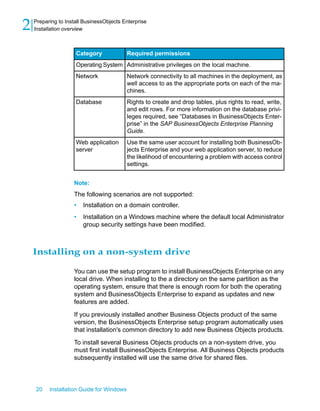
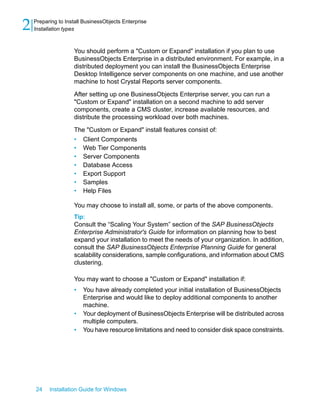
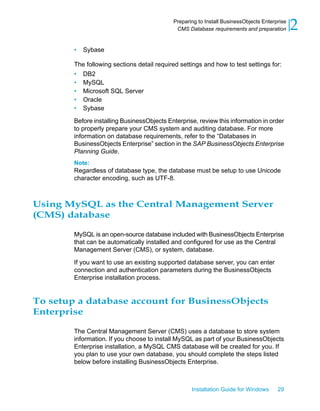
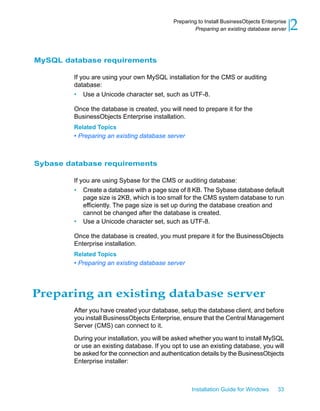
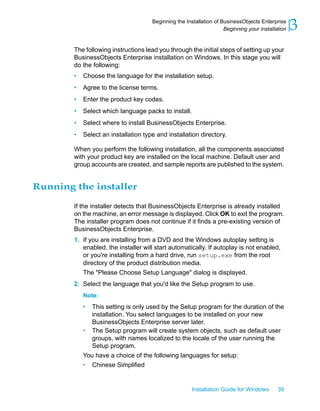
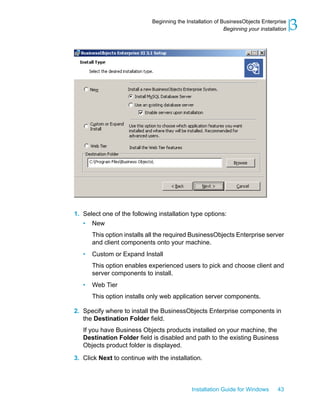
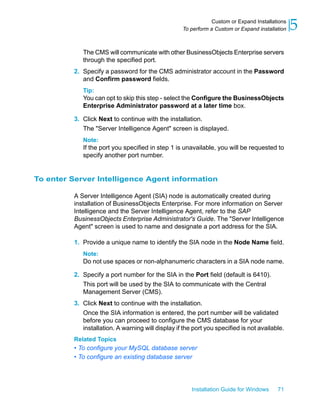
The Web Application Container Server (WACS) is a container that provides
Central Management Console (CMC) services for .NET installations. If you
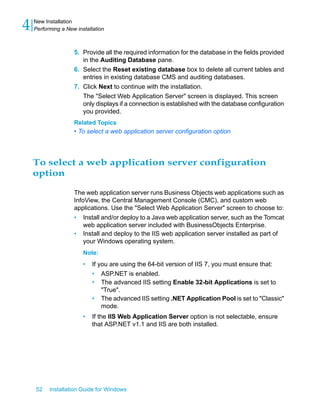
are not using a Java web application server in your deployment, the "Web
Application Container Server Configuration" screen appears.
This screen allows you to either accept the default HTTP port number, 6405,
or to specify a different port. This is the HTTP port number on which you will
access the CMC through WACS.
1. If you want to change the HTTP port number for the WACS server, enter
a new value in the HTTP Port field.
2. Click Next to continue.
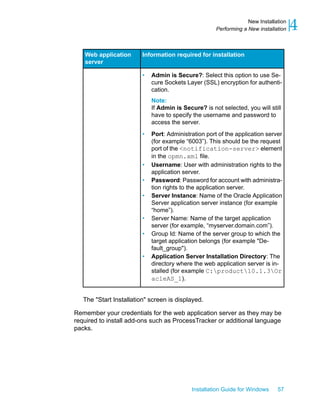
To start the installation
The "Start Installation" screen is the final screen in the installation.
• Click the Next button to start the installation process.
Note:
If you ran setup.exe from the command line with the -w [filename]
parameter, this is the point at which you can Cancel the installation
process, as the .ini configuration file has been written.
58 Installation Guide for Windows
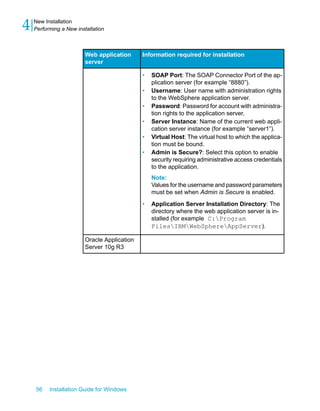
New Installation
4 Performing a New installation](https://image.slidesharecdn.com/sapbusinessobjectsinstallation-170531055153/85/SAP-BusinessObjects-Installation-Guide-58-320.jpg)

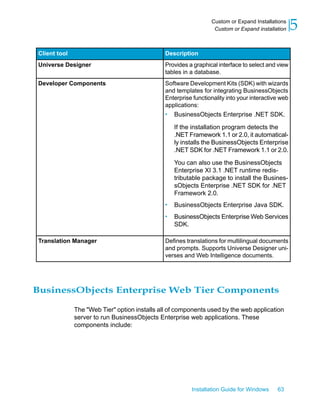
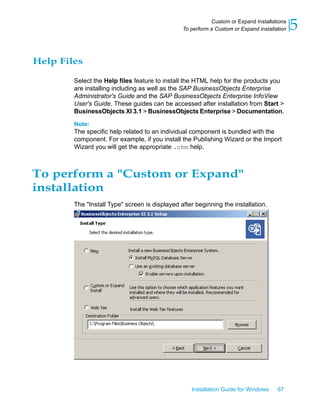

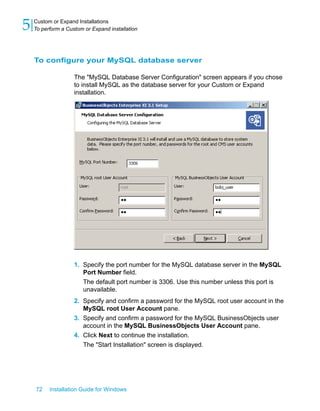
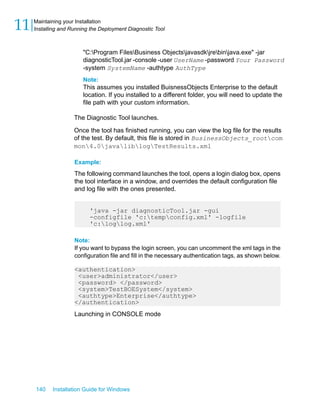
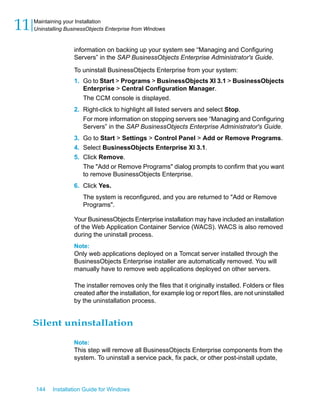
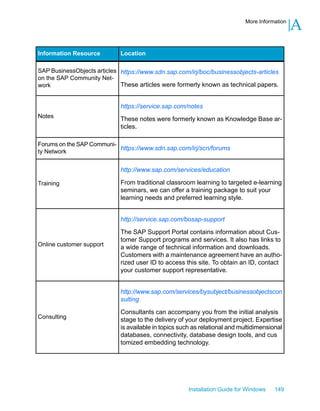
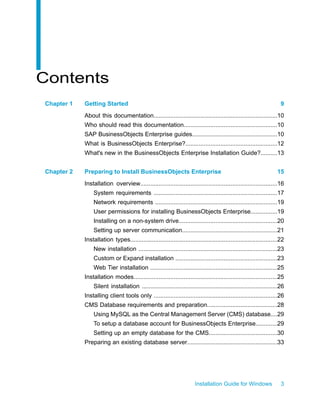
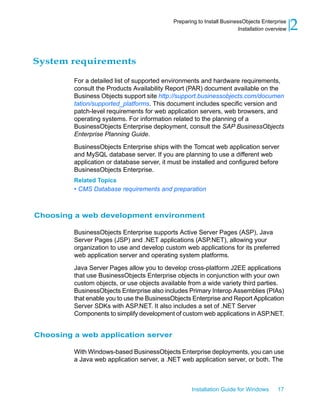
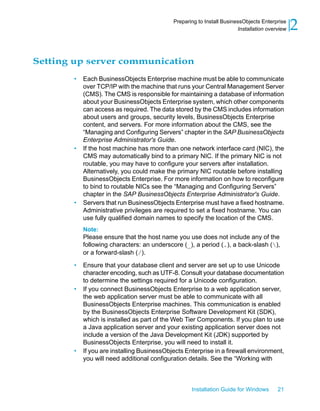
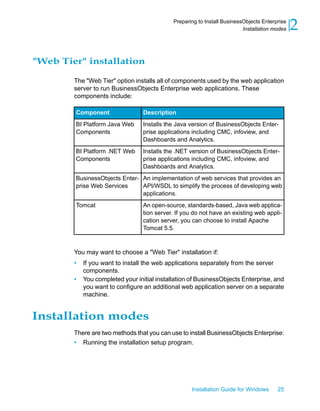
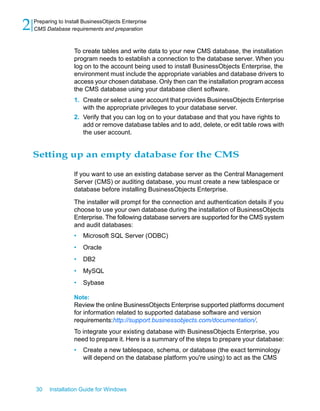
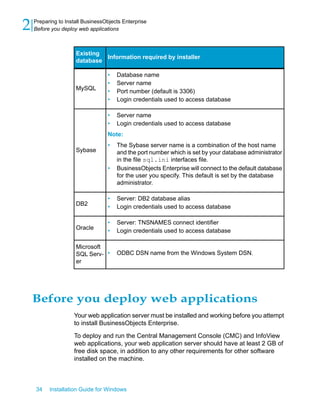
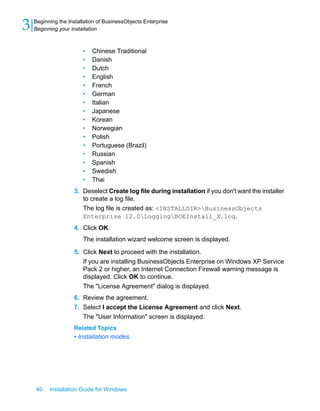
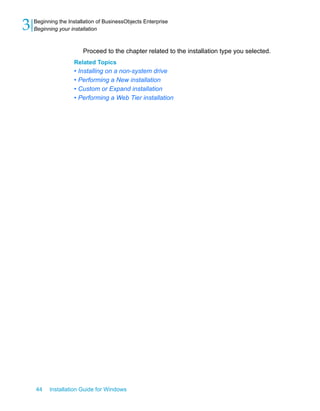
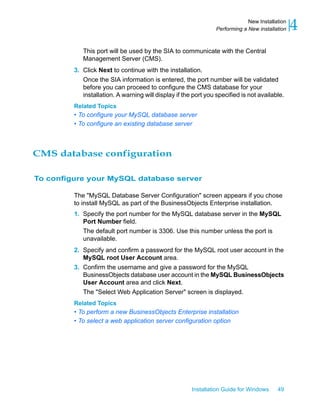
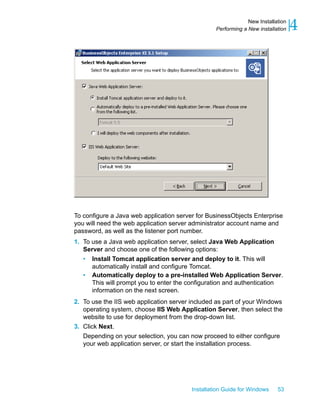
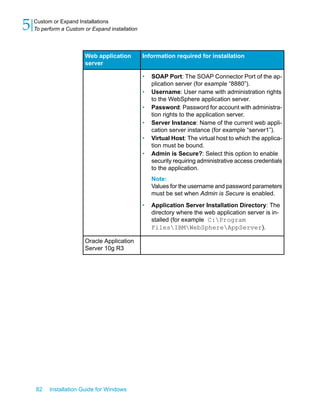
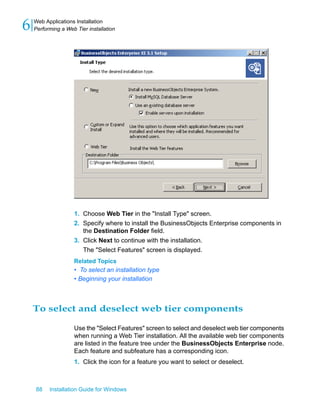
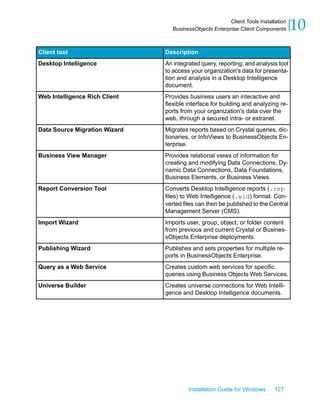
![5. Provide all the required information for the database in the fields provided
in "Auditing Database".
The table below summarizes all the information required for each database
type.
Information required for installa-
tion
Database type
Data Source NameMySQL
Sybase Server NameSybase
DB2 database aliasDB2
tnsnames connect identifierOracle
ODBC DSNMicrosoft SQL Server
6. Select the Reset existing database box to delete all current tables and
entries in the existing database.
7. Click Next to continue with the installation.
The "Start Installation" screen is displayed. This screen only displays if
a connection is established with the database configuration you provided.
To start the installation
The "Start Installation" screen is the final screen in the installation.
• Click the Next button to start the installation process.
Note:
If you ran setup.exe from the command line with the -w [filename]
parameter, this is the point at which you can Cancel the installation
process, as the .ini configuration file has been written.
Installation Guide for Windows 75
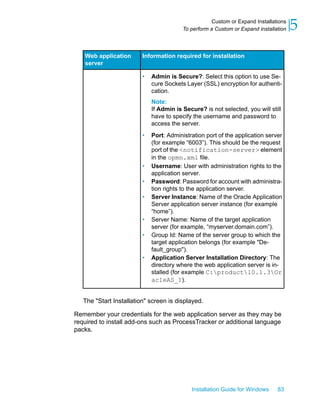
5Custom or Expand Installations
To perform a Custom or Expand installation](https://image.slidesharecdn.com/sapbusinessobjectsinstallation-170531055153/85/SAP-BusinessObjects-Installation-Guide-75-320.jpg)


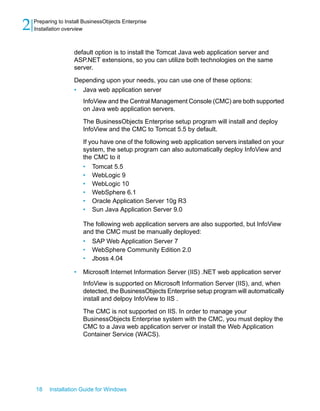
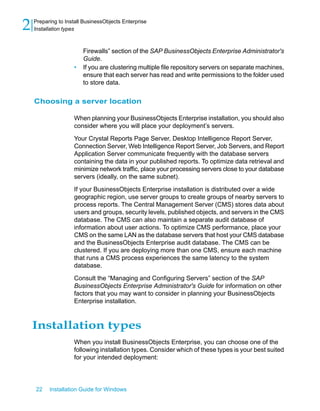
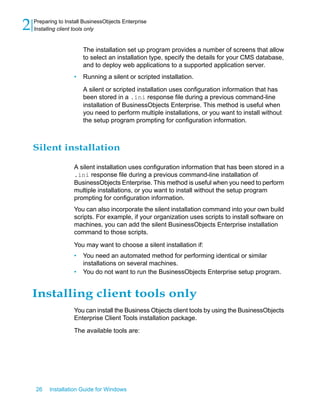
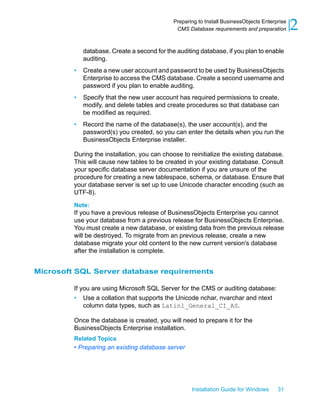
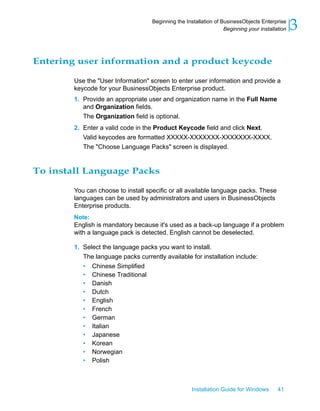
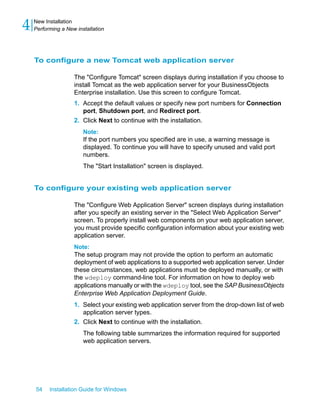
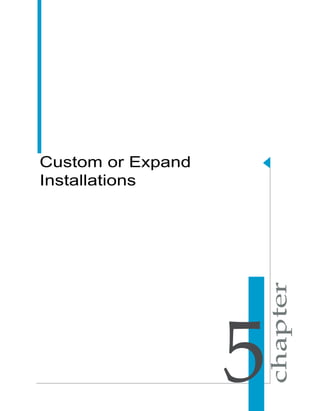
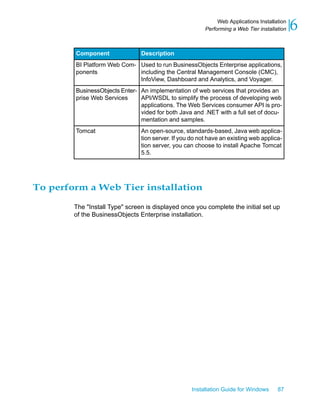
![To start the installation
The "Start Installation" screen is the final screen in the installation.
• Click the Next button to start the installation process.
Note:
If you ran setup.exe from the command line with the -w [filename]
parameter, this is the point at which you can Cancel the installation
process, as the .ini configuration file has been written.
84 Installation Guide for Windows
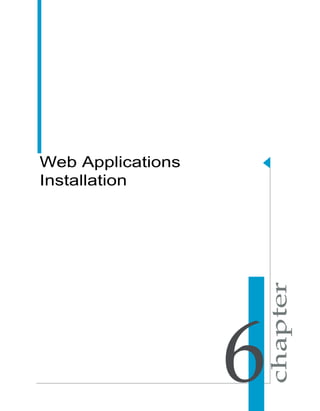
Custom or Expand Installations
5 To perform a Custom or Expand installation](https://image.slidesharecdn.com/sapbusinessobjectsinstallation-170531055153/85/SAP-BusinessObjects-Installation-Guide-84-320.jpg)
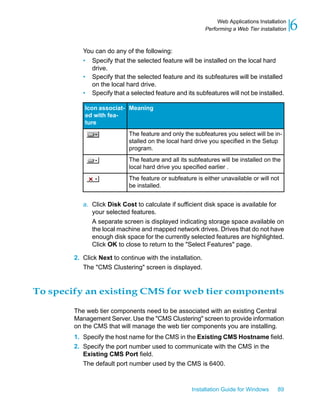


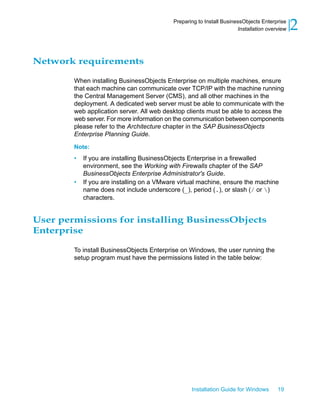
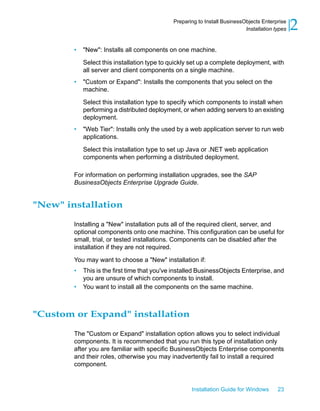
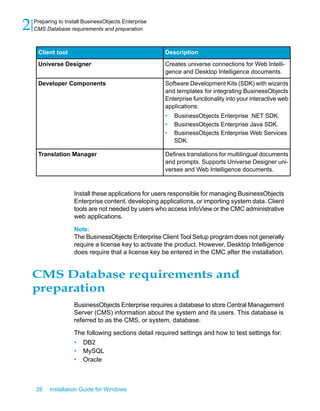
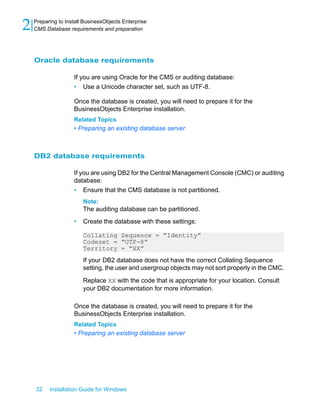
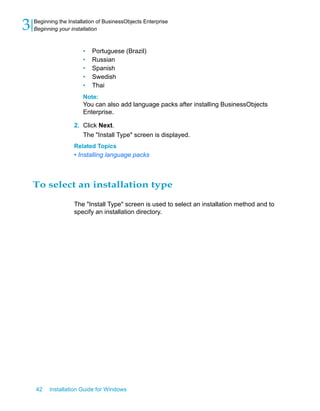
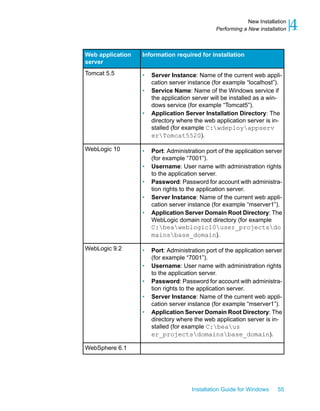
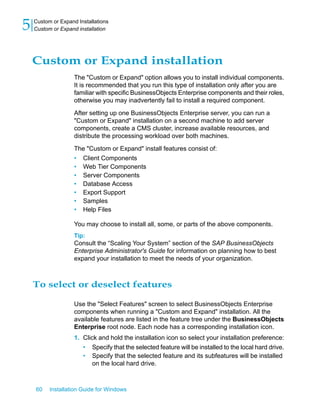
![To start the installation
The "Start Installation" screen is the final screen in the installation.
• Click the Next button to start the installation process.
Note:
If you ran setup.exe from the command line with the -w [filename]
parameter, this is the point at which you can Cancel the installation
process, as the .ini configuration file has been written.
96 Installation Guide for Windows
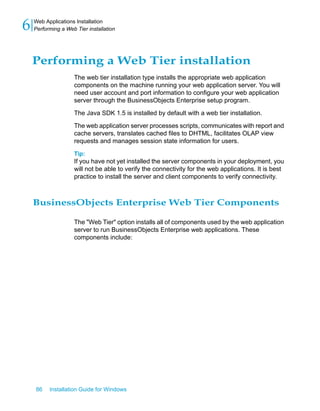
Web Applications Installation
6 Performing a Web Tier installation](https://image.slidesharecdn.com/sapbusinessobjectsinstallation-170531055153/85/SAP-BusinessObjects-Installation-Guide-96-320.jpg)
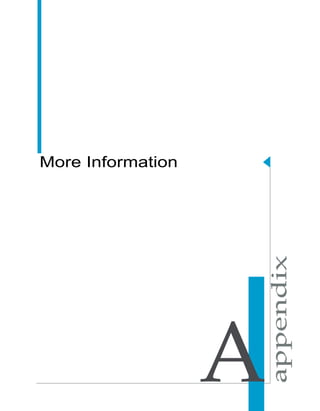
![4. Press Enter to launch the installation program.
5. Follow the on-screen instructions to enter your preferred installation
settings until you reach the final screen of the setup program.
These settings are recorded in the response file.
6. Click Cancel to abort the installation.
User-defined and default parameters from installation setup are written to
the .ini file , which is stored in the directory specified in step 3.
Note:
If a path is not specified, the file is stored in the current working directory.
Related Topics
• To create an installation .ini file
• Silent installation parameters
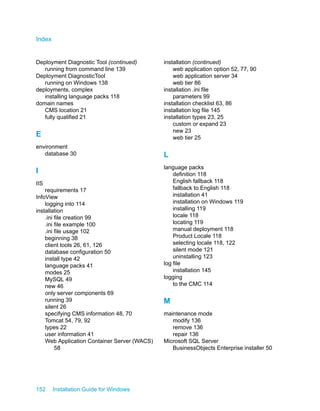
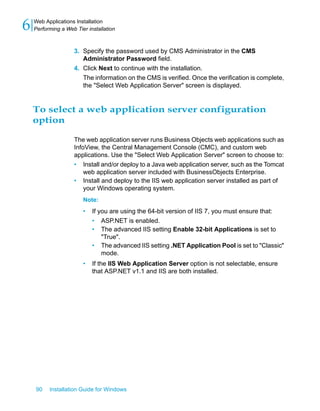
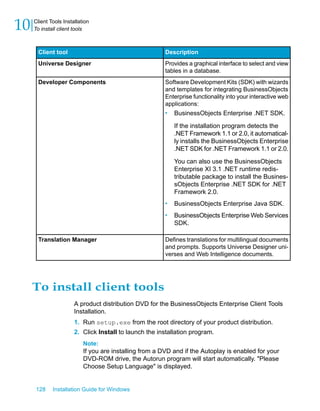
Sample .ini file
The following example installation .ini file was generated for a new
BusinessObjects Enterprise installation in which MySQL and Tomcat were
selected. The French language pack was added to the English default.
[OTHER]
[OTHER]
QUIET=/qa
[INSTALL]
ALLUSERS="1"
AS_ADMIN_IS_SECURE=""
AS_ADMIN_PASSWORD=""
AS_ADMIN_PORT="8080"
AS_ADMIN_USERNAME="admin"
AS_DIR="C:Program FilesBusiness ObjectsTomcat55"
AS_INSTANCE="localhost"
AS_SERVER="tomcat55"
AS_SERVICE_NAME="BOE120Tomcat"
AS_VIRTUAL_HOST=""
ApplicationUsers="AllUsers"
CADNODE="BUSINESSABCDEF"
CADPORT="6410"
CLIENTAUDITINGPORT="6420"
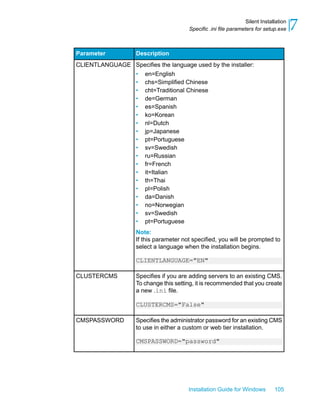
CLIENTLANGUAGE="EN"
CLUSTERCMS="False"
100 Installation Guide for Windows
Silent Installation
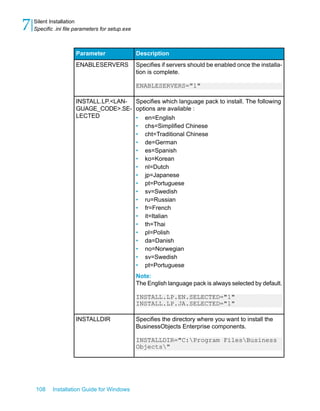
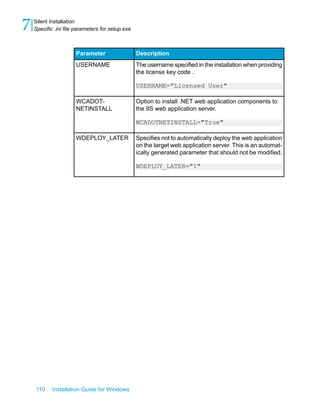
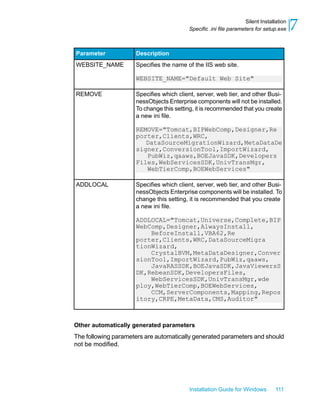
7 Specific .ini file parameters for setup.exe](https://image.slidesharecdn.com/sapbusinessobjectsinstallation-170531055153/85/SAP-BusinessObjects-Installation-Guide-100-320.jpg)

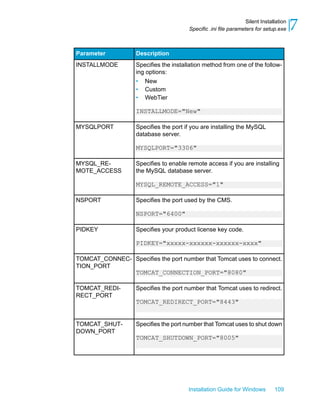
![WEBSITE_NAME=""
WEBSITE_PORT="80"
[FEATURES]
REMOVE="WCADotNet,WebApplicationContainer"
ADDLOCAL="Tomcat,Universe,qaaws,Complete,DotNETSDK,Dot
NET2SDK,ImportWizard,VSDesigner,AlwaysInstall,BeforeIn
stall,VBA62,Reporter,Clients,WRC,DataSourceMigrationWiz
ard,CrystalBVM,MetaDataDesigner,ConversionTool,PubWiz,De
signer,DotNetRASSDK,DotNetViewersSDK,VSHELP,RenetSDK,De
velopersFiles,JavaRASSDK,BOEJavaSDK,JavaViewersSDK,Re
beanSDK,WebServicesSDK,UnivTransMgr,wdeploy,BIPWeb
Comp,WebTierComp,BOEWebServices,CCM,ServerComponents,Map
ping,Repository,CRPE,MetaData,CMS,Auditor,MySQL,EventServ
er,InputFRS,OutputFRS,CacheServer,PageServer,Publication
Server,DotNETOnly,ReportAppServer,MDASS,CRJobServ
er,DestJobServer,LOVJobServer,DeskIJobServer,ProgramJob
Server,WebIJobServer,AdaptiveJobServer,PublishingSer
vice,AdaptiveProcessingServer,SearchingService,CrystalRe
portDataProvider,AuditProxyService,Webi,RAS21,DAS,AuditRp
tUnvEN,DADataFederator,DataAccess,HPNeoview,OLAP,My
Cube,SOFA,DAMySQL,DAGenericOD
BC,SFORCE,XML,BDE,dBase,FileSystem,DANETEZZA,DAMi
crosoft,DAIBMDB2,IBM,Redbrick,DAIBMInformix,OLE_DB_Da
ta,DAProgressOpenEdge,DAOracle,SybaseAnywhere,DASy
base,SybaseASE,SybaseIQ,SymantecACT,DANCRTeradata,Text
DA,Btrieve,CharacterSeparated,ExportSupport,ExpDisk
File,ExpRichTextFormat,ExpWordforWindows,PDF,ExpText,Ex
pExcel,ExpCrystalReports,XMLExport,LegacyXMLExport,Sam
plesEN,UserHelp,LanguagePackCostingFeatureen,LanguagePack
CostingFeature"
ADDSOURCE=""
ADVERTISE=""
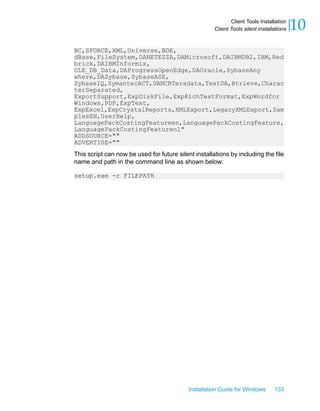
This script can now be used for future silent installations by including the file
name and path in the command line as shown below:
setup.exe -r FILEPATH
Silent installation parameters
The following table lists common parameters that are used for both silent
and scripted installations of BusinessObjects Enterprise on Windows.
102 Installation Guide for Windows
Silent Installation
7 Specific .ini file parameters for setup.exe](https://image.slidesharecdn.com/sapbusinessobjectsinstallation-170531055153/85/SAP-BusinessObjects-Installation-Guide-102-320.jpg)
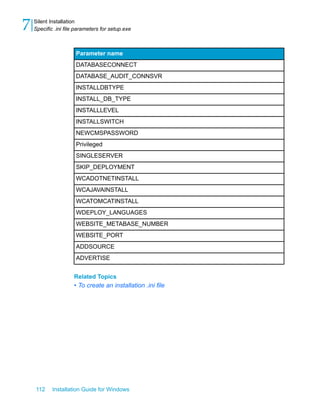


![installations, so that you avoid having to pass a large number of parameter
settings directly through the command line. These installation methods are
particularly useful when you need to quickly perform multiple installations.
You can also integrate the scripts and commands into your own installation
scripts.
Note:
If you pass a parameter directly in the command line, the setting will override
any setting specified in the .ini file.
Related Topics
• Specific .ini file parameters for setup.exe
• To create an installation .ini file
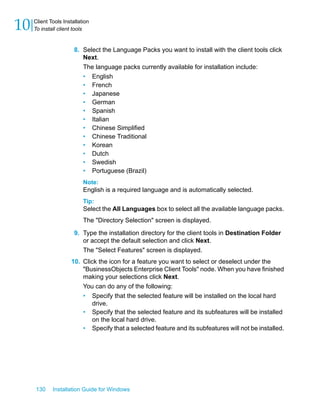
Sample client tools .ini file
The following installation script was generated for a BusinessObjects
Enterprise Client Tools installation. The Dutch language pack was added to
the default English language pack.
[OTHER]
QUIET=/qa
[INSTALL]
CLIENTLANGUAGE="EN"
DATABASEAUDITDRIVER="MySQLDatabaseSubSystem"
DATABASEDRIVER="MySQLDatabaseSubSystem"
ENABLELOGFILE="1"
INSTALL.LP.EN.SELECTED="1"
INSTALL.LP.NL.SELECTED="1"
INSTALLDIR="C:Program FilesBusiness Objects"
INSTALLLEVEL="4"
WDEPLOY_LANGUAGES="en,nl"
[FEATURES]
REMOVE="UnivTransMgr"
ADDLOCAL="Complete,AlwaysInstall,BeforeInstall,VBA62,Re
porter,Clients,WRC,
DataSourceMigrationWizard,CrystalBVM,MetaDataDesigner,Con
versionTool,
ImportWizard,PubWiz,qaaws,Designer,JavaRASSDK,BOEJavaS
DK,JavaViewersSDK,
RebeanSDK,DevelopersFiles,WebServicesSDK,DADataFedera
tor,DataAccess,HPNeoview,
WebActivityLog,OLAP,MyCube,SOFA,DAMySQL,DAGenericOD
132 Installation Guide for Windows
Client Tools Installation
10 Client Tools silent installations](https://image.slidesharecdn.com/sapbusinessobjectsinstallation-170531055153/85/SAP-BusinessObjects-Installation-Guide-132-320.jpg)