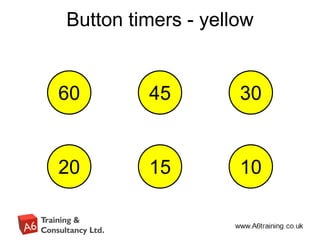
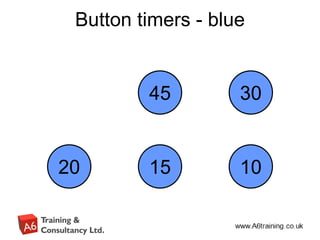
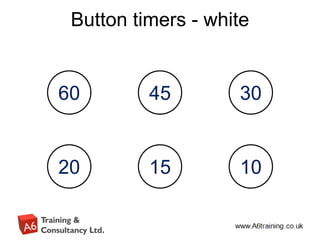
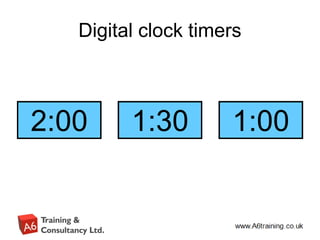
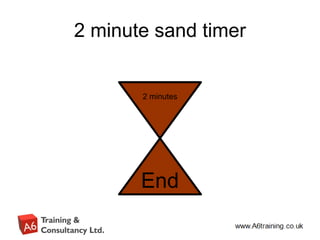
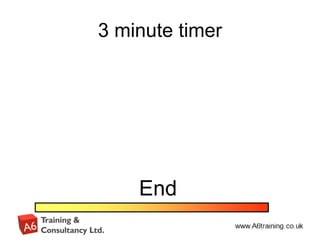
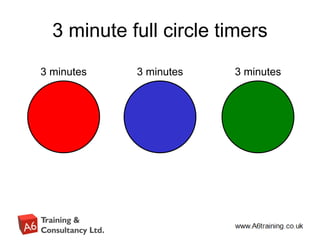
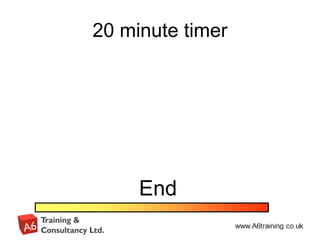
The document describes countdown timers that can be used in PowerPoint presentations. It provides instructions for copying and pasting the timers into slides. The timers include buttons counting down from 60 seconds to 10 seconds, bar timers for 1-2 minutes, sand timers, and digital clocks for 1-2 minutes. The timers are free to use for educational and non-profit purposes but cannot be modified without permission.
Synthetic Fiber Construction in lab .pptxPavel ( NSTU)
Synthetic fiber production is a fascinating and complex field that blends chemistry, engineering, and environmental science. By understanding these aspects, students can gain a comprehensive view of synthetic fiber production, its impact on society and the environment, and the potential for future innovations. Synthetic fibers play a crucial role in modern society, impacting various aspects of daily life, industry, and the environment. ynthetic fibers are integral to modern life, offering a range of benefits from cost-effectiveness and versatility to innovative applications and performance characteristics. While they pose environmental challenges, ongoing research and development aim to create more sustainable and eco-friendly alternatives. Understanding the importance of synthetic fibers helps in appreciating their role in the economy, industry, and daily life, while also emphasizing the need for sustainable practices and innovation.
Read| The latest issue of The Challenger is here! We are thrilled to announce that our school paper has qualified for the NATIONAL SCHOOLS PRESS CONFERENCE (NSPC) 2024. Thank you for your unwavering support and trust. Dive into the stories that made us stand out!
Welcome to TechSoup New Member Orientation and Q&A (May 2024).pdfTechSoup
In this webinar you will learn how your organization can access TechSoup's wide variety of product discount and donation programs. From hardware to software, we'll give you a tour of the tools available to help your nonprofit with productivity, collaboration, financial management, donor tracking, security, and more.
Francesca Gottschalk - How can education support child empowerment.pptxEduSkills OECD
Francesca Gottschalk from the OECD’s Centre for Educational Research and Innovation presents at the Ask an Expert Webinar: How can education support child empowerment?
The Roman Empire A Historical Colossus.pdfkaushalkr1407
The Roman Empire, a vast and enduring power, stands as one of history's most remarkable civilizations, leaving an indelible imprint on the world. It emerged from the Roman Republic, transitioning into an imperial powerhouse under the leadership of Augustus Caesar in 27 BCE. This transformation marked the beginning of an era defined by unprecedented territorial expansion, architectural marvels, and profound cultural influence.
The empire's roots lie in the city of Rome, founded, according to legend, by Romulus in 753 BCE. Over centuries, Rome evolved from a small settlement to a formidable republic, characterized by a complex political system with elected officials and checks on power. However, internal strife, class conflicts, and military ambitions paved the way for the end of the Republic. Julius Caesar’s dictatorship and subsequent assassination in 44 BCE created a power vacuum, leading to a civil war. Octavian, later Augustus, emerged victorious, heralding the Roman Empire’s birth.
Under Augustus, the empire experienced the Pax Romana, a 200-year period of relative peace and stability. Augustus reformed the military, established efficient administrative systems, and initiated grand construction projects. The empire's borders expanded, encompassing territories from Britain to Egypt and from Spain to the Euphrates. Roman legions, renowned for their discipline and engineering prowess, secured and maintained these vast territories, building roads, fortifications, and cities that facilitated control and integration.
The Roman Empire’s society was hierarchical, with a rigid class system. At the top were the patricians, wealthy elites who held significant political power. Below them were the plebeians, free citizens with limited political influence, and the vast numbers of slaves who formed the backbone of the economy. The family unit was central, governed by the paterfamilias, the male head who held absolute authority.
Culturally, the Romans were eclectic, absorbing and adapting elements from the civilizations they encountered, particularly the Greeks. Roman art, literature, and philosophy reflected this synthesis, creating a rich cultural tapestry. Latin, the Roman language, became the lingua franca of the Western world, influencing numerous modern languages.
Roman architecture and engineering achievements were monumental. They perfected the arch, vault, and dome, constructing enduring structures like the Colosseum, Pantheon, and aqueducts. These engineering marvels not only showcased Roman ingenuity but also served practical purposes, from public entertainment to water supply.
Biological screening of herbal drugs: Introduction and Need for
Phyto-Pharmacological Screening, New Strategies for evaluating
Natural Products, In vitro evaluation techniques for Antioxidants, Antimicrobial and Anticancer drugs. In vivo evaluation techniques
for Anti-inflammatory, Antiulcer, Anticancer, Wound healing, Antidiabetic, Hepatoprotective, Cardio protective, Diuretics and
Antifertility, Toxicity studies as per OECD guidelines
Honest Reviews of Tim Han LMA Course Program.pptxtimhan337
Personal development courses are widely available today, with each one promising life-changing outcomes. Tim Han’s Life Mastery Achievers (LMA) Course has drawn a lot of interest. In addition to offering my frank assessment of Success Insider’s LMA Course, this piece examines the course’s effects via a variety of Tim Han LMA course reviews and Success Insider comments.
Operation “Blue Star” is the only event in the history of Independent India where the state went into war with its own people. Even after about 40 years it is not clear if it was culmination of states anger over people of the region, a political game of power or start of dictatorial chapter in the democratic setup.
The people of Punjab felt alienated from main stream due to denial of their just demands during a long democratic struggle since independence. As it happen all over the word, it led to militant struggle with great loss of lives of military, police and civilian personnel. Killing of Indira Gandhi and massacre of innocent Sikhs in Delhi and other India cities was also associated with this movement.
Instructions for Submissions thorugh G- Classroom.pptxJheel Barad
This presentation provides a briefing on how to upload submissions and documents in Google Classroom. It was prepared as part of an orientation for new Sainik School in-service teacher trainees. As a training officer, my goal is to ensure that you are comfortable and proficient with this essential tool for managing assignments and fostering student engagement.
2. Terms of use
• These timers are free for anyone to use within education
or not for profit organisations.
• You are entitled to download this presentation and add
to your own internal system (e.g. VLE) to distribute to
others.
• You do not need to attribute the source, within the
presentations where these timers are used.
• You are not allowed to re-package this presentation (e.g.
Remove the A6 Training and Consultancy Ltd logo, or
ownership information, without permission from the
owner.
3. Countdown Timers
• The following slides contain a series of ‘timers’ that can be used in PowerPoint
• The idea behind this, is one way to make a PowerPoint presentation to a large audience, slightly
more interactive, is to set the students a question, activity, calculation etc. If appropriate a timer
can be introduced, to ‘time’ how long is available for them to complete the activity.
• There are timers for various different time increments between 10 seconds and 20 minutes.
• To use a timer, all you need to do is enter the editing mode of PowerPoint - copy desired timer
into your presentation, each timer is made up of many components, so when copying – you need
to use the mouse to select all the components to do this – click and hold the mouse, top left of the
timer, then whilst holding mouse button down, drag the mouse to bottom right of timer and release
– everything within the region should be selected. You can now ‘copy’ – then go into your
presentation and paste.
• Timers can be resized, or formatted – just make sure you highlight all of the items at the same
time (by using same method as above).
• Most timers are set to start when they are clicked – the exception being the bar timers which start
when you click anywhere on the slide. If you want timers to start automatically when the slide is
viewed then this can be achieved by changing the animation settings to start automatically.
• Some timers have a sound effect - this could easily be removed or replaced with your own sound
effect.
• Some timers can be altered to different time increments – see the how to videos (link below) for
information.
• Look at the notes area on each slide for information on the timers.
• For how to guides on using the Countdown timers, visit
http://www.a6training.co.uk/resources_powerpoint.php
34. 20 minute full circle timers
20 minutes 20 minutes 20 minutes
Editor's Notes
Button timers countdown in 1 second increments – above are 6 different timers for 60secs, 45secs, 30secs, 20secs, 15secs, 10 secs. Each timer is constructed from a series of shapes piled on top of each other, and animated to disappear at 1 seconds intervals.
To copy a timer, select the entire pile of shapes by clicking and holding the left mouse button whilst drawing a rectangle that completely encapsulates the timer.
Note – it is possible to have multiple timers (possibly of different colours) on the same slide as each works independently of others.
This bar timer, will start when anywhere on the slide is clicked. The bar will move from left to right and the word ‘End’ will appear at the end, accompanied by a ‘Deep Gong’ sound. It is possible to change the duration of this timer to any time, by entering the animation settings, and changing the timing for ‘rectangle 3’. Note the time has to be entered as a number of seconds – so if you want 2mins & 30secs – this is entered as 150 (60X2 + 30 = 150).
This ‘sand timer’ will start on a mouse click anywhere on the slide. The ‘sand’ will drain from the top section to the lower section and when completed will show the word ‘End’.
To change the timings of this timer, you need to enter the animation settings, and change the timings for the Isosceles Triangles. There will be 2 that need changing (to the same amount) – one animates the top triangle emptying, whilst the other animates the bottom triangle filling.
When you change the timings these have to entered as a number of seconds.
These timers appear initially as a cream, coloured circle. The timer is initiated by clicking on, at which point the circle will fill up in a clockwise direction with the colour you see above.
At the end of the time, a bell will sound.
It is possible to change the timings of the timers by entering the animation settings and changing the timings of the relevant ‘Oval’. Note the timings have to be entered in seconds.
It is possible to have multiple timers on the same slide as these work independently of each other.
These digital clock timers countdown from either 2 minutes, 1 min 30secs or 1 minute. The timings of these cannot be easily changed, although the colour can be by simply selecting the entire ‘pile’ of shapes that makes them up, and then formatting the colours.
There is a bell timer at the end of the countdown, if this is not desired then enter the animation settings, and delete the animation that ends .wav from the animation listing.
This bar timer, will start when anywhere on the slide is clicked. The bar will move from left to right and the word ‘End’ will appear at the end, accompanied by a ‘Deep Gong’ sound. It is possible to change the duration of this timer to any time, by entering the animation settings, and changing the timing for ‘rectangle 3’. Note the time has to be entered as a number of seconds – so if you want 2mins & 30secs – this is entered as 150 (60X2 + 30 = 150).
This ‘sand timer’ will start on a mouse click anywhere on the slide. The ‘sand’ will drain from the top section to the lower section and when completed will show the word ‘End’.
To change the timings of this timer, you need to enter the animation settings, and change the timings for the Isosceles Triangles. There will be 2 that need changing (to the same amount) – one animates the top triangle emptying, whilst the other animates the bottom triangle filling.
When you change the timings these have to entered as a number of seconds.
These timers appear initially as a cream, coloured circle. The timer is initiated by clicking on, at which point the circle will fill up in a clockwise direction with the colour you see above.
At the end of the time, a bell will sound.
It is possible to change the timings of the timers by entering the animation settings and changing the timings of the relevant ‘Oval’. Note the timings have to be entered in seconds.
It is possible to have multiple timers on the same slide as these work independently of each other.