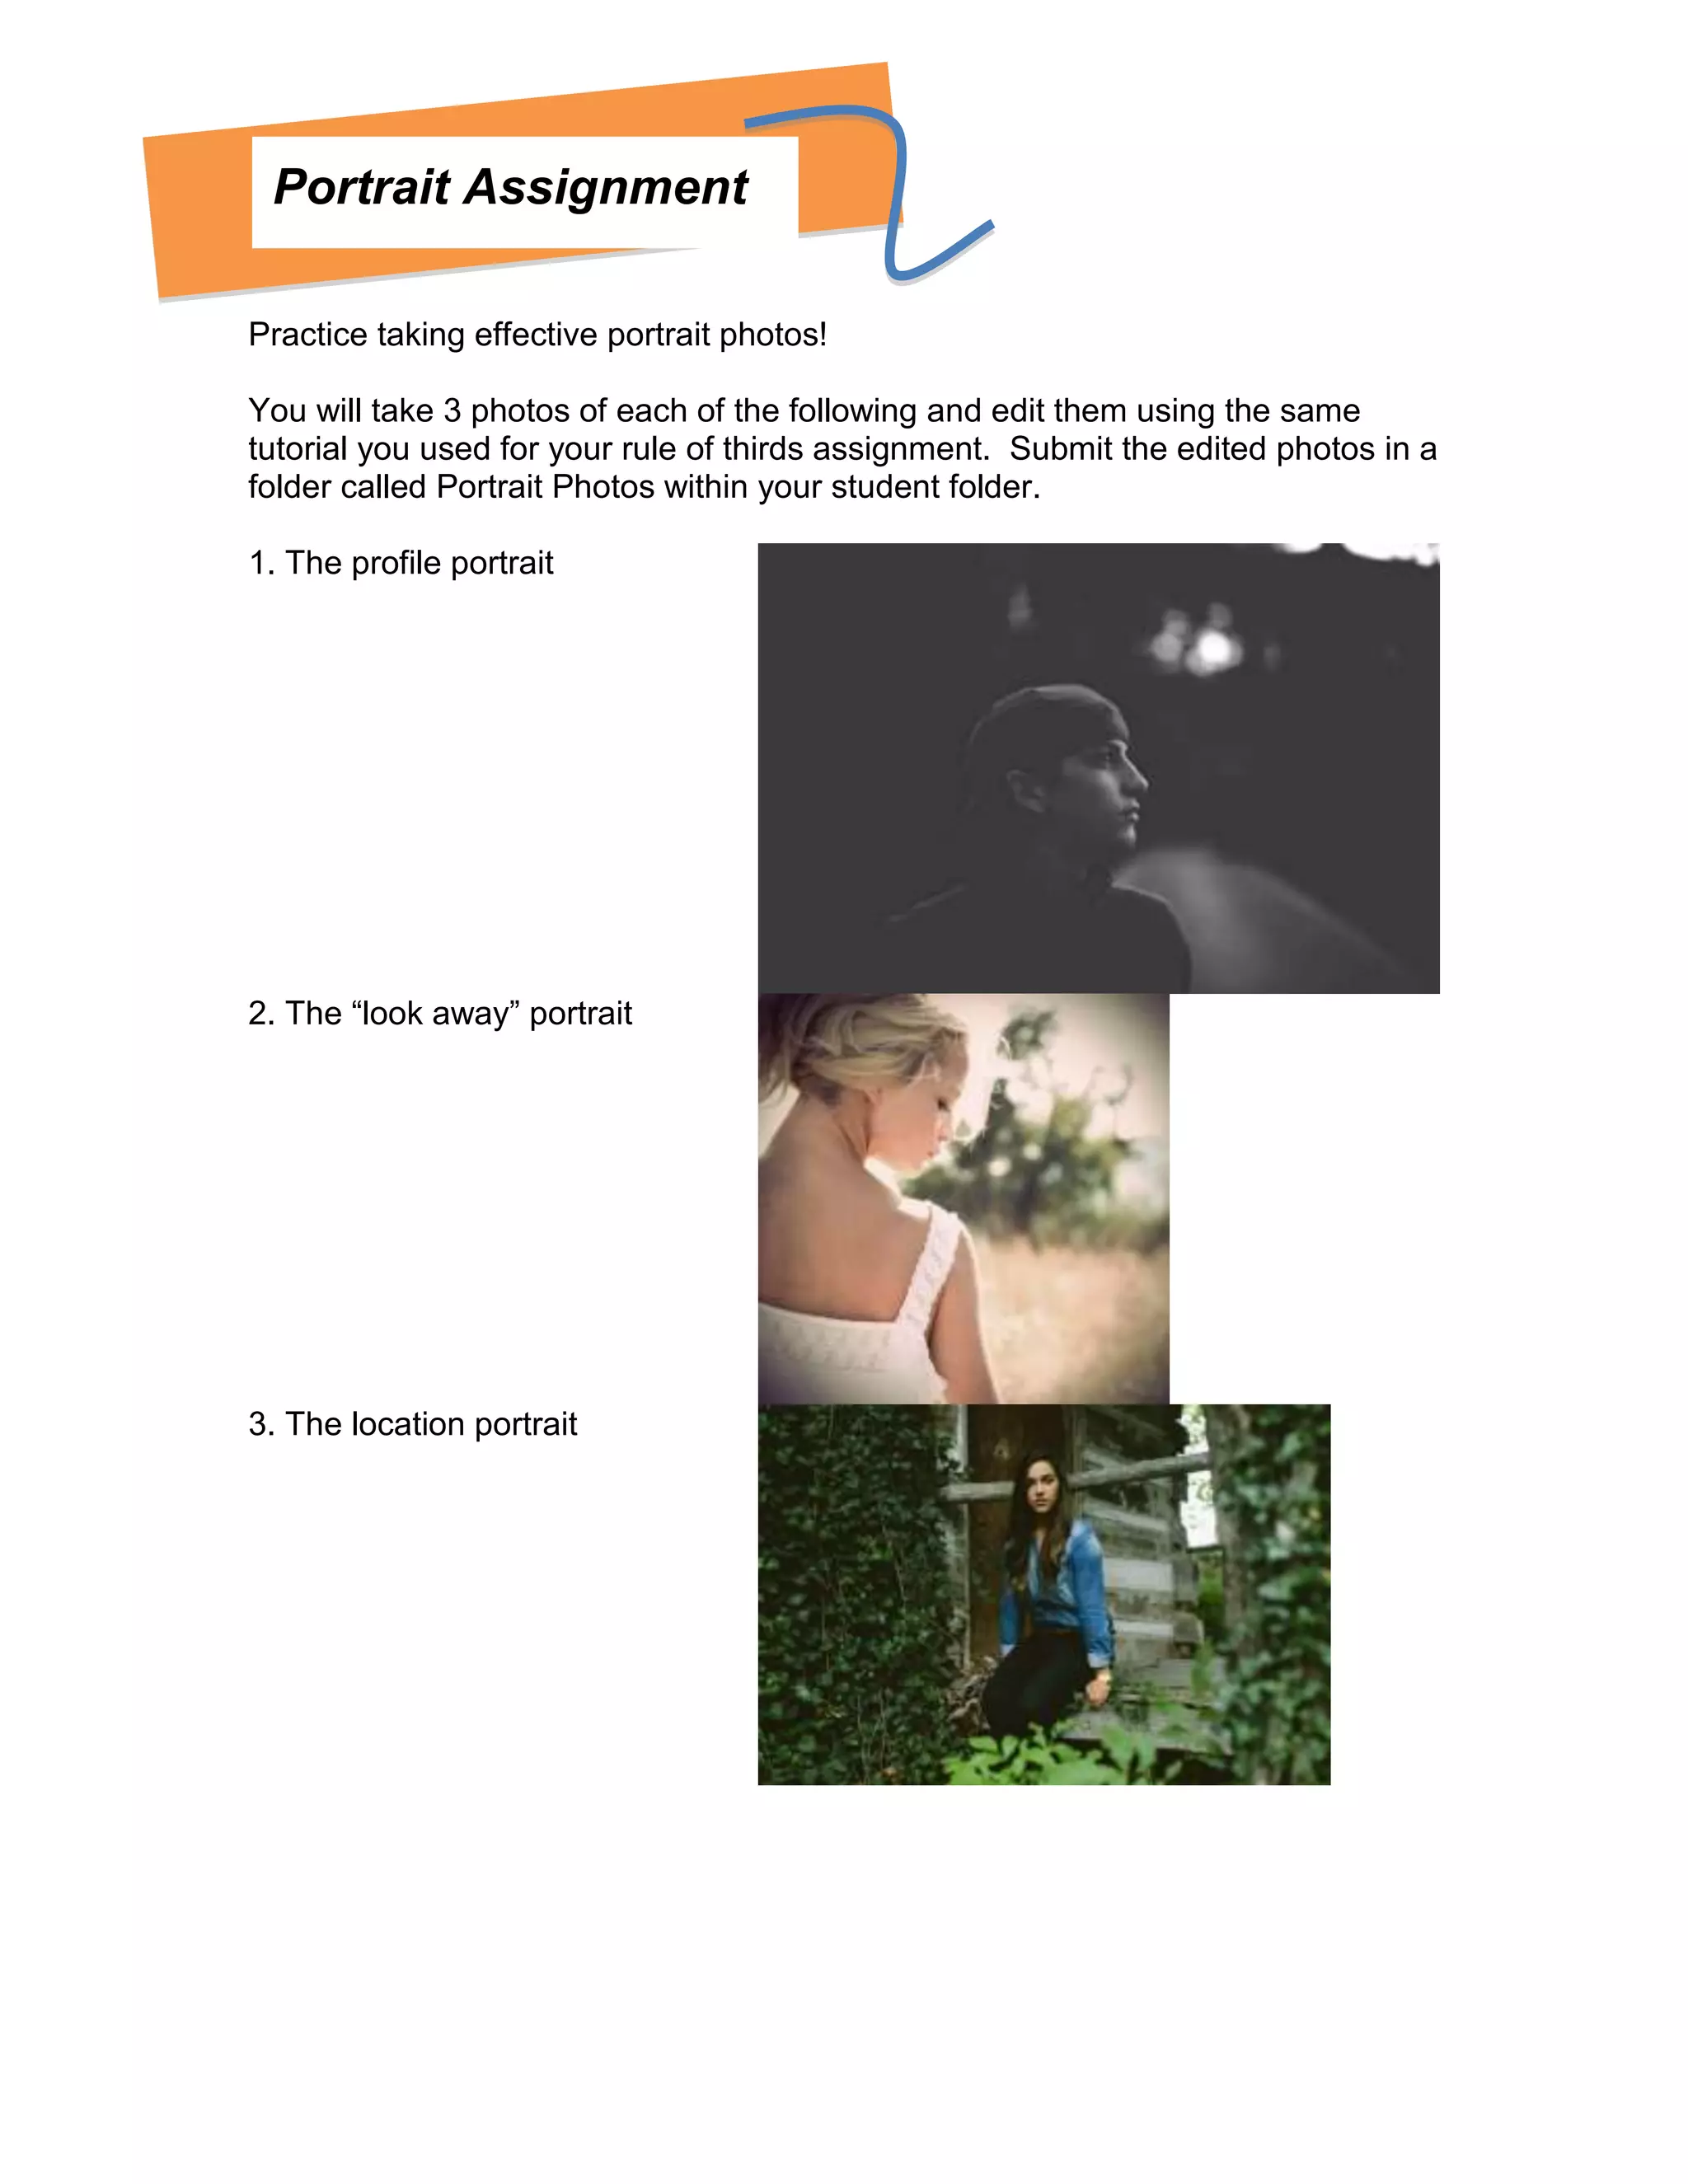
1. Portrait Assignment
Practice taking effective portrait photos!
You will take 3 photos of each of the following and edit them using the same
tutorial you used for your rule of thirds assignment. Submit the edited photos in a
folder called Portrait Photos within your student folder.
1. The profile portrait
2. The “look away” portrait
3. The location portrait
2. 4. The angle portrait
5. The rule of thirds portrait
6. The serious face portrait
Remember to use the following information for taking good portraits! (these
steps will not fully apply to the „location portrait‟)
3. Introduction to Portraiture: Tips for taking good portraits
1. Natural light is best! The person being
photographed should stand by a window. He or
she should stand slightly turned toward the
window while still looking straight at the camera.
(See the diagram below)
2. Make sure the flash is turned off. Ask Miss
B. for help if you aren’t sure. (It is best to take
photos using the ‘manual’ mode in your digital
camera so that you can control the amount of
light and shadow.)
3. Make sure you are standing a good
distance from your subject and zoom in with
the lens. Standing too close to your subject will
distort their face!
4. Before taking the picture, look at what is in the background! Are there things in
the background that will be distracting from the portrait?
5. If your photos are coming out blurry, sign out a tripod!
Information and photos from:
http://www.slideshare.net/Refrigeratorgood?utm_campaign=profiletracking&utm_medium=sssite&utm_source=ssslideshow
panel
http://digital-photography-school.com/6-portrait-lighting-patterns-every-photographer-should-know