The document provides information about operating systems and Windows. It discusses:
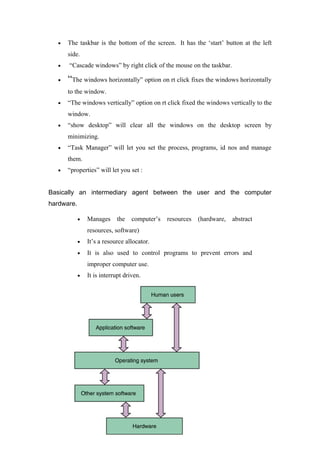
- The basic components and functions of an operating system including managing resources and providing common services.
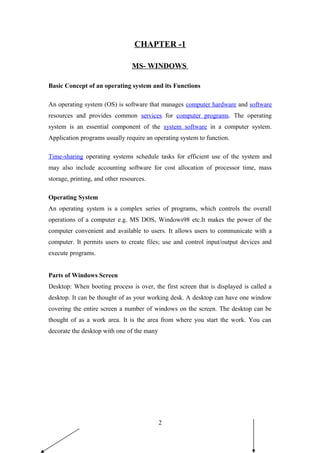
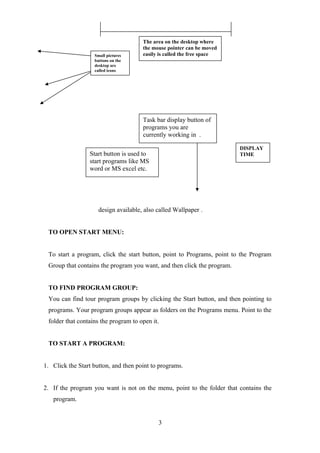
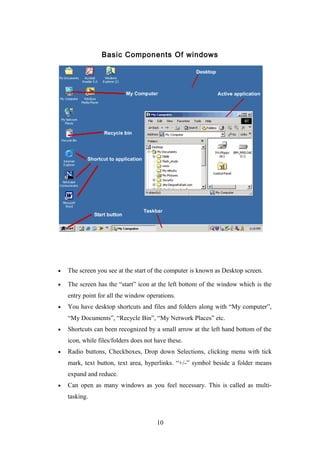
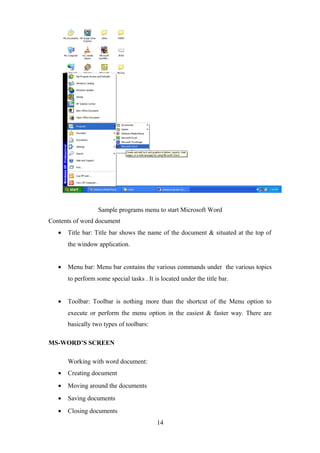
- The parts of the Windows screen including the desktop, start menu, taskbar, icons. It describes how to open programs, find program groups and start programs.
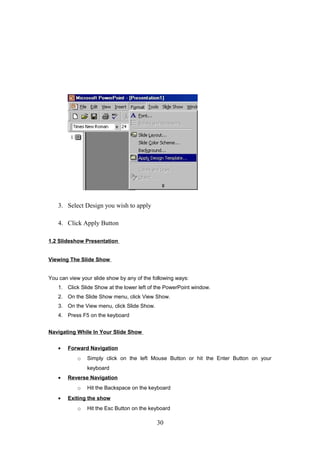
- Different types of operating systems such as real-time, multi-user, multi-tasking, distributed, embedded and mainframe operating systems.
- A brief history of the development of operating systems from mainframes to microcomputers and the introduction of Windows.
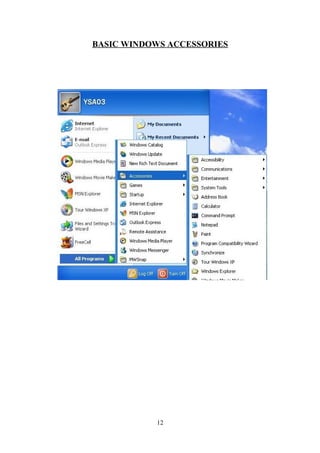
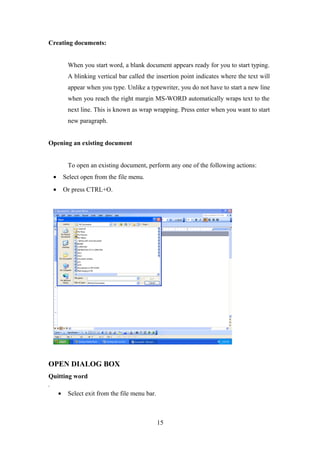
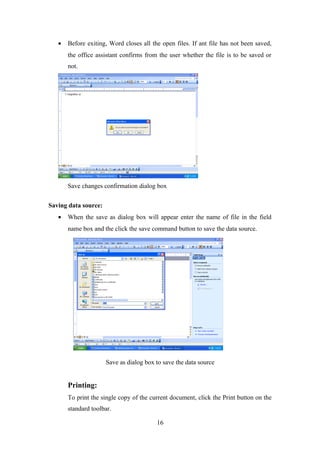
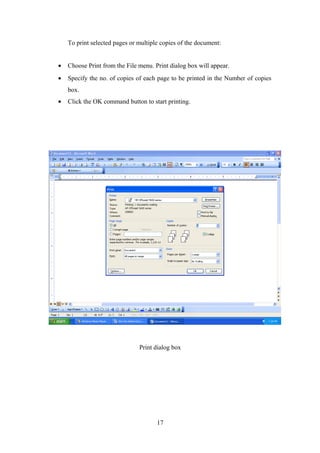
- Basic Windows accessories and how to work with documents in MS Word including creating, opening, saving,

![INTERNET
Concept of Internet
The Internet is a global system of interconnected computer networks that use the
standard Internet protocol suite (TCP/IP) to link several billion devices worldwide. It
is a network of networks[1]
that consists of millions of private, public, academic,
business, and government networks of local to global scope, linked by a broad array
of electronic, wireless, and optical networking technologies. The Internet carries an
extensive range of information resources and services, such as the inter-linked
hypertext documents and applications of the World Wide Web (WWW), the
infrastructure to support email, and peer-to-peer networks for file sharing and
telephony.
41](https://image.slidesharecdn.com/nehaictproject-160902132758/85/Neha-ict-project-41-320.jpg)