Downloaded 11 times


![d. Select the Microsoft Dynamics AX adapter and click Next.
e. In the Server name field, enter the name of the server running the AOS. The name entered in this
field should be the machine name of the server.
f. In the TCP/IP Port field, enter the port of the AOS server and click Next.
To find the server port, open the Microsoft Dynamics AX Server Configuration Utility by clicking
Start > Administrative Tools > Microsoft Dynamics AX Server Configuration Utility. Select a
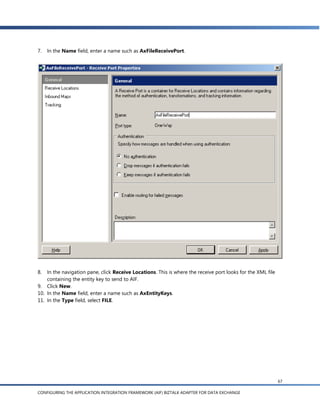
configuration in the Configuration field and you will see the port number in the TCP/IP port field
in the Settings frame.
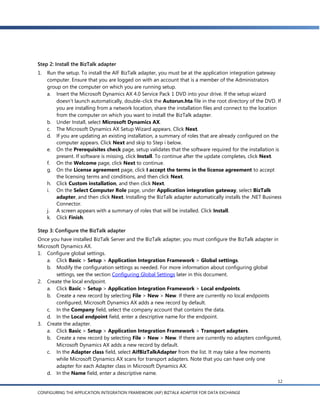
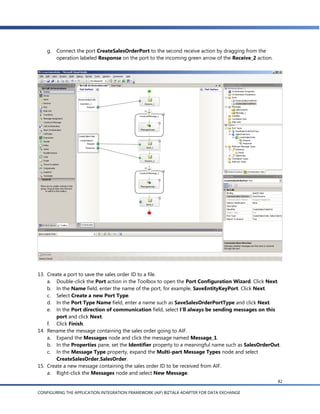
g. In the Schema Import Wizard, you see a list of the document schemas for documents that are
enabled in AIF. Expand the Sales Invoice node and select readSalesInvoice():SalesInvoice
[async]. The other schemas, readSalesInvoice(EntityKey):SalesInvoice [sync] and
readSalesInvoice(EntityKey) [async], apply to the external request scenarios discussed later.
16
CONFIGURING THE APPLICATION INTEGRATION FRAMEWORK (AIF) BIZTALK ADAPTER FOR DATA EXCHANGE](https://image.slidesharecdn.com/my-cool-newslideshow3807/85/My-cool-newSlideshow-16-320.jpg)


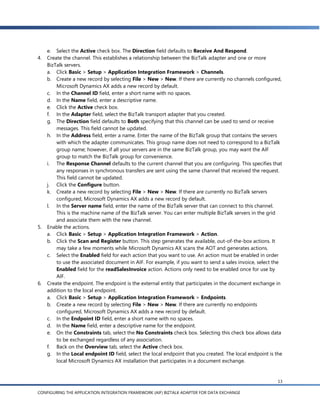
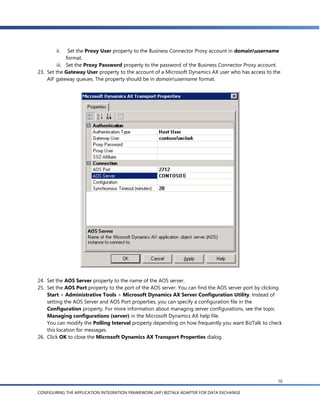
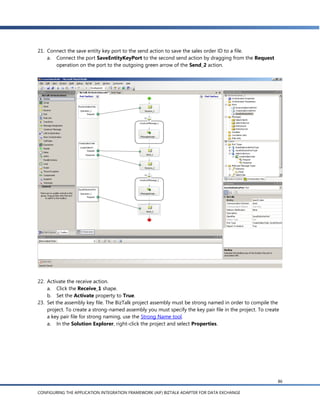
![g. In the Schema Import Wizard, you’ll see a list of the document schemas for documents that are
enabled in AIF. Expand the Sales Order node and select readSalesOrder(EntityKey):SalesOrder
[sync].
h. Click Finish. A sales order schema called SalesOrderService_SalesOrder.xsd can be seen in the
Solution Explorer. An orchestration has also been created.
When using automatically generated orchestrations containing message and port types to
implement the actions for a project, you may encounter naming conflicts. To avoid these conflicts,
it’s recommended that you create an orchestration containing the message and port types, and
reference those types from the generated orchestration.
7. Select the schema for the entity key message.
a. In the Solution Explorer, double-click BizTalk Orchestration.odx to open the orchestration.
b. In the Orchestration View, expand the Types node and then expand the Multi-part Message
Types node.
c. Expand the EntityKey node, click the Body node and open the Type property list.
d. In the drop-down list, expand the Schemas node and click Select from referenced assembly.
The Select Artifact Type dialog appears.
32
CONFIGURING THE APPLICATION INTEGRATION FRAMEWORK (AIF) BIZTALK ADAPTER FOR DATA EXCHANGE](https://image.slidesharecdn.com/my-cool-newslideshow3807/85/My-cool-newSlideshow-32-320.jpg)


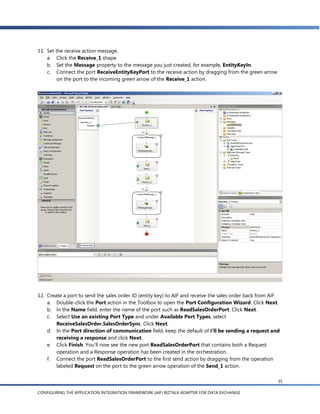


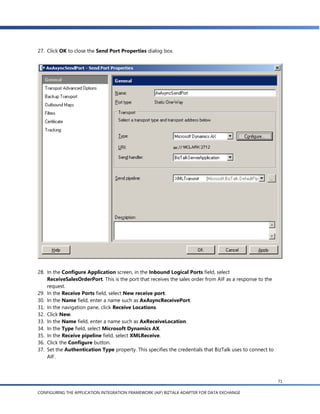
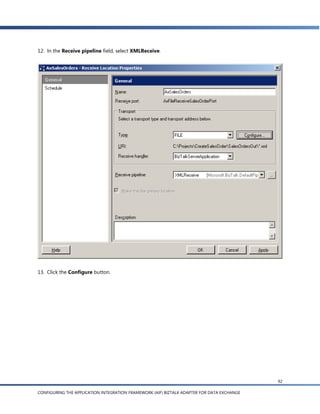
![g. In the Schema Import Wizard, you’ll see a list of the document schemas for documents that are
enabled in AIF. Expand the Sales Order node and select readSalesOrder(EntityKey) [async] (for
sending the sales order ID to AIF) and readSalesOrder( ):SalesOrder [async] (for sending the
response back to BizTalk).
h. Click Finish. A sales order schema called SalesOrderService_SalesOrder.xsd can be seen in the
Solution Explorer. An orchestration has also been created.
When using automatically generated orchestrations containing message and port types to
implement the actions for a project, you may encounter naming conflicts. To avoid these conflicts,
it’s recommended that you create an orchestration containing the message and port types, and
reference those types from the generated orchestration.
7. Select the schema for the entity key message.
a. In the Solution Explorer, double-click BizTalk Orchestration.odx to open the orchestration.
b. In the Orchestration View, expand the Types node and then expand the Multi-part Message
Types node.
c. Expand the EntityKey node, click the Body node and open the Type property dropdown list.
d. In the dropdown list, expand the Schemas node and click Select from referenced assembly. The
Select Artifact Type dialog appears.
53
CONFIGURING THE APPLICATION INTEGRATION FRAMEWORK (AIF) BIZTALK ADAPTER FOR DATA EXCHANGE](https://image.slidesharecdn.com/my-cool-newslideshow3807/85/My-cool-newSlideshow-53-320.jpg)


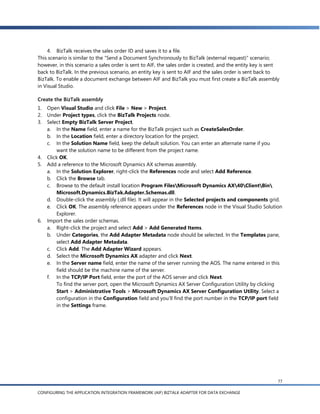
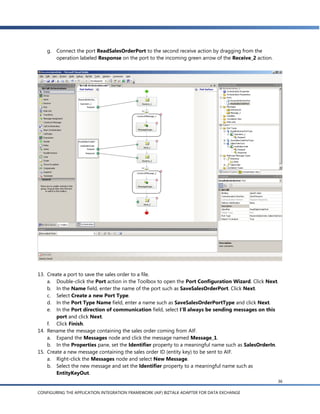
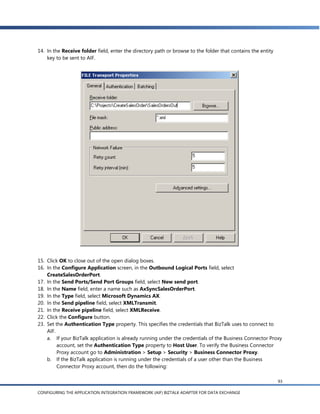
![g. In the Schema Import Wizard, you’ll see a list of the document schemas for documents that are
enabled in AIF. Expand the Sales Order node and select createSalesOrder(SalesOrder):EntityKey
[sync].
h. Click Finish. A sales order schema called SalesOrderService_SalesOrder.xsd can be seen in the
Solution Explorer. An orchestration has also been created.
When using automatically generated orchestrations containing message and port types to
implement the actions for a project, you may encounter naming conflicts. To avoid these conflicts,
it’s recommended that you create an orchestration containing the message and port types, and
reference those types from the generated orchestration.
7. Select the schema for the entity key message.
a. In the Solution Explorer, double-click BizTalk Orchestration.odx to open the orchestration.
b. In the Orchestration View, expand the Types node, and then expand the Multi-part Message
Types node.
c. Expand the EntityKey node, click the Body node, and open the Type property list.
d. In the list, expand the Schemas node and click Select from referenced assembly. The Select
Artifact Type dialog box appears.
78
CONFIGURING THE APPLICATION INTEGRATION FRAMEWORK (AIF) BIZTALK ADAPTER FOR DATA EXCHANGE](https://image.slidesharecdn.com/my-cool-newslideshow3807/85/My-cool-newSlideshow-78-320.jpg)


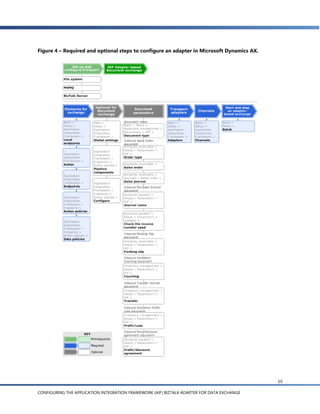
This document provides instructions for configuring the Application Integration Framework (AIF) BizTalk adapter to enable data exchange between Microsoft Dynamics AX and BizTalk Server. It describes setting up an AIF environment, installing the BizTalk adapter, and configuring exchanges, endpoints, and batch jobs. It also covers creating BizTalk assemblies to send and receive documents synchronously and asynchronously, and configuring the BizTalk applications and ports.


