Download to read offline

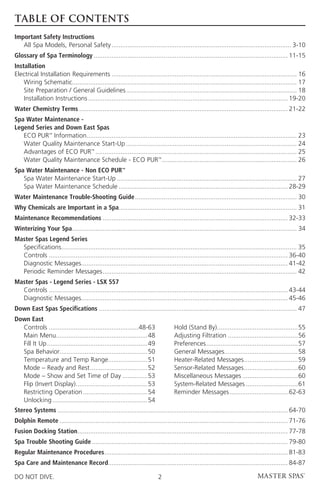


This document provides an owner's manual for a Master Spas hot tub. It includes sections on safety instructions, installation, water chemistry, spa controls, maintenance, and troubleshooting. The safety instructions warn of risks of electric shock, injury, accidental drowning, and hyperthermia. It also provides instructions on electrical installation, chemical treatment of spa water, and winterizing the spa.


