Downloaded 21 times


![Example…
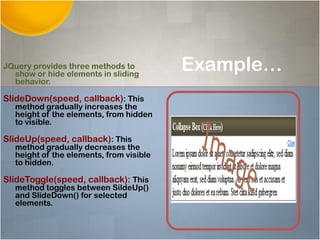
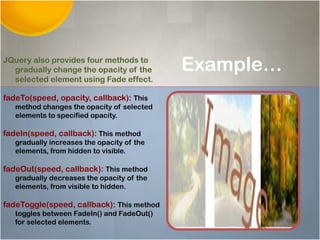
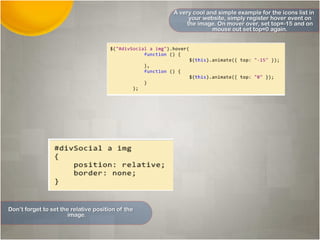
JQuery also provides an easy way to
animate element. the syntax of
animate method is .animate(
properties, [duration], [easing],
[complete]).
properties: A map of CSS
properties, which changes
during animation
duration: String or number
to determine the duration of
the animation
easing: The name of easing
function to use for the
transition
complete: A function to call
on the complete of
animation](https://image.slidesharecdn.com/jquery-130730085239-phpapp02/85/JQUERY-TUTORIALS-18-320.jpg)


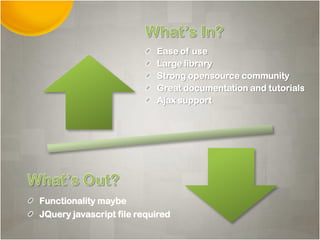
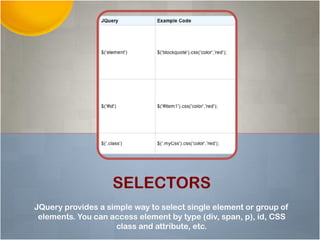
This document provides an overview of jQuery. It defines jQuery as a JavaScript library that simplifies HTML document traversal, event handling, animating, and Ajax interactions. It explains that jQuery improves performance, browser compatibility, and allows developers to implement critical UI functionality with less code. The document also outlines how to load and execute jQuery code, and provides examples of using jQuery for sliding effects, fading, and animation. It loads the jQuery library in the HTML, selects elements using selectors, and uses methods like slideToggle, fadeTo, and animate to implement various visual effects.