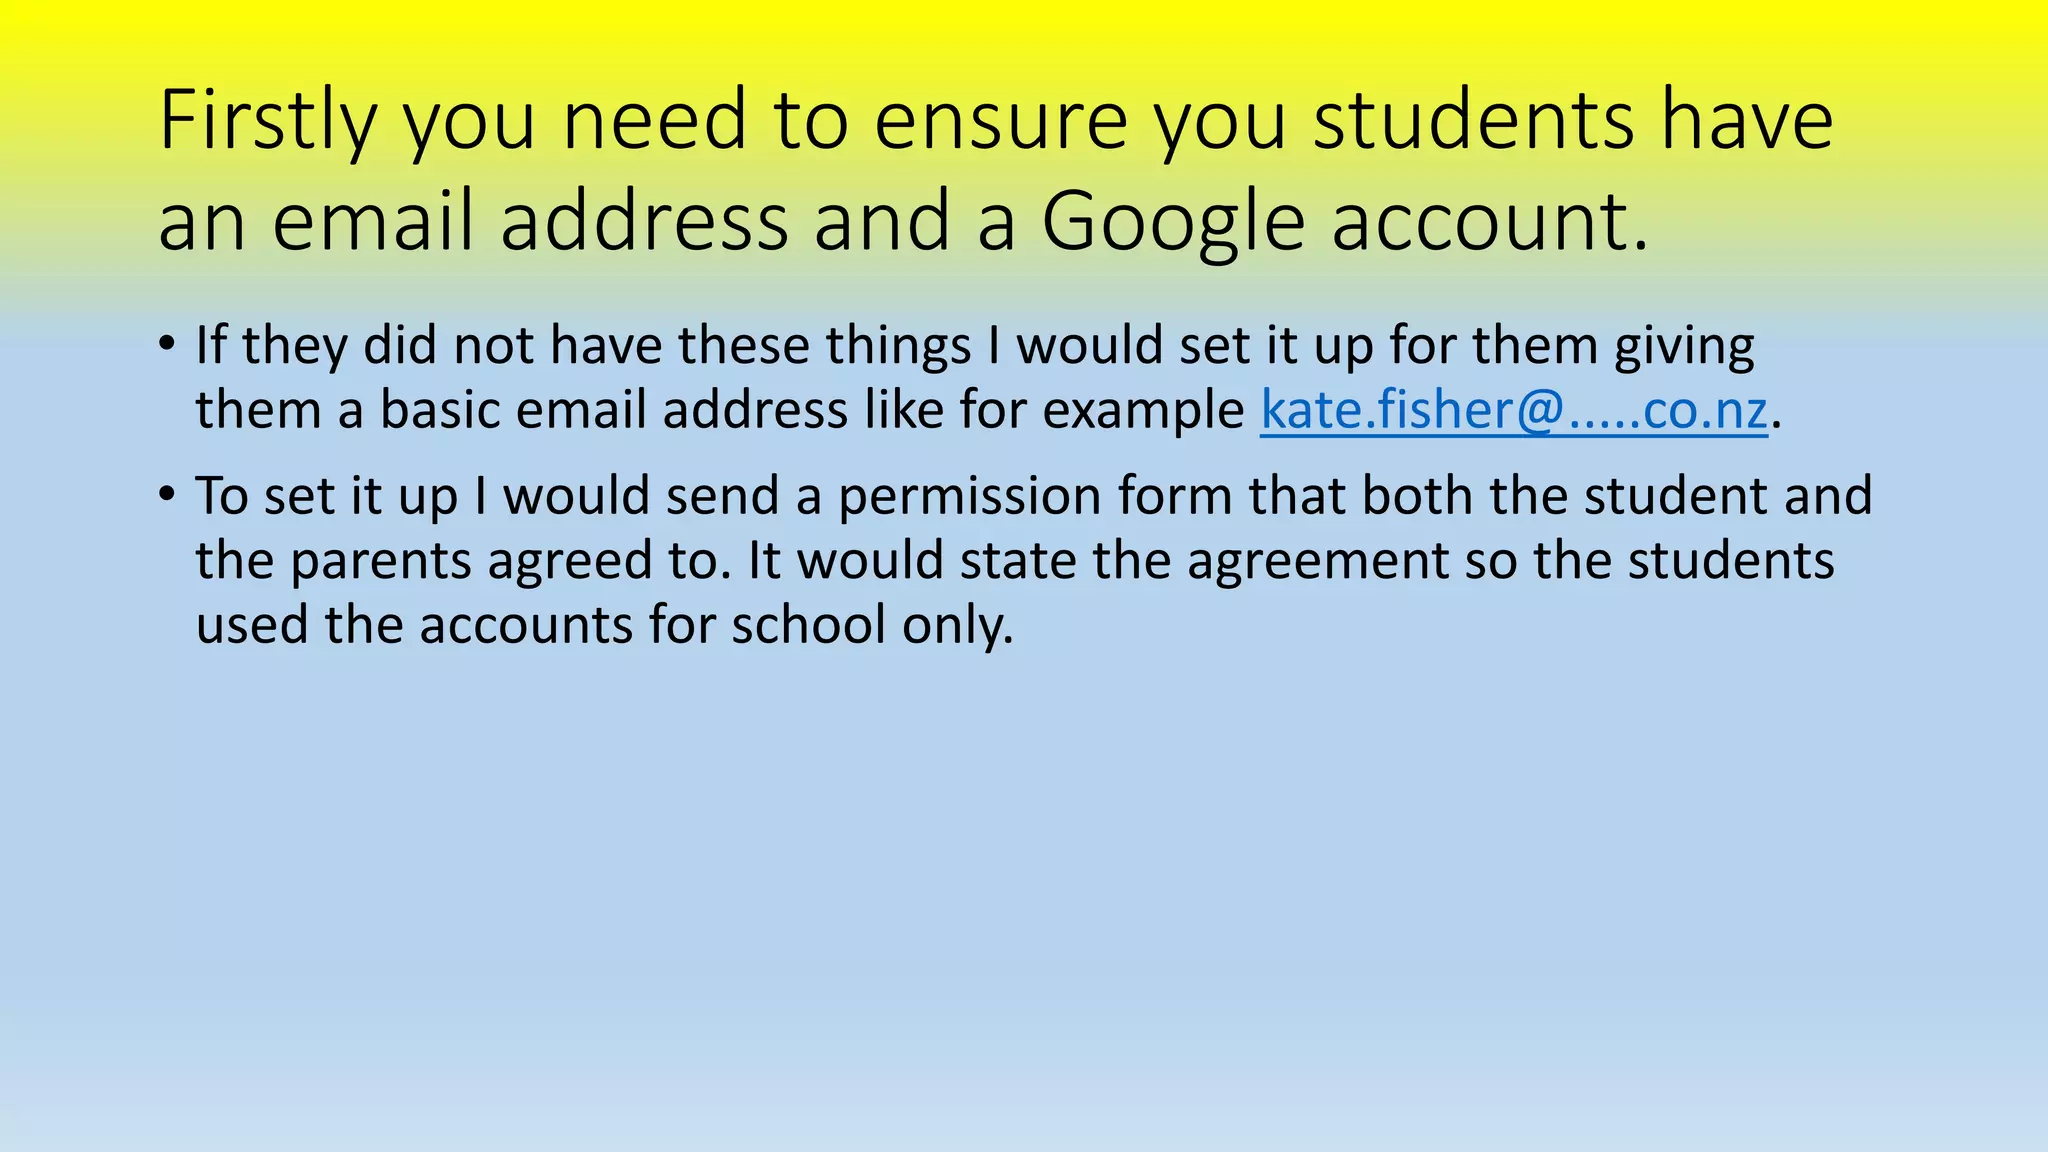
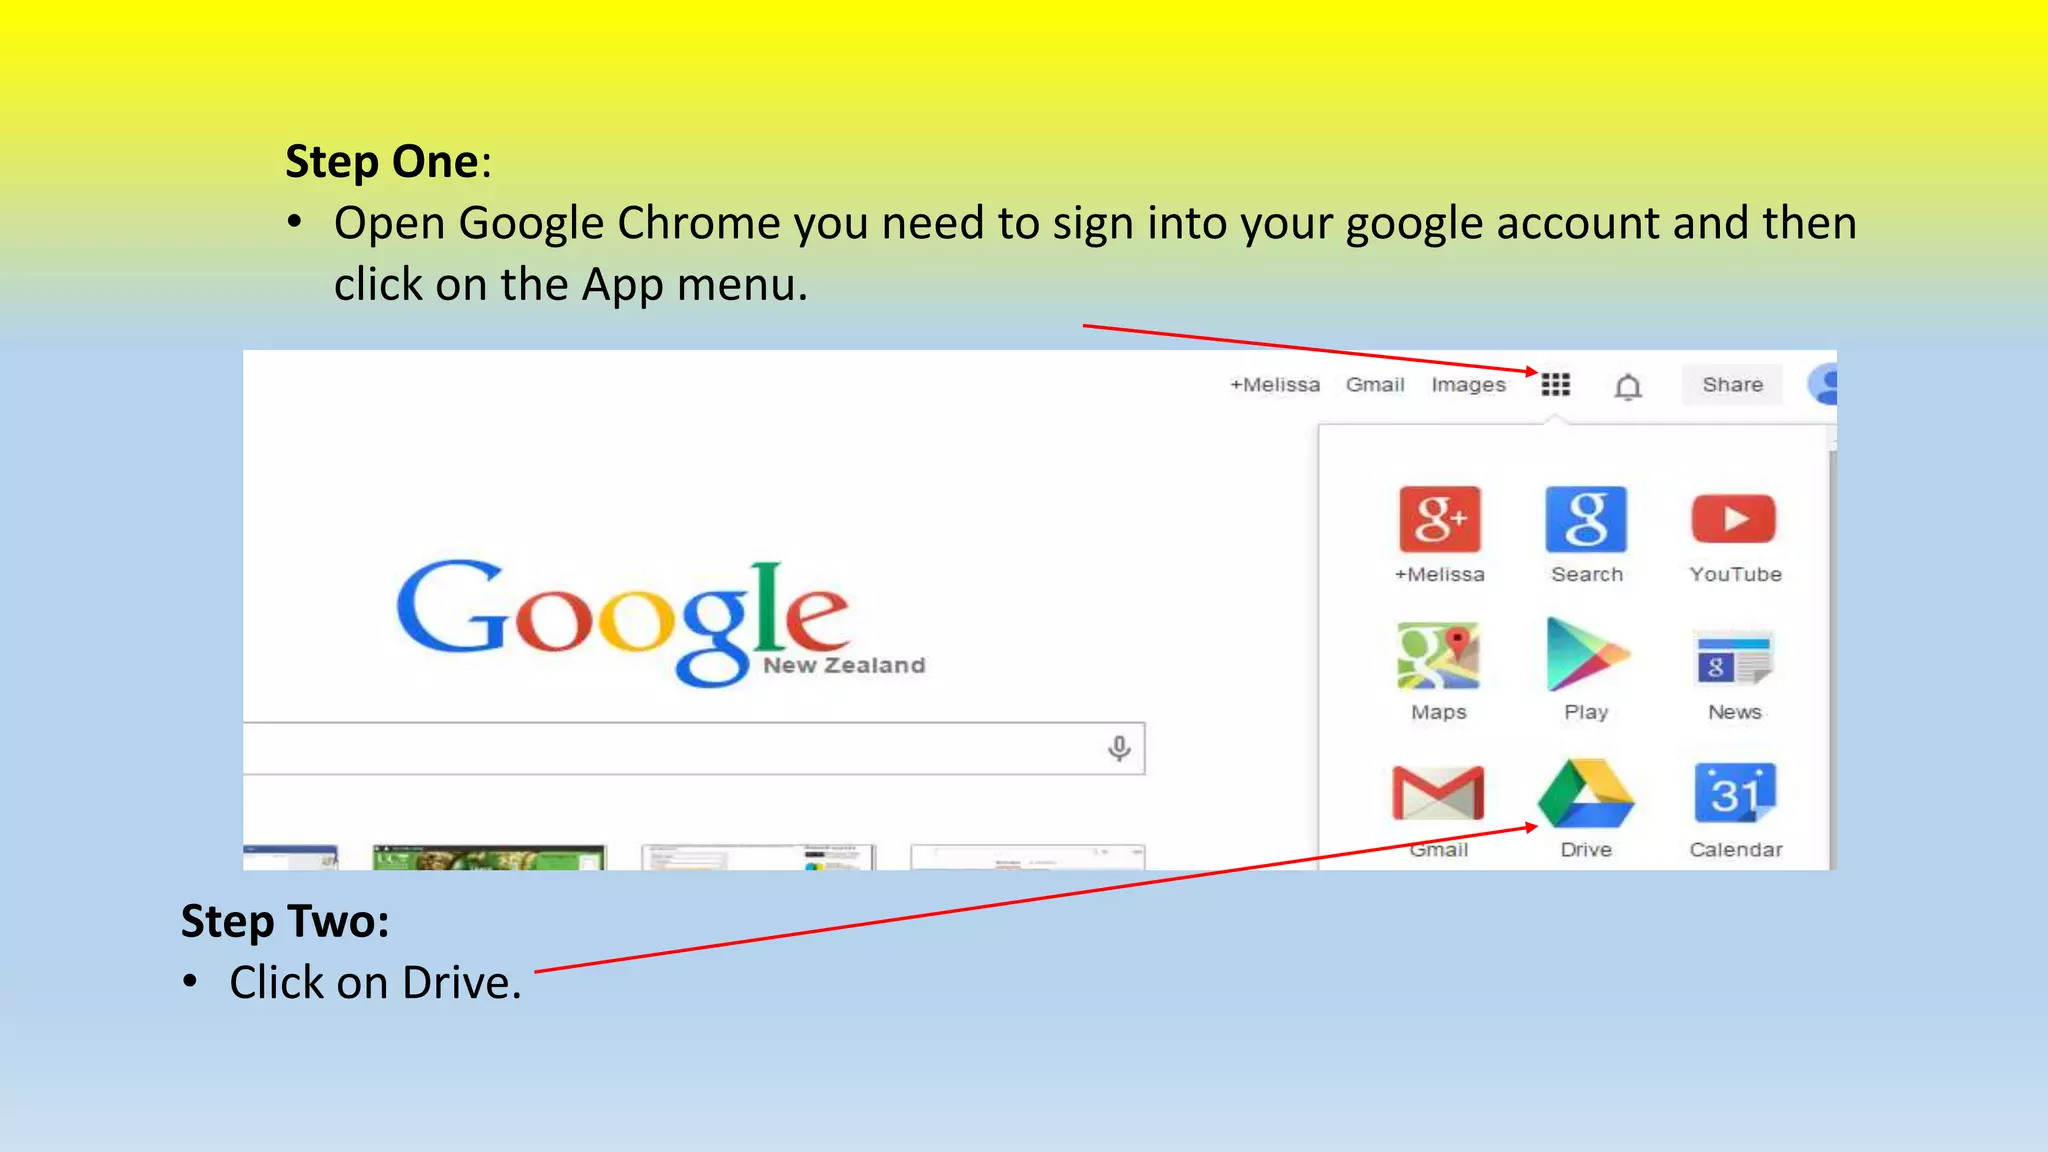
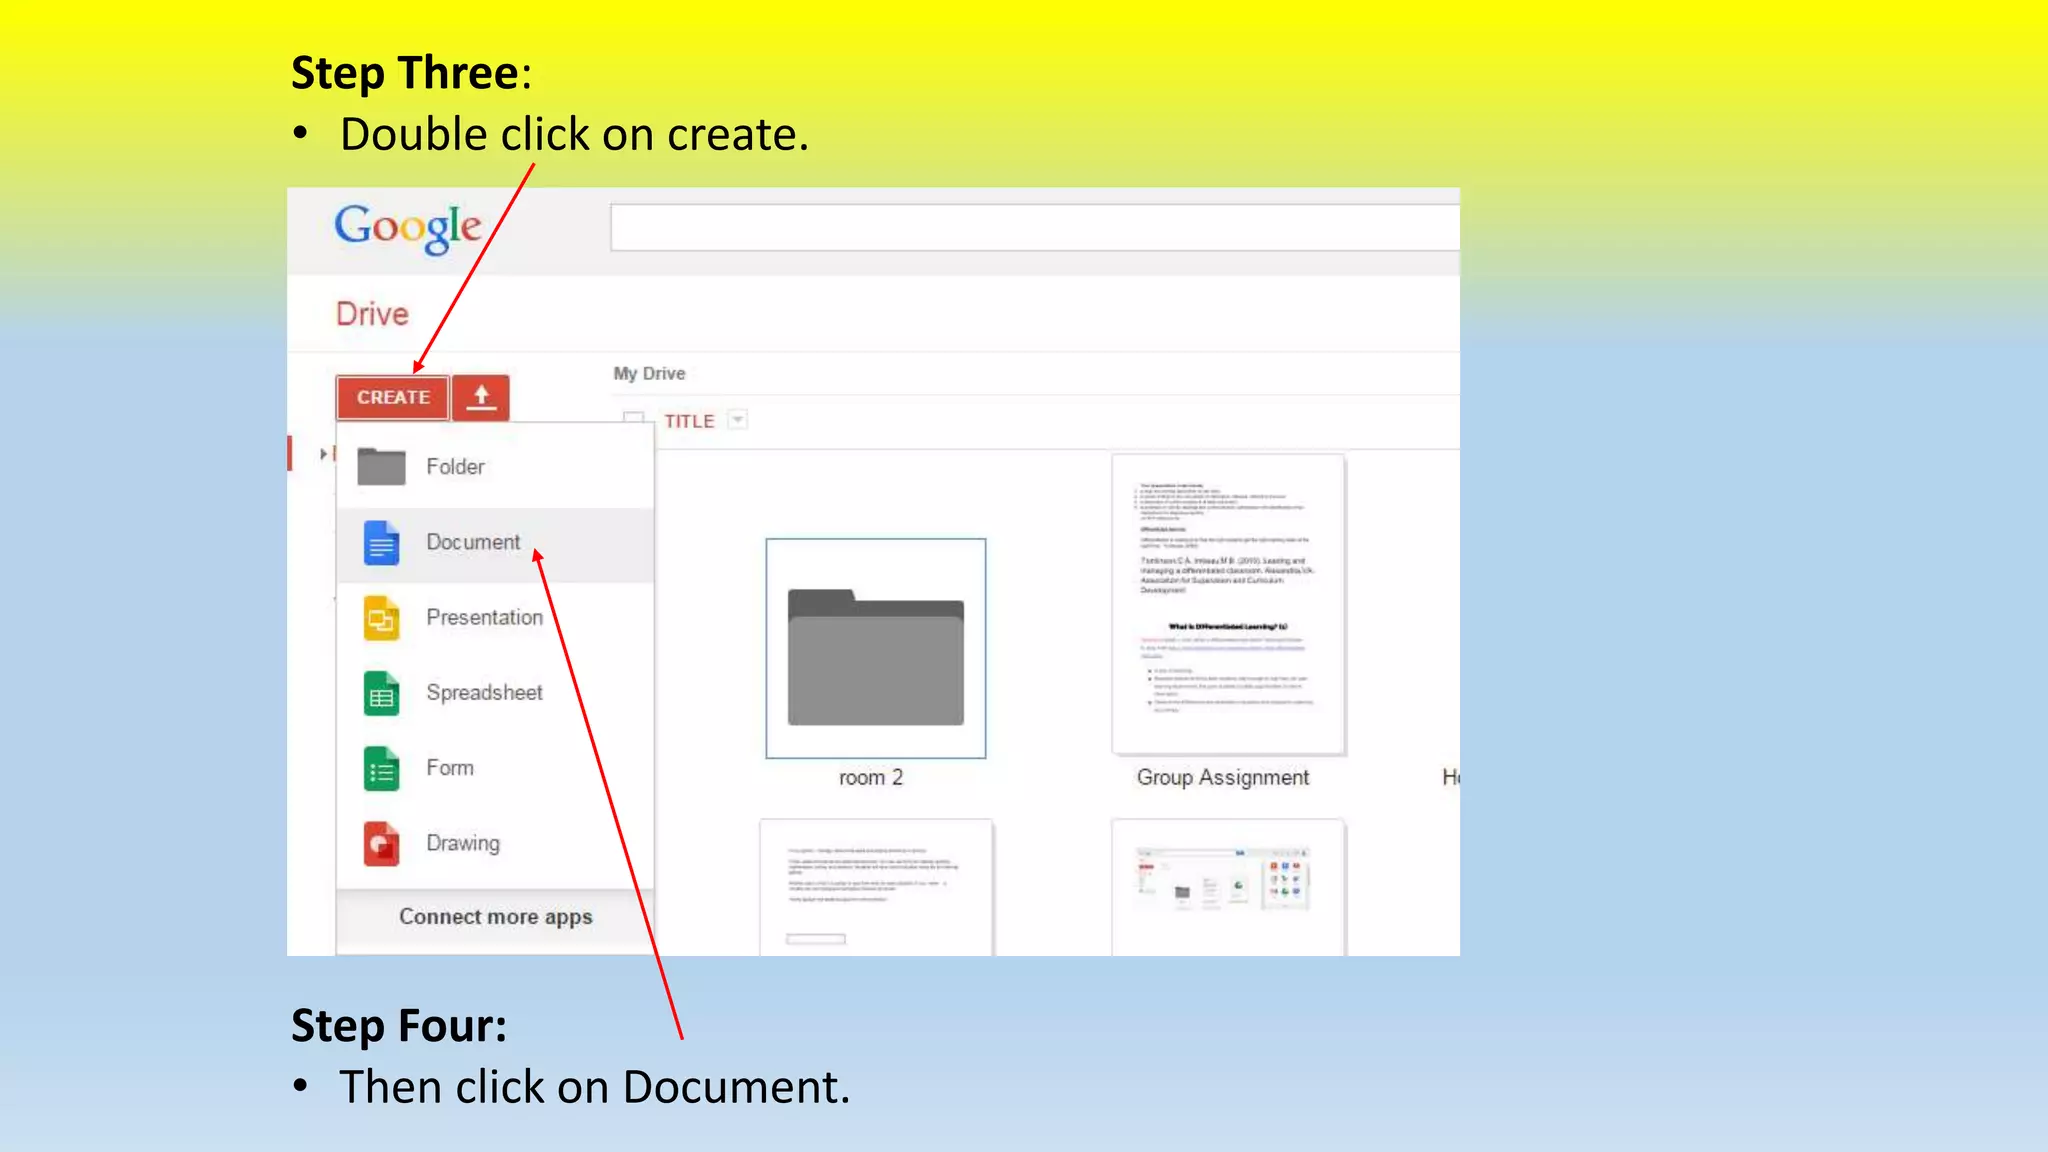
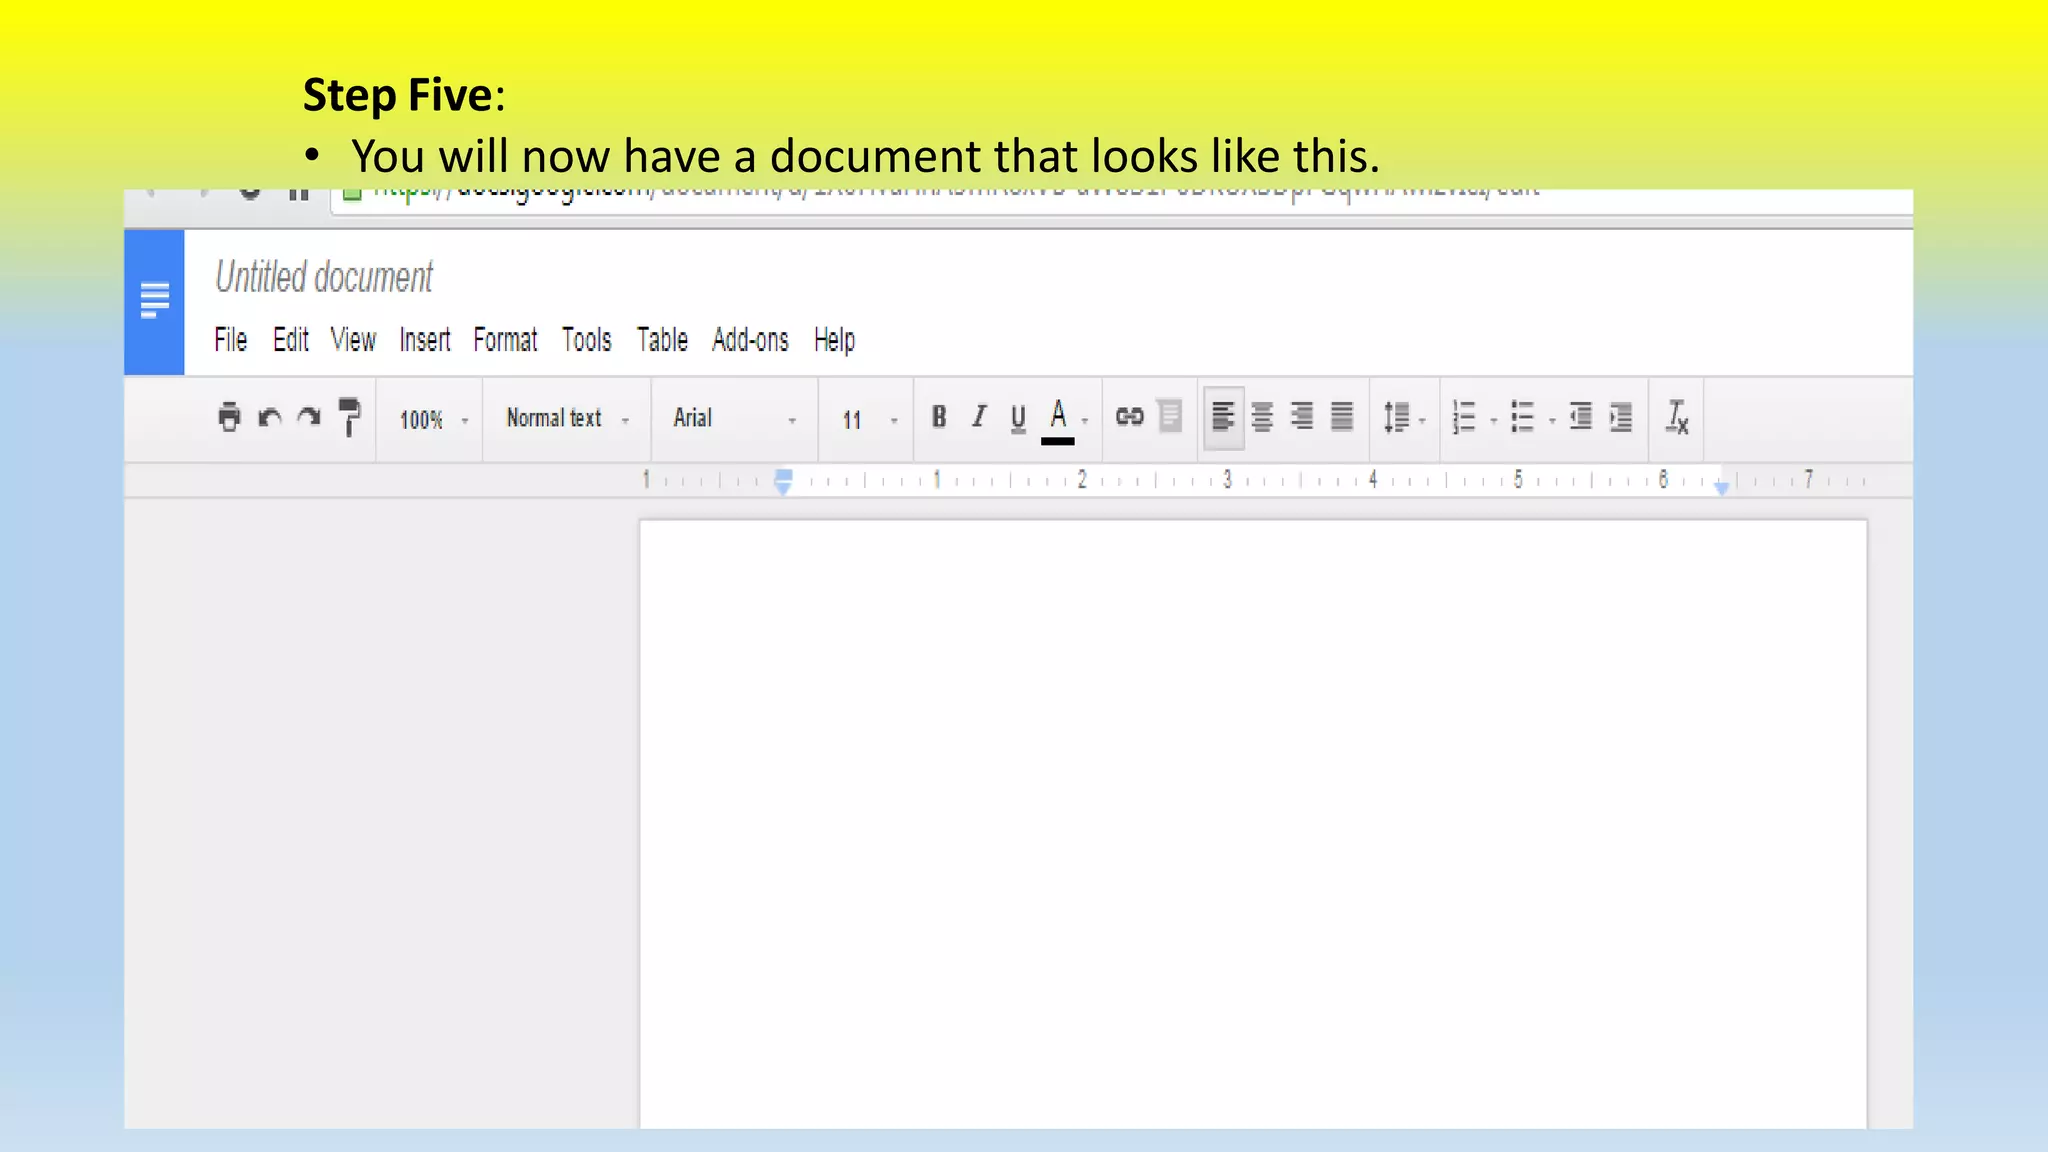
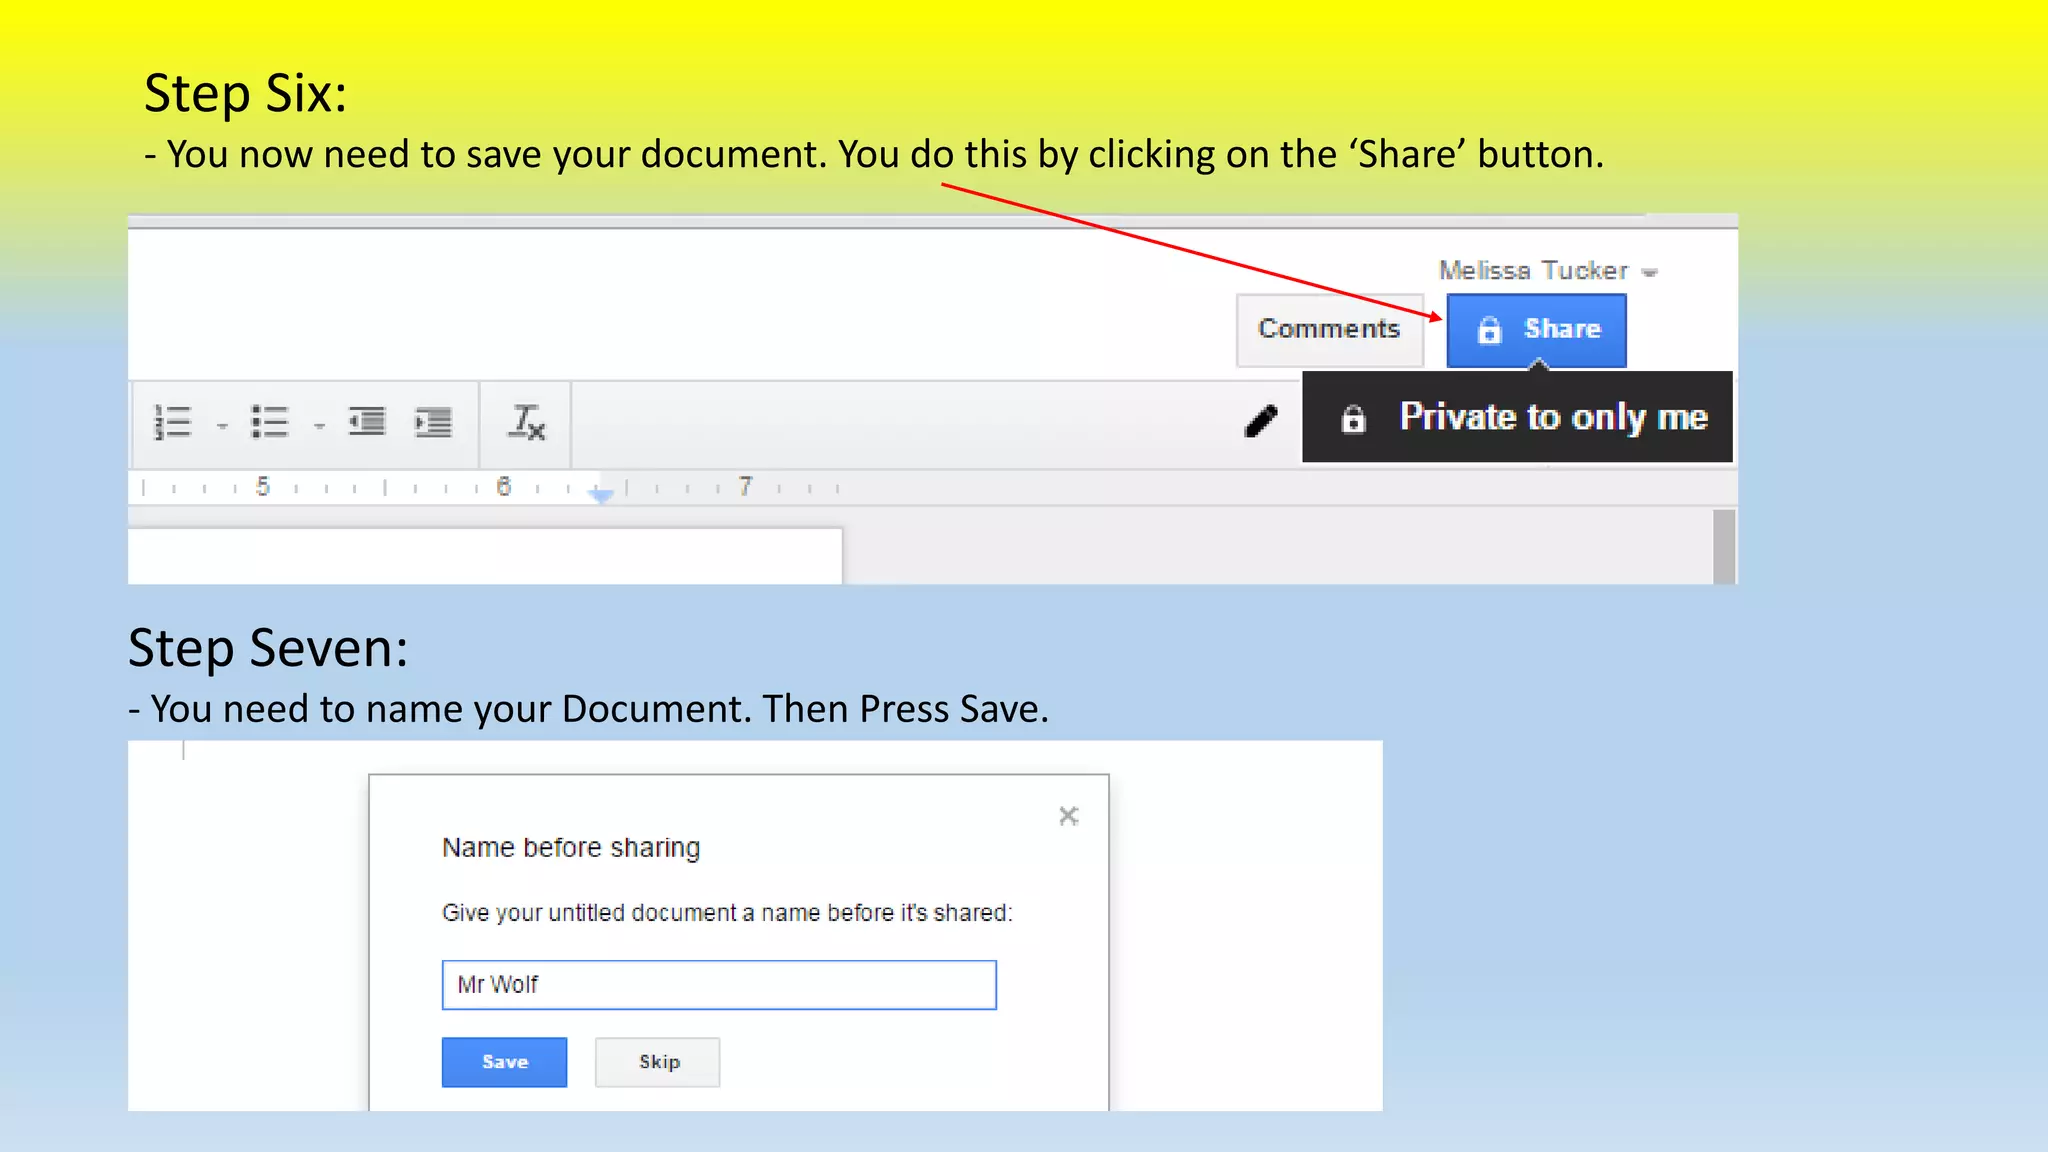
2. Firstly you need to ensure you students have
an email address and a Google account.
• If they did not have these things I would set it up for them giving
them a basic email address like for example kate.fisher@.....co.nz.
• To set it up I would send a permission form that both the student and
the parents agreed to. It would state the agreement so the students
used the accounts for school only.
3. Step One:
• Open Google Chrome you need to sign into your google account and then
click on the App menu.
Step Two:
• Click on Drive.
4. Step Three:
• Double click on create.
Step Four:
• Then click on Document.
5. Step Five:
• You will now have a document that looks like this.
6. Step Six:
- You now need to save your document. You do this by clicking on the ‘Share’ button.
Step Seven:
- You need to name your Document. Then Press Save.
7. Step Eight Sharing your Document:
- This is where you can choose who see’s your document.
• You type in their name here.
• You need to be careful who can see your work.
• You should not make it public. By making it public everyone can see it!
• You need to be wise with who you share your information with.
8. DIGITAL SECURITY:
• When you are sharing your Document you need to think
am I keeping myself and others safe?
• Do I need to share this information with other people?
• Will this hurt other peoples feelings? Or put myself in
danger?
• Always be cautious when you are sharing any information
with someone.
Ribble, M. (2008). Passport to Digital Citizenship. Journey toward appropriate technology use at school and at home. Learning & Leading
with Teachnology, December/January, 14-17.
9. How I would begin my class!
1. Do a class demonstration using the interactive writing board using this power
point.
2. Did the students who are writing independently to leave to their desks.
3. Get the group who are using the google docs to go and get a laptop and log on.
4. Go through slowly with the students how to set it up using the power point. Use
a buddy check system to make sure they are all on the same track.
5. Focus on the safety of sharing work. Why it is important to not make your work
public and also what information you should and should not be sharing giving the
students examples.
6. Get the students to write about what they think the New Zealand culture is?
Rugby, Kiwi, Maori etc. What makes them who they are.
7. Share the students work with each other in the group and comment on them.
Again stress the digital health and wellness, will this make someone feel bad?
10. Curriculum Links:
English Level 2:
Ideas
Students will:
Select, form, and express ideas on a range of topics.
Processes and strategies
Students will:
Select and use sources of information, processes, and strategies with some confidence to identify, form, and
express ideas.
Language features
Use language features appropriately, showing some understanding of their effects.
Structure
Organise texts, using a range of structures.
Digital Citizenship:
• Digital Literacy.
• Digital Safety.
• Digital health and wellness.
1. How to use google docs for our writing.
2. Who can see my work? Who should see my work?
3. Copy right
4. What should not be shared?
Effective Pedagogy:
Facilitating shared learning
Providing sufficient opportunities to learn
11. My activity shows links to Tātaiako as I am practicing the
values of:
■ Whanaungatanga: actively engaging in respectful working
relationships with Māori learners, parents and whānau.
■ Manaakitanga: showing integrity, sincerity and respect
towards Māori beliefs, language and culture.
■ Ako: taking responsibility for their own learning and that
of Māori learners.
12. Reference List:
Ministry of Education. (1993). The New Zealand
curriculum framework. Wellington: Learning Media Ltd.
Ministry of Education (2011). Tātaiako – Cultural
Competencies for Teachers of Māori Learners.
Ribble, M. (2008). Passport to Digital Citizenship.
Journey toward appropriate technology use at school
and at home. Learning & Leading with Teachnology,
December/January, 14-17.