Downloaded 176 times

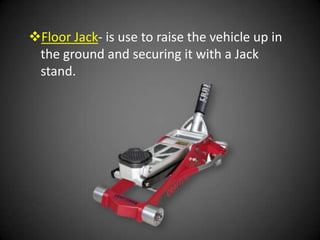
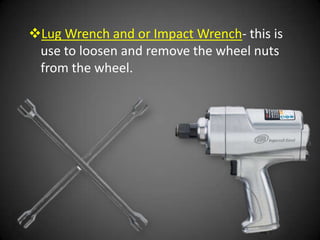


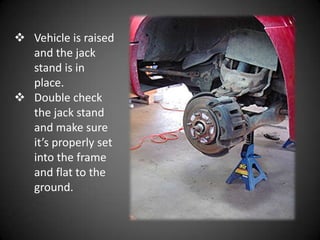
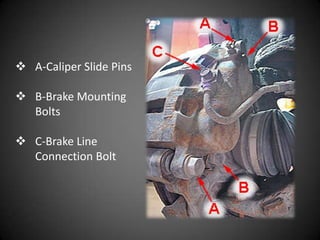
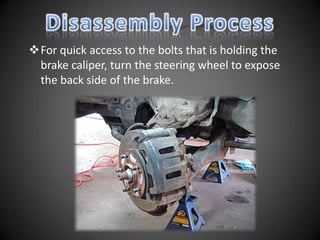
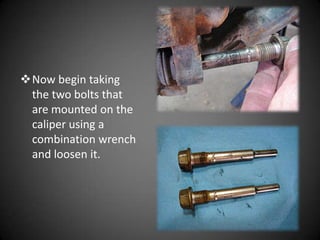
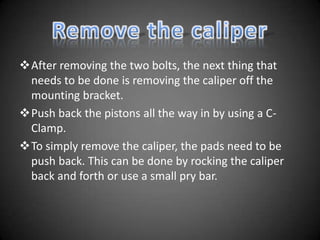
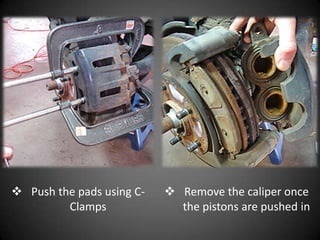


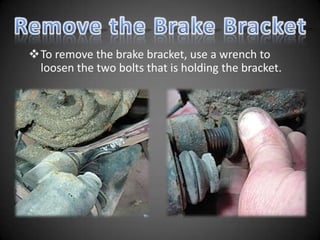
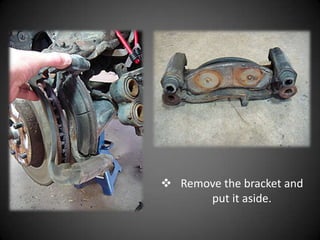
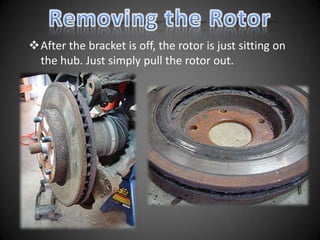

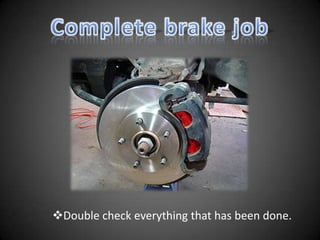


The document provides instructions for changing brake pads and rotors on a vehicle. It lists the necessary tools which include a jack, jack stands, lug wrench, sockets, C-clamp, combination wrench, gloves, air compressor, torque wrench, bungee cord, brake cleaner, new brake pads and rotors. The steps outlined are to raise the vehicle, remove the tire, push the piston into the caliper with a C-clamp, remove the caliper bolts and bracket, pull out the rotor, clean and install the new rotor and bracket, replace the brake pads and caliper, and reinstall the tire. Safety is emphasized throughout the process.


