This document is a reference guide for a computer that includes:
- An introduction chapter about the guide and how to access additional documentation.
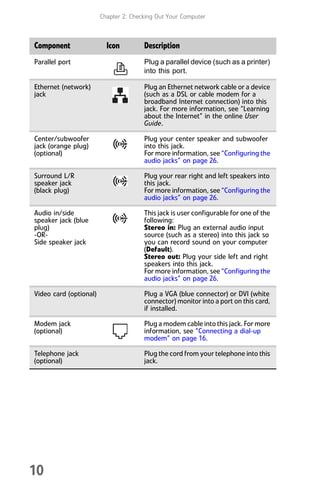
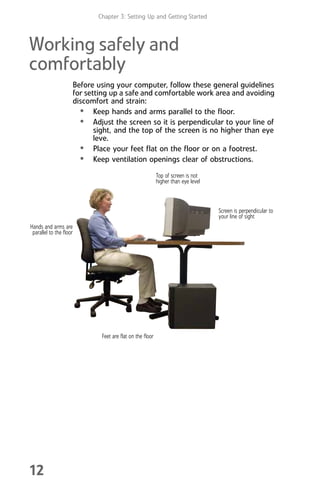
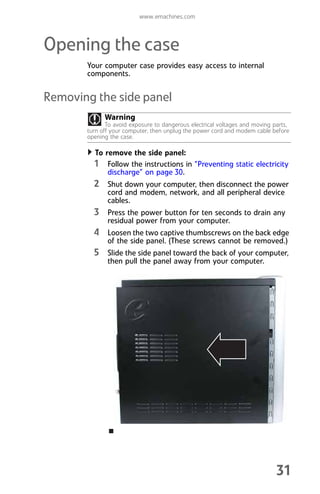
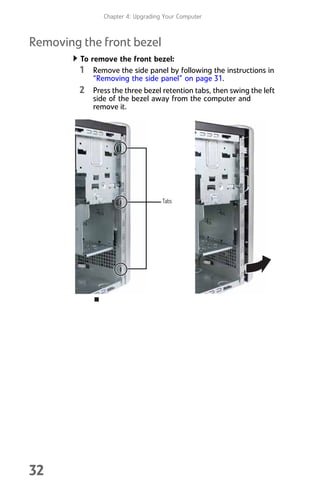
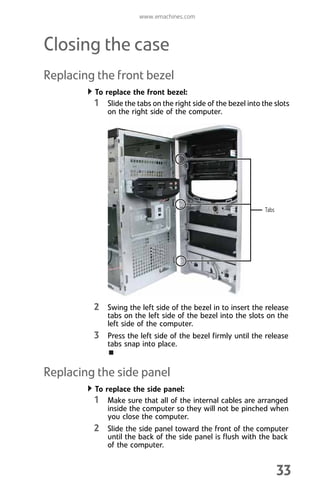
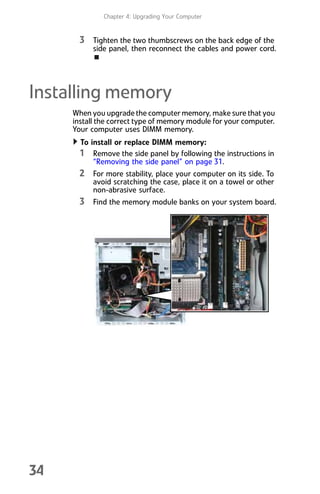
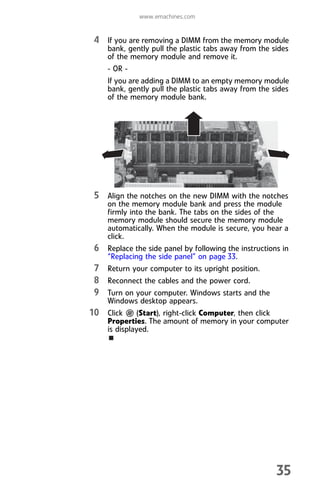
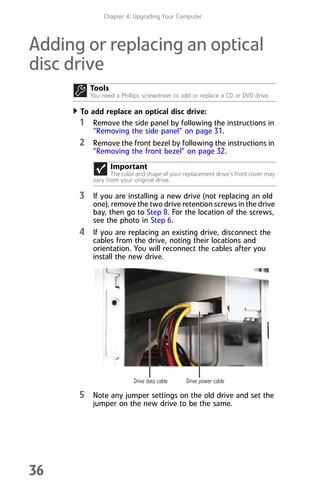
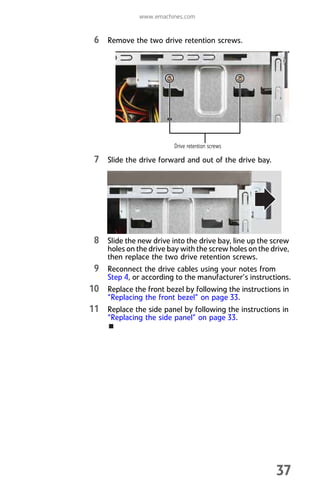
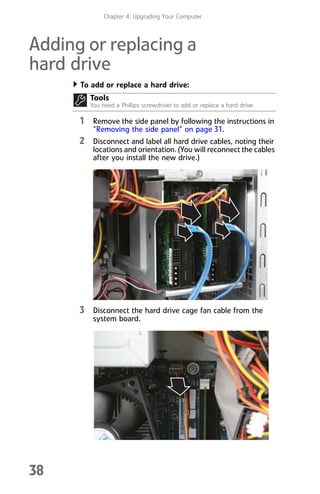
- Chapters on checking the computer components, setting up the computer, upgrading hardware, maintaining the computer, troubleshooting issues, and legal notices.
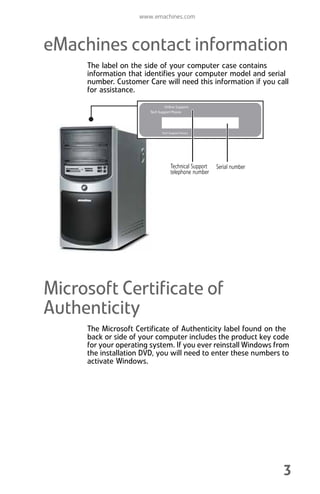
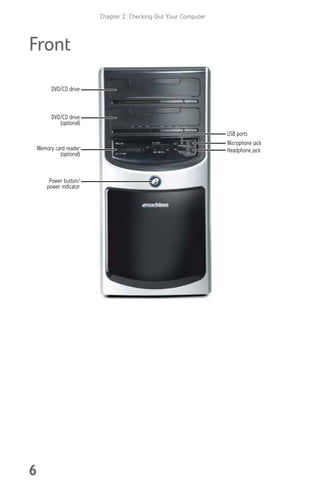
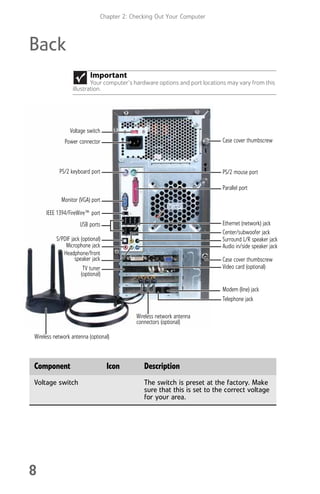
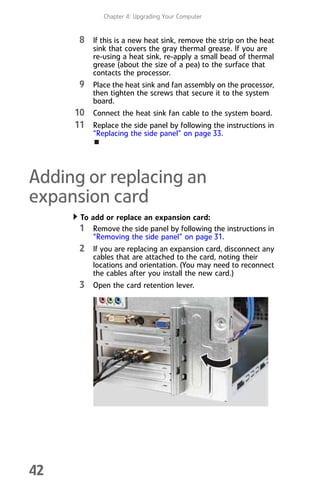
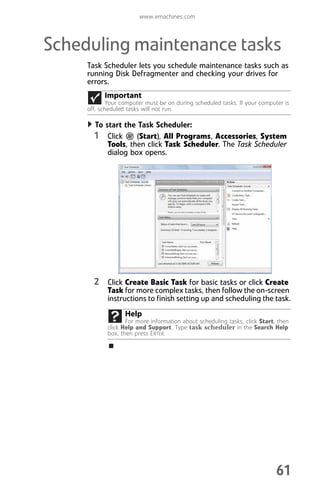
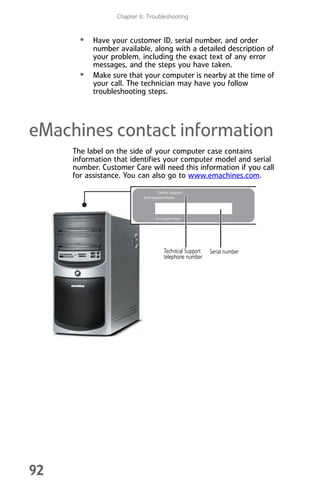
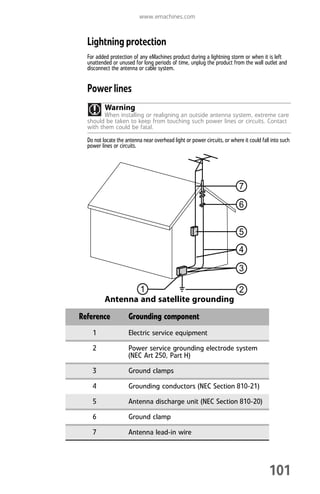
- The guide provides instructions on using and caring for the computer and includes illustrations of the front and back of the computer. It also provides information on how to contact the manufacturer for support.