This document provides instructions for using the various modes of a CASIO watch, including:
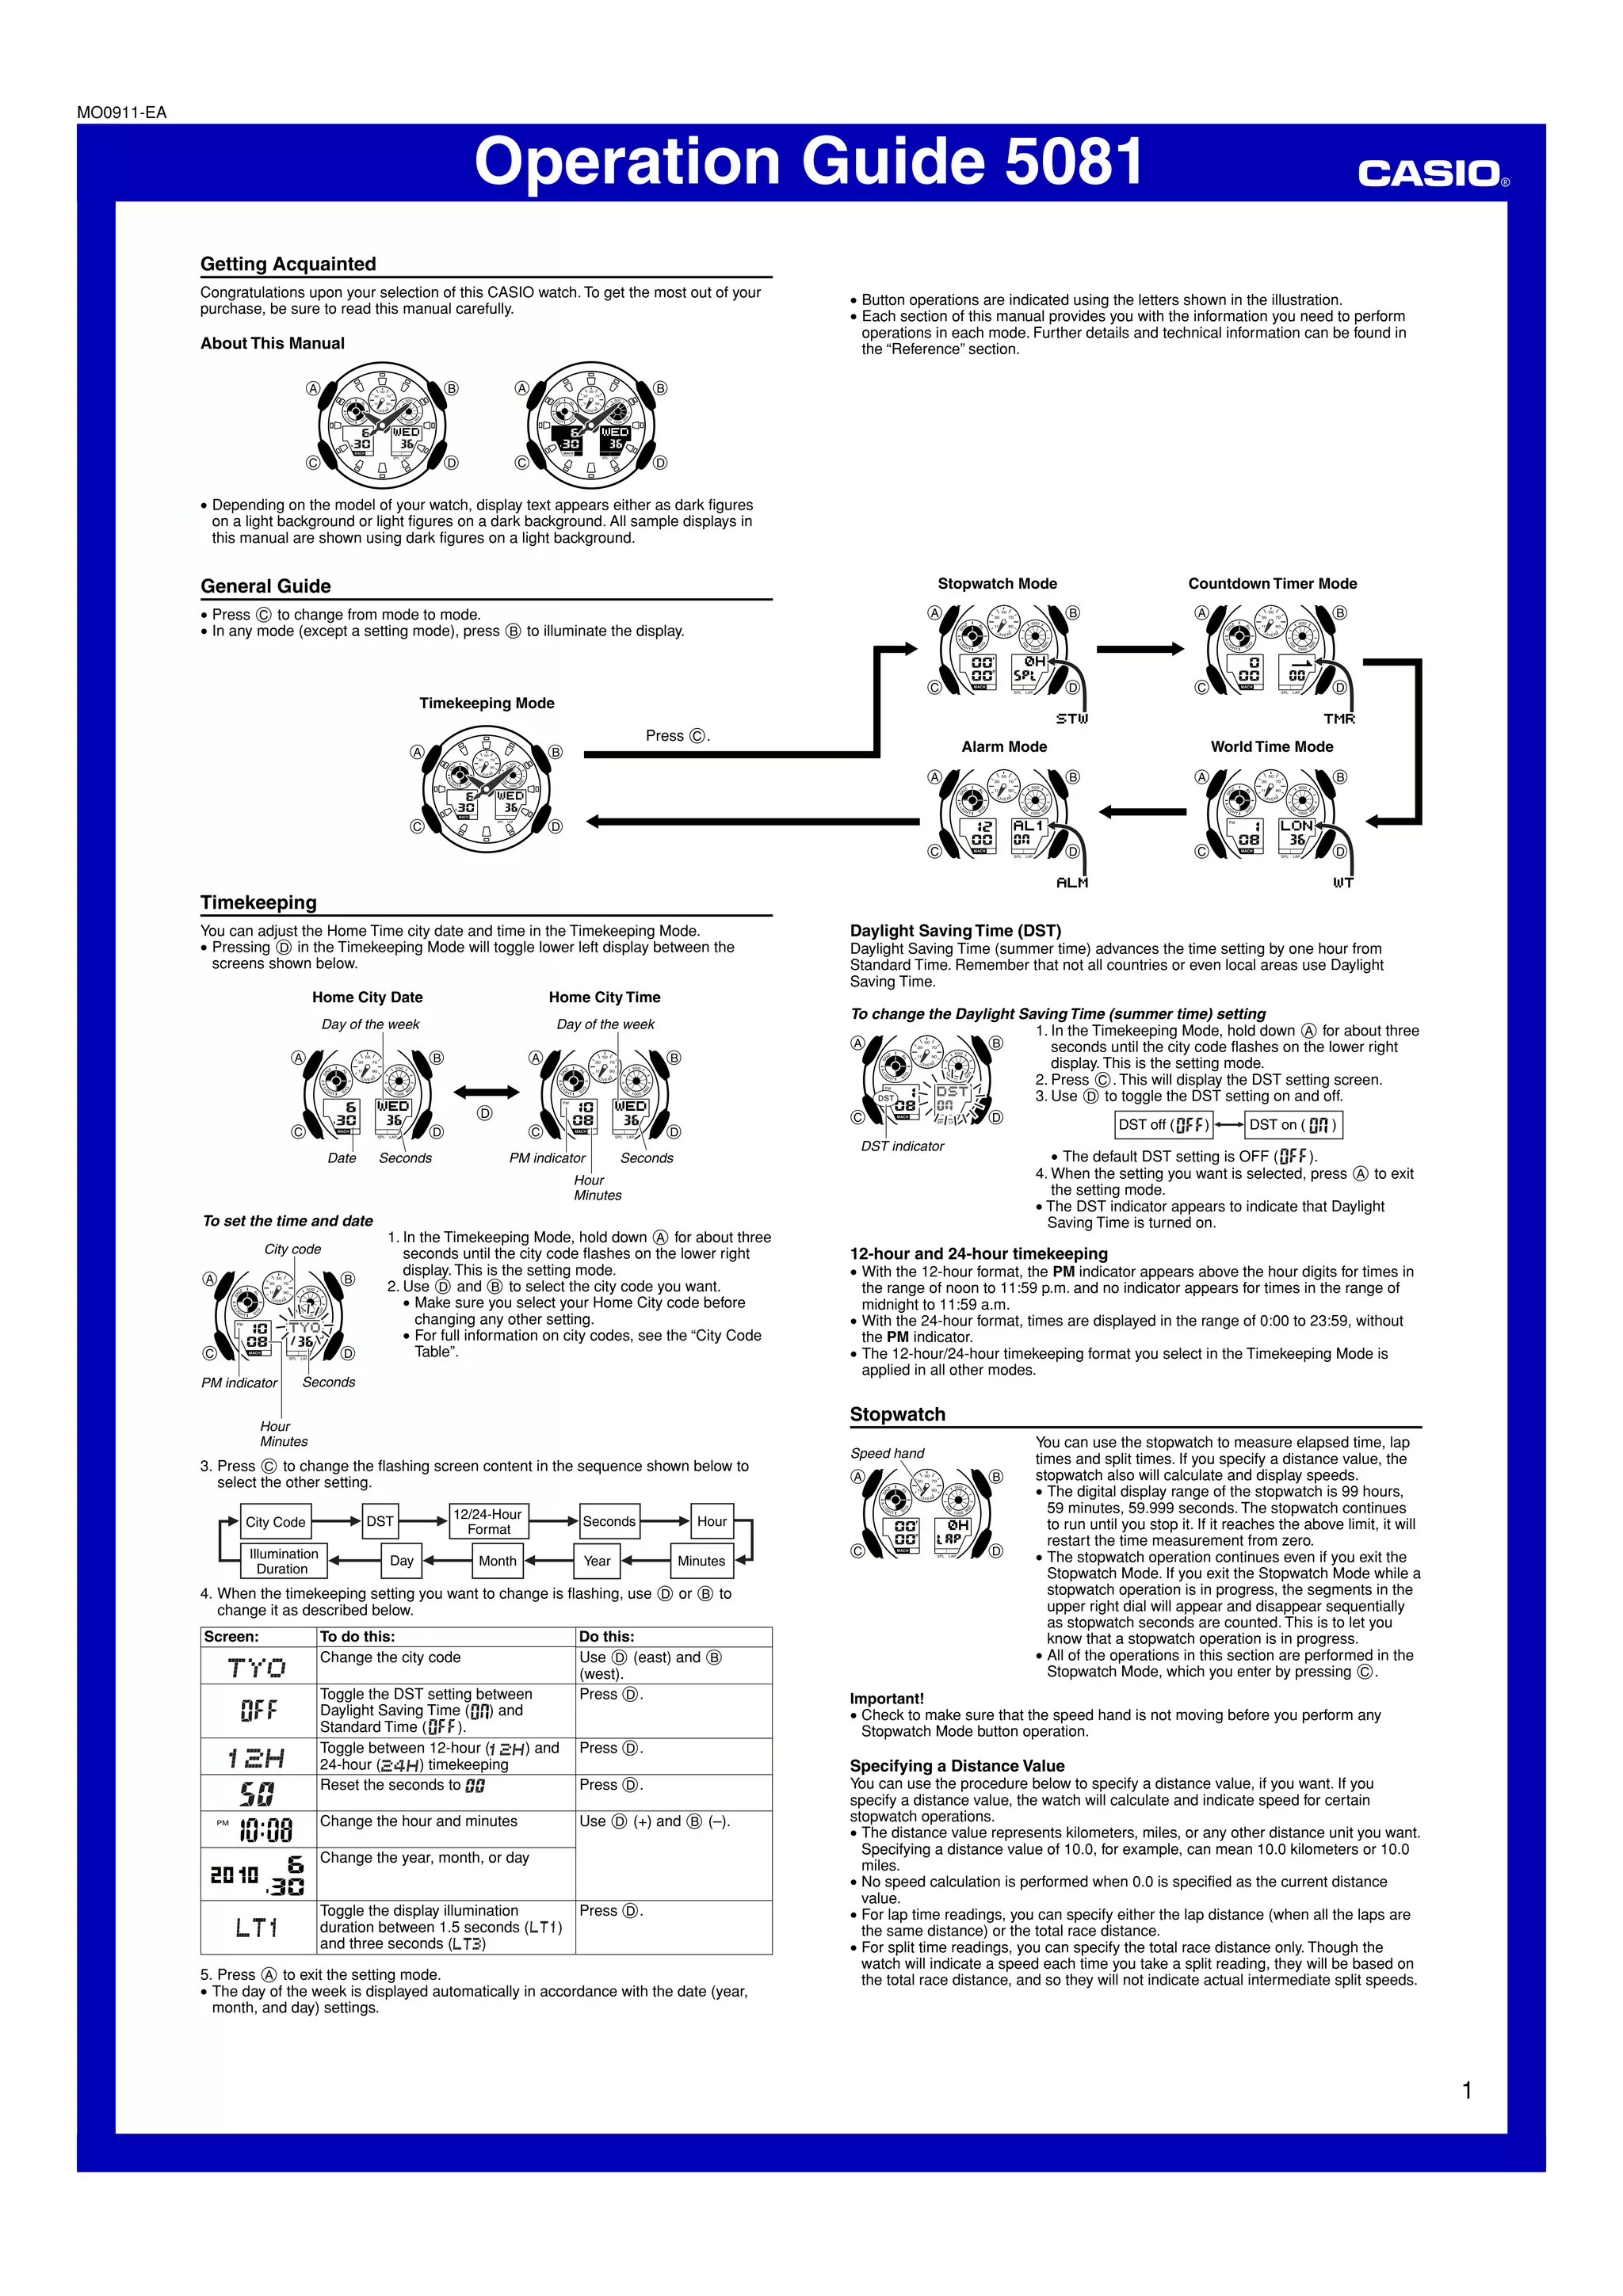
1. The Timekeeping Mode allows you to set the home time, date, and format. Settings like city code, time, date, and daylight saving time can be adjusted.
2. The Stopwatch Mode measures elapsed time, lap times, and split times. Specifying a distance value enables speed calculation. Lap and split times can be taken and elapsed time measured.
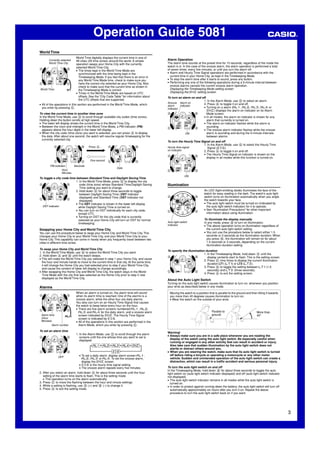
3. Modes like Alarm, Countdown Timer, and World Time are available by pressing buttons. Instructions explain features like 12/24-hour formats and daylight saving time adjustment.
4. Detailed setting procedures and button operations are provided