This document provides an overview of the EndNote guided tour for Windows users. It outlines the key parts of the tour, which introduce the basics of using EndNote for storing references and writing papers. The tour covers opening and working with an EndNote library, entering references, searching online databases and importing references, searching a library and creating bibliographies, and using EndNote citations in Microsoft Word documents. It also briefly discusses setting preferences and resources for further learning about EndNote. The guided tour is designed to familiarize users with important EndNote features and functions in a structured manner.


![EndNote X9 Guided Tour: Windows Page 25 of 41
Copyright © Clarivate Analytics 2018 June 2018
(Hipposideros larvatus) as a case study to investigate the variations
of echolocation calls when bats from one colony were introduced singly
into the home cage of a new colony or two bats from different colonies
were cohabitated together for one month. Our experiments showed that
the single bat individual altered its peak frequency of echolocation
calls to approach the call of new colony members and two bats from
different colonies adjusted their call frequencies toward each other
to a similar frequency after being chronically cohabitated. These
results indicate that the 'compromise' in echolocation calls might
be used to ensure effective mutual communication among bats.
DOI: 10.1371/journal.pone.0151382
PMCID: PMC4814132
PMID: 27029005 [PubMed - indexed for MEDLINE]
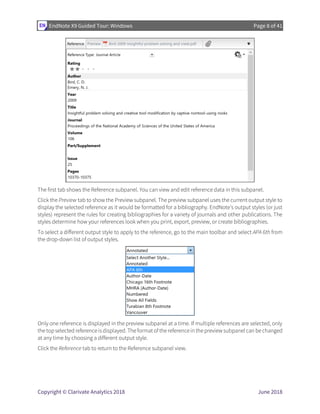
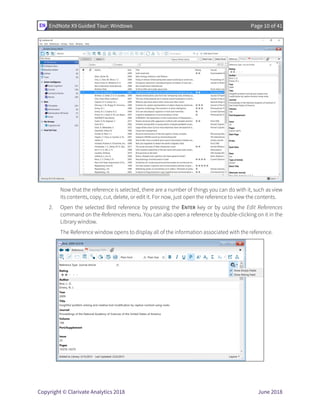
To use this information effectively, each piece of bibliographic information must be consistently tagged so
it can be directed to the correct EndNote field.
Database providers typically offer several different download formats. Regardless of which system you are
searching, you need to save the references in a tagged format to a text file.
For this tour, we will save and import a text file of PubMed references in the tagged MEDLINE format. An
example of a portion of the reference above in this format would appear like this:
PMID- 27029005
OWN - NLM
STAT- MEDLINE
DA - 20160331
DCOM- 20160804
LR - 20160406
IS - 1932-6203 (Electronic)
IS - 1932-6203 (Linking)
VI - 11
IP - 3
DP - 2016
TI - 'Compromise' in Echolocation Calls between Different
Colonies of the Intermediate Leaf-Nosed Bat(Hipposideros larvatus).
PG - e0151382
LID - 10.1371/journal.pone.0151382 [doi]
Each tag at theleft oftheexamplecan bemapped toacorresponding EndNotefield. Ifdata isinconsistently
tagged, or poorly delimited, it may not be possible to import all the data accurately.](https://image.slidesharecdn.com/endnotex9guidedtour-windows-191121145503/85/End-note-x9_guided_tour-windows-25-320.jpg)