Download to read offline
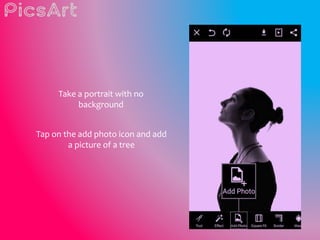
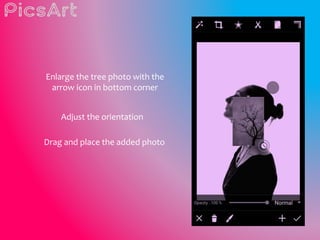
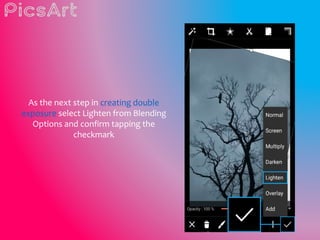

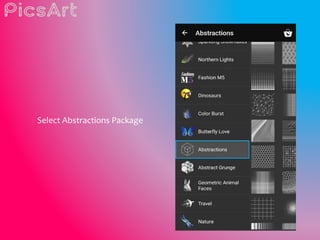
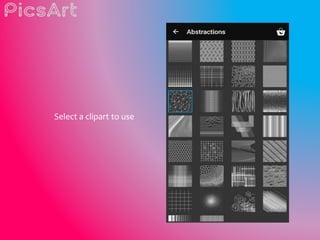
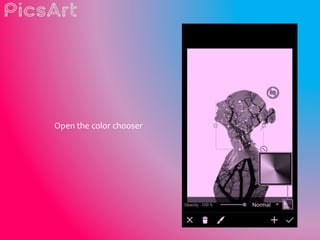
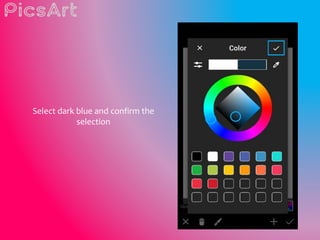
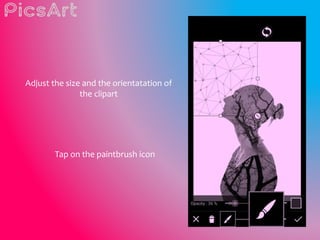

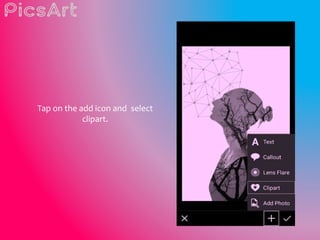
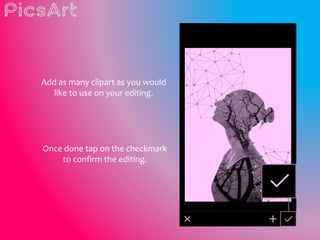
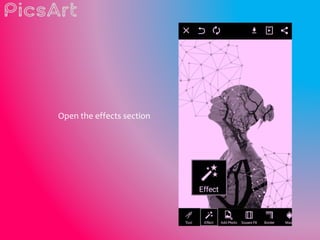
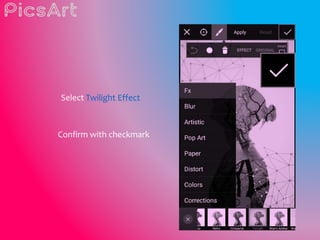
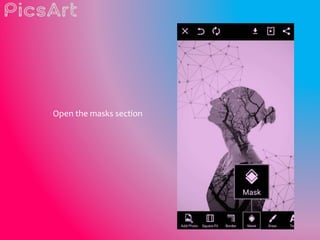
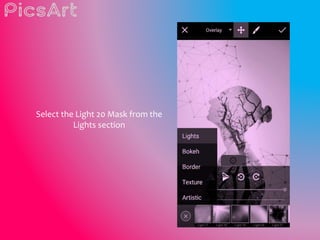

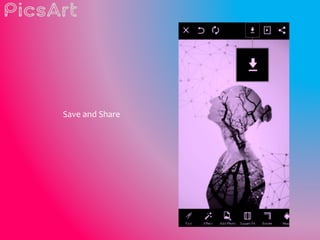

This 3 sentence summary provides the key steps for creating a double exposure photo using PicsArt: Take a portrait photo without a background, add a second photo like a tree and enlarge it, then select the Lighten blending option to combine the photos; add clipart from the app, erase parts that overlap, and apply effects like Twilight and a light mask to finish the double exposed photo.