Downloaded 21 times

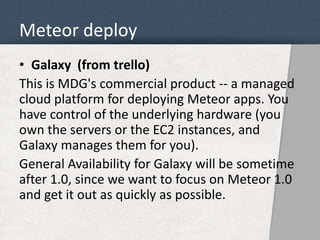
![Meteor deploy
$ meteor deploy myapp.meteor.com
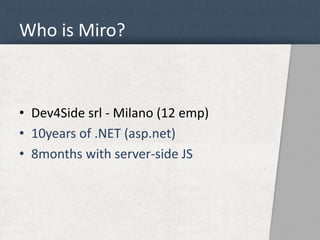
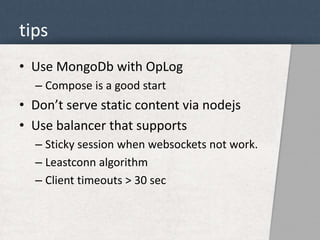
• Part of the core
• Running on Meteor's infrastructure
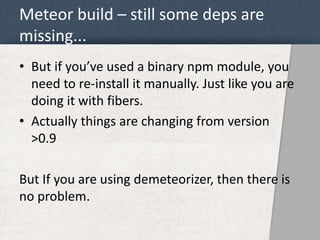
• The easiest way to deploy your application is to use meteor
• Your application is now available at myapp.meteor.com
Client
[Meteor]
Server
meteor.com](https://image.slidesharecdn.com/deploymeteorinproduction-141108022159-conversion-gate01/85/Deploy-meteor-in-production-6-320.jpg)
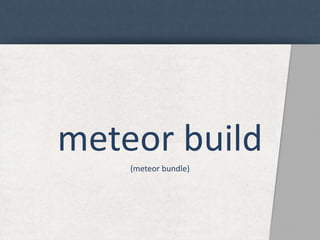
![Meteor build
$ meteor build my_directory
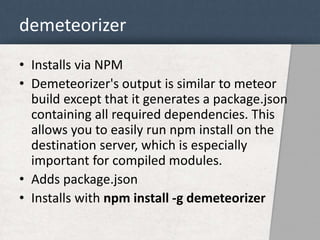
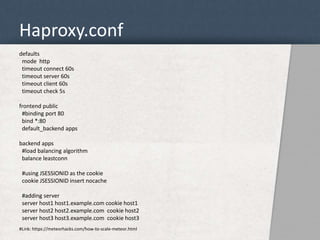
• Part of the meteor core
• Running on your own infrastructure
• Generates a fully-contained Node.js application in the form of a tarball
Client
[Meteor]
Server
[Node.js
+ deps]
(bundle).
• Used also for generating mobile versions (android/ios)
• Starts the app with: node main.js
• Still not documented in docs.meteor.com](https://image.slidesharecdn.com/deploymeteorinproduction-141108022159-conversion-gate01/85/Deploy-meteor-in-production-9-320.jpg)

![demeteorizer
$ meteor build my_directory
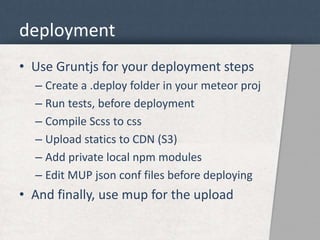
• Running on your own infrastructure
• Generates a fully-contained Node.js application in the form of a tarball
Client
[Meteor]
Server
[Node.js]
(bundle)
• Starts the app with: node main.js](https://image.slidesharecdn.com/deploymeteorinproduction-141108022159-conversion-gate01/85/Deploy-meteor-in-production-13-320.jpg)
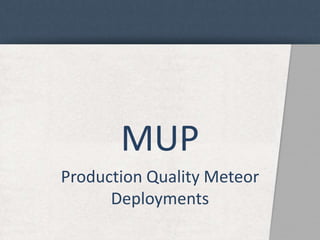
![MUP
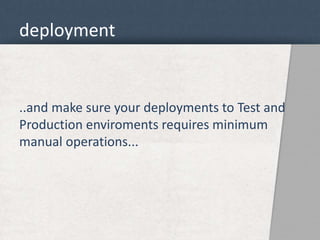
• Installs via NPM
• Developed by Arunoda
• Single command server setup
• Single command deployment
• Autostarts app (upstart and forever)
• Access, logs from the terminal (supports log tailing)
• Support for multiple meteor deployments
Client
[Meteor]
Server
[ubuntu/debian
opensolaris]](https://image.slidesharecdn.com/deploymeteorinproduction-141108022159-conversion-gate01/85/Deploy-meteor-in-production-17-320.jpg)
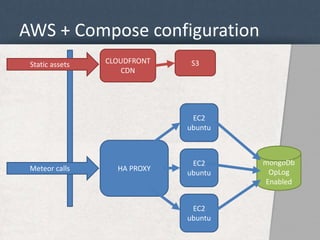


The document provides a comprehensive guide on deploying Meteor applications in a production environment, highlighting various deployment methods such as Meteor deploy, Meteor build, and tools like Demeteorizer and MUP. It emphasizes the importance of MongoDB with oplog, using AWS for scaling, and employing a load balancer for optimal performance. Additional tips include configuring deployment steps using Grunt.js and ensuring minimal manual operations for production deployments.


![[WSO2] Deployment Synchronizer for Deployment Artifact Synchronization Betwee...](https://cdn.slidesharecdn.com/ss_thumbnails/wso2depsyncforartifactsynchronizationofclusternodes-121031005746-phpapp02-thumbnail.jpg?width=640&height=640&fit=bounds)


![The End of Dinosaurs happened because of [a] Meteor](https://cdn.slidesharecdn.com/ss_thumbnails/meteor-131122103211-phpapp02-thumbnail.jpg?width=640&height=640&fit=bounds)