Download to read offline

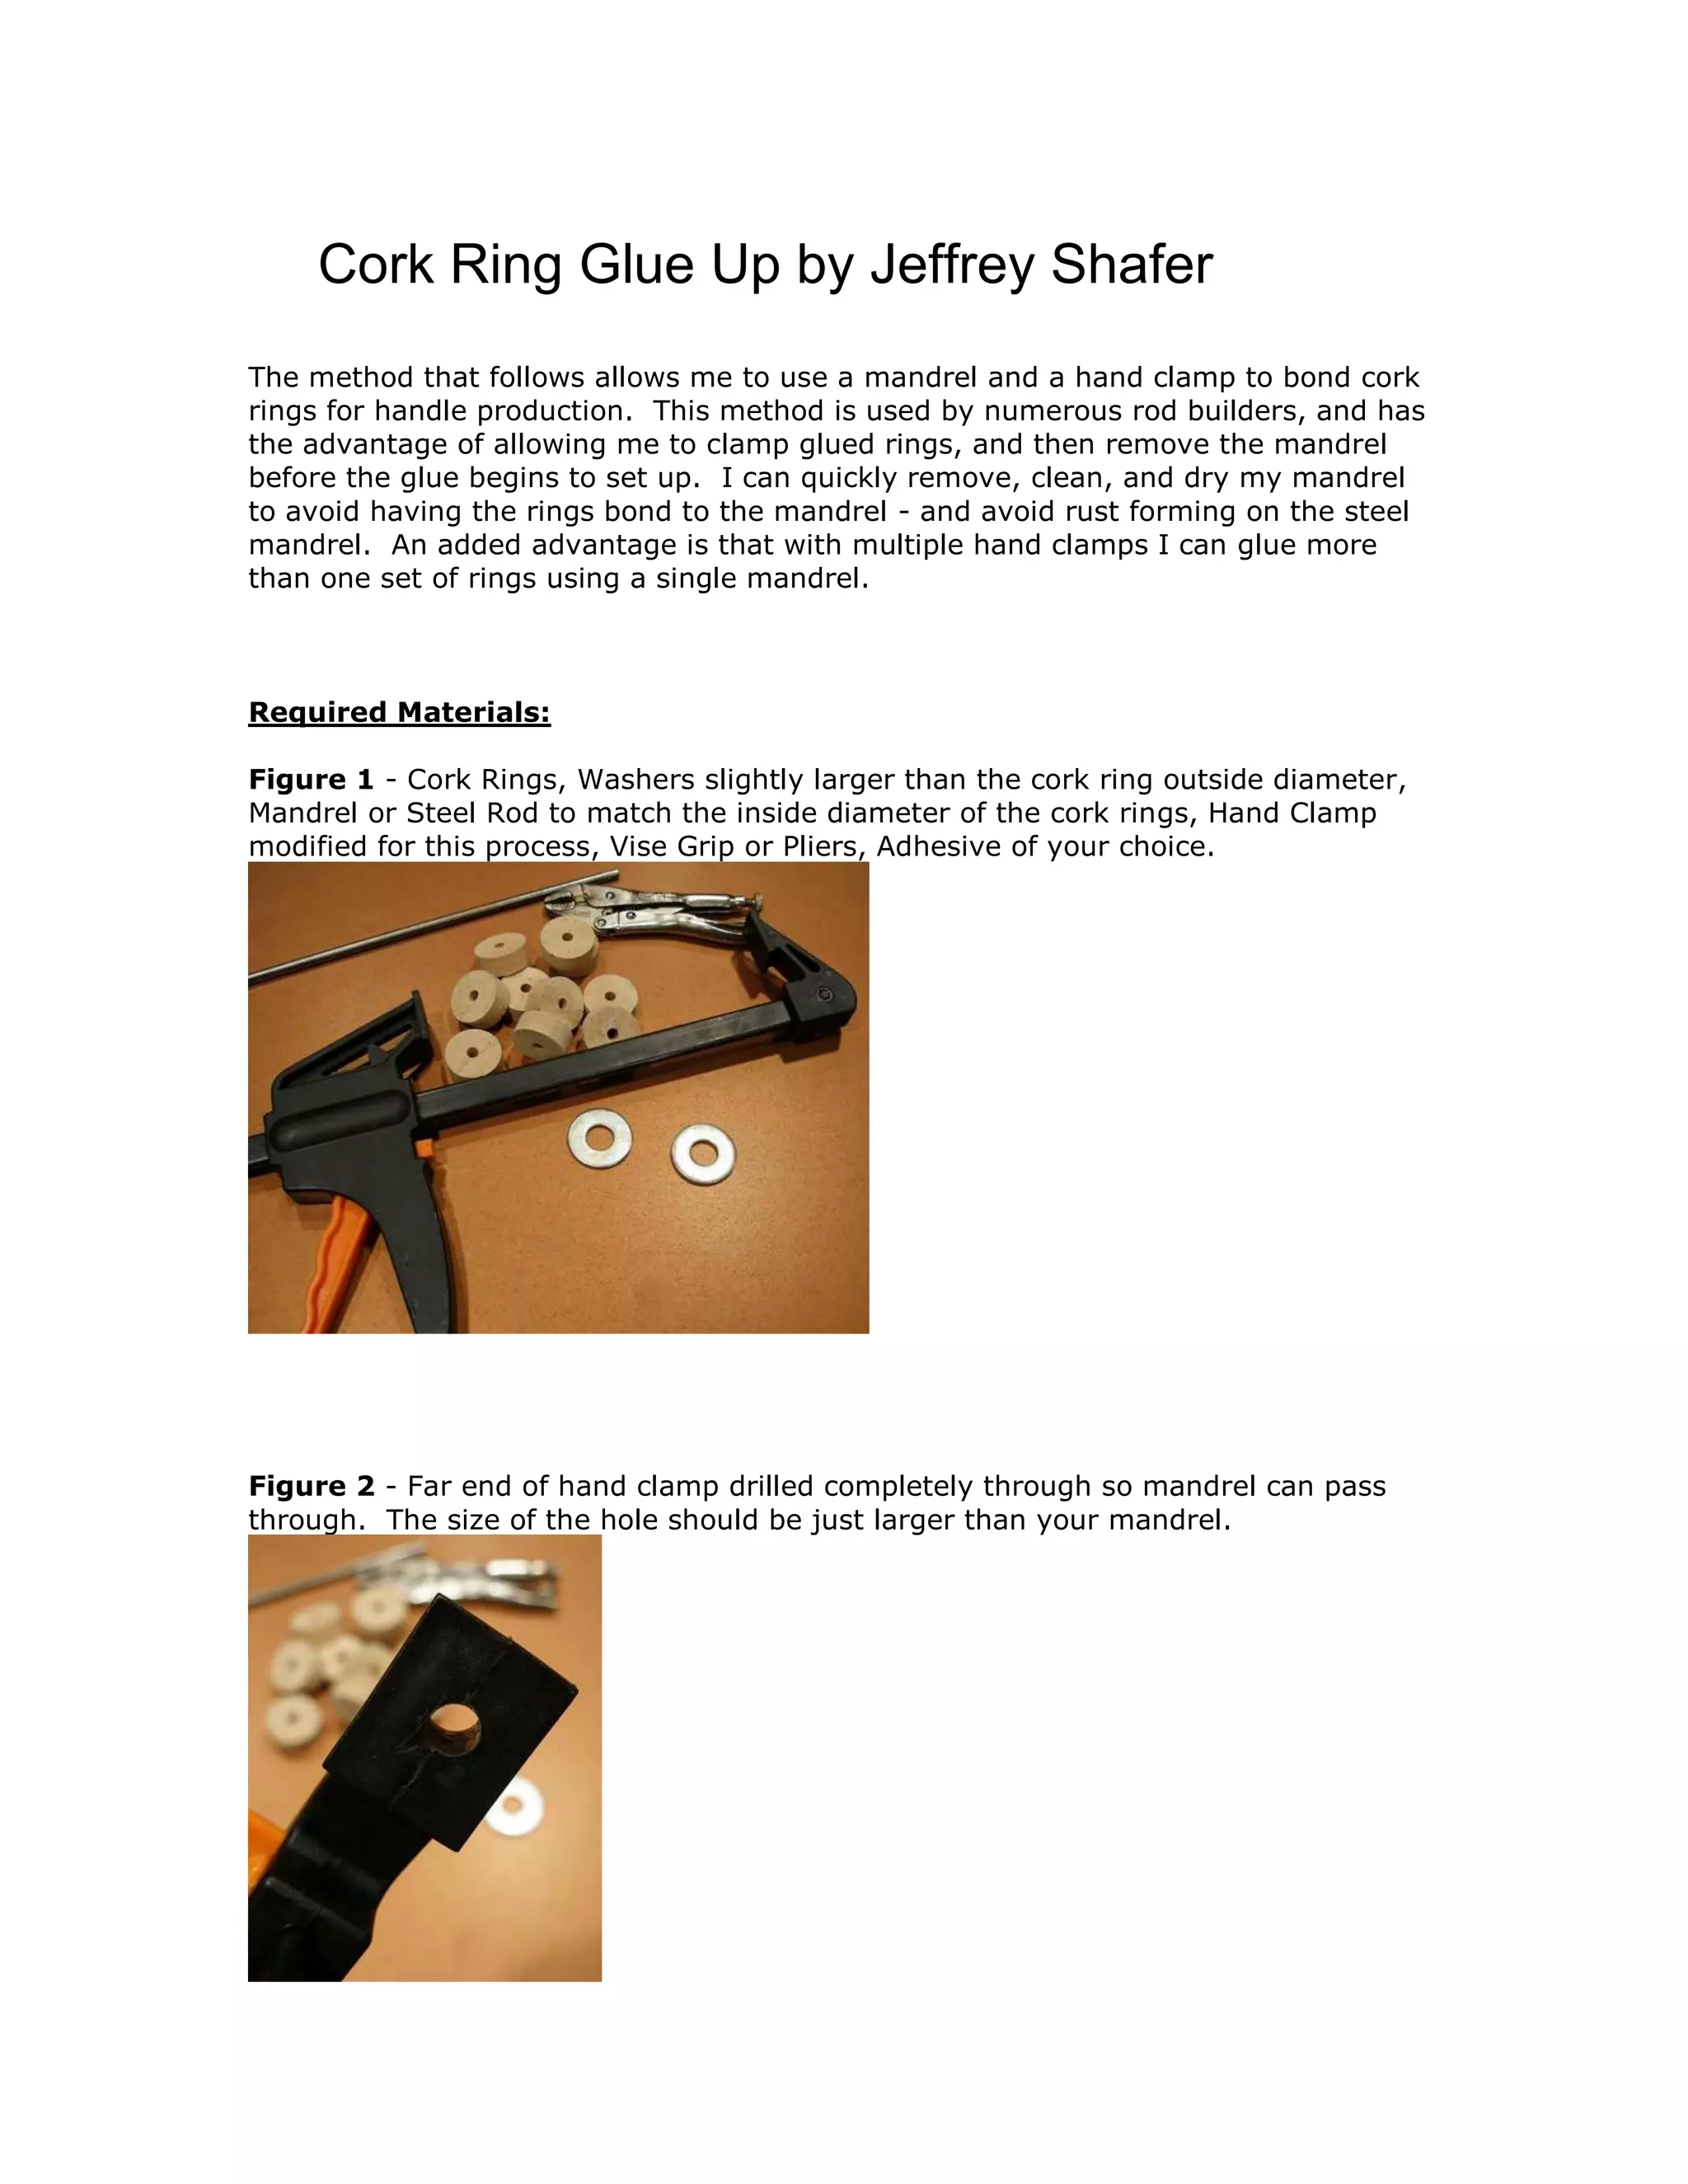
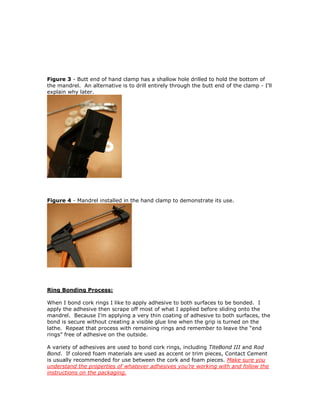
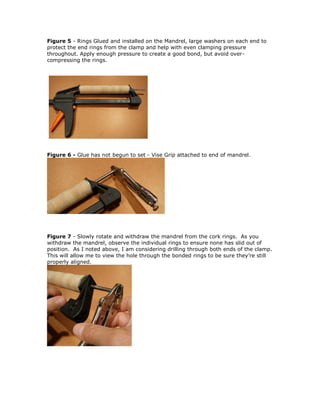
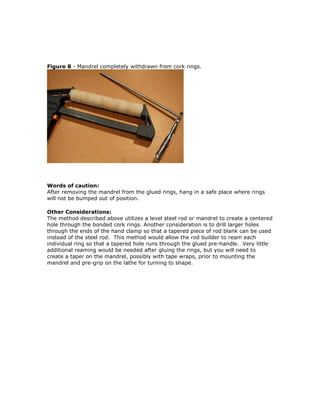

This document describes a method for gluing cork rings together to form handles using a mandrel and hand clamp. The method involves applying adhesive to the cork rings, sliding them onto the mandrel, and clamping them with the hand clamp. The mandrel can then be removed, leaving the glued cork rings clamped together on the hand clamp until the glue sets. Using this method allows easy removal of the mandrel before the glue sets to avoid the rings bonding to the mandrel.


