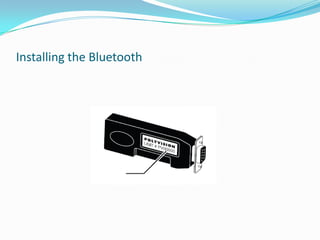
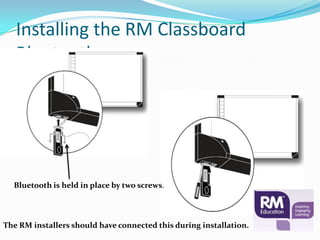
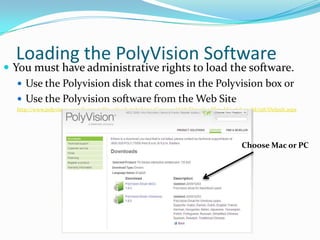
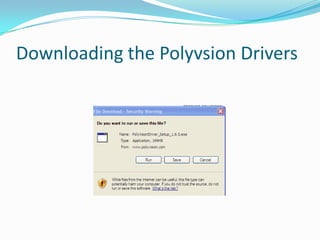
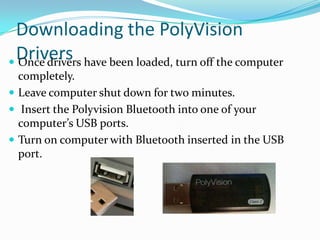
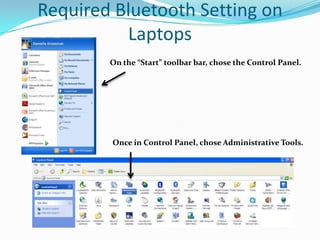
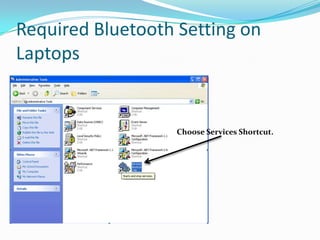
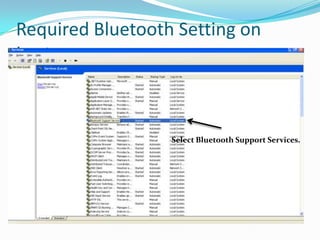
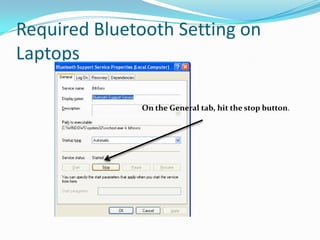
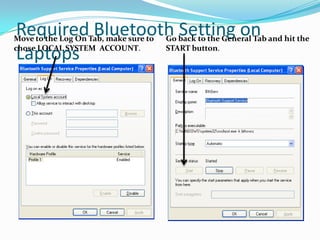
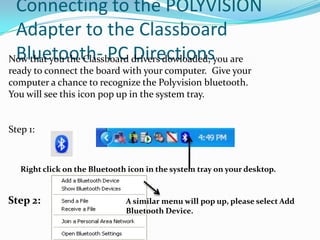
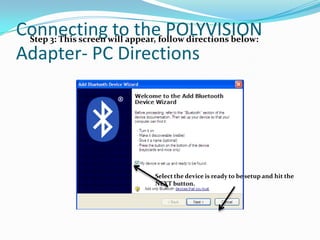
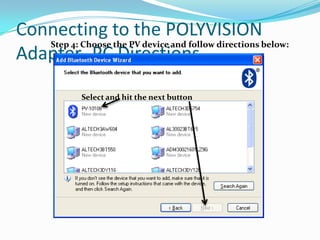
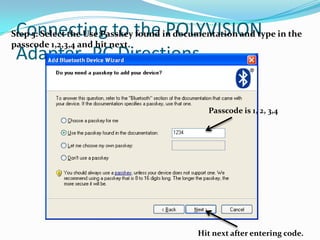
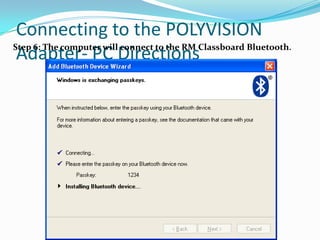
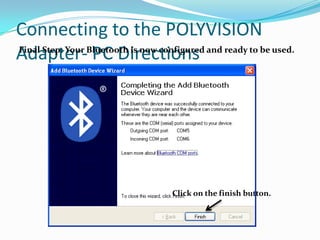
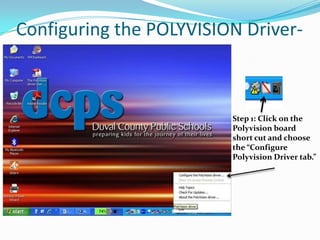
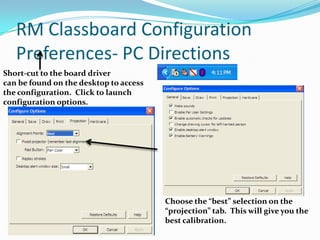
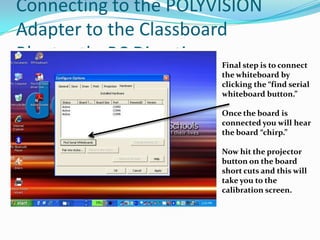
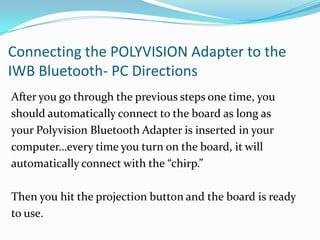
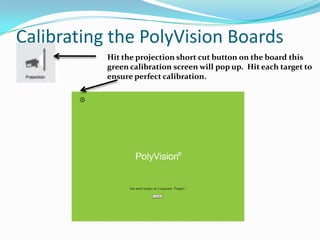
The document provides instructions for connecting an RM Classboard Touch interactive whiteboard to a computer via Bluetooth. It discusses downloading the necessary PolyVision software and drivers. For PCs, it describes setting the Bluetooth service to start automatically and pairing the computer to the IWB's Bluetooth adapter by entering a passcode. Once configured, the computer should automatically connect to the IWB on startup. The document also outlines calibrating the IWB screen.
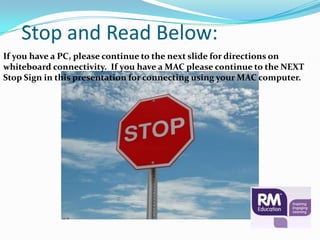


![Rm education -duval_classroom_technologies_presentation_8.10[1]](https://cdn.slidesharecdn.com/ss_thumbnails/rmeducation-duvalclassroomtechnologiespresentation8-101-100825103427-phpapp01-thumbnail.jpg?width=640&height=640&fit=bounds)


![Rm Training Demo Classroom Project 2 10[1]](https://cdn.slidesharecdn.com/ss_thumbnails/rmtraining-democlassroomproject2-101-100211105139-phpapp01-thumbnail.jpg?width=640&height=640&fit=bounds)


![5G Explained! A High Level Overview [Introduction]](https://cdn.slidesharecdn.com/ss_thumbnails/5gexplainedahighleveloverview-260119165306-cc137a3e-thumbnail.jpg?width=640&height=640&fit=bounds)


