Downloaded 16 times


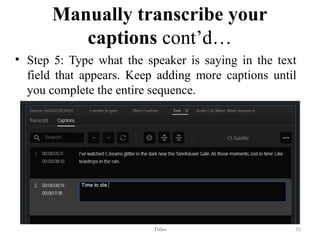
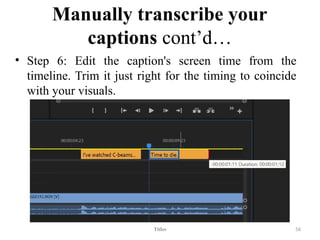
![Manually transcribe your
captions cont’d…
• Step 3: Add your audio or video footage and adjust
the playhead on the wavelength where the first
speaker is talking.
• Step 4: Head to the Text panel and click the [+] icon
under captions to add new caption segments.
Alternatively, use the shortcut Ctrl+Alt+C.
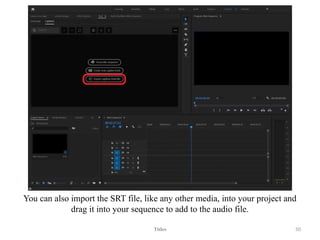
Titles 54](https://image.slidesharecdn.com/chapter3-241006204454-30048f1a/85/Chapter-3-Titles-in-adobe-premiere-Pro-pptx-54-320.jpg)


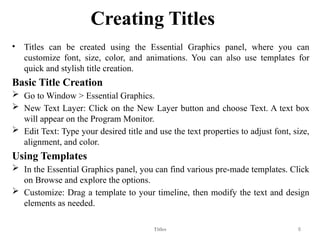
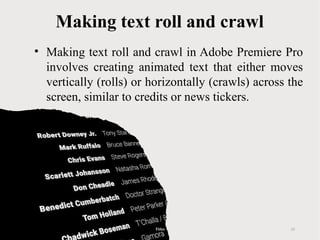
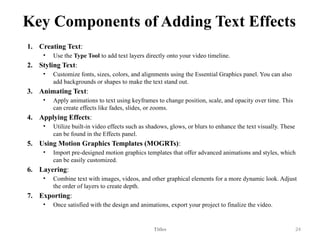
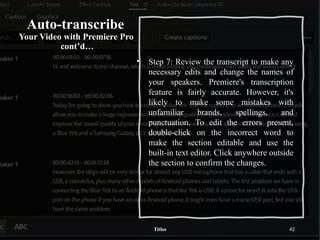
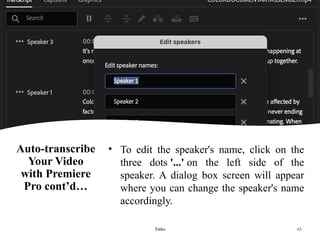
Chapter 3 focuses on the creation and styling of titles in video production, covering essential techniques for adding text overlays, graphics, and animations. It details the process of creating various types of titles including lower thirds, main titles, and end credits, and discusses the integration of text effects and transcription features in Adobe Premiere Pro. The chapter also provides step-by-step guides for rolling and crawling text, as well as tips for maintaining clarity and consistency in title design.