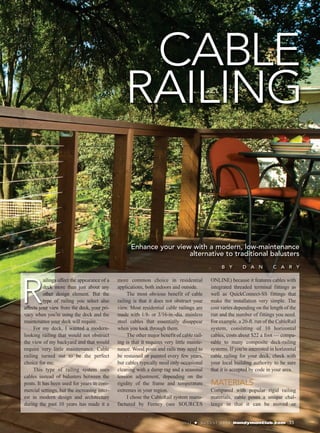
This document provides instructions for installing cable railing on a deck. Some key points:
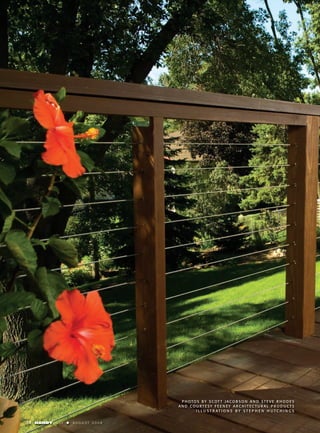
- Cable railing uses cables instead of balusters for an open view and low maintenance.
- Materials include stainless steel cable and exterior-rated wood posts. Cables are spaced no more than 3 inches apart.
- A drilling template ensures guide holes are spaced correctly. Holes are drilled through posts to thread the cable.
- Cables can be run continuously or terminate at corners using separate runs and fittings.
- Posts are secured to deck framing and blocking provides reinforcement before tightening the cables.