Download to read offline
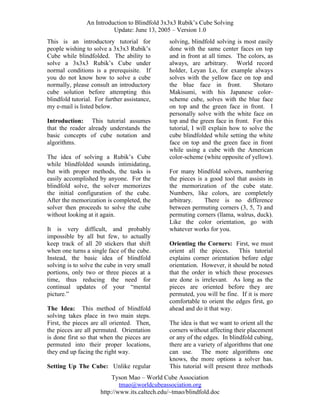
![An Introduction to Blindfold 3x3x3 Rubik’s Cube Solving
Update: June 13, 2005 – Version 1.0
very powerful.
Try the following
algorithm on a solved cube: R’ (D R D’
R’ D R) U’ R’ (D’ R D R’ D’ R) U.
Understanding exactly what this
algorithm does is essential to its
application. First of all, you’ll notice
that this algorithm twists two corners in
the top layer. The bottom right corner is
twisted clockwise and the bottom left
corner is twisted counter-clockwise.
The mechanism of this algorithm is very
powerful. The first R’ places the bottom
right corner in the top layer into the
bottom layer. The next part, (D R D’ R’
D R), twists the corner while creating
some junk on the bottom layer as well.
U’ R’ moves the bottom left corner in
the top layer into the bottom layer and
(D’ R D R’ D’ R) twists that corner
counter-clockwise while reversing the
junk on the bottom. U then reverses the
U’ move which moved the corner over
in the first place.
The fundamental moves in this corner
orientation method are (D R D’ R’ D R)
and (D’ R D R’ D’ R). The first one
performs clockwise twists while the
second one performs counter-clockwise
twists. Now, attempt the algorithm R’
(D’ R D R’ D’ R) U’ R’ (D R D’ R’ D
R) U. You will notice that the sections
in parentheses are reversed, and so is the
effect on the corners. The corner that
was previously twisted clockwise is now
twisted counter-clockwise and vice
versa. Now attempt the algorithm R’ (D
R D’ R’ D R) U2 R’ (D’ R D R’ D’ R)
U2. You will notice that this algorithm
is the same as the first, except there is a
U2 move instead of a U’. The effect is
that it twists the diagonal corners
instead. Notice how the U2 moves
brings the diagonal corner into position
and then the R’ move pushes it into the
bottom layer.
Now, try the following algorithm: R’ (D
R D’ R’ D R D’) U’ R’ (D R D’ R’ D R
D’) U’ R’ (D R D’ R’ D R D’) U2.
First, notice that the portions of the
algorithm in the parentheses are all
identical. Next, notice that those portion
are the same as the fundamental clockwise twist algorithms, but with an added
D’ at the end. Now, notice that the first
R’ pushes a corner into the bottom layer.
The part in the parenthesis twists the
corner clockwise. U’ R’ moves the next
corner over and we also twist it
clockwise. We repeat this a third time,
and finally, U2 puts all the corners back
in their original locations.
The
algorithm has twisted three corners all
clockwise. Attempt the same thing, but
substitute (D’ R D R’ D’ R D) into the
algorithm to perform a counterclockwise three-cycle.
For the advanced blindfold solver,
algorithms such as [(R U R’ U’)(R U2
R’ U2)]x2, [(R U2 R’ U2)(R U R’
U’)]x2, and their inverses can be very
powerful. Other multi-corner orientation
algorithms exist as well but they should
not be attempted until the solver is fully
comfortable with the basic set of
algorithms.
With these tools and a combination of
setup moves, you should now be able to
orient all of the corners of the cube.
Attempt to orient all the corners of the
cube with your eyes open.
Then,
attempt to memorize the corner
orientation of the cube and try to orient
them blindfolded.
Memorizing the
corner orientation should not be too
difficult, but if you need assistance,
please see the next section.
Tyson Mao – World Cube Association
tmao@worldcubeassociation.org
http://www.its.caltech.edu/~tmao/blindfold.doc](https://image.slidesharecdn.com/blindfold-131214070232-phpapp01/85/Blindfold-3-320.jpg)

This document provides an introduction to solving a Rubik's cube while blindfolded. It assumes the reader already knows how to solve a cube normally. The method involves first memorizing the scrambled state of the cube, then solving it in small portions without looking. Corner orientation is explained first, using algorithms that twist 1-2 corners at a time. A second method uses more intuitive algorithms to twist multiple corners simultaneously. Edge orientation is then covered, outlining the criteria for a correctly oriented edge and restrictions during the permutation step. The document provides detailed instructions on memorization techniques and algorithms to complete the blindfolded solve in two main steps: orientation then permutation.