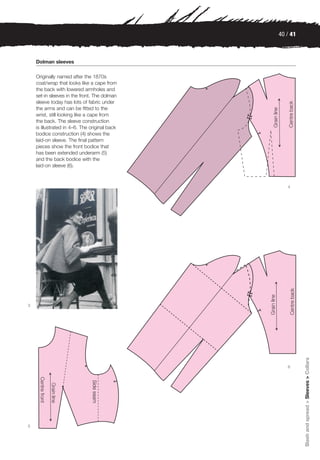
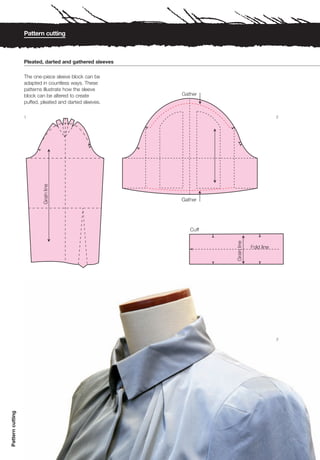
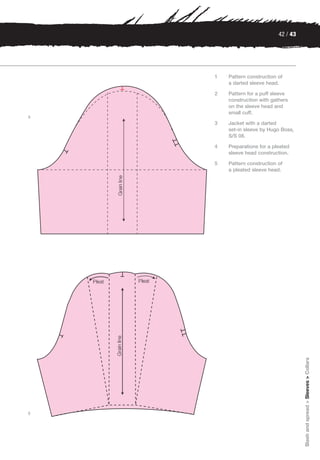
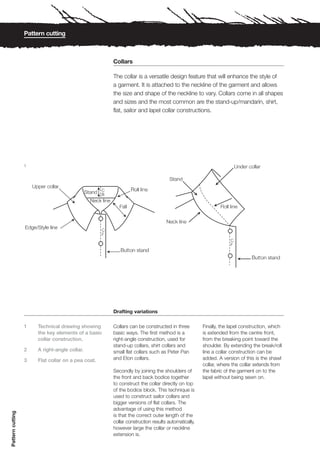
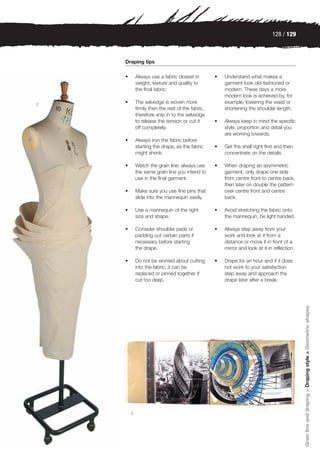
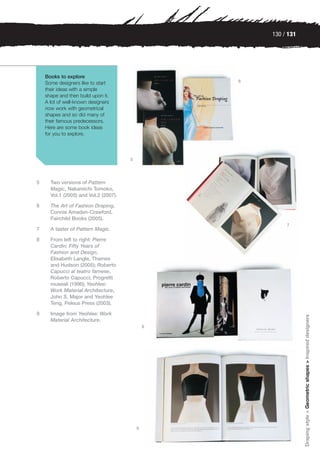
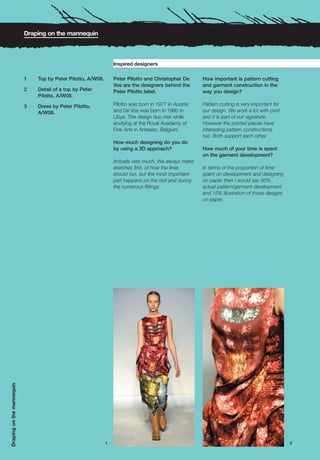
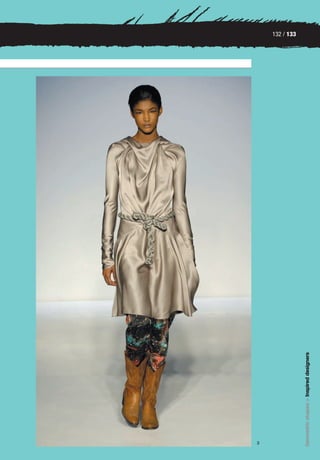
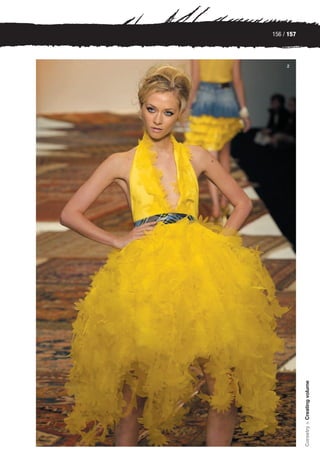
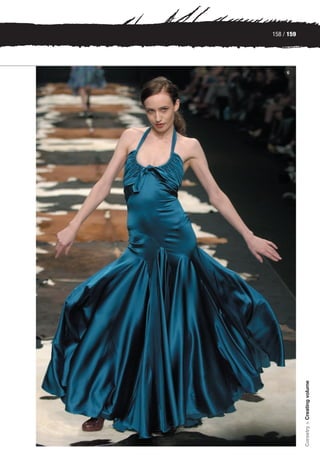
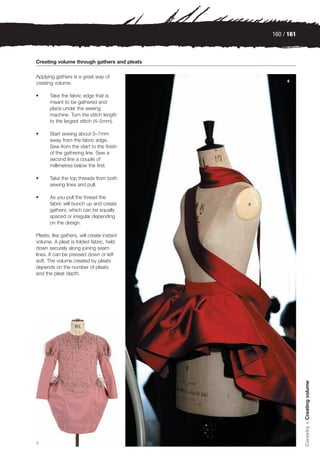
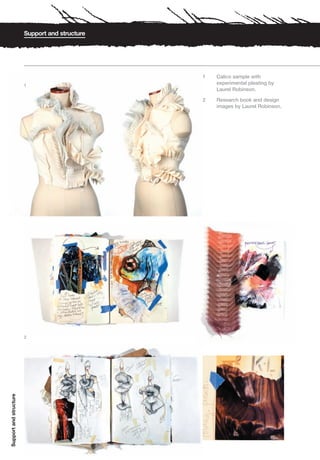
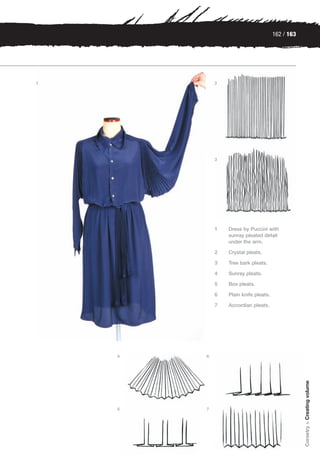
Downloaded 12,738 times


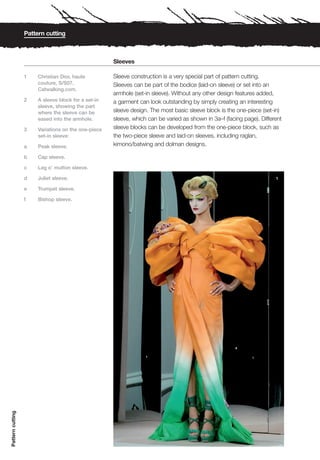


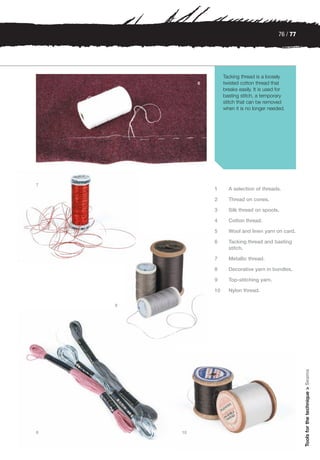

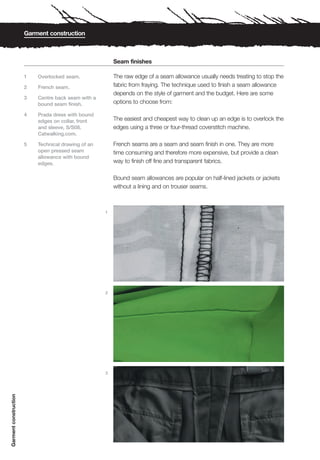
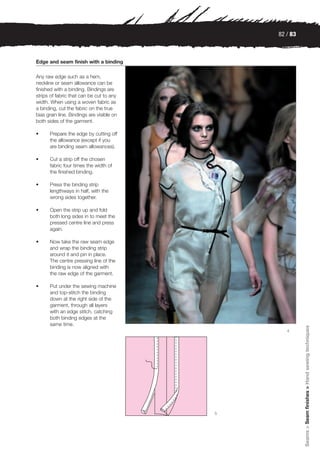
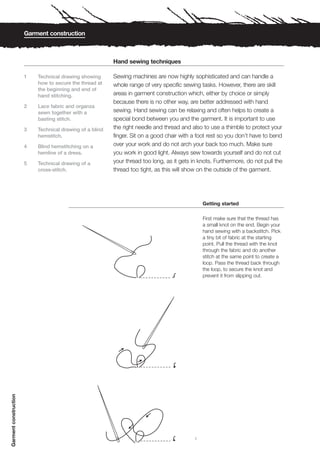

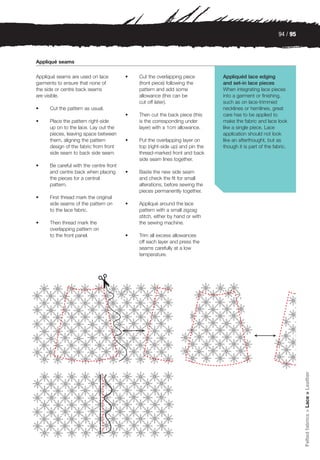


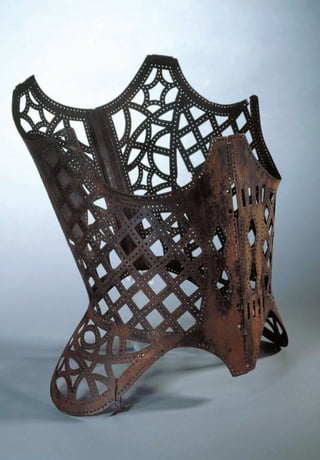


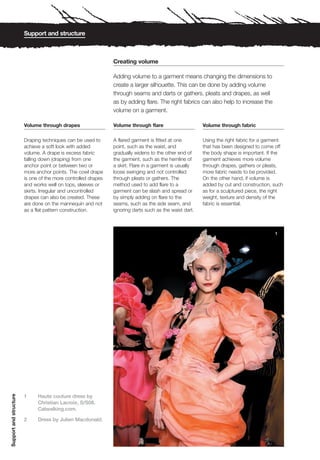
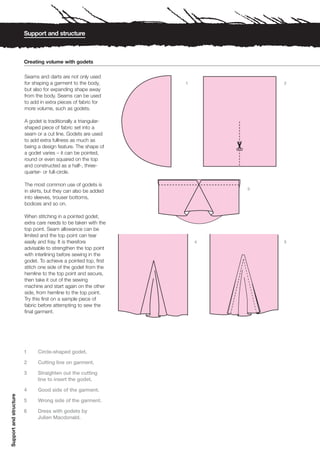
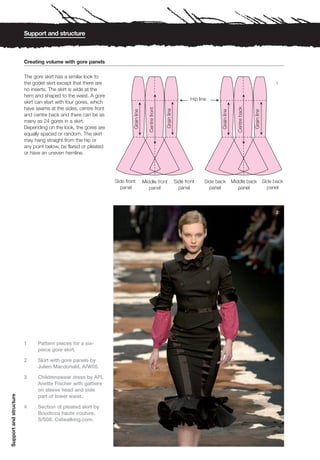


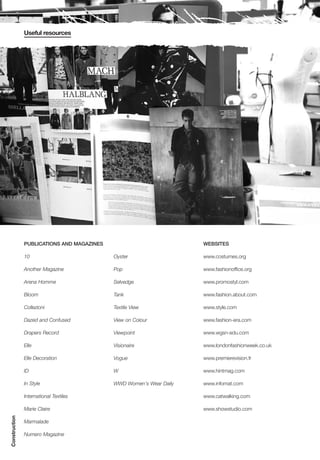
![Pongees Ltd The Button Queen William Gee
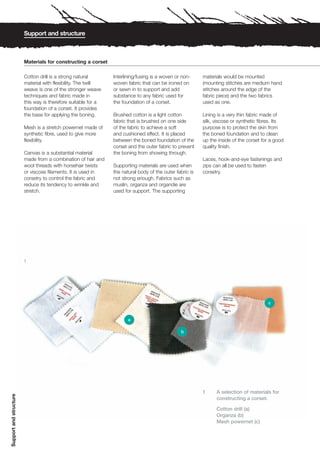
(Silks) (Buttons, buckles, fastenings) (Haberdashery, trimmings)
28 Hoxton Square, 19 Marylebone Lane, London 520 Kingsland Road,
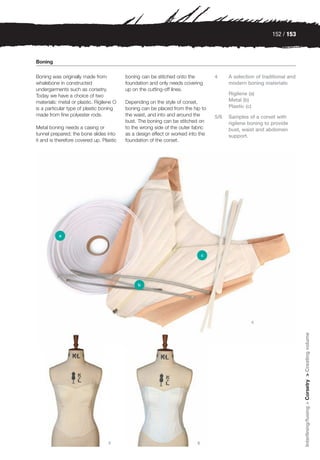
London EC1 Tel: 020 7935 1505 London E8 4AJ
Tel: 020 7739 9130
The Cloth House 2000 Tailoring Ltd
Riri Swiss (Fabrics) (Buttonholes, zips in any length,
(Zips and runners) 98 Berwick Street, canvas, tailoring tools [call first])
E.L. Watson 48 Elm Grove London W1 51 Lexington Street,
Orpington Kent BR6 0AD Tel: 020 7287 1555 London W1R 3LG
Tel: 01689 836471 Tel: 020 7439 1633
The Dover Book Shop
R.D. Franks Ltd (Fashion books)
(Fashion books and magazines) 18 Erlham Street,
5 Winsley Street London WC2H 9LN
London W1W 8HG Tel: 020 7836 2111
Tel: 020 7636 1244
V.M. Mason
Soho Silks (Zips, eyelets, studs, fastenings,
(Fabrics) jeans buttons)
24 Berwick Street, 49 Lawrence Road,
London W1 Tottenham N15 4EJ
Tel: 020 7434 3305 Tel: 020 8802 4227
Textile Kings Whaleys Ltd
(Fabrics) (Fabrics, samples available)
Useful resources
81 Berwick Street, Harris Court Gt Horton,
London W1 Bradford West Yorks BD7 4EQ
Tel: 020 7437 7372 Tel: 01274 576718](https://image.slidesharecdn.com/basicsfashiondesignconstruction2009bbs-120911054239-phpapp01/85/Basics-fashion-design-construction-2009-bbs-190-320.jpg)

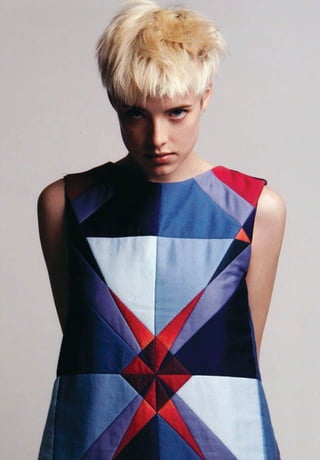
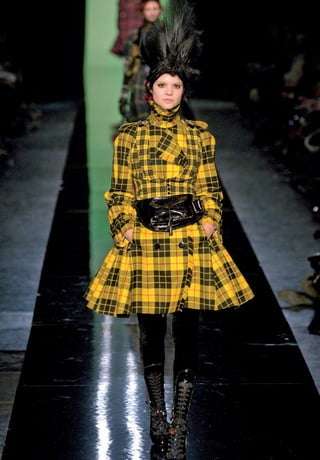
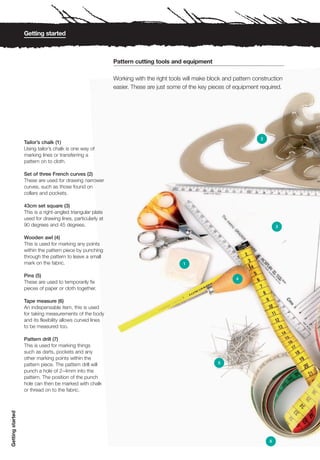
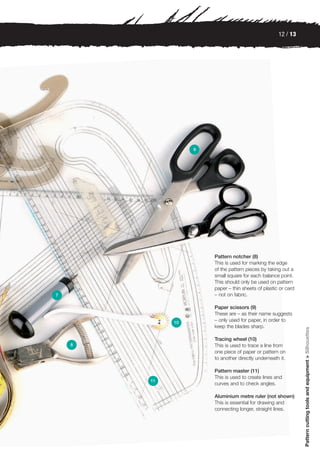
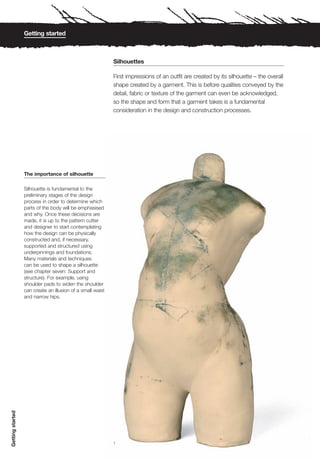
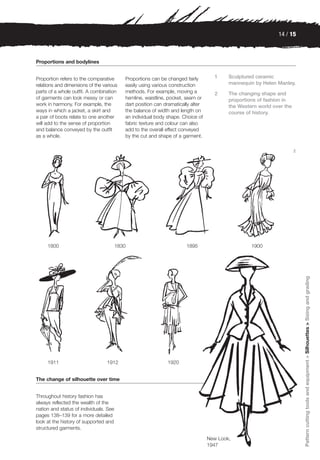
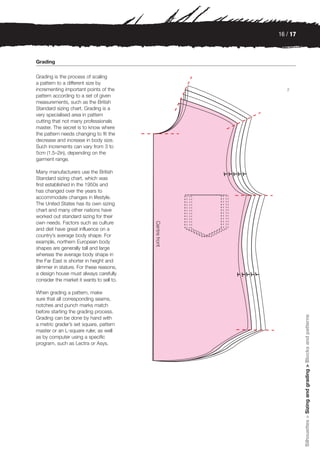
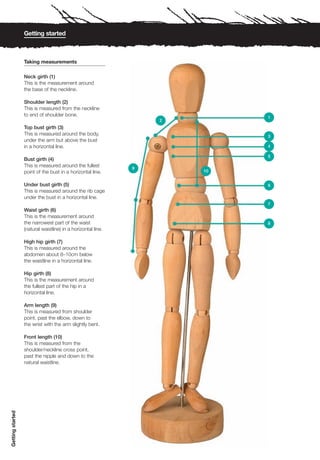
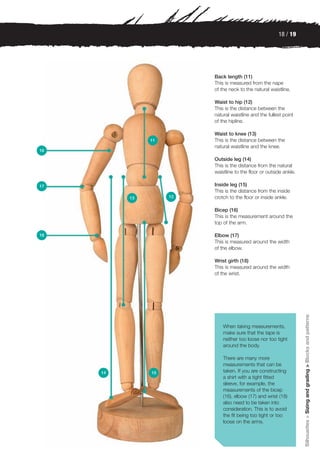
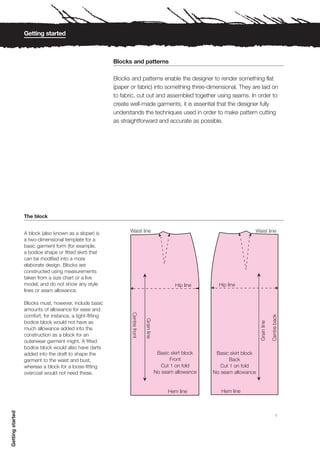
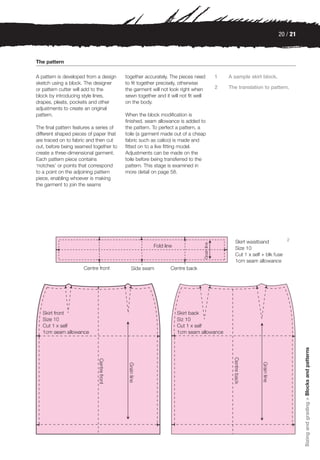
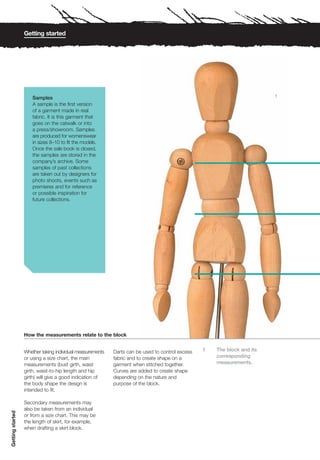
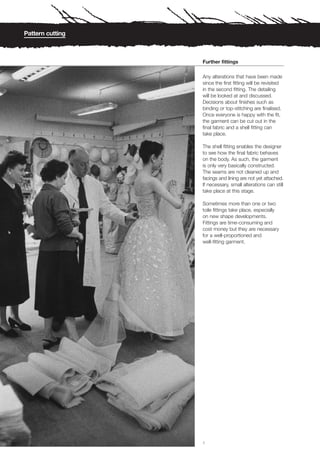
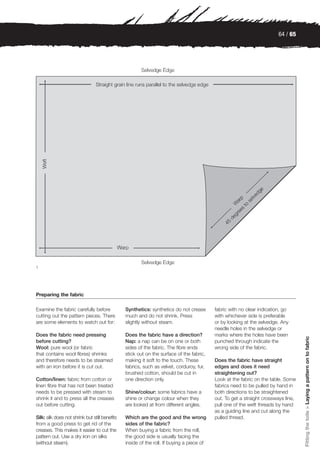
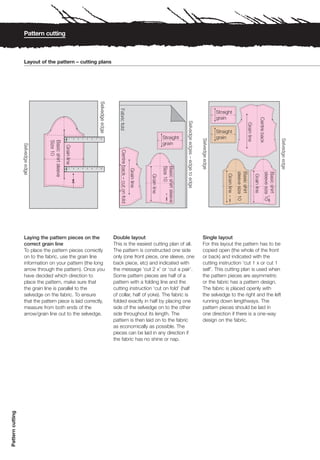
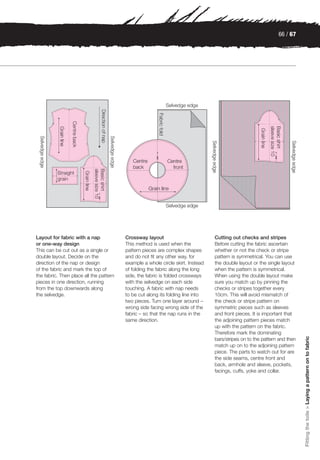
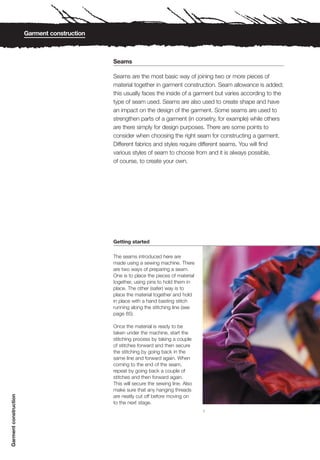
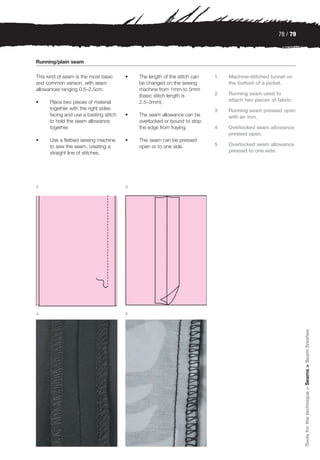
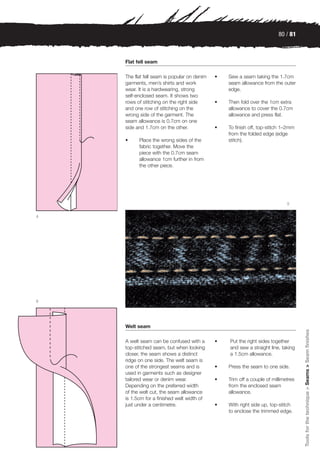
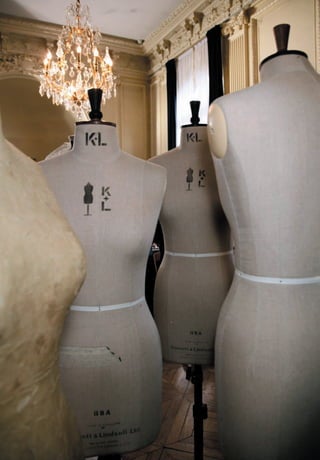
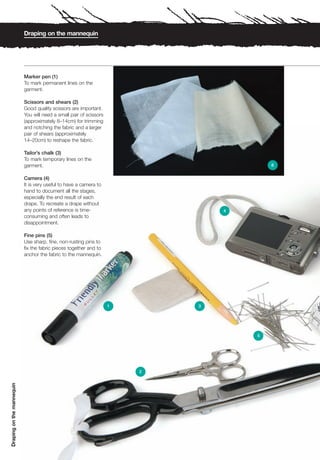
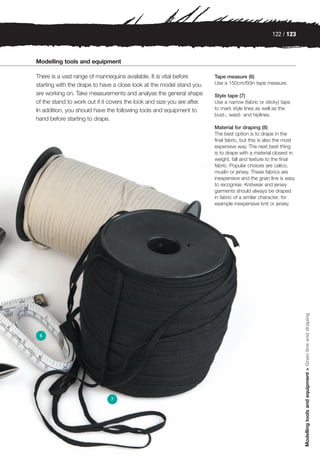
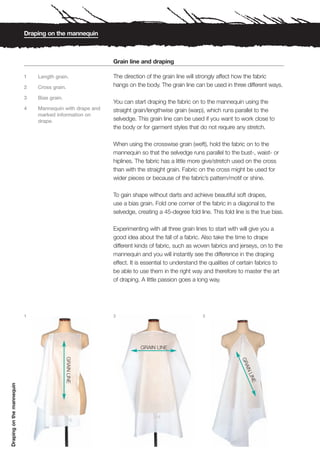
The document provides an introduction to the tools, equipment, and processes used for pattern cutting in fashion design. It discusses the importance of understanding how a garment is constructed in three dimensions from a two-dimensional pattern. The chapter covers silhouettes, sizing, basic blocks and patterns, and introduces the key equipment needed for pattern cutting.


![[DONWLOAD] Pattern Magic 3](https://cdn.slidesharecdn.com/ss_thumbnails/178260dd798-210316063509-thumbnail.jpg?width=640&height=640&fit=bounds)