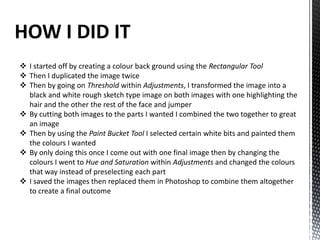
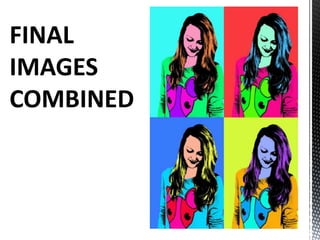
By Charlotte Bracken describes how she created an Andy Warhol style image in Photoshop. She started with a colored background and duplicated the image twice. Then she used the Threshold adjustment to transform each image into a black and white sketch, highlighting either the hair or face and jumper. She combined the two cutout images and used the Paint Bucket Tool to select white areas and color them. Finally, she changed the hue and saturation of the colors to create the final combined image in an Andy Warhol pop art style.