Download to read offline
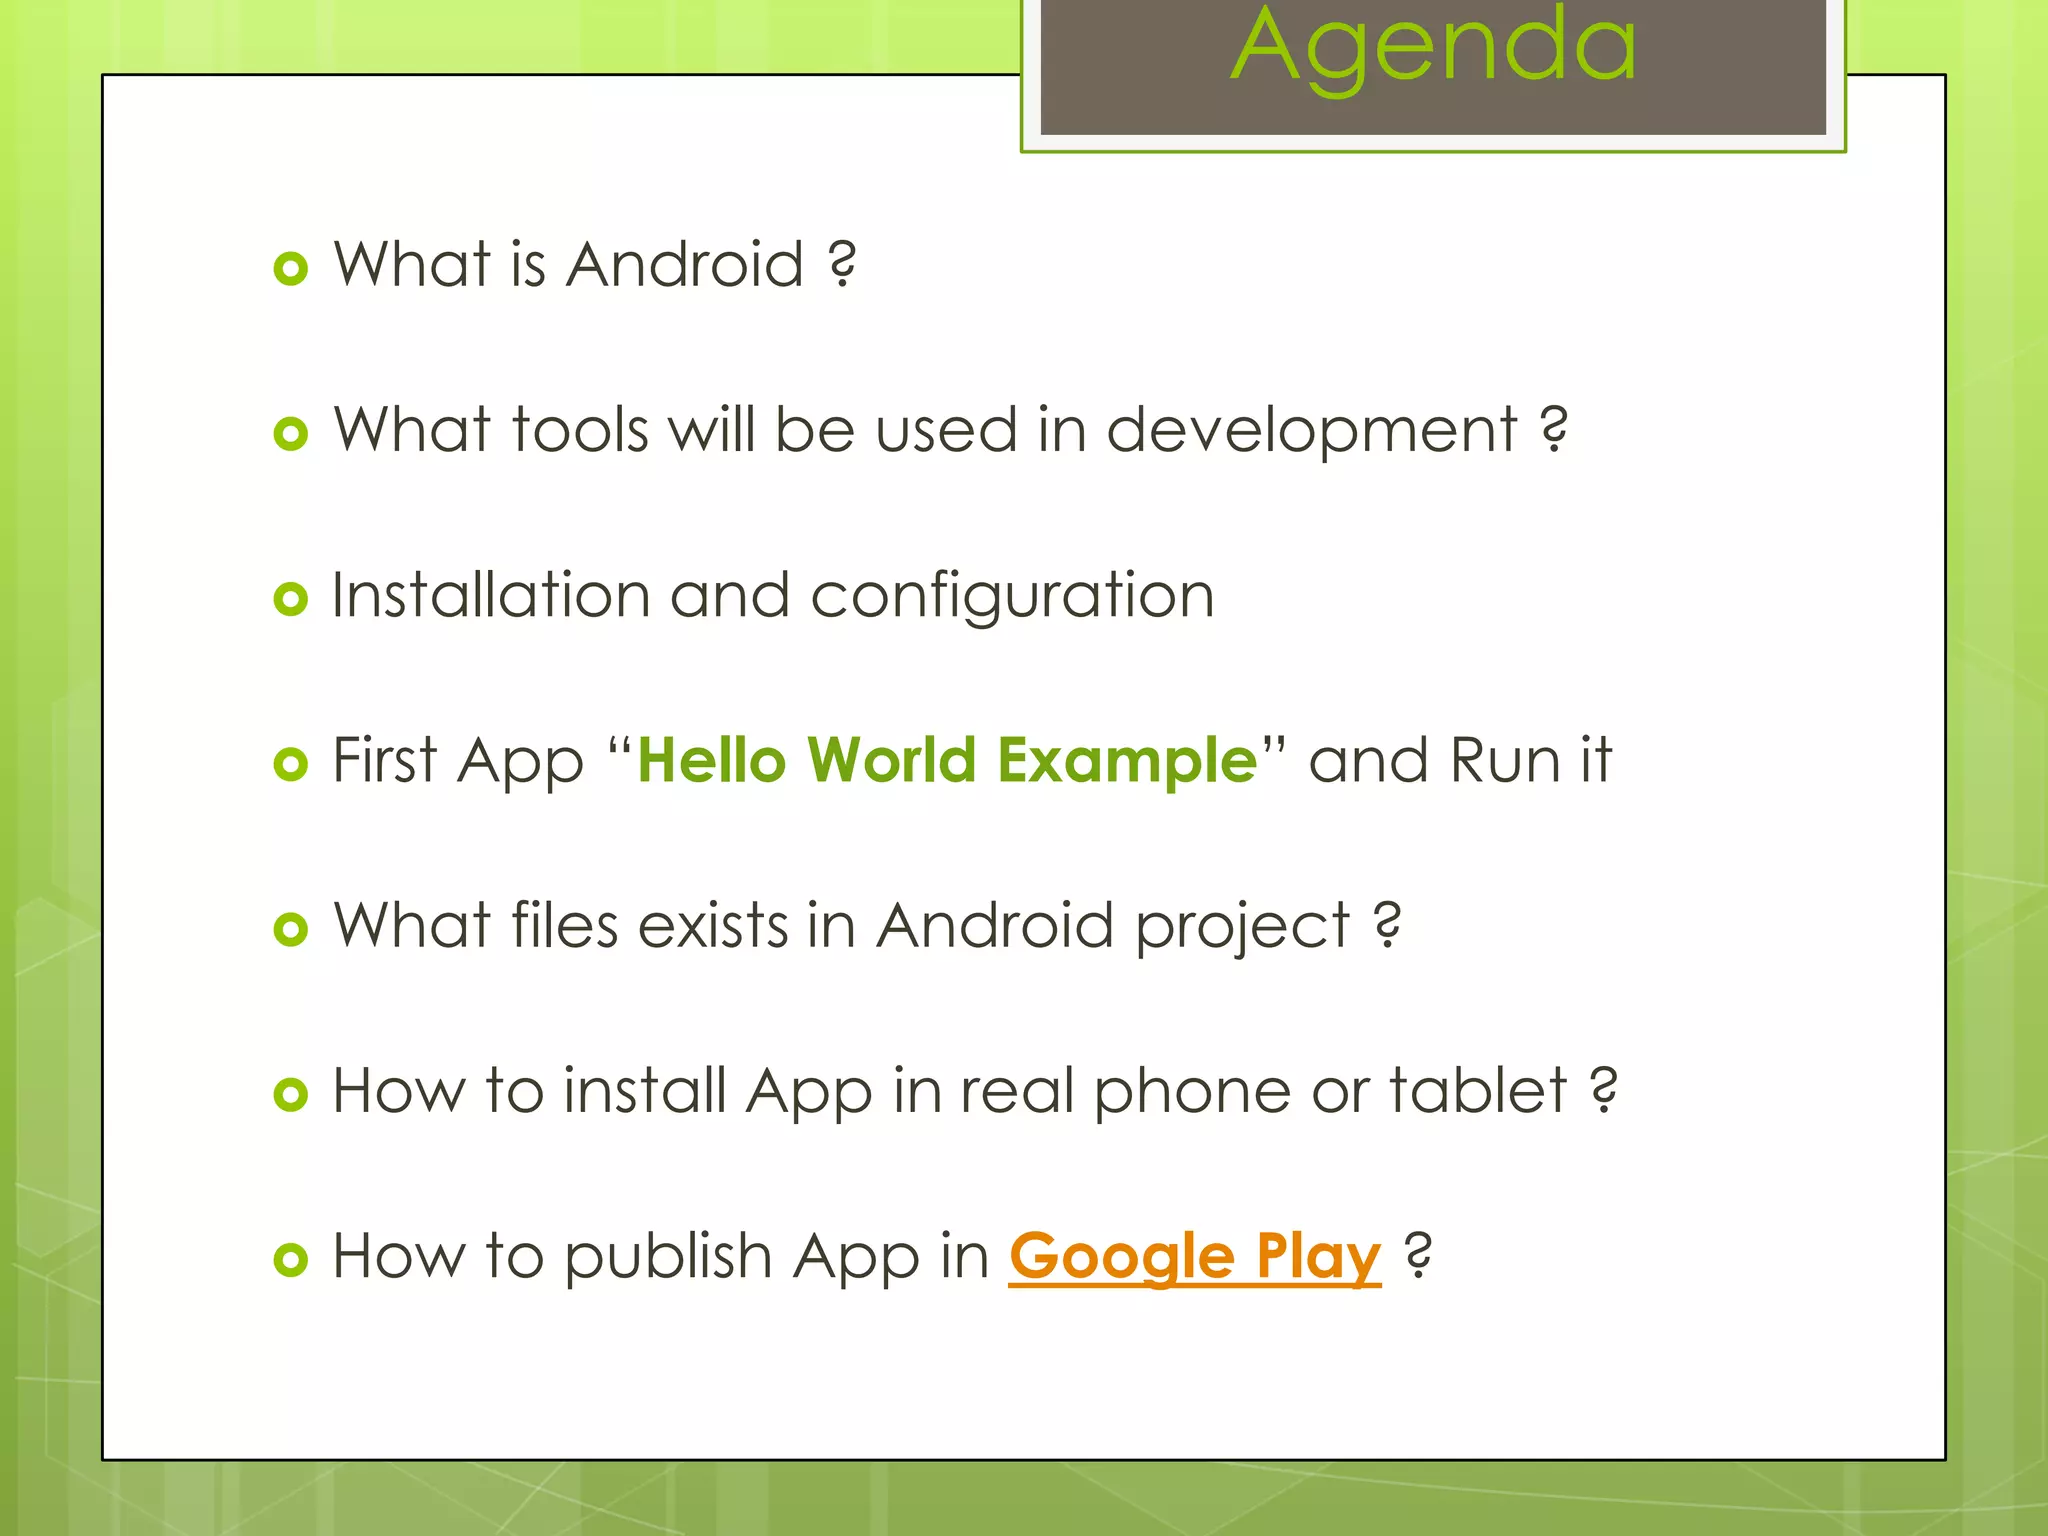

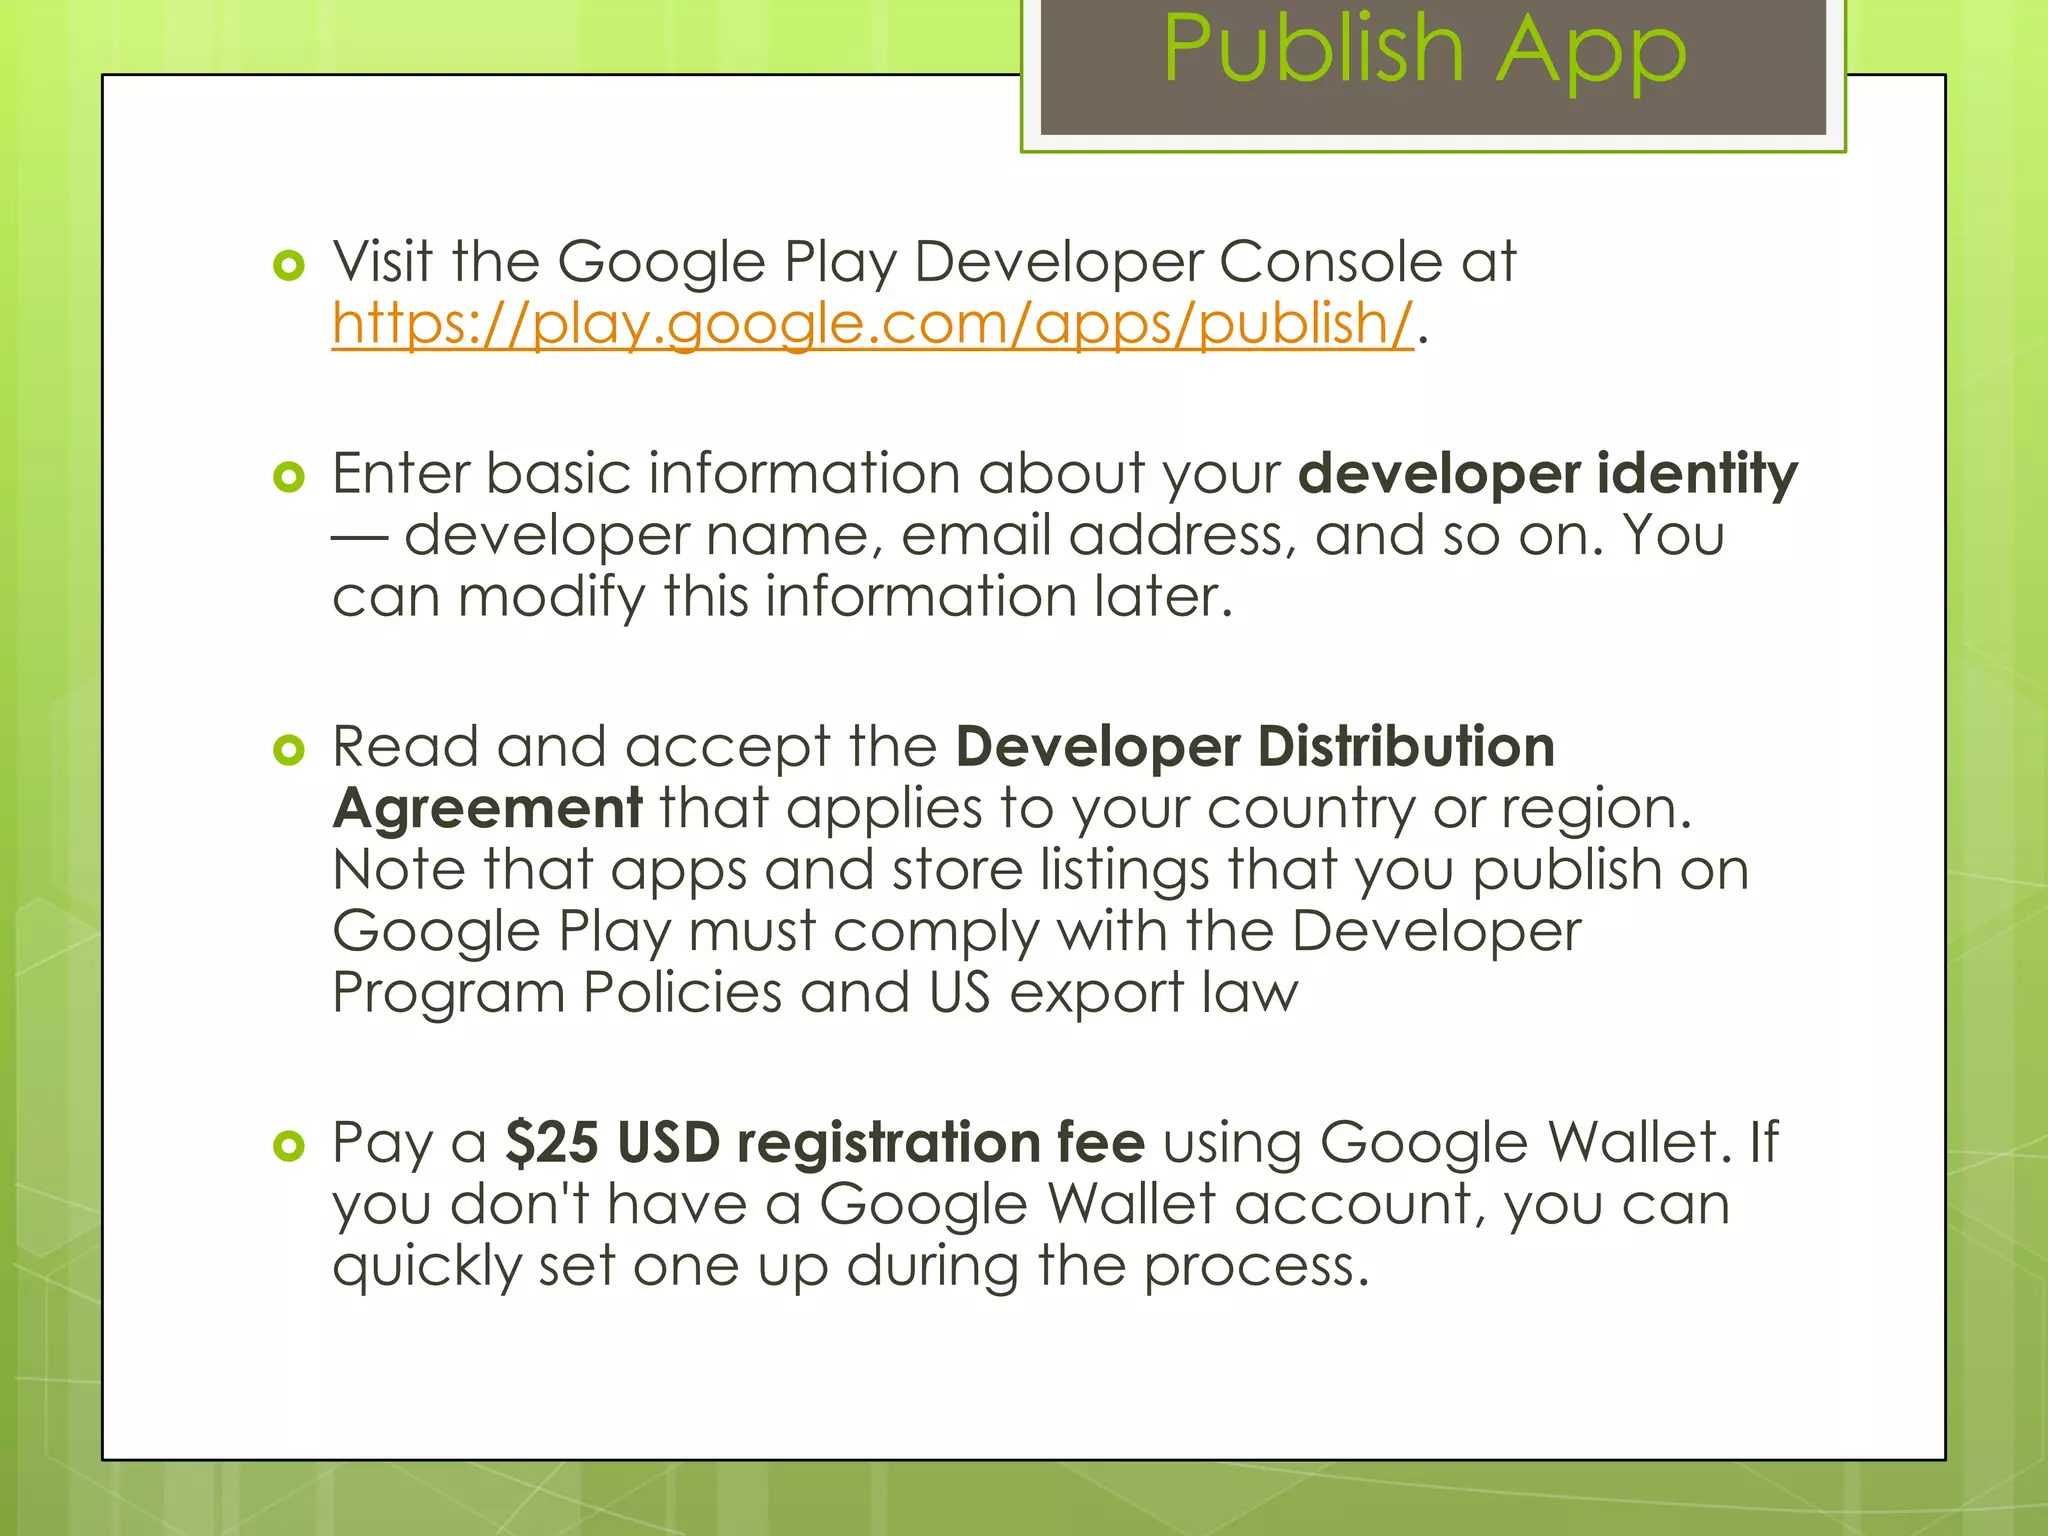
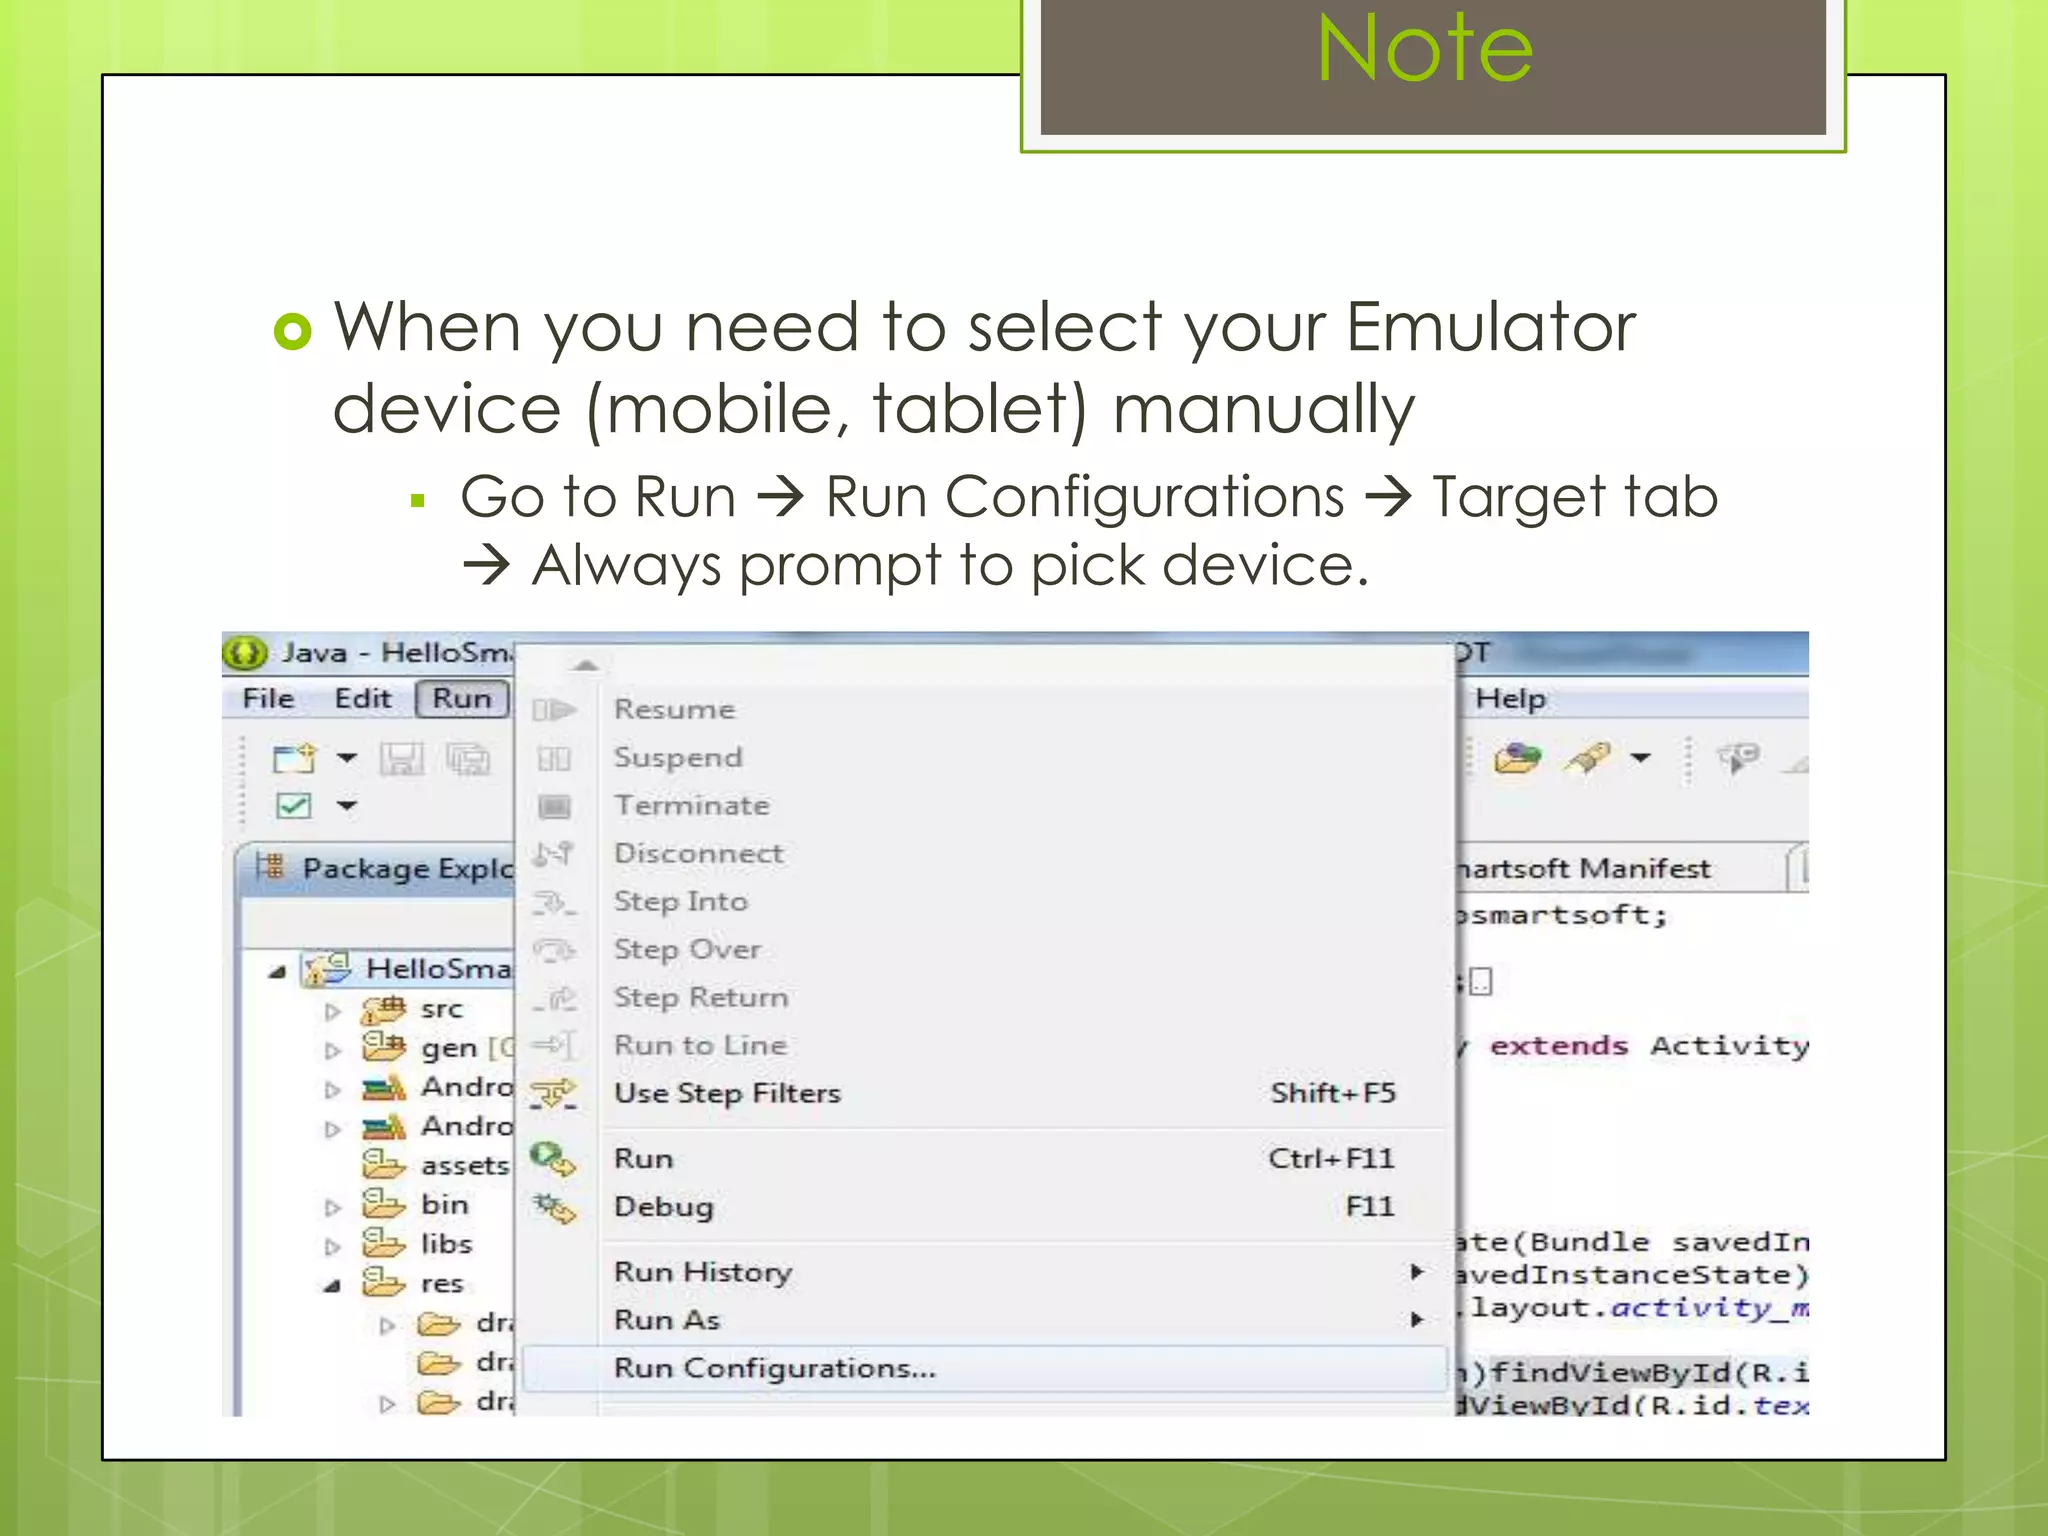

The document covers the agenda for an Android development session, including an introduction to Android, necessary tools, installation, and configuration. It provides detailed steps for creating a simple 'Hello World' app, managing project files, and installing and publishing apps on Google Play. Additional resources and links for further information are also included.


![[CCDD2013w] Coming to grips with deving for android by 蔡亦恒](https://cdn.slidesharecdn.com/ss_thumbnails/comingtogripswithdevingforandroid-130225111259-phpapp02-thumbnail.jpg?width=640&height=640&fit=bounds)


