This document provides an overview of the Android architecture, environment setup, and application components. It discusses:
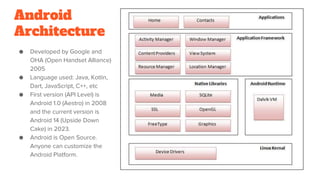
- The Android architecture includes the Linux kernel, native libraries, Dalvik Virtual Machine, Android framework, and applications.
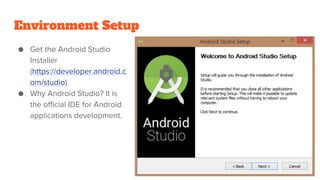
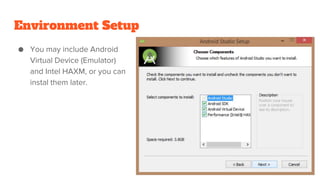
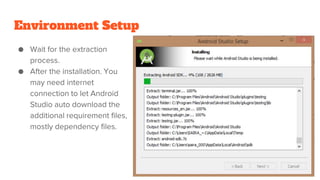
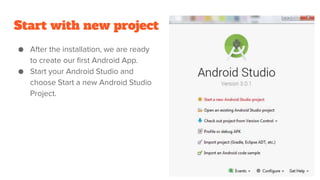
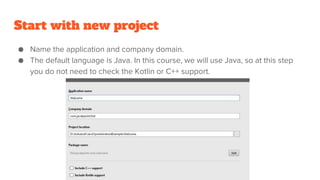
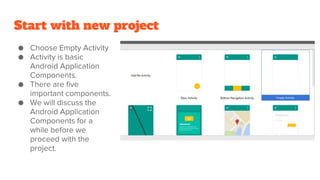
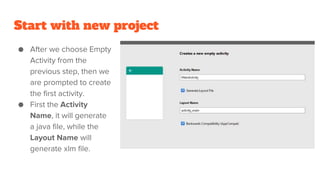
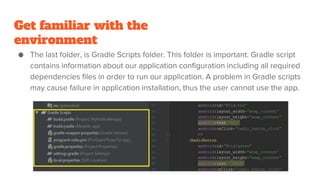
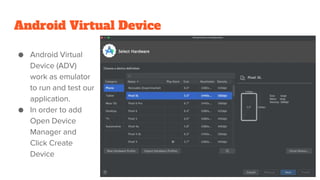
- To set up the environment, download Android Studio and the JDK. Create a new project with an empty activity.
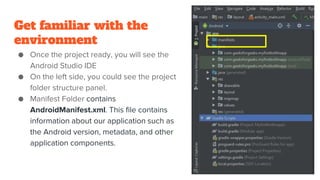
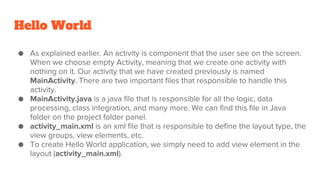
- The main Android application components are activities, services, broadcast receivers, content providers, and intents. Activities provide the user interface, services run in the background, etc.
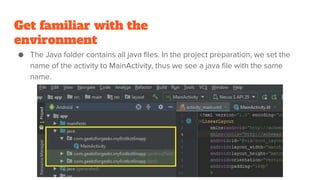
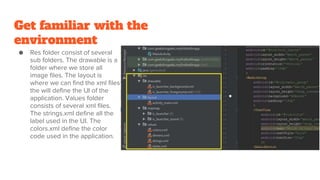
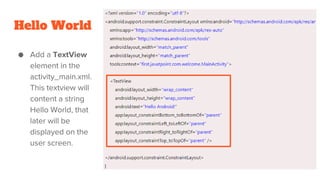
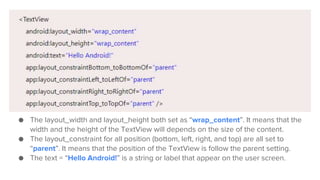
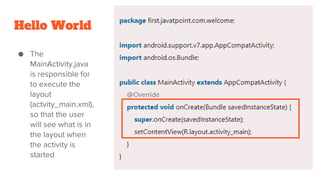
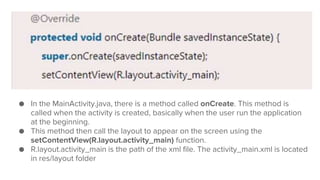
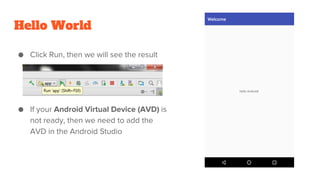
- A simple "Hello World" app is created with a text view in the layout file to display text. The activity class calls setContentView() to launch the layout.