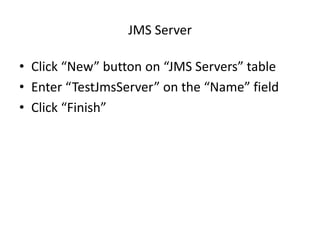
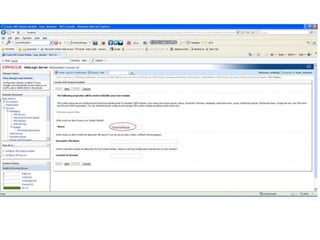
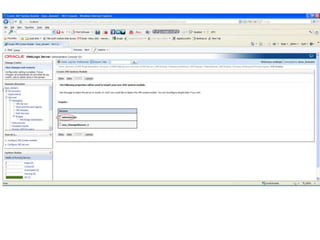
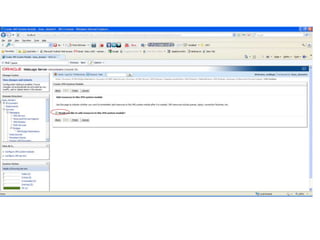
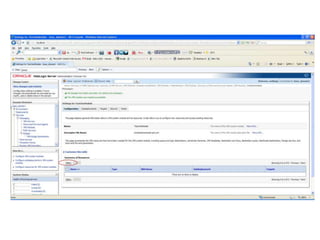
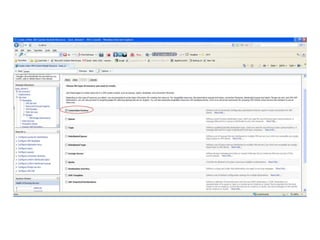
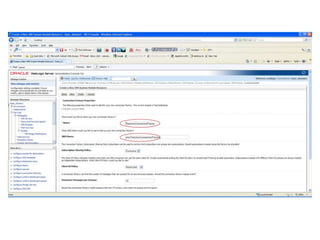
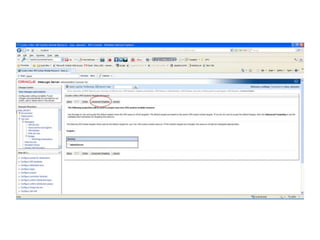
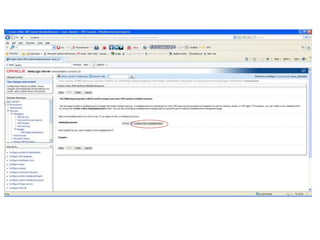
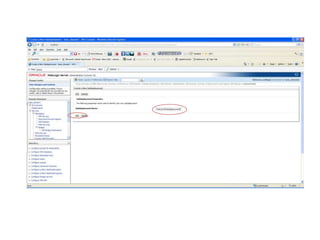
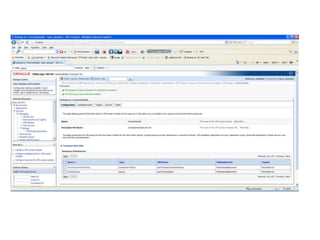
JMS - Administered objects creation in
     Weblogic application server
•   JMS Server
•   JMS Module
•   Connection Factory
•   Queue
JMS Server
JMS Server

• Click “New” button on “JMS Servers” table
• Enter “TestJmsServer” on the “Name” field
• Click “Finish”
JMS ConnectionFactory
JMS Queue/Topic
Follow the same steps as “Connection Factory”
creation except select the type “Queue”
instead of “Connection Factory” and Queue
name as “TestJmsQueue”.

Same applies to Topic also
That’s all , Now we can start coding
JMS client(s)

Administered object config

  • 1.
    JMS - Administeredobjects creation in Weblogic application server • JMS Server • JMS Module • Connection Factory • Queue
  • 2.
  • 3.
    JMS Server • Click“New” button on “JMS Servers” table • Enter “TestJmsServer” on the “Name” field • Click “Finish”
  • 8.
  • 16.
    JMS Queue/Topic Follow thesame steps as “Connection Factory” creation except select the type “Queue” instead of “Connection Factory” and Queue name as “TestJmsQueue”. Same applies to Topic also
  • 18.
    That’s all ,Now we can start coding JMS client(s)

Editor's Notes

  • #3 Follow the Navigation menu path Services/Messaging/JMS ServersOr directly click on “JMS Server” link on the console home pageAnd Click on the “New” button
  • #4 Click “New” button on “JMS Servers” tableEnter “TestJmsServer” on the “Name” fieldClick “Finish”
  • #5 Follow the Navigation menu path Services/Messaging/JMS ModulesOr directly click on “JMS Server” link on the console home pageAnd Click on the “New” button
  • #6 Enter “TestJmsModule” in the Name field and click “Next” button
  • #7 Select “Admin Server” and click on “Next” button
  • #8 Select “Would you like to add resources to this JMS system module?” check box and click on “Finish” button
  • #10 In the newly created JMS module home page click on “New” button
  • #11 Click “Connection Factory” radio button and click “Next” button
  • #12 Enter “TestJmsConnectionFactory” on the “Name” field and “jms/TestJmsConnectionFactory” on the JNDI fieldClick on “Next” button
  • #13 Click on “Advanced Targeting” button
  • #14 Click on “Create a New Subdeployment”
  • #15 Enter “TestJmsSubdeployment” in the “Subdeployment Name:” fieldClick “OK”
  • #16 Select “TestJmsServer” from the “JMS Servers” pannelClick “Finish”
  • #18 Follow the same steps as “Connection Factory” creation except select the type “Queue” instead of “Connection Factory” and Queue name as “TestJmsQueue”.