Download to read offline
!["validations": [],
"relations": {},
"acls": [],
"methods": {}
}
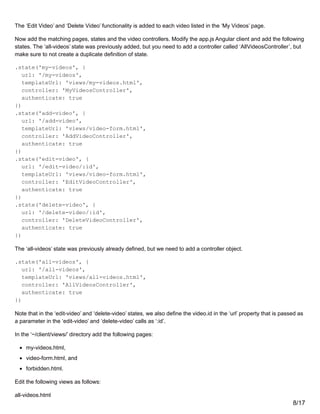
2. Define Relation
In this case, I want to create a 1-to-many relation between the User model and the Video model.
There are 3 ways to do this, and I will use the second ‘belongs to’ method for a reason:
1. A ‘has many’ relation from User to Video managed by StrongLoop. The custom foreign key is optional if you
plan to only use the memory database, by default StrongLoop links the two object models User and Video by
a ‘video.userId’ property if you use the ‘has many’ relation.
2. A ‘belongs to’ relation from Video to User managed by StrongLoop, or
3. Custom manage the relation by implementing your own code.
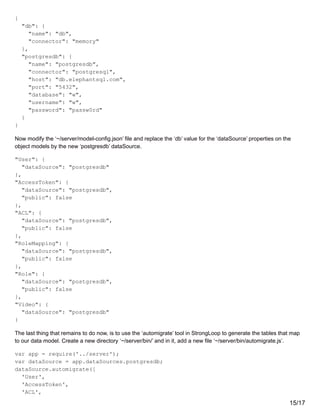
If you plan like I do, to switch to a relational database later (see below), then the StrongLoop automigrate tool at this
moment does not support persisting the foreign key relationship from the ‘has many’ relation, and therefor you must
either use the ‘belongs to’ relation or you need to explicitly define it in our code (for create, update and find ‘My
Videos’). I recommend to and in this tutorial use the ‘belongs to’ relation from Video to User.
To define the relation between User and Video, create a one-to-many relation as follows.
$ slc loopback:relation
This results in the following ‘relations’ configuration in the ‘~/common/models/video.json’ file. You can also directly
add the relation configuration to the ‘~/common/models/video.json’ file (for instance if you get an error with the
generator).
"relations": {
"videoBelongsToUser": {
"type": "belongsTo",
"model": "User",
"foreignKey": "videotouserid"
}
},
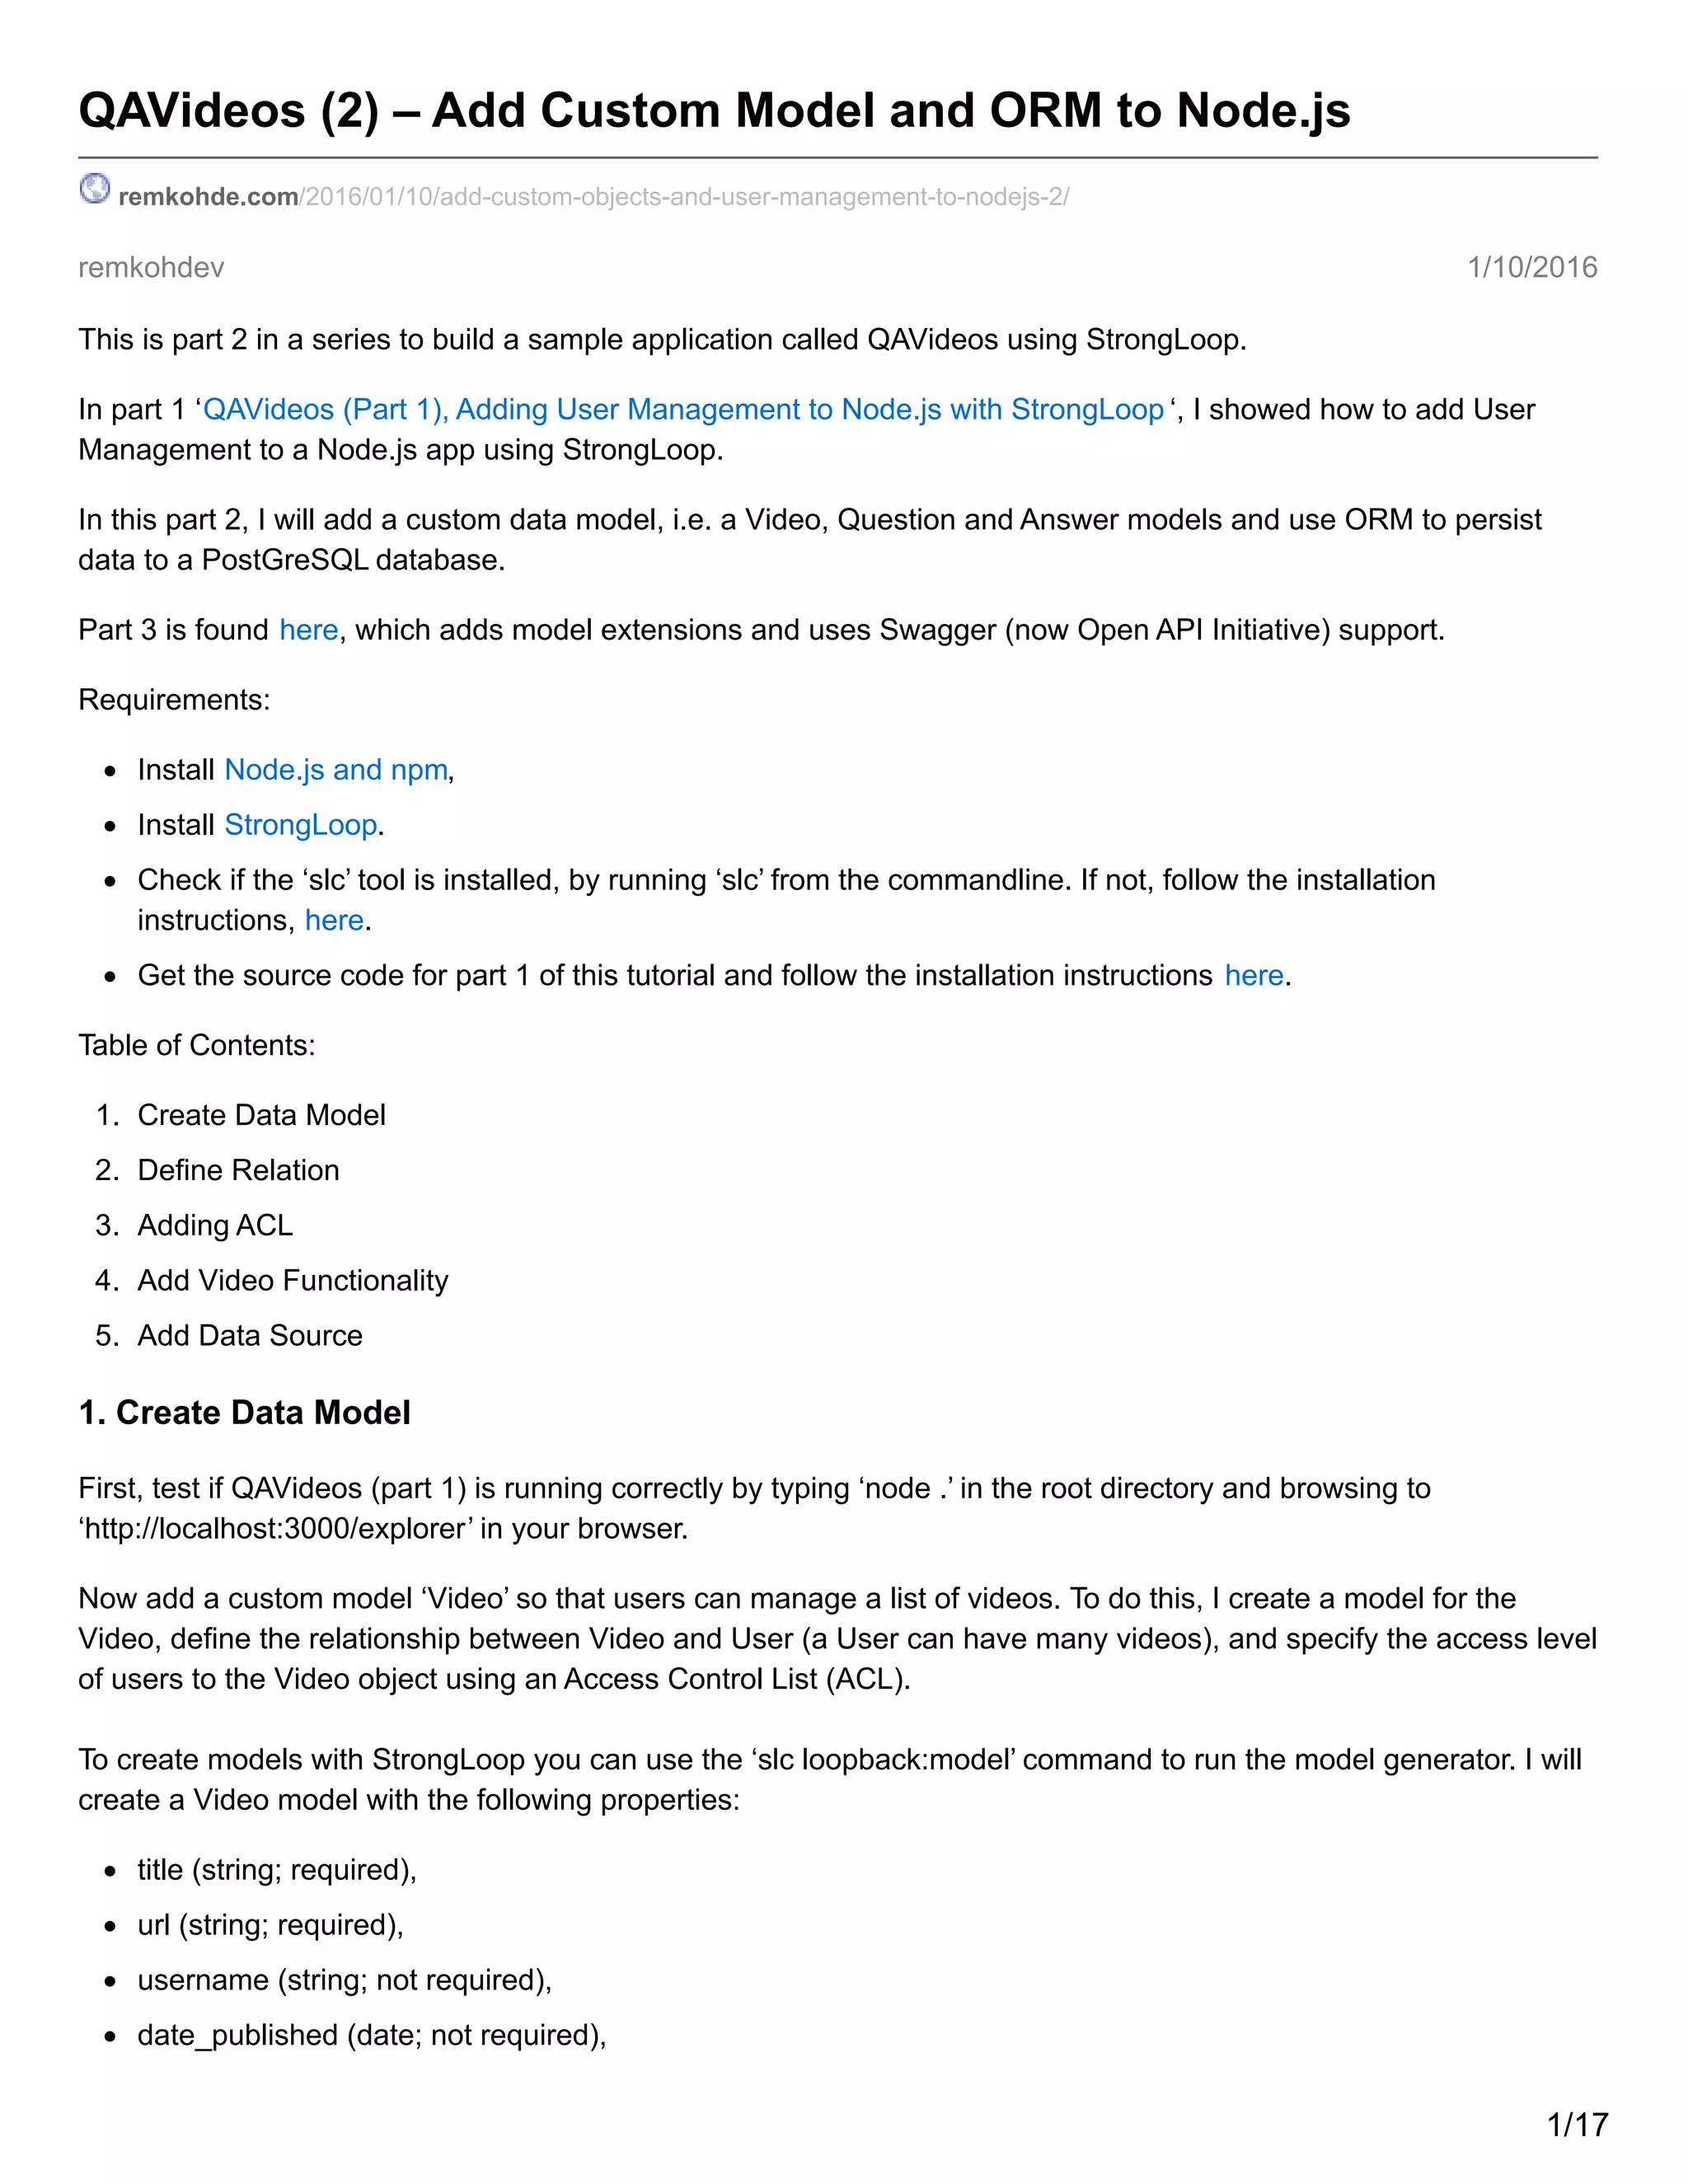
3. Adding ACL
To define access control to the video object, I will use StrongLoop’s ACL tool. I want to create the following access
controls:
Deny everyone all endpoints, as the default behavior.
Allow everyone to view videos by adding a ‘READ’ permission.
Allow authenticated users to ‘EXECUTE.create’ videos.
Allow the video owner to edit and thus delete videos by adding a ‘WRITE’ permission.
$ slc loopback:acl
4/17](https://image.slidesharecdn.com/remkohde-161018164719/85/Add-Custom-Model-and-ORM-to-Node-js-4-320.jpg)
![}],
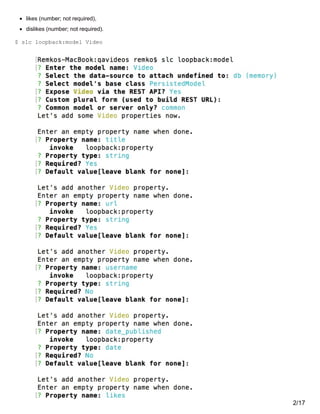
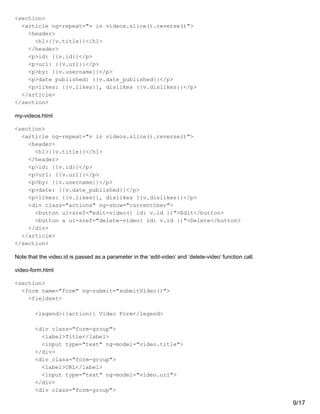
Regenerate the Angular Services
With a new model added to our app, from the command-line re-run the ‘lb-ng’ command to add an Angular services
SDK for the models in the QAVideos app.
$ lb-ng server/server.js client/js/lb-ng-services.js
4. Add Video Functionality
Now, we are ready to add the model back into the web functionality and list all videos, list videos by user, add
videos, and edit videos.
Modify the ‘~/client/index.html’ template and add the following list items to the menu, under the logout list item.
Sign up
Log in
Log out
All Videos
My Videos
Add Video
6/17](https://image.slidesharecdn.com/remkohde-161018164719/85/Add-Custom-Model-and-ORM-to-Node-js-6-320.jpg)

![<label>Username</label>
<input type="text" ng-model="video.username">
</div>
<div class="form-group">
<label>Date Published <i>(yyyy-mm-dd)</i></label>
<input type="text" ng-model="video.date_published">
</div>
<div class="form-group">
<label>Likes</label>
<input type="text" ng-model="video.likes">
</div>
<div class="form-group">
<label>Dislikes</label>
<input type="text" ng-model="video.dislikes">
</div>
<div class="actions">
<button>{{action}} video</button>
</div>
</fieldset>
</form>
<section>
forbidden.html
<section>
<article>
<header>
<h1>Forbidden</h1>
</header>
<p>An error occurred.</p>
</article>
</section>
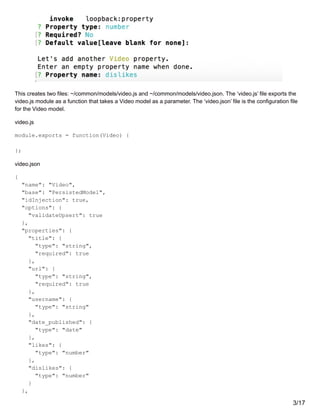
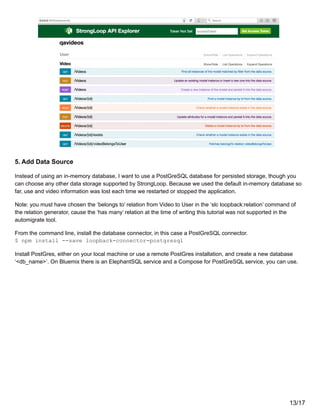
To add the video controller, create a new file ‘~/client/js/controllers/video.js’. Add the ‘AllVideosController’,
‘MyVideosController’, and ‘AddVideoController’ in the ‘~/client/js/controllers/video.js’ file.
angular.module('app')
.controller('AllVideosController', ['$scope', 'Video',
function($scope, Video) {
$scope.videos = Video.find();
}
])
.controller('MyVideosController', ['$scope', 'Video', '$rootScope',
function($scope, Video, $rootScope) {
$scope.videos = Video.find({
filter: {
where: {
/** note: normally we would use just the built-in userId,
* but for the relational db we need to use the foreign key
10/17](https://image.slidesharecdn.com/remkohde-161018164719/85/Add-Custom-Model-and-ORM-to-Node-js-10-320.jpg)
!['uservideoid' explicitly
userId: $rootScope.currentUser.id
*/
videotouserid: $rootScope.currentUser.id
}
}
});
}
])
.controller('AddVideoController', ['$scope', 'Video', '$state', '$rootScope',
function($scope, Video, $state, $rootScope) {
$scope.action = 'Add';
$scope.video = {};
$scope.isDisabled = false;
$scope.submitVideo = function() {
Video
.create({
title: $scope.video.title,
url: $scope.video.url,
username: $scope.video.username,
date_published: $scope.video.date_published,
likes: $scope.video.likes,
dislikes: $scope.video.dislikes,
userId: $rootScope.currentUser.id,
videotouserid: $rootScope.currentUser.id
})
.$promise
.then(
// onsuccess
function() {
$state.go('all-videos');
},
// onerror
function(err){
}
);
};
}
])
;
Then, add the link to the new script in the ‘index.html’ file, right below the ‘js/controllers/auth.js’ script.
<script src="js/controllers/video.js"></script>
Also add the ‘EditVideoController’ and the ‘DeleteVideoController’ to the ‘video.js’ file.
11/17](https://image.slidesharecdn.com/remkohde-161018164719/85/Add-Custom-Model-and-ORM-to-Node-js-11-320.jpg)
![.controller('DeleteVideoController', ['$scope', 'Video', '$state', '$stateParams',
function($scope, Video, $state, $stateParams) {
Video
.deleteById({ id: $stateParams.id })
.$promise
.then(function() {
$state.go('my-videos');
});
}
])
.controller('EditVideoController', ['$scope', '$q', 'Video', '$stateParams',
'$state',
function($scope, $q, Video, $stateParams, $state) {
$scope.action = 'Edit';
$scope.video = {};
$scope.isDisabled = true;
$q.all([
Video
.findById({ id: $stateParams.id })
.$promise
])
.then(function(data) {
$scope.video = data[0];
});
$scope.submitVideo = function() {
$scope.video
.$save()
.then(function(video) {
$state.go('all-videos');
},
function(err){
$state.go('forbidden');
});
};
}
])
Test to see if your configuration is running correctly, by running your application from the commandline using ‘node .’
and opening the ‘http://localhost:3000/explorer’ in your browser.
12/17](https://image.slidesharecdn.com/remkohde-161018164719/85/Add-Custom-Model-and-ORM-to-Node-js-12-320.jpg)
!['RoleMapping',
'Role',
'Video'
], function(err) {
if (err) throw err;
});
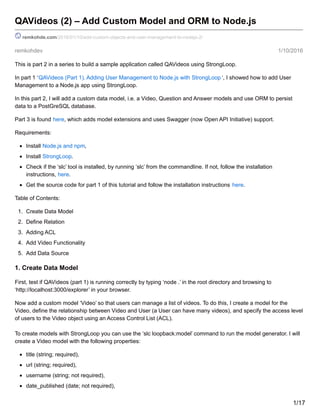
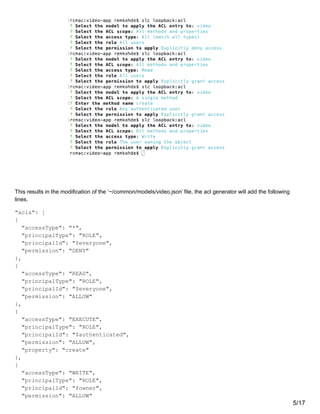
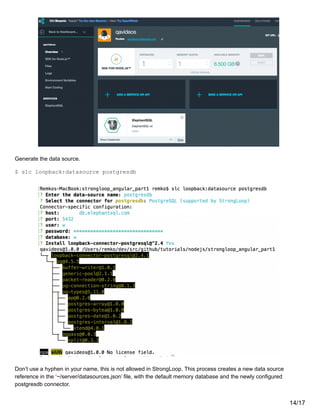
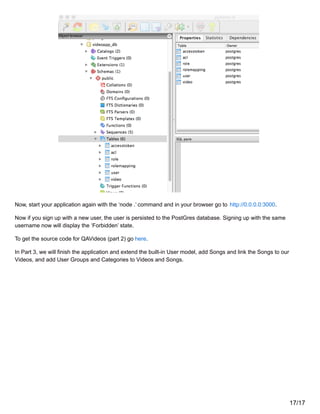
To run the automigrate script, execute the following command from the project root.
node server/bin/automigrate.js
Sometimes you get the following error” ‘too many connections for role’ because you are creating too many models at
once. It can help to comment out some models and run the automigrate for two models at a time. Rerun the tool,
commenting out the models that are already created, and uncomment the models to be created.
var app = require('../server');
var dataSource = app.dataSources.postgresdb;
dataSource.automigrate([
'User',
'AccessToken'/**,
'ACL',
'RoleMapping',
'Role',
'Video'*/
], function(err) {
if (err) throw err;
});
Check your PostGres installation to make sure the tables were created successfully.
16/17](https://image.slidesharecdn.com/remkohde-161018164719/85/Add-Custom-Model-and-ORM-to-Node-js-16-320.jpg)

This document describes adding custom data models and object relational mapping (ORM) functionality to a Node.js application using StrongLoop. It details creating a Video model, defining a one-to-many relationship between Video and User, adding access controls, and connecting the models to a PostgreSQL database for persistent storage. Key steps include generating a Video model, relating it to User, adding ACLs, connecting to a PostgreSQL data source, and using automigration to generate tables.