1) The document provides instructions for a 100 Pinch Pots Project for 1st and 2nd graders and families as part of a Celebration of the Arts event.
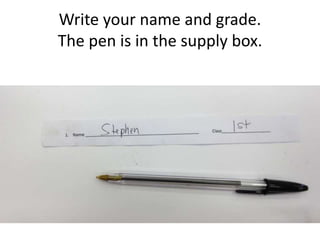
2) Students are instructed to get clay and a paper from the supply table, write their name and grade, and use the clay to make a pinch pot with additional decorations using their imagination.
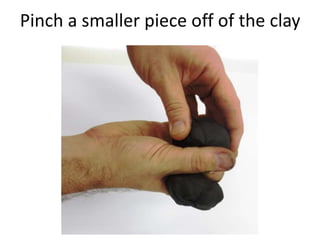
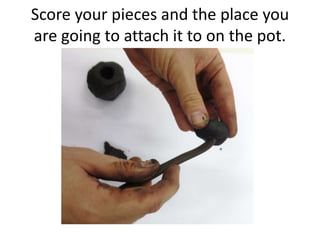
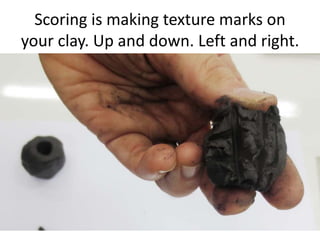
3) The instructions explain how to pinch and shape the clay, attach additional clay pieces using slip, and have their photo taken before cleaning up and taking their finished pot home.