1. Sanding My Doorstop
Oct.18th 2010. Monday
In today’s lesson, I went into the studio and did some work on
my doorstop - sanding it. The most work I did was using the
sand board and sand my doorstop
smooth, which made my
doorstop’s edges unparalleled..
The tool I used was a sand board.
Sand board, is a board with rough
sand paper on it so you could
sand a big piece of wood easily
instead of using little pieces of
sand paper. I also did some
painting today, which almost
made me mad, I can’t paint well
and I redid my paintings again and
again..
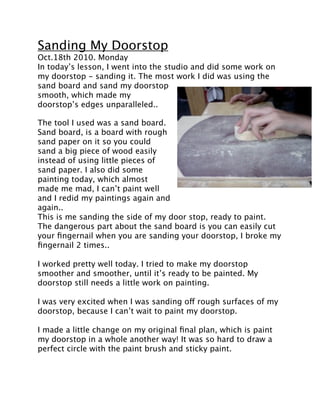
This is me sanding the side of my door stop, ready to paint.
The dangerous part about the sand board is you can easily cut
your fingernail when you are sanding your doorstop, I broke my
fingernail 2 times..
I worked pretty well today. I tried to make my doorstop
smoother and smoother, until it’s ready to be painted. My
doorstop still needs a little work on painting.
I was very excited when I was sanding off rough surfaces of my
doorstop, because I can’t wait to paint my doorstop.
I made a little change on my original final plan, which is paint
my doorstop in a whole another way! It was so hard to draw a
perfect circle with the paint brush and sticky paint.
2. I chose thinker for the learner profile because I had to think
carefully while sanding. Because if I push too hard, My wood
piece might break, but if I push too less, nothing would work to
my doorstop.