The student smoothed and sanded each side of a doorstop they were making. They used files to smooth the edges and different grit sandpaper to smooth the surfaces, working from coarser to finer grits. Their goal was to make the surfaces smooth for painting. Their next steps will be to paint the doorstop.
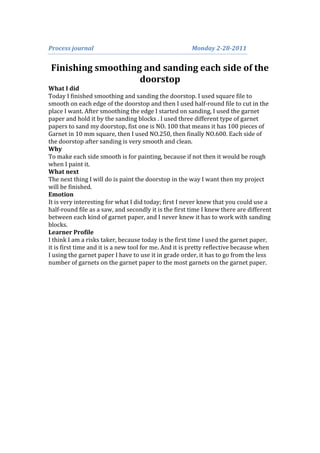
1. Process journal Monday 2-28-2011<br />Finishing smoothing and sanding each side of the doorstop<br />What I did<br />Today I finished smoothing and sanding the doorstop. I used square file to smooth on each edge of the doorstop and then I used half-round file to cut in the place I want. After smoothing the edge I started on sanding, I used the garnet paper and hold it by the sanding blocks . I used three different type of garnet papers to sand my doorstop, fist one is NO. 100 that means it has 100 pieces of Garnet in 10 mm square, then I used NO. 250, then finally NO.600. Each side of the doorstop after sanding is very smooth and clean.<br />Why<br />To make each side smooth is for painting, because if not then it would be rough when I paint it.<br />What next<br />The next thing I will do is paint the doorstop in the way I want then my project will be finished.<br />Emotion <br />It is very interesting for what I did today; first I never knew that you could use a half-round file as a saw, and secondly it is the first time I knew there are different between each kind of garnet paper, and I never knew it has to work with sanding blocks.<br />Learner Profile<br />I think I am a risks taker, because today is the first time I used the garnet paper, it is first time and it is a new tool for me. And it is pretty reflective because when I using the garnet paper I have to use it in grade order, it has to go from the less number of garnets on the garnet paper to the most garnets on the garnet paper.<br /> <br />This is the NO.100 garnet paper. This is the NO.600 garnet paper.<br /> <br />This is the NO.250 garnet paper. This is I using a No.250 garnet paper <br /> to smooth the edge of the doorstop.<br />