Recommended
PPTX
Zabbix による ms sql監視 ~データベースモニタリング~ odbc
PPTX
Appsody でnodejsのアプリを立ち上げよう!
PDF
PPT
Ruby on Rails3 Tutorial Chapter2
PPTX
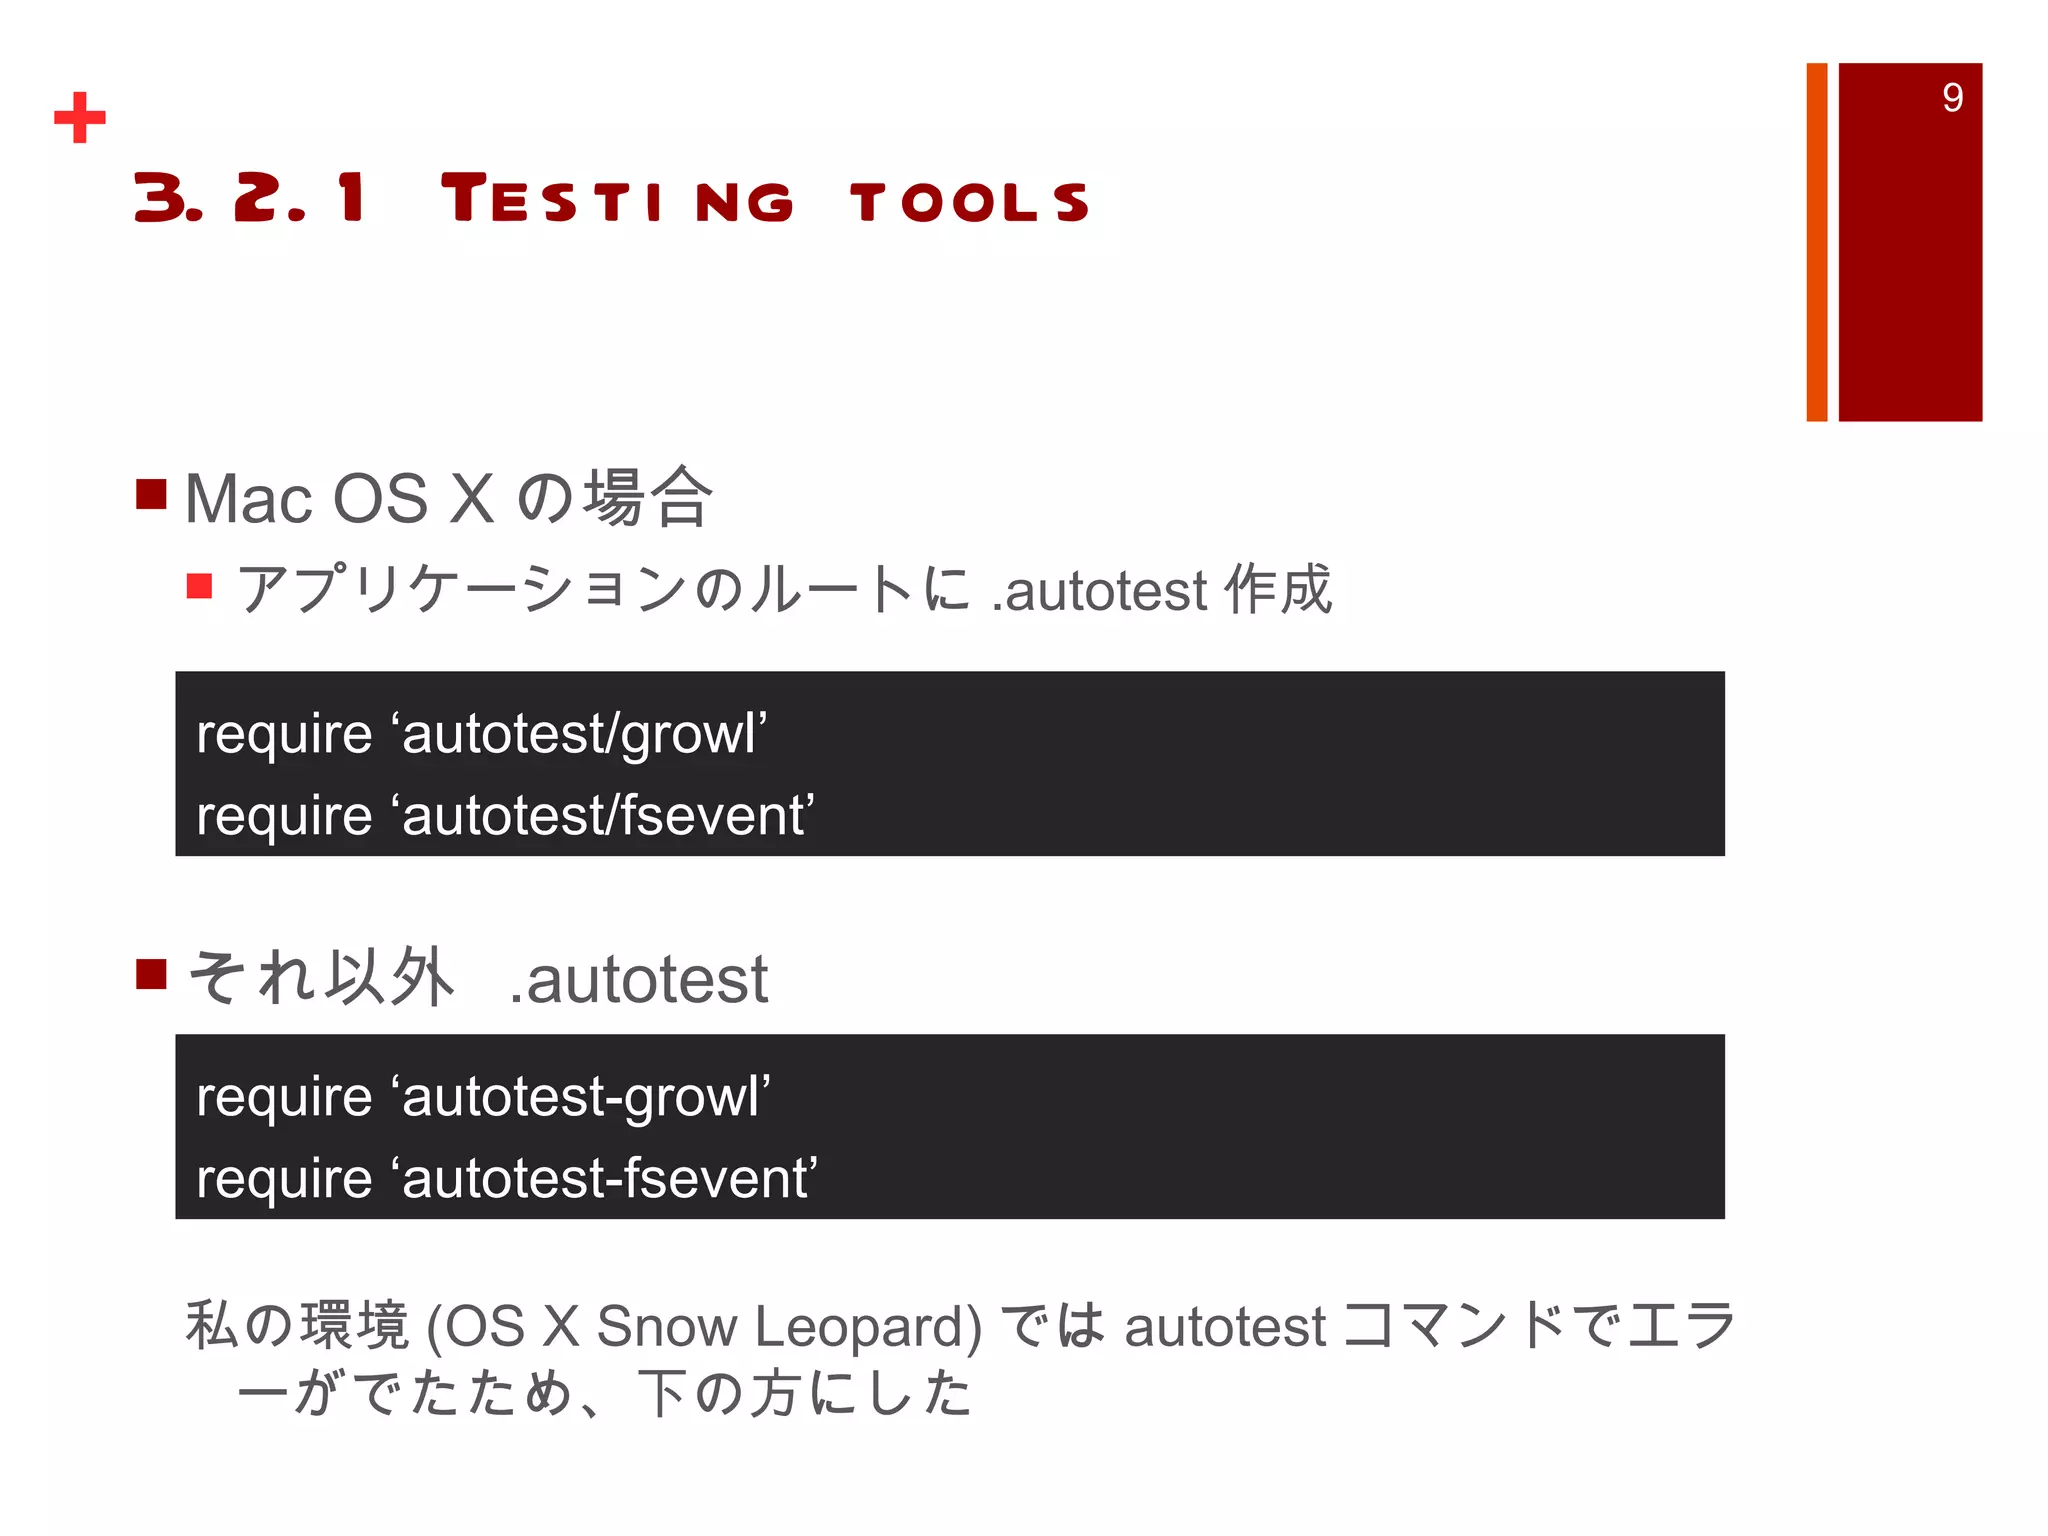
KEY
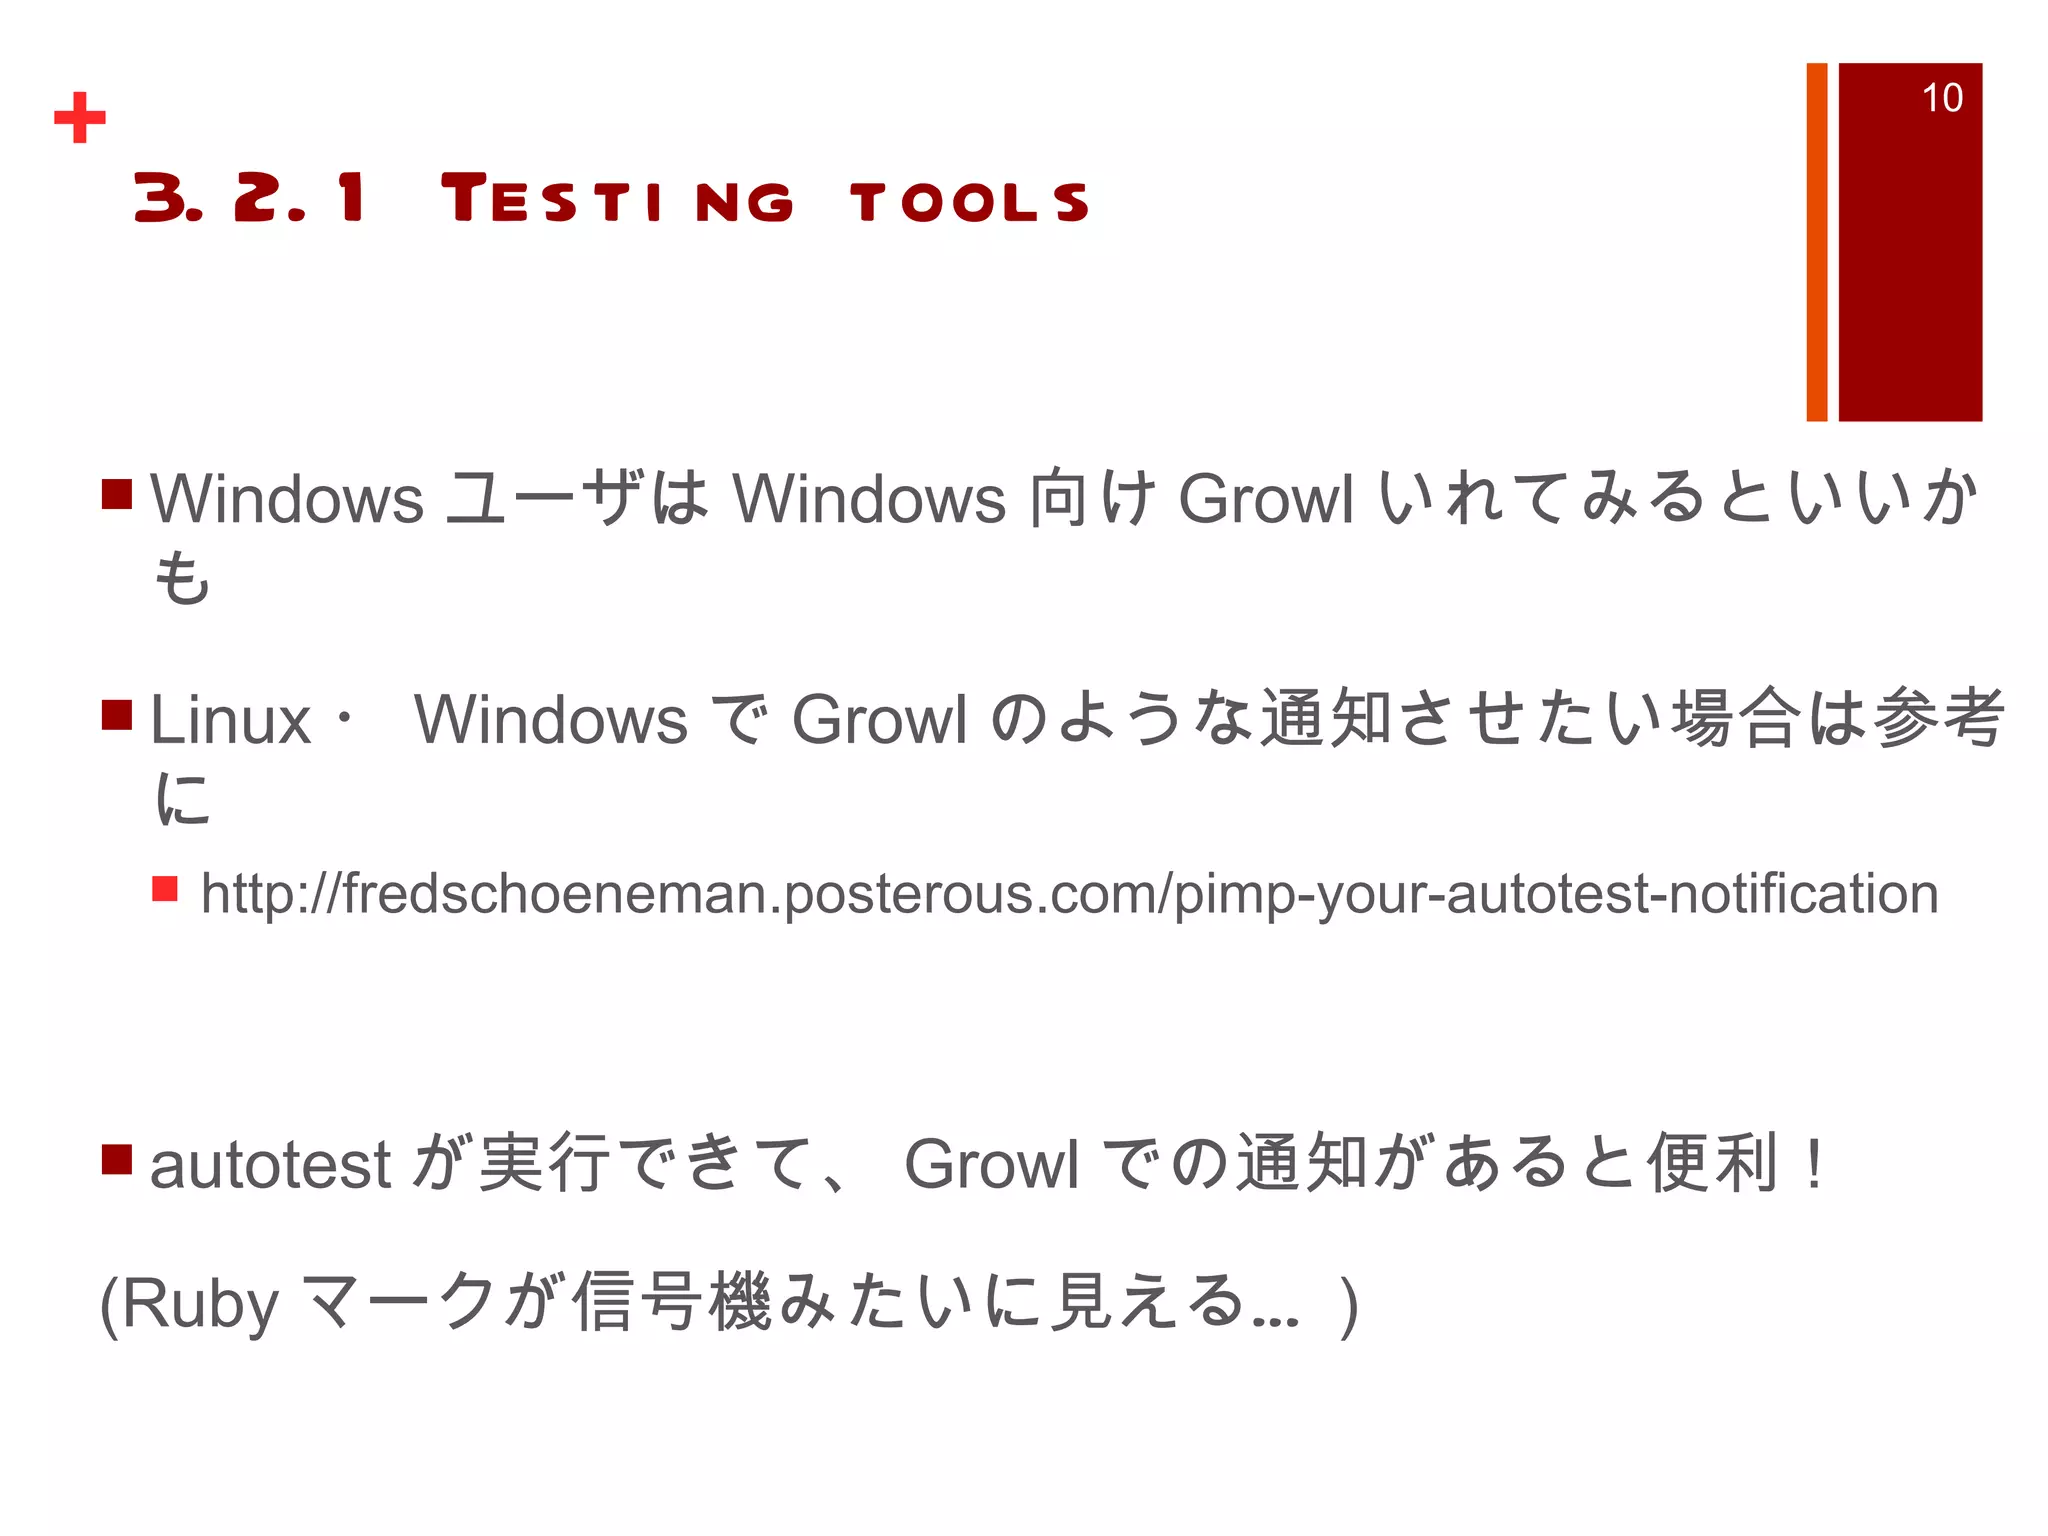
Rails and twitter #twtr_hack
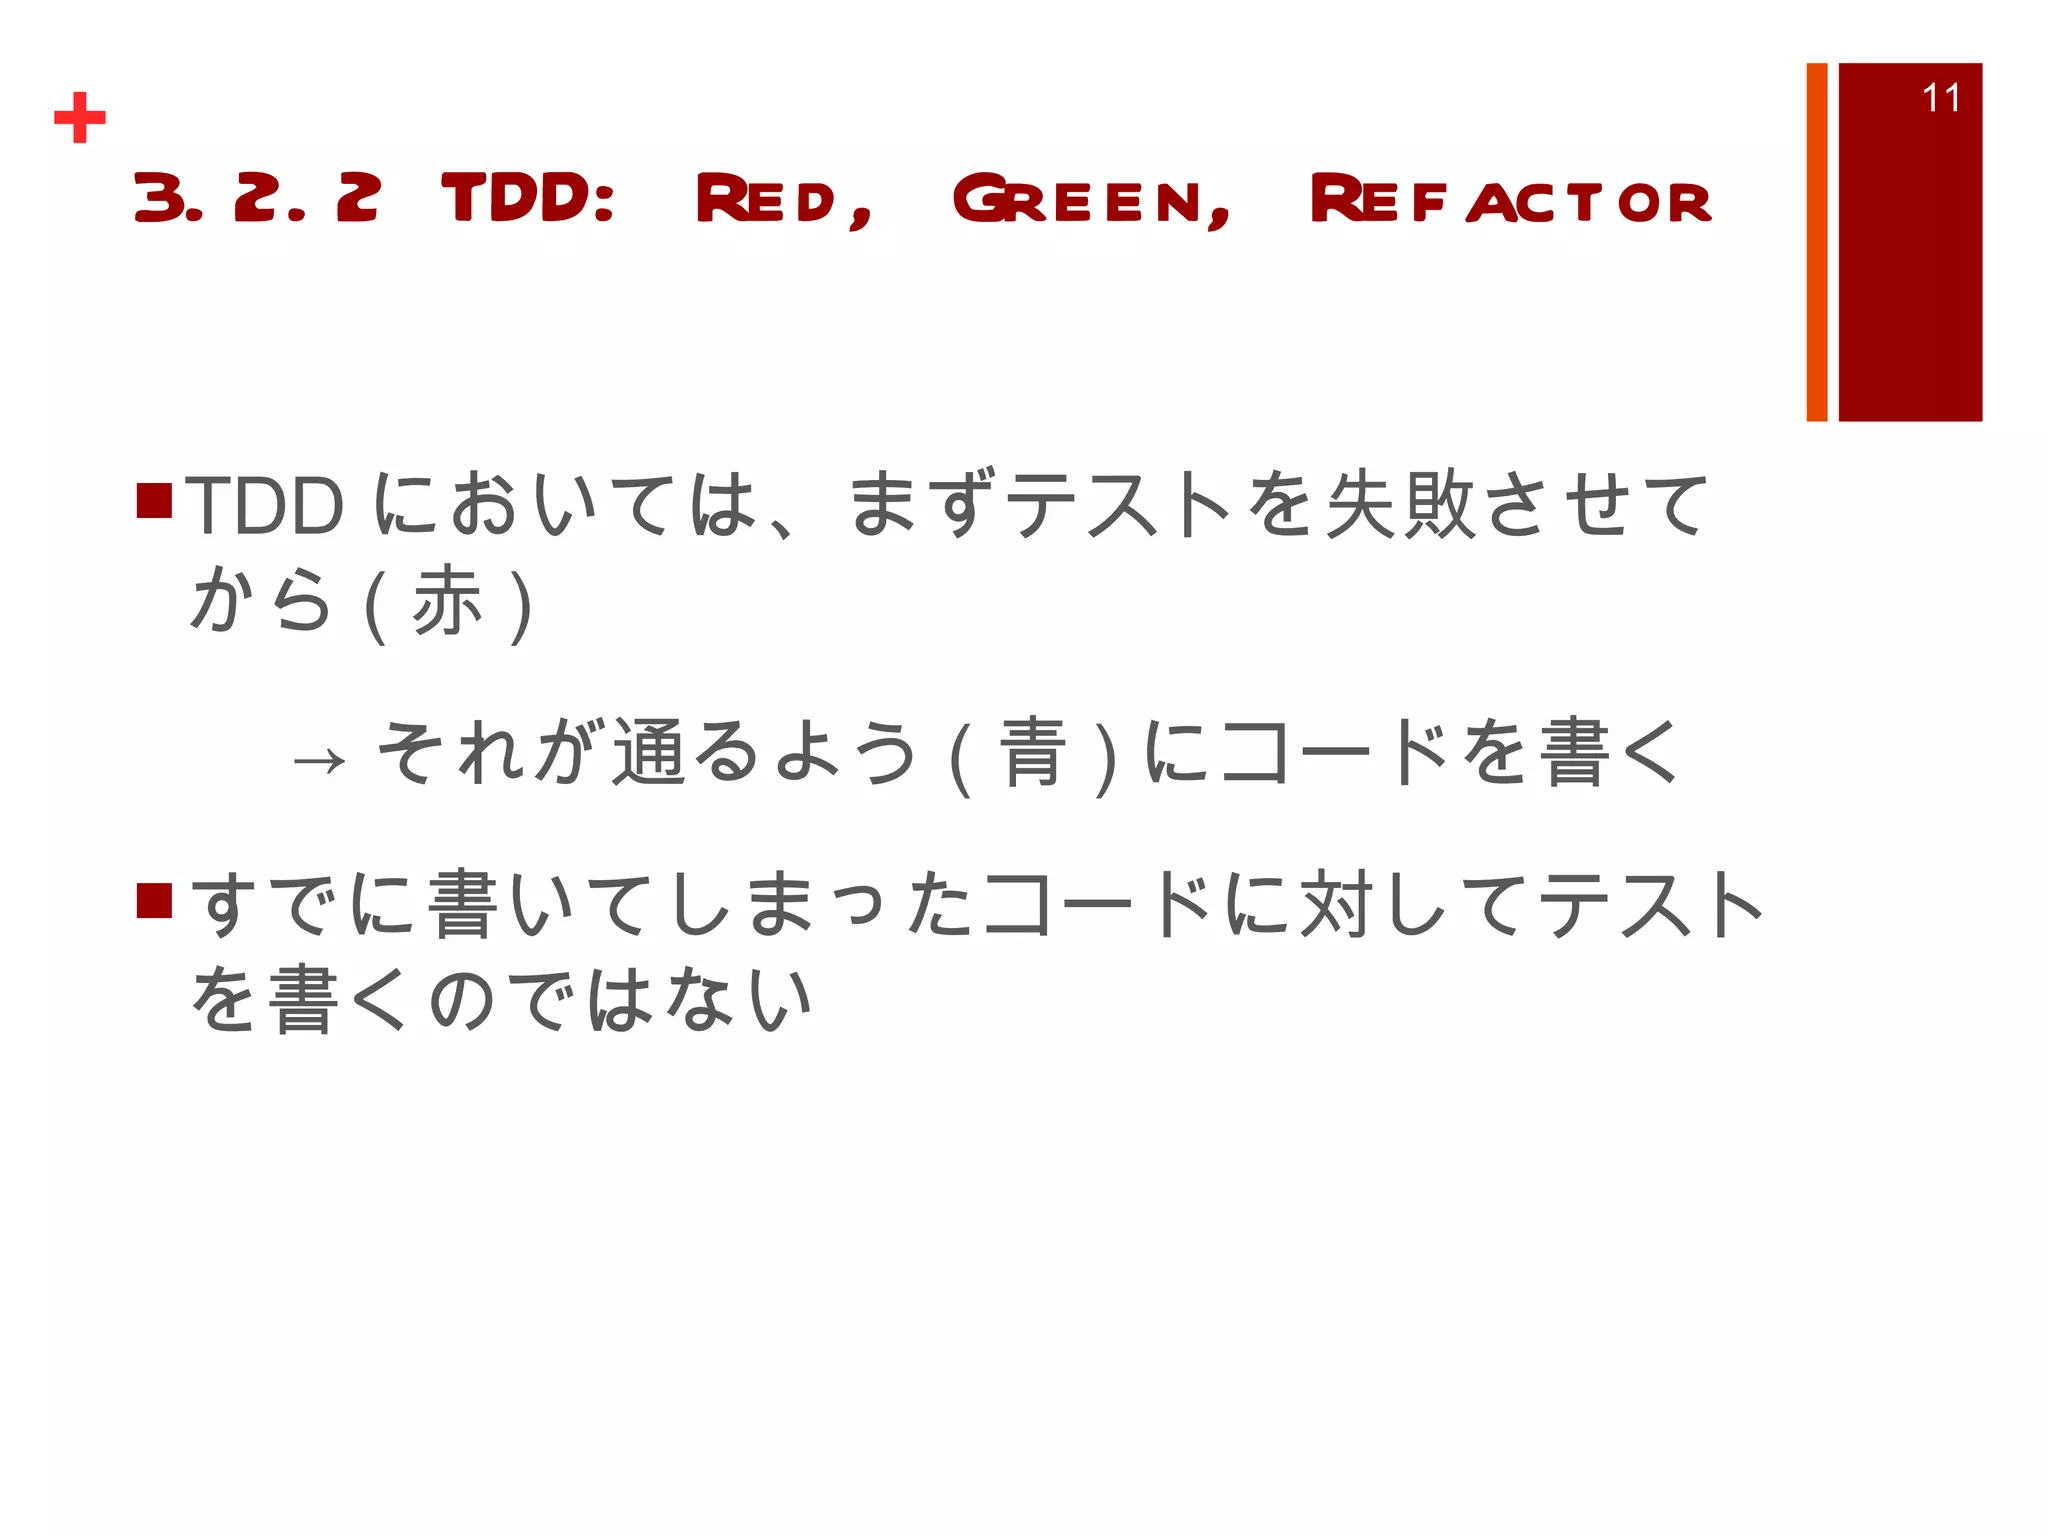
PDF
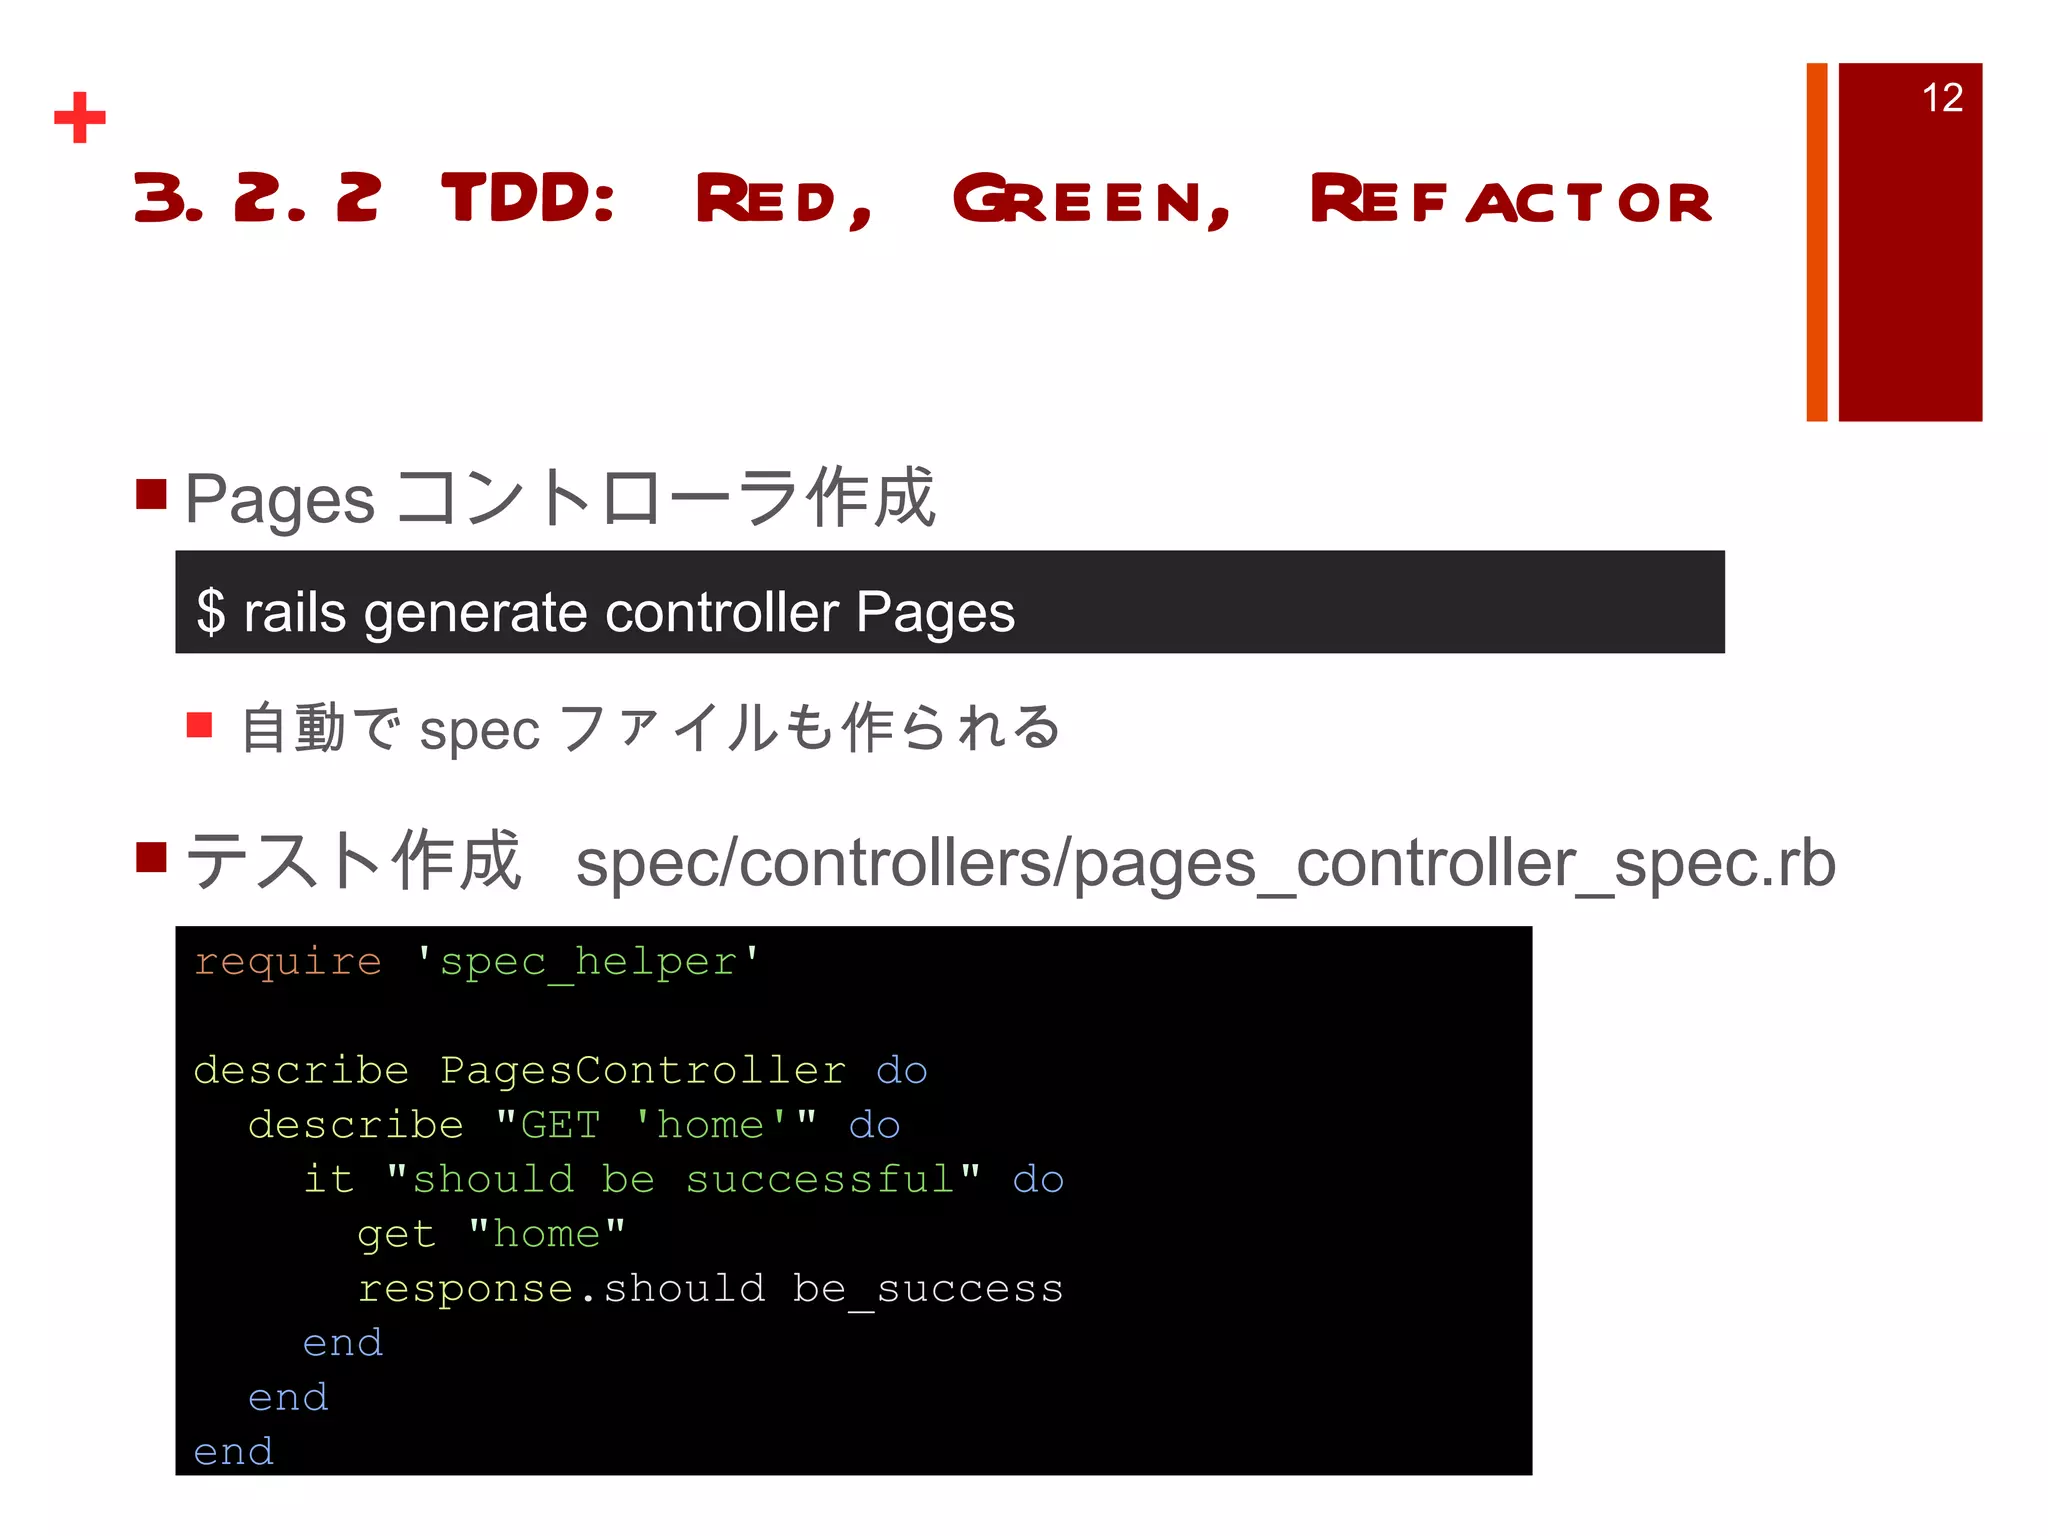
REST with Spring Boot #jqfk
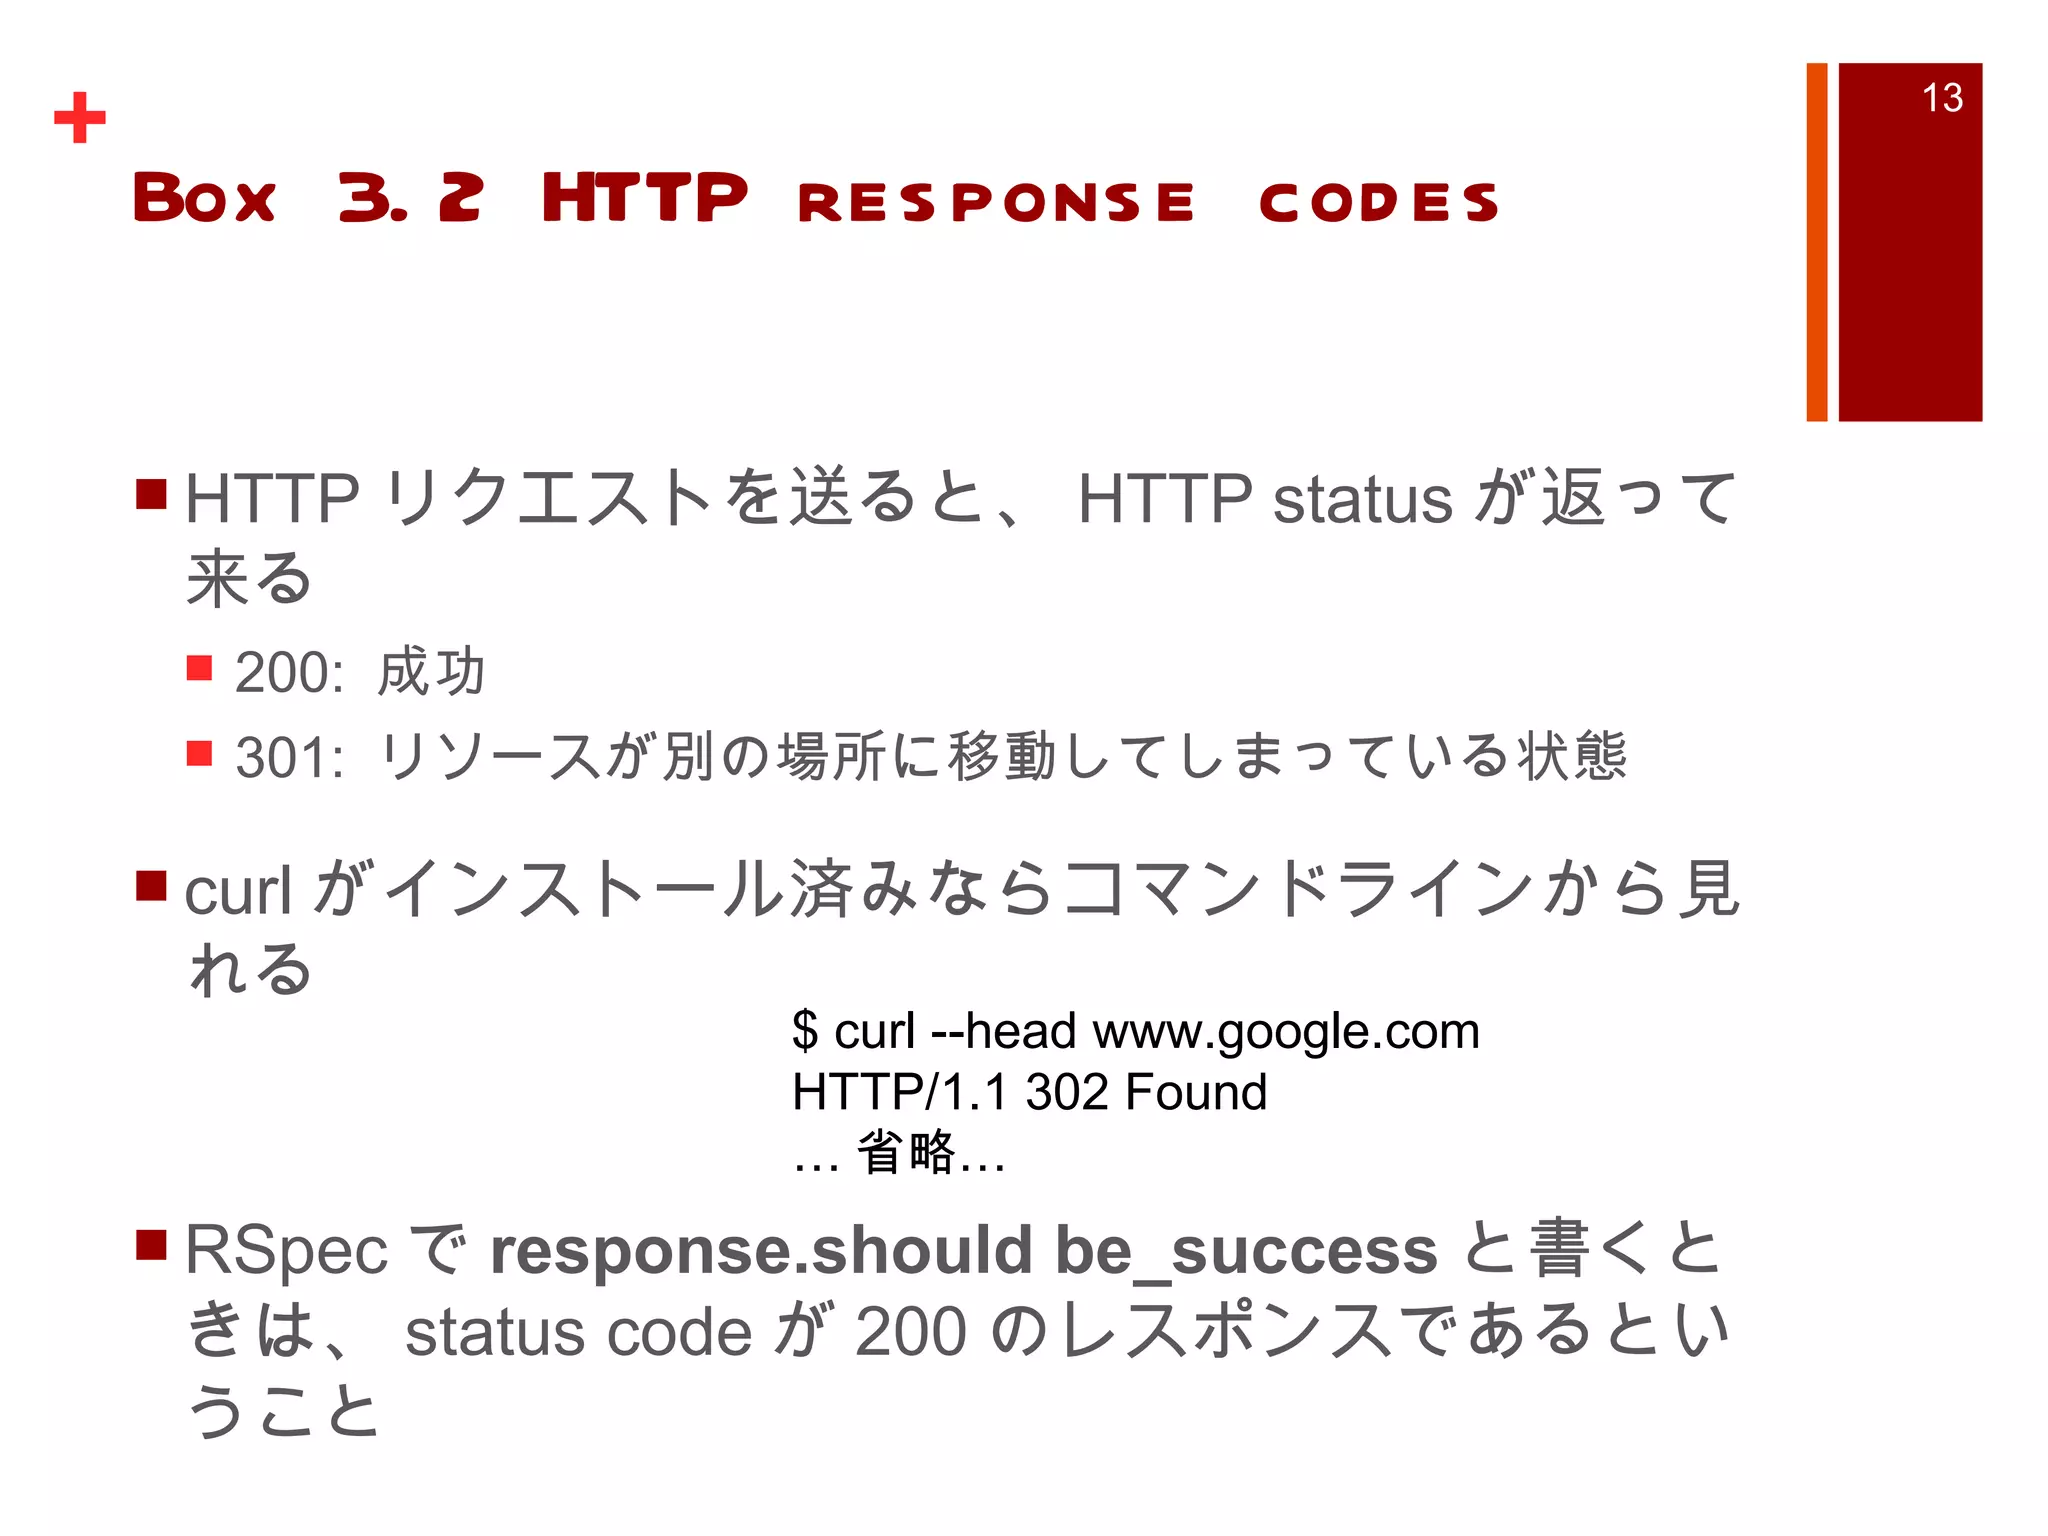
PPTX
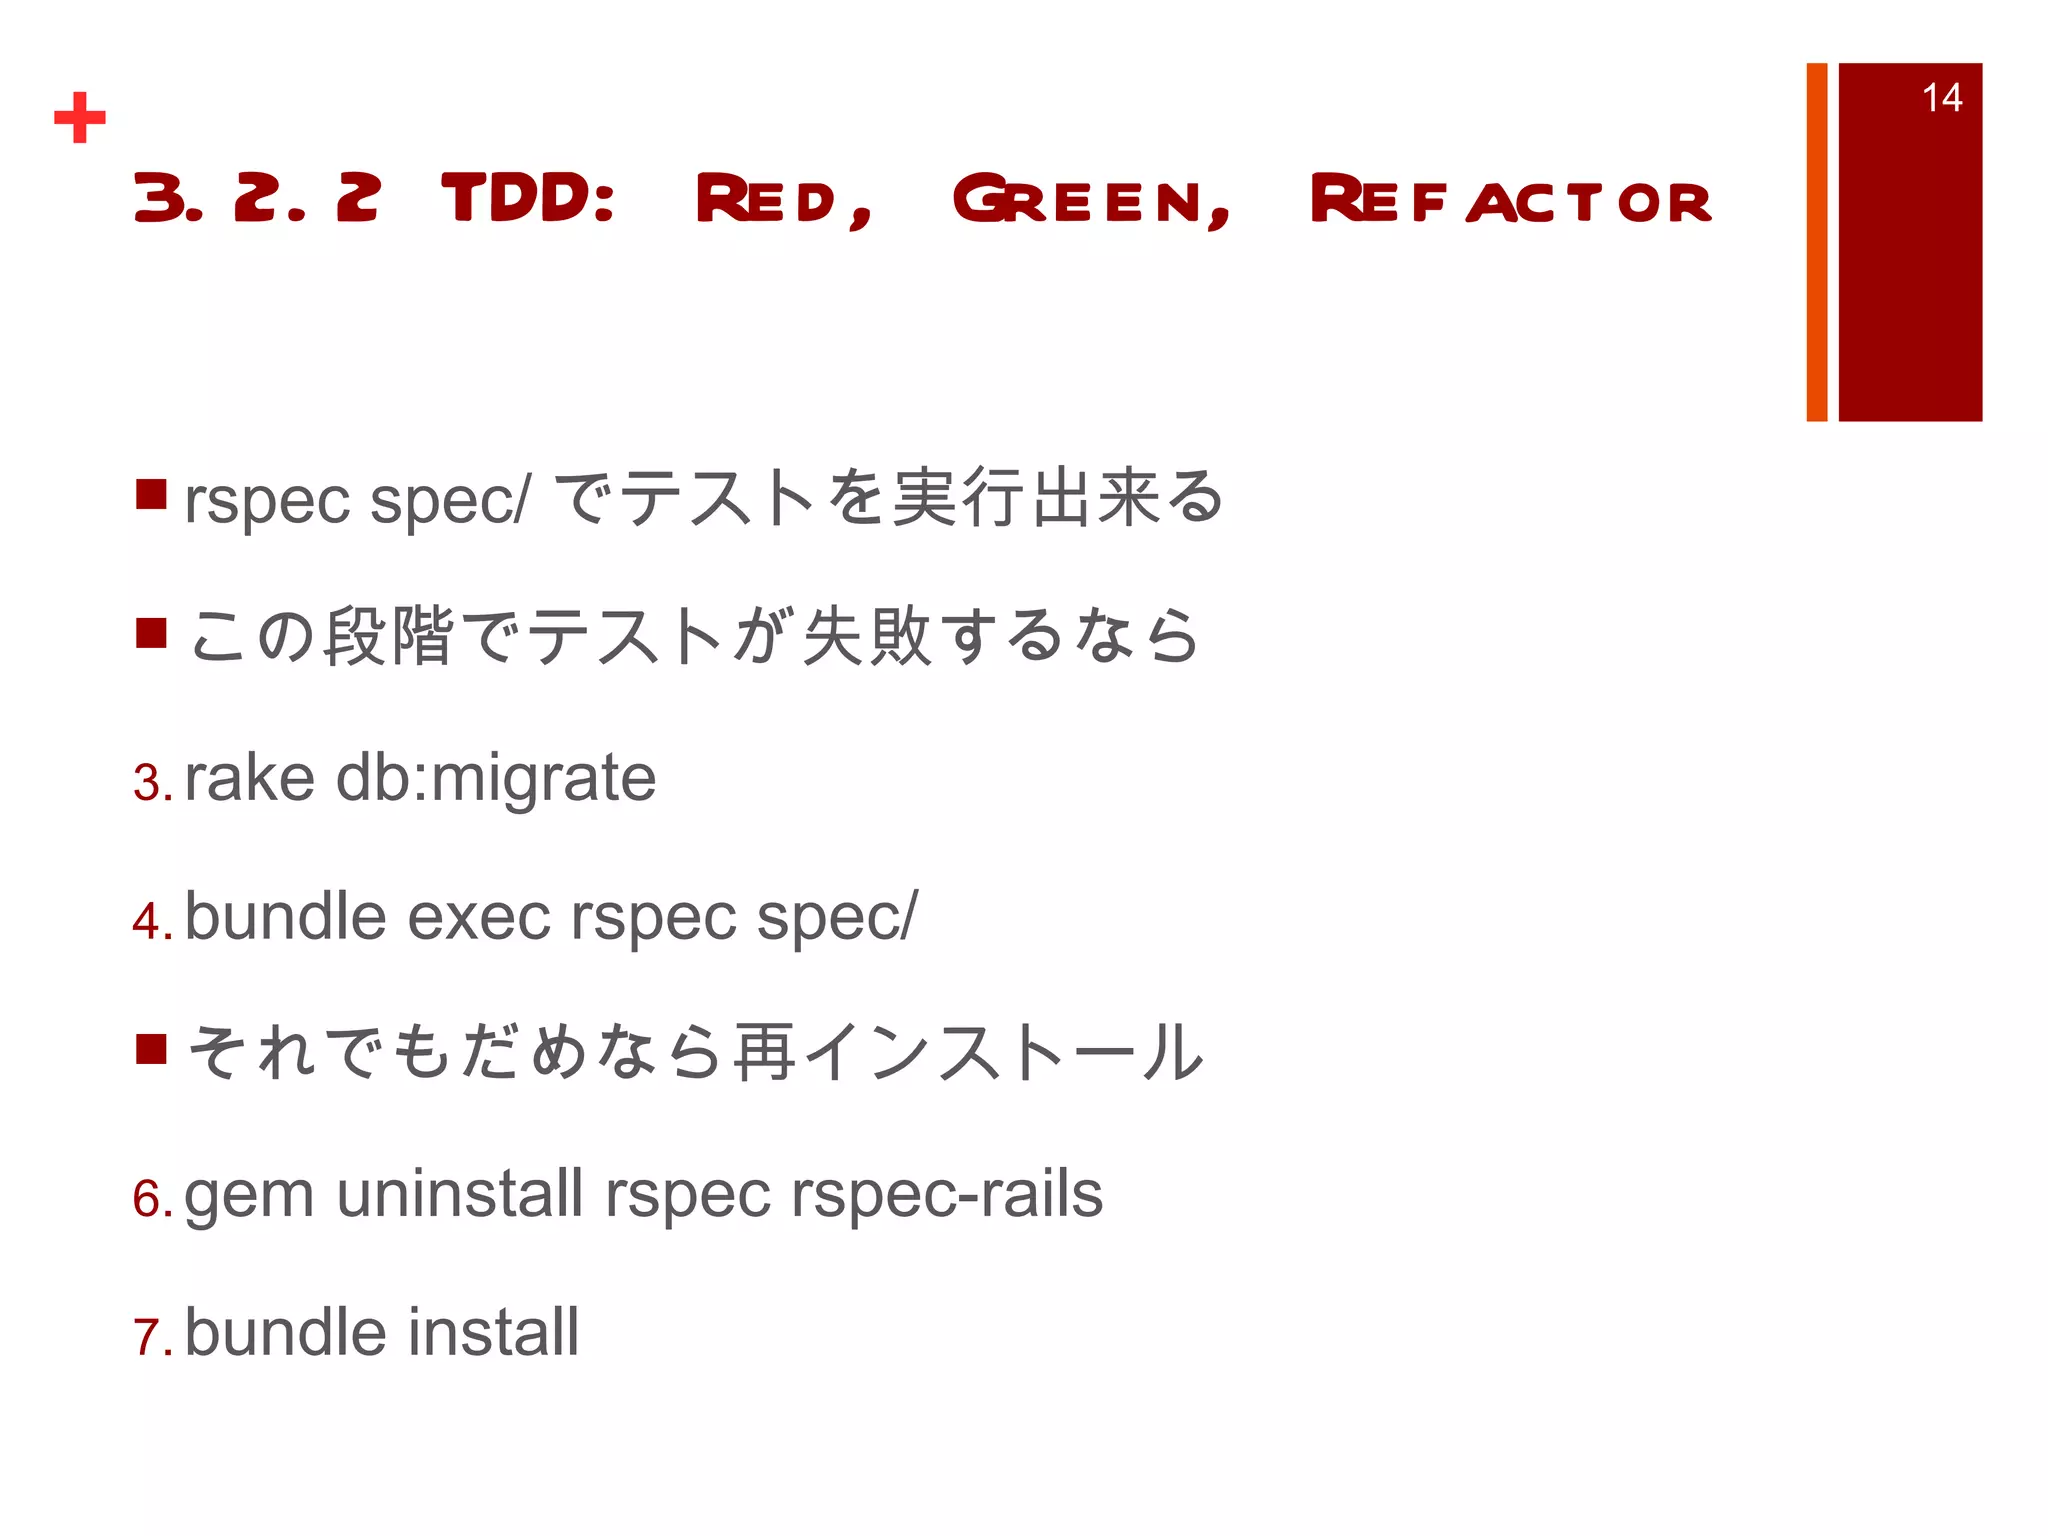
【 Zabbix 2.0 】zabbix 2.0による簡単 MySQL 監視 #Zabbix
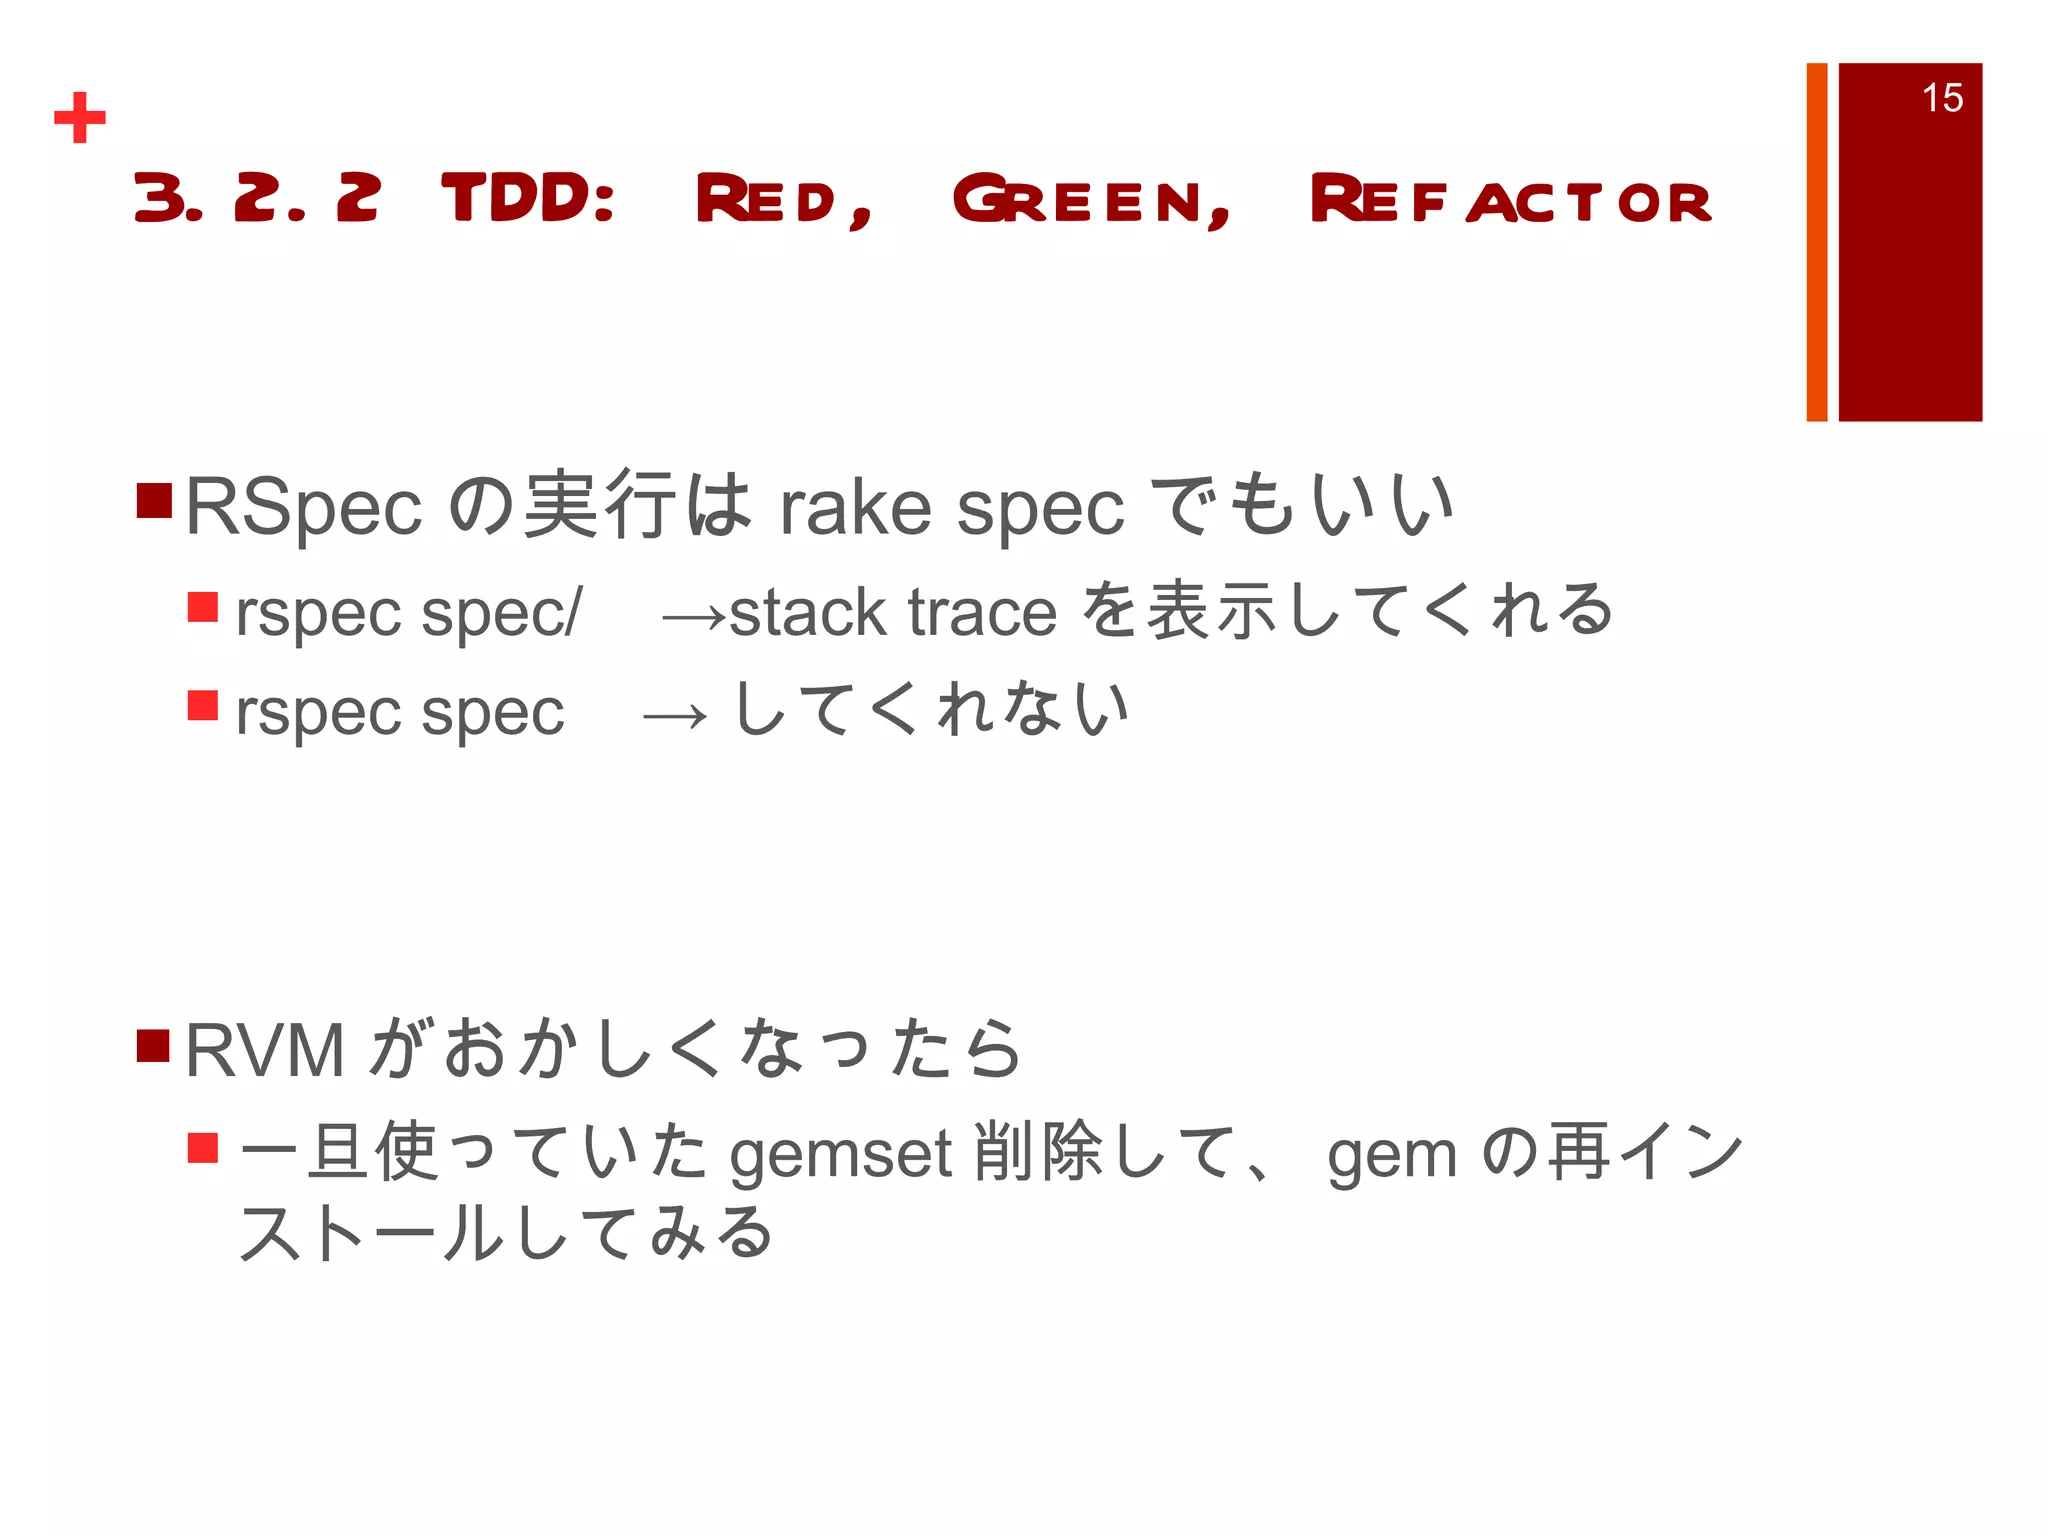
PDF
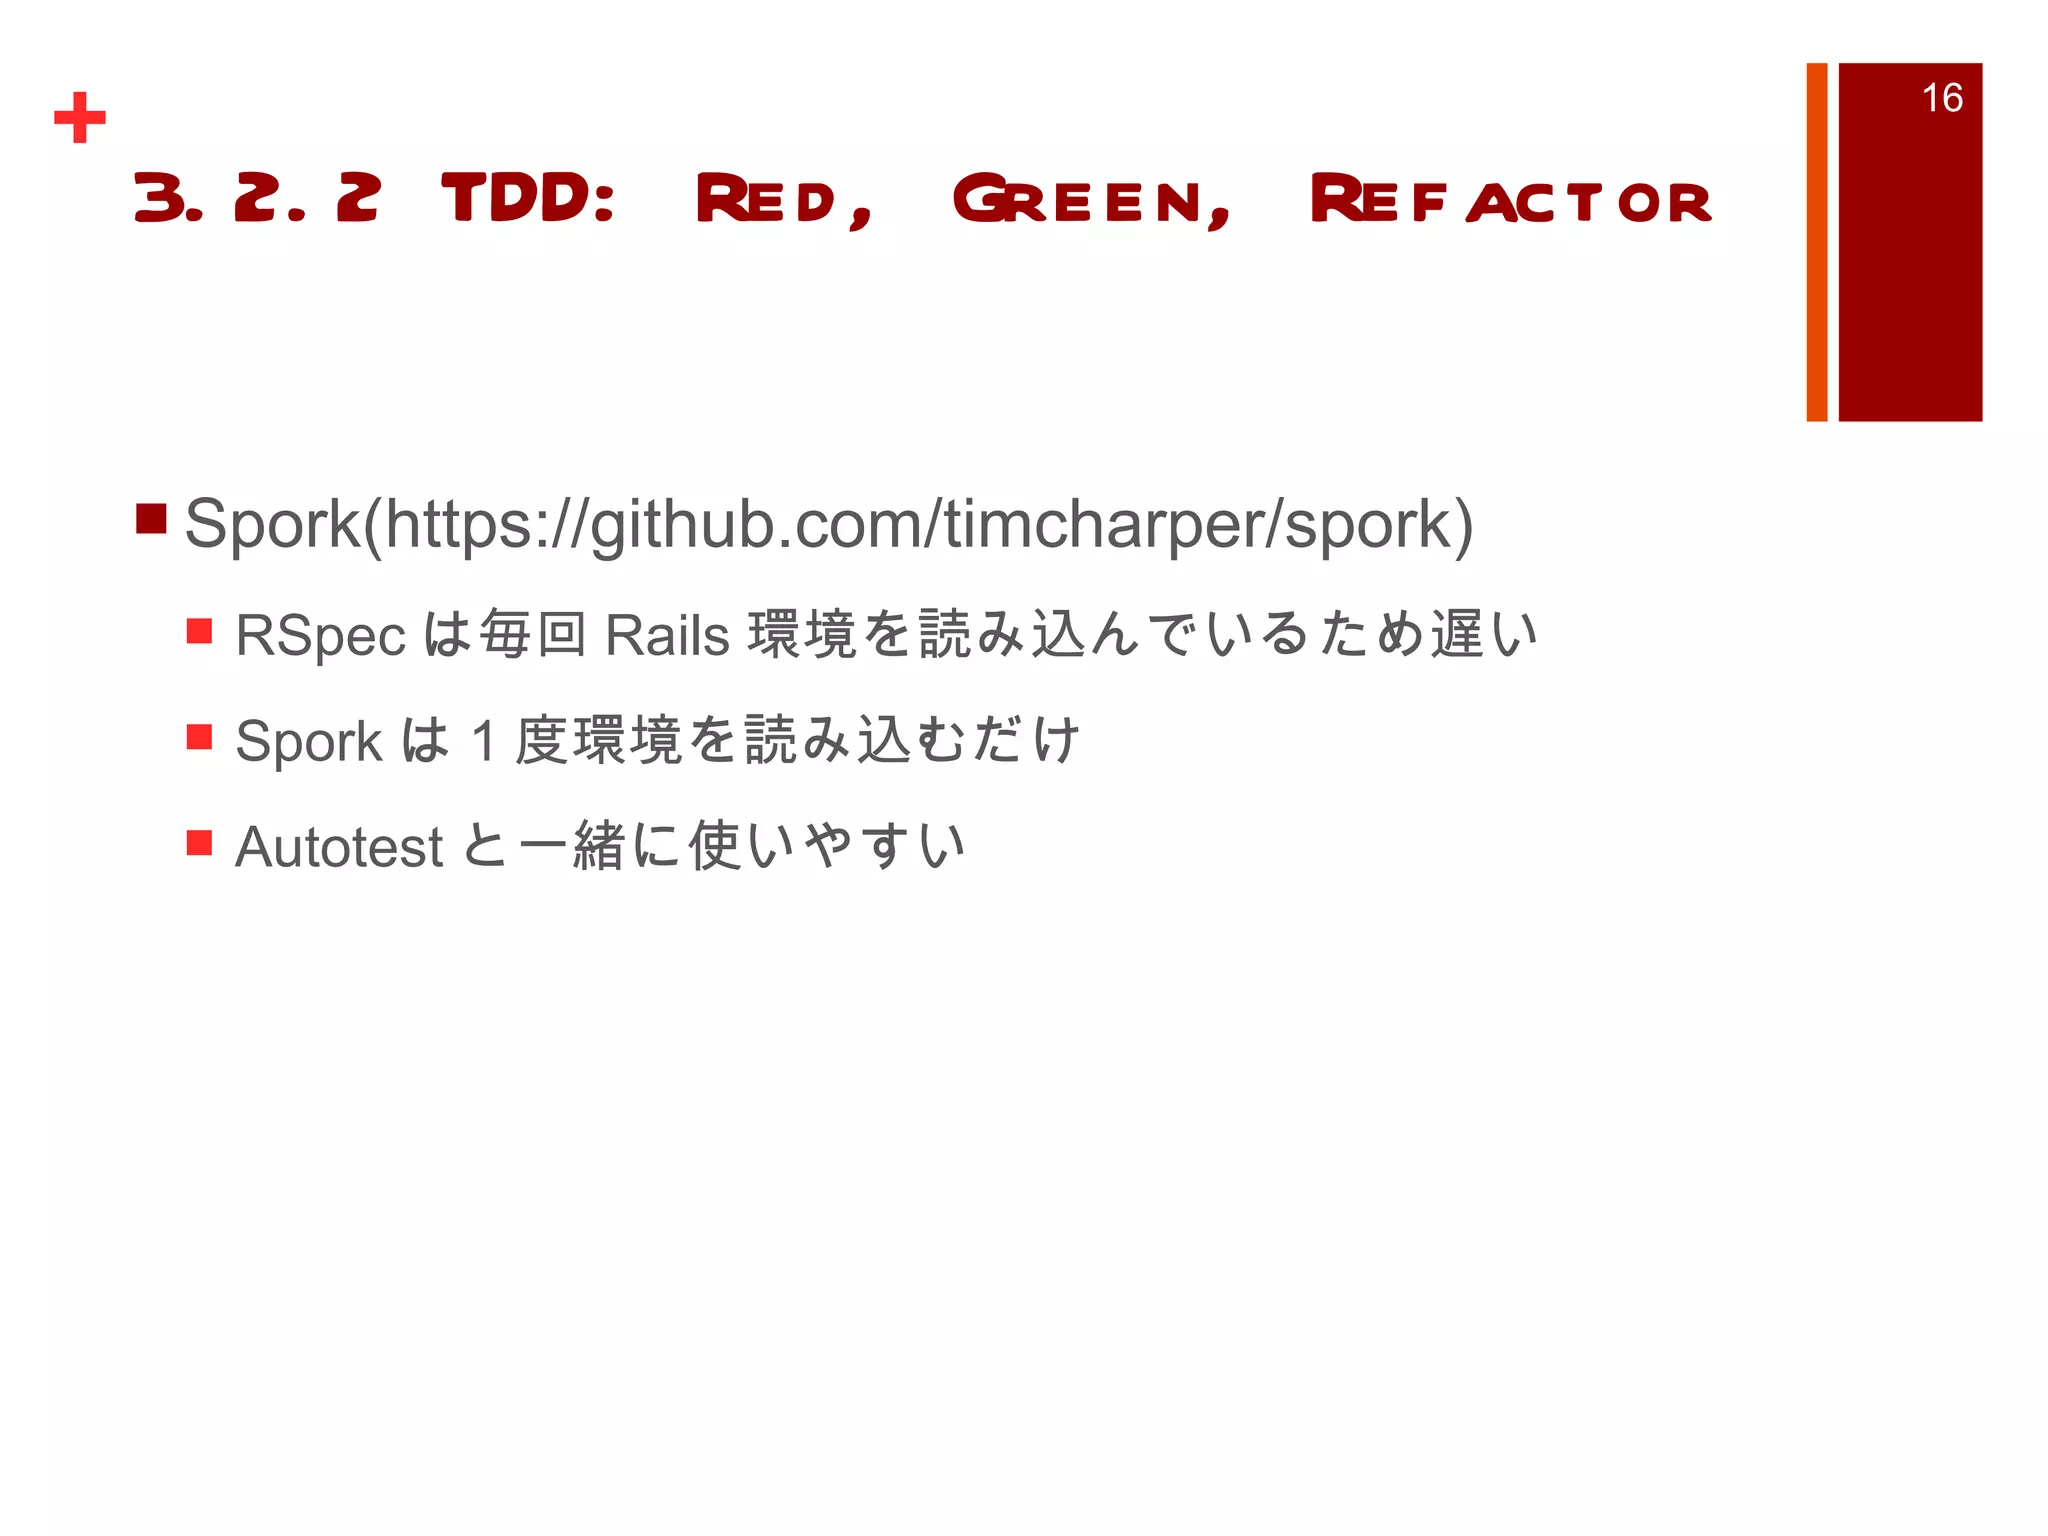
PPTX
開発環境をVagrantからdockerに移行してみた
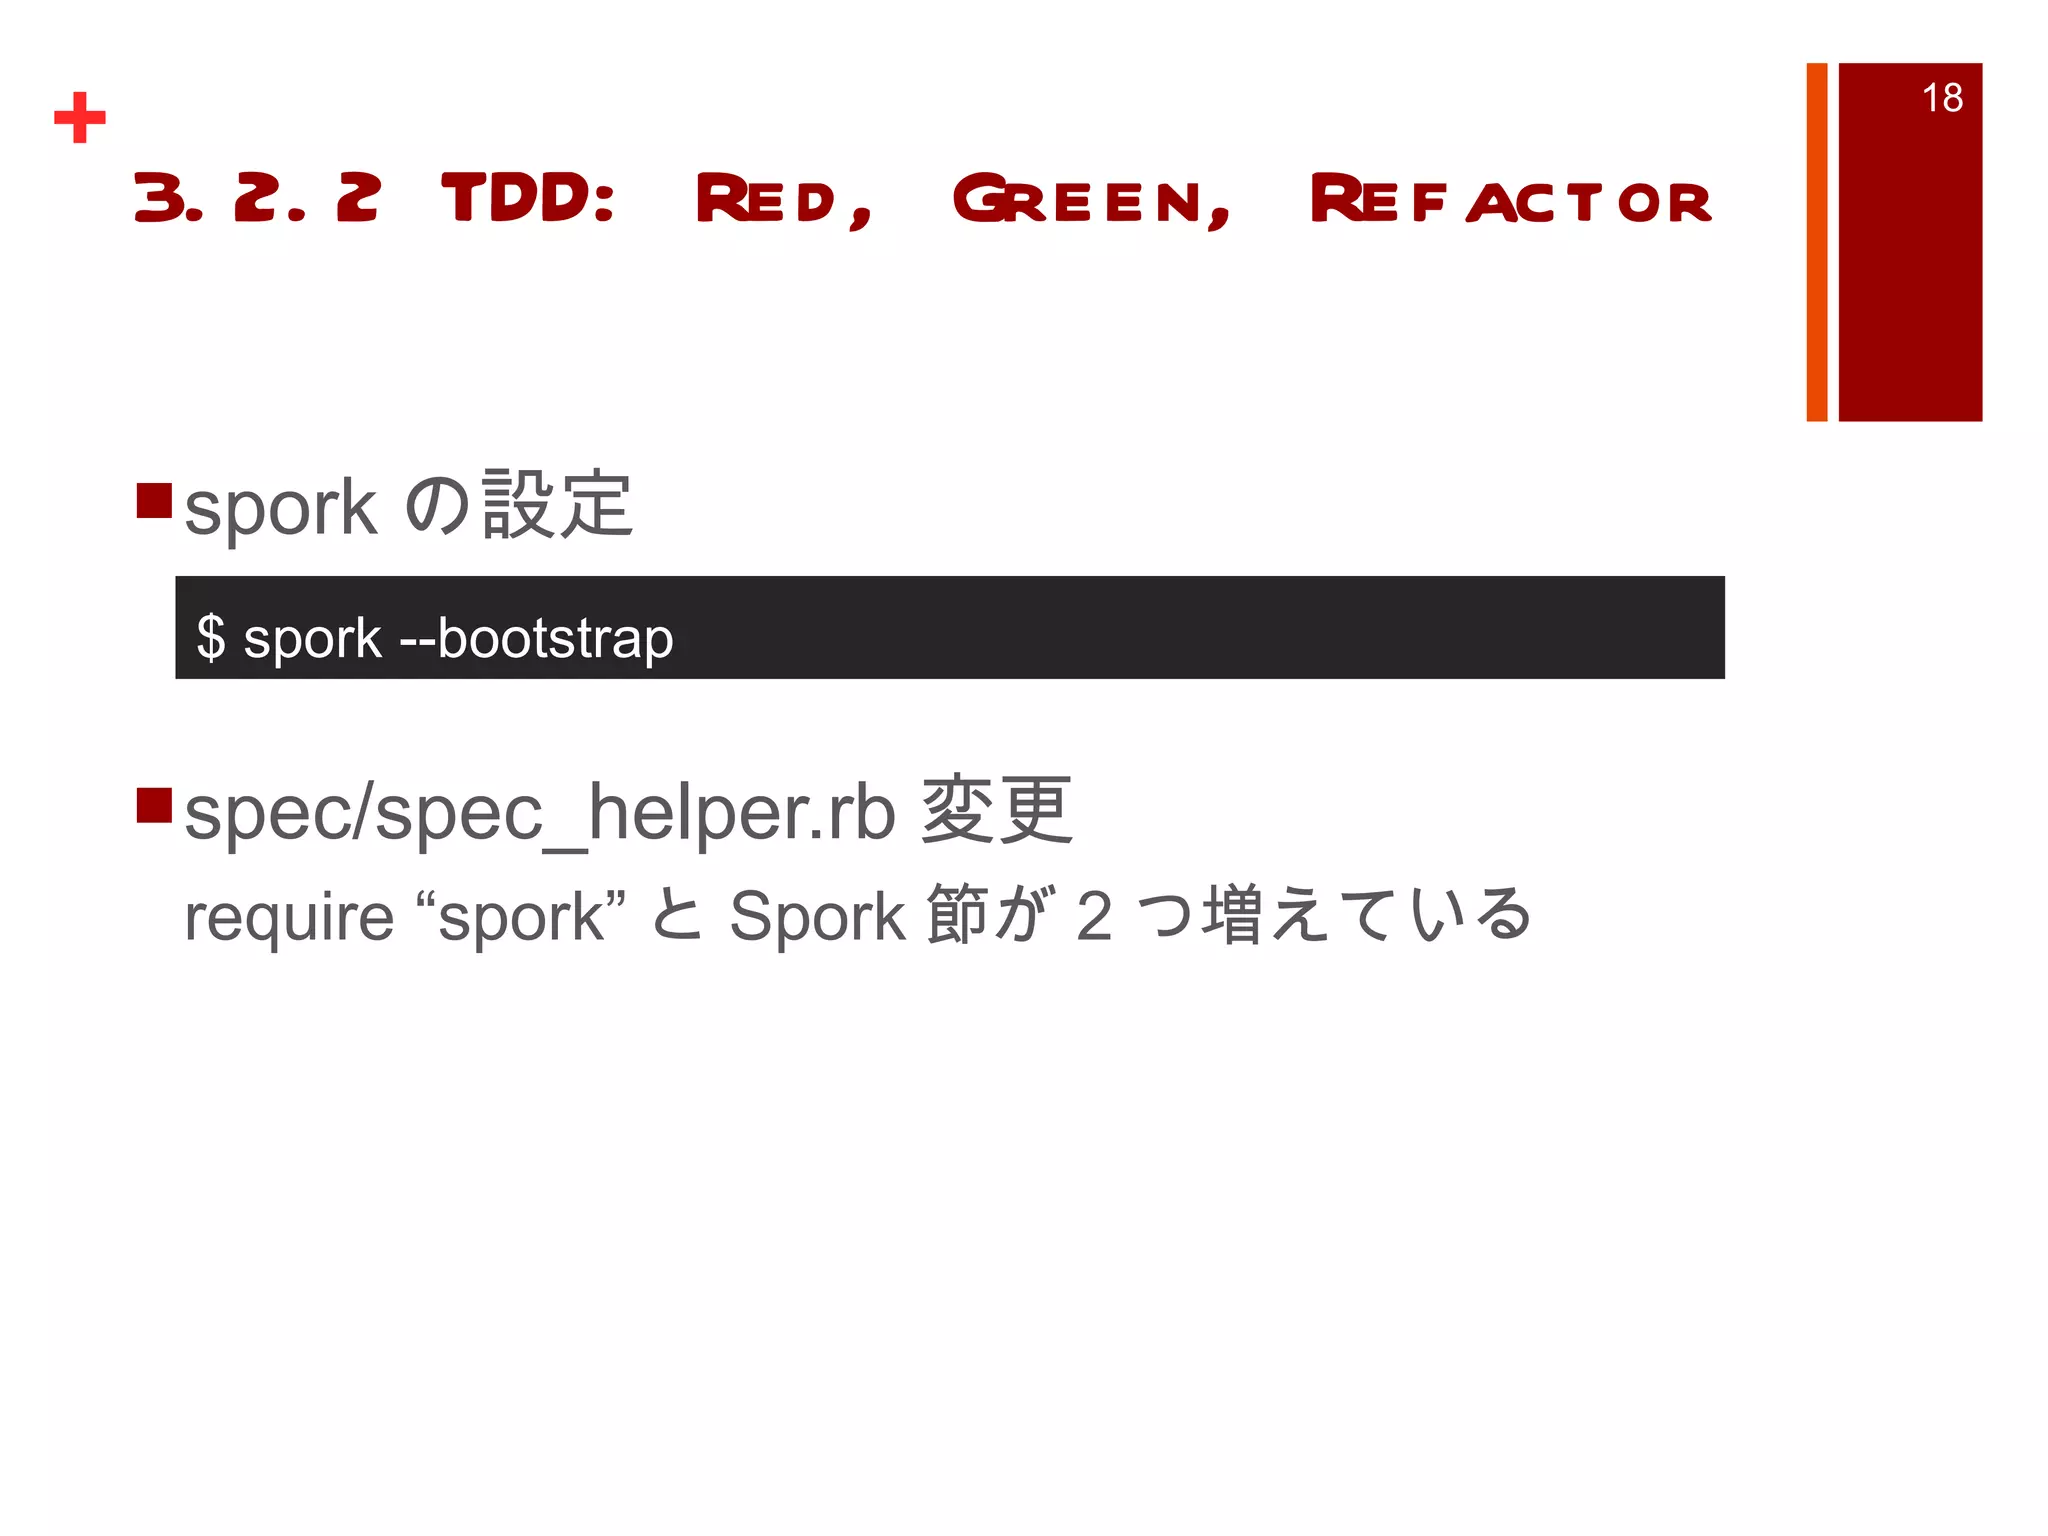
PDF
PDF
PDF
PDF
おれおれブログシステムにServiceWorkerを導入してみた #serviceworker
PDF
PPTX
【 Zabbix 2.2 】zabbix update 2.0 to 2.2
PPT
Ruby on Rails Tutorial Chapter5-7
KEY
Bundler kanazawa.rb meetup #2 2012/09/19
PPTX
PDF
ODP
PDF
KEY
PDF
AlibabaCloudではじめるKubernetes
PDF
PPTX
PPTX
【Zabbix 2.1】zabbix2.1.6→2.1.7 の変更点
PPTX
【 Zabbix 2.1 】 zabbix 2.2のVM監視機能評価 #Zabbix #自宅ラック勉強会
PDF
PDF
More Related Content
PPTX
Zabbix による ms sql監視 ~データベースモニタリング~ odbc
PPTX
Appsody でnodejsのアプリを立ち上げよう!
PDF
PPT
Ruby on Rails3 Tutorial Chapter2
PPTX
KEY
Rails and twitter #twtr_hack
PDF
REST with Spring Boot #jqfk
PPTX
【 Zabbix 2.0 】zabbix 2.0による簡単 MySQL 監視 #Zabbix
What's hot
PDF
PPTX
開発環境をVagrantからdockerに移行してみた
PDF
PDF
PDF
PDF
おれおれブログシステムにServiceWorkerを導入してみた #serviceworker
PDF
PPTX
【 Zabbix 2.2 】zabbix update 2.0 to 2.2
PPT
Ruby on Rails Tutorial Chapter5-7
KEY
Bundler kanazawa.rb meetup #2 2012/09/19
PPTX
PDF
ODP
PDF
KEY
PDF
AlibabaCloudではじめるKubernetes
PDF
PPTX
PPTX
【Zabbix 2.1】zabbix2.1.6→2.1.7 の変更点
PPTX
【 Zabbix 2.1 】 zabbix 2.2のVM監視機能評価 #Zabbix #自宅ラック勉強会
Similar to Ruby on Rails3 Tutorial Chapter3
PDF
PDF
PDF
PDF
Rails解説セミナー: Railsアプリケーションのデバッグ
PDF
PDF
PDF
PDF
PPT
Ruby on Rails Tutorial Chapter8-10
PDF
Introduction to guard + rspec
PPT
Ruby on Rails Tutorial Chapter11-13
PPT
Ruby on Rails3 Tutorial Chapter1
PDF
PDF
Rails初心者レッスン lesson4 2edition
PDF
Winodws7のruby2でrails4を遊ぶ環境を作るのだ。
PPTX
フレームワーク品評会 Ruby on Rails #crossjp
PDF
食べログ流 - Rails Upgrade Practices
PDF
PDF
PDF
Ruby on Railsではじめるrspecテスト
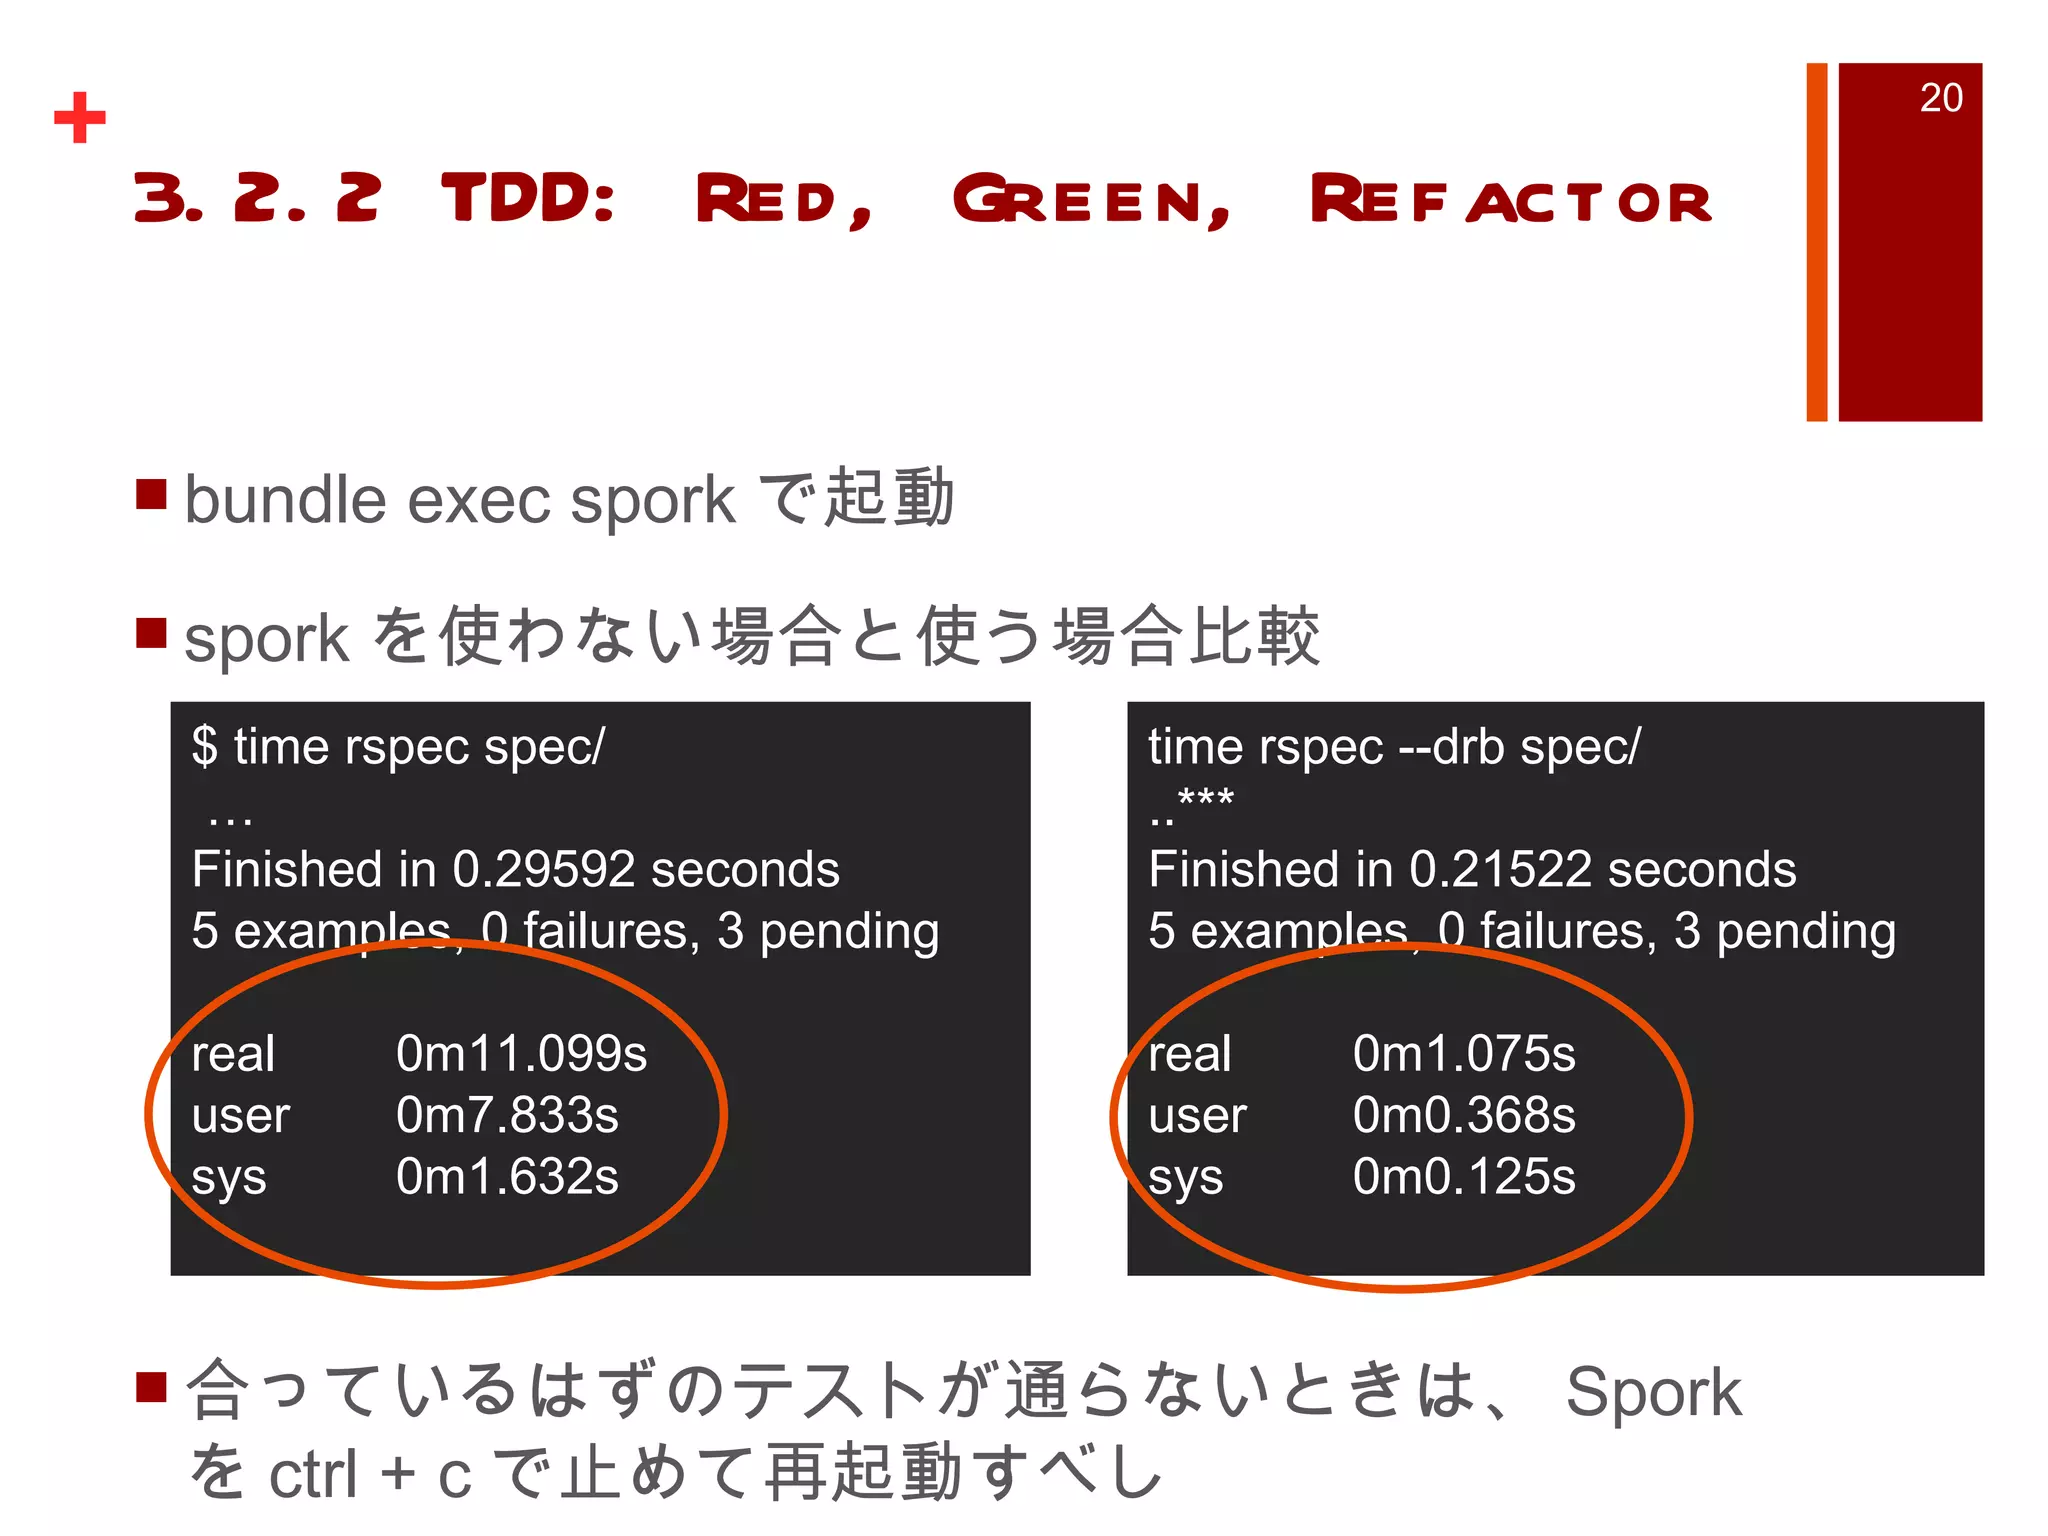
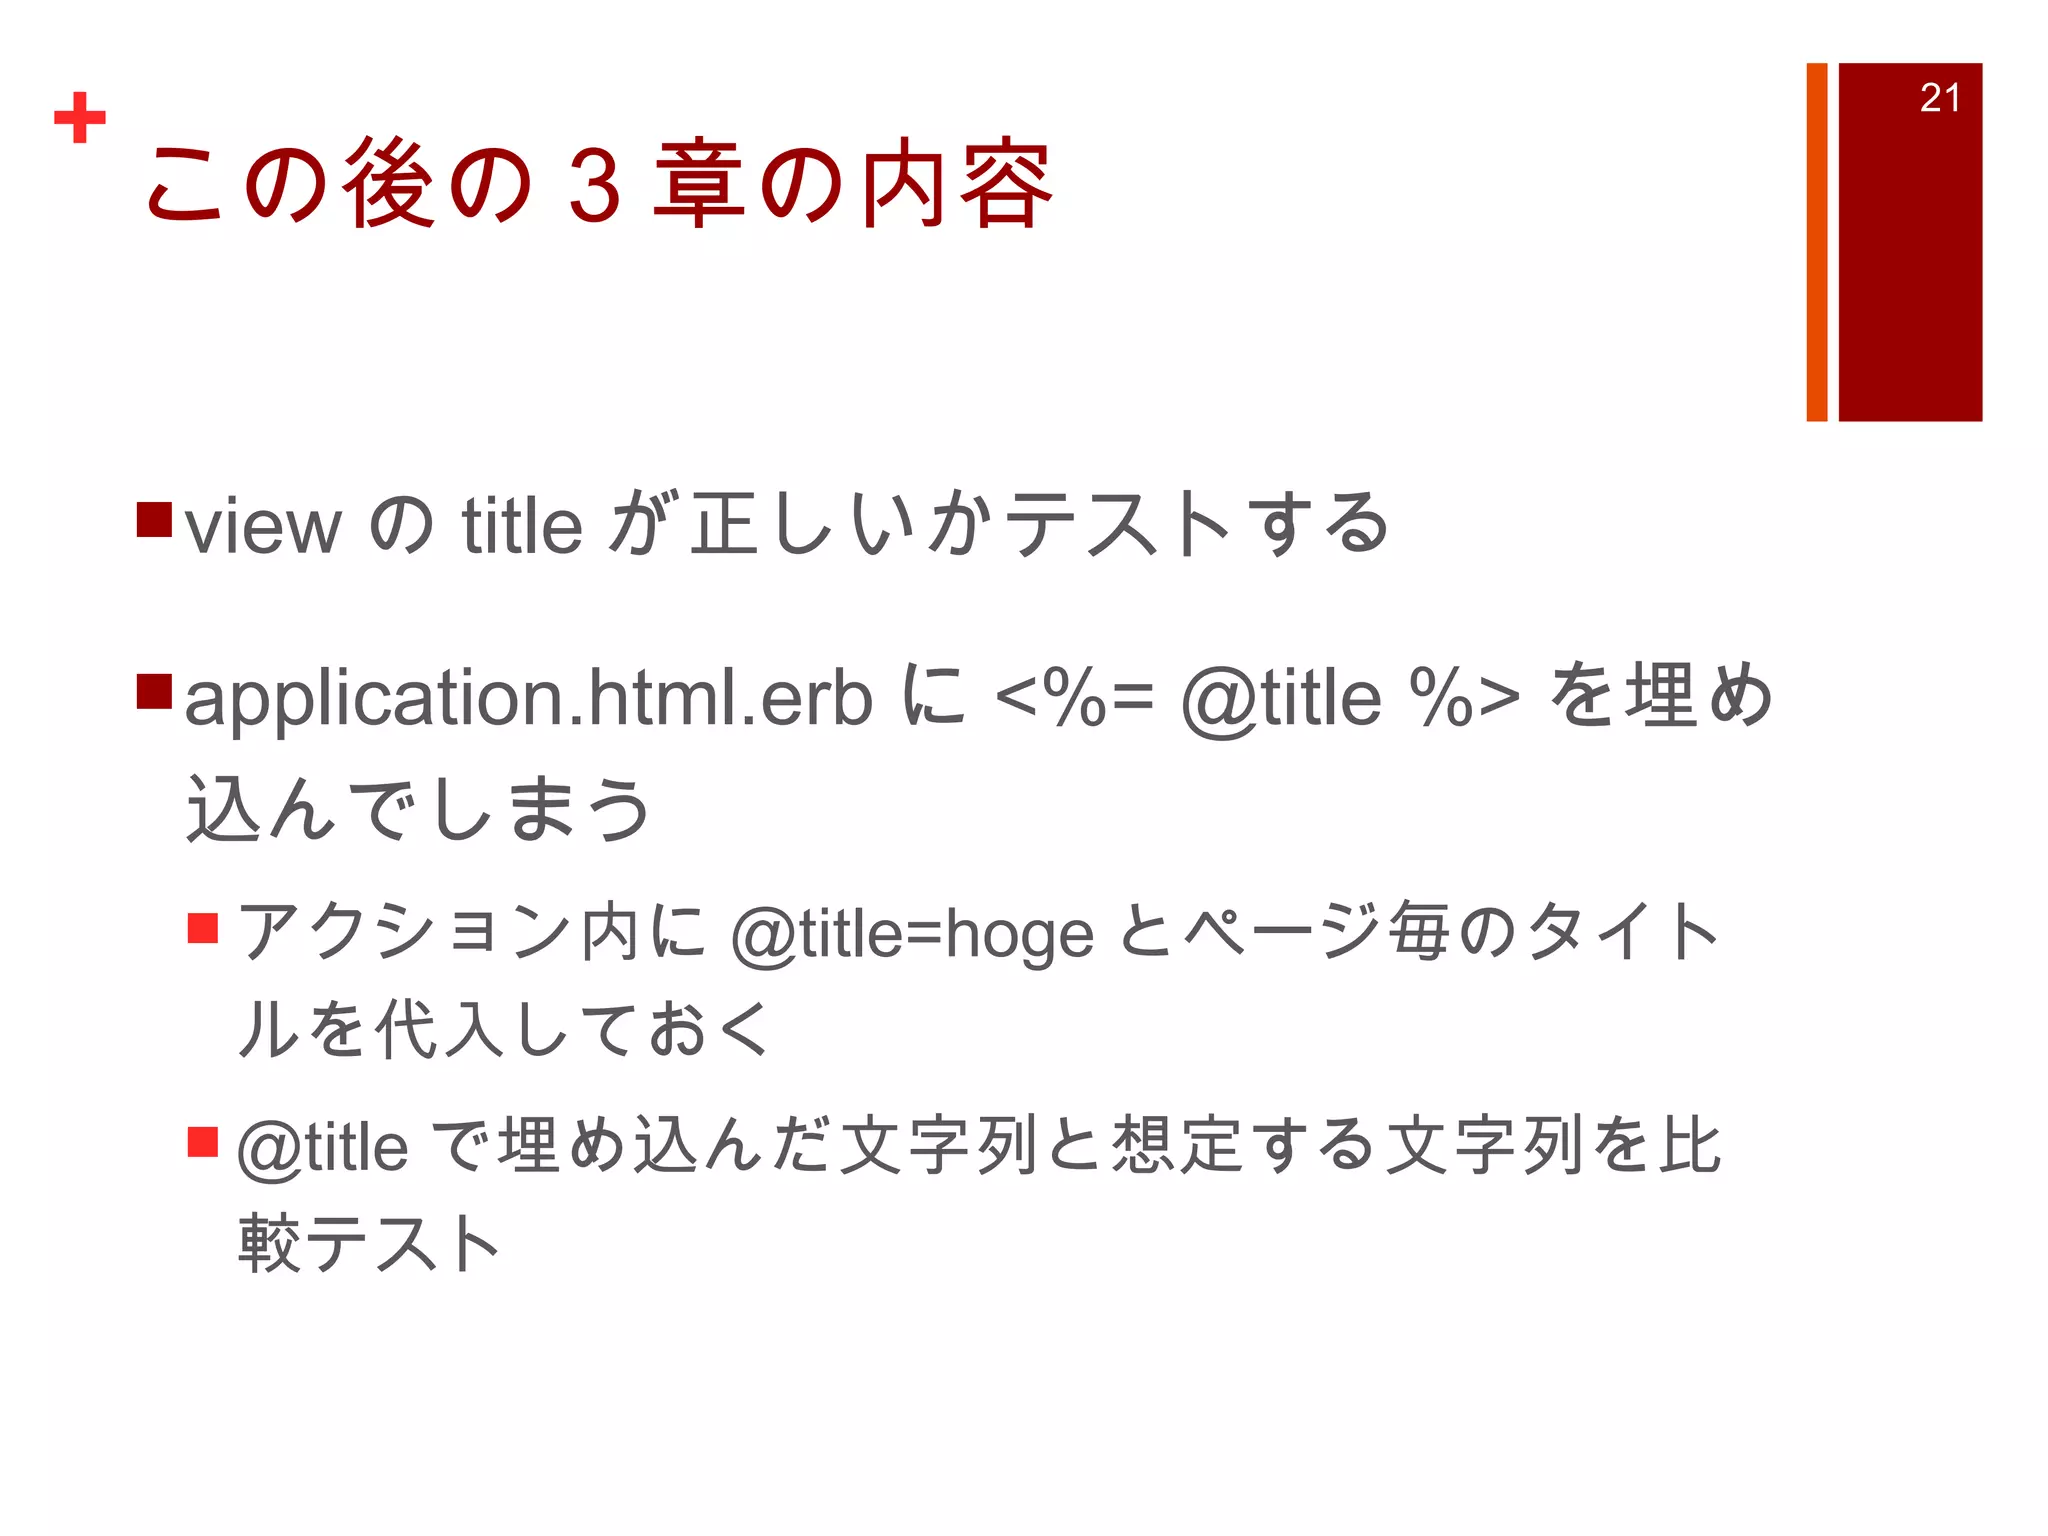
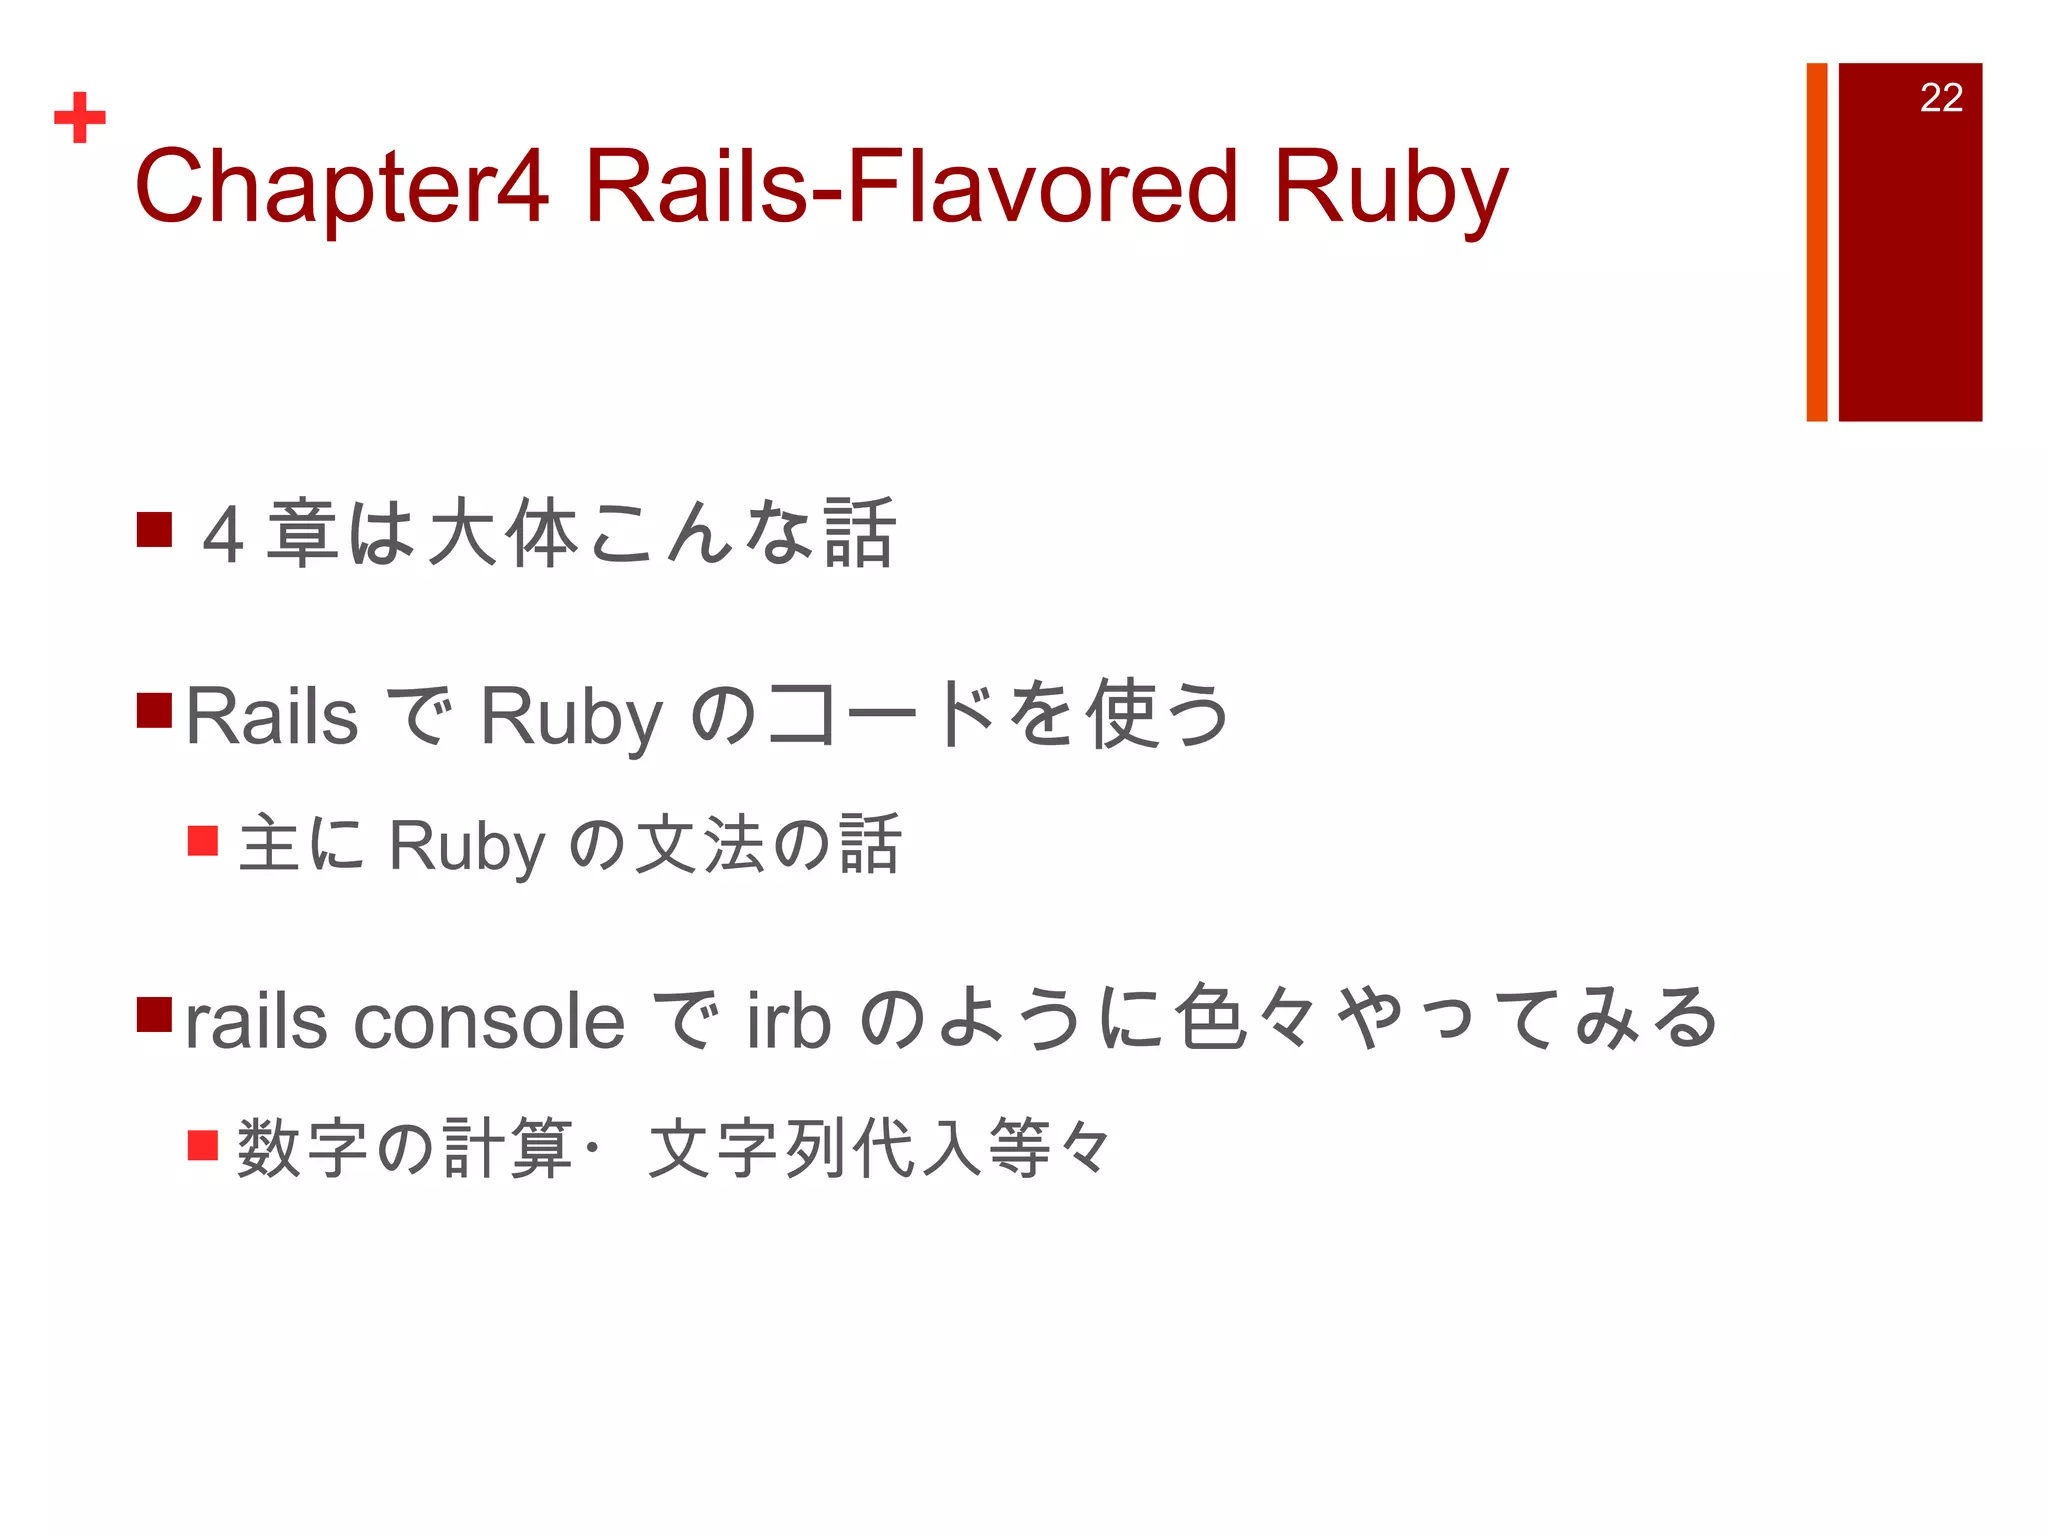
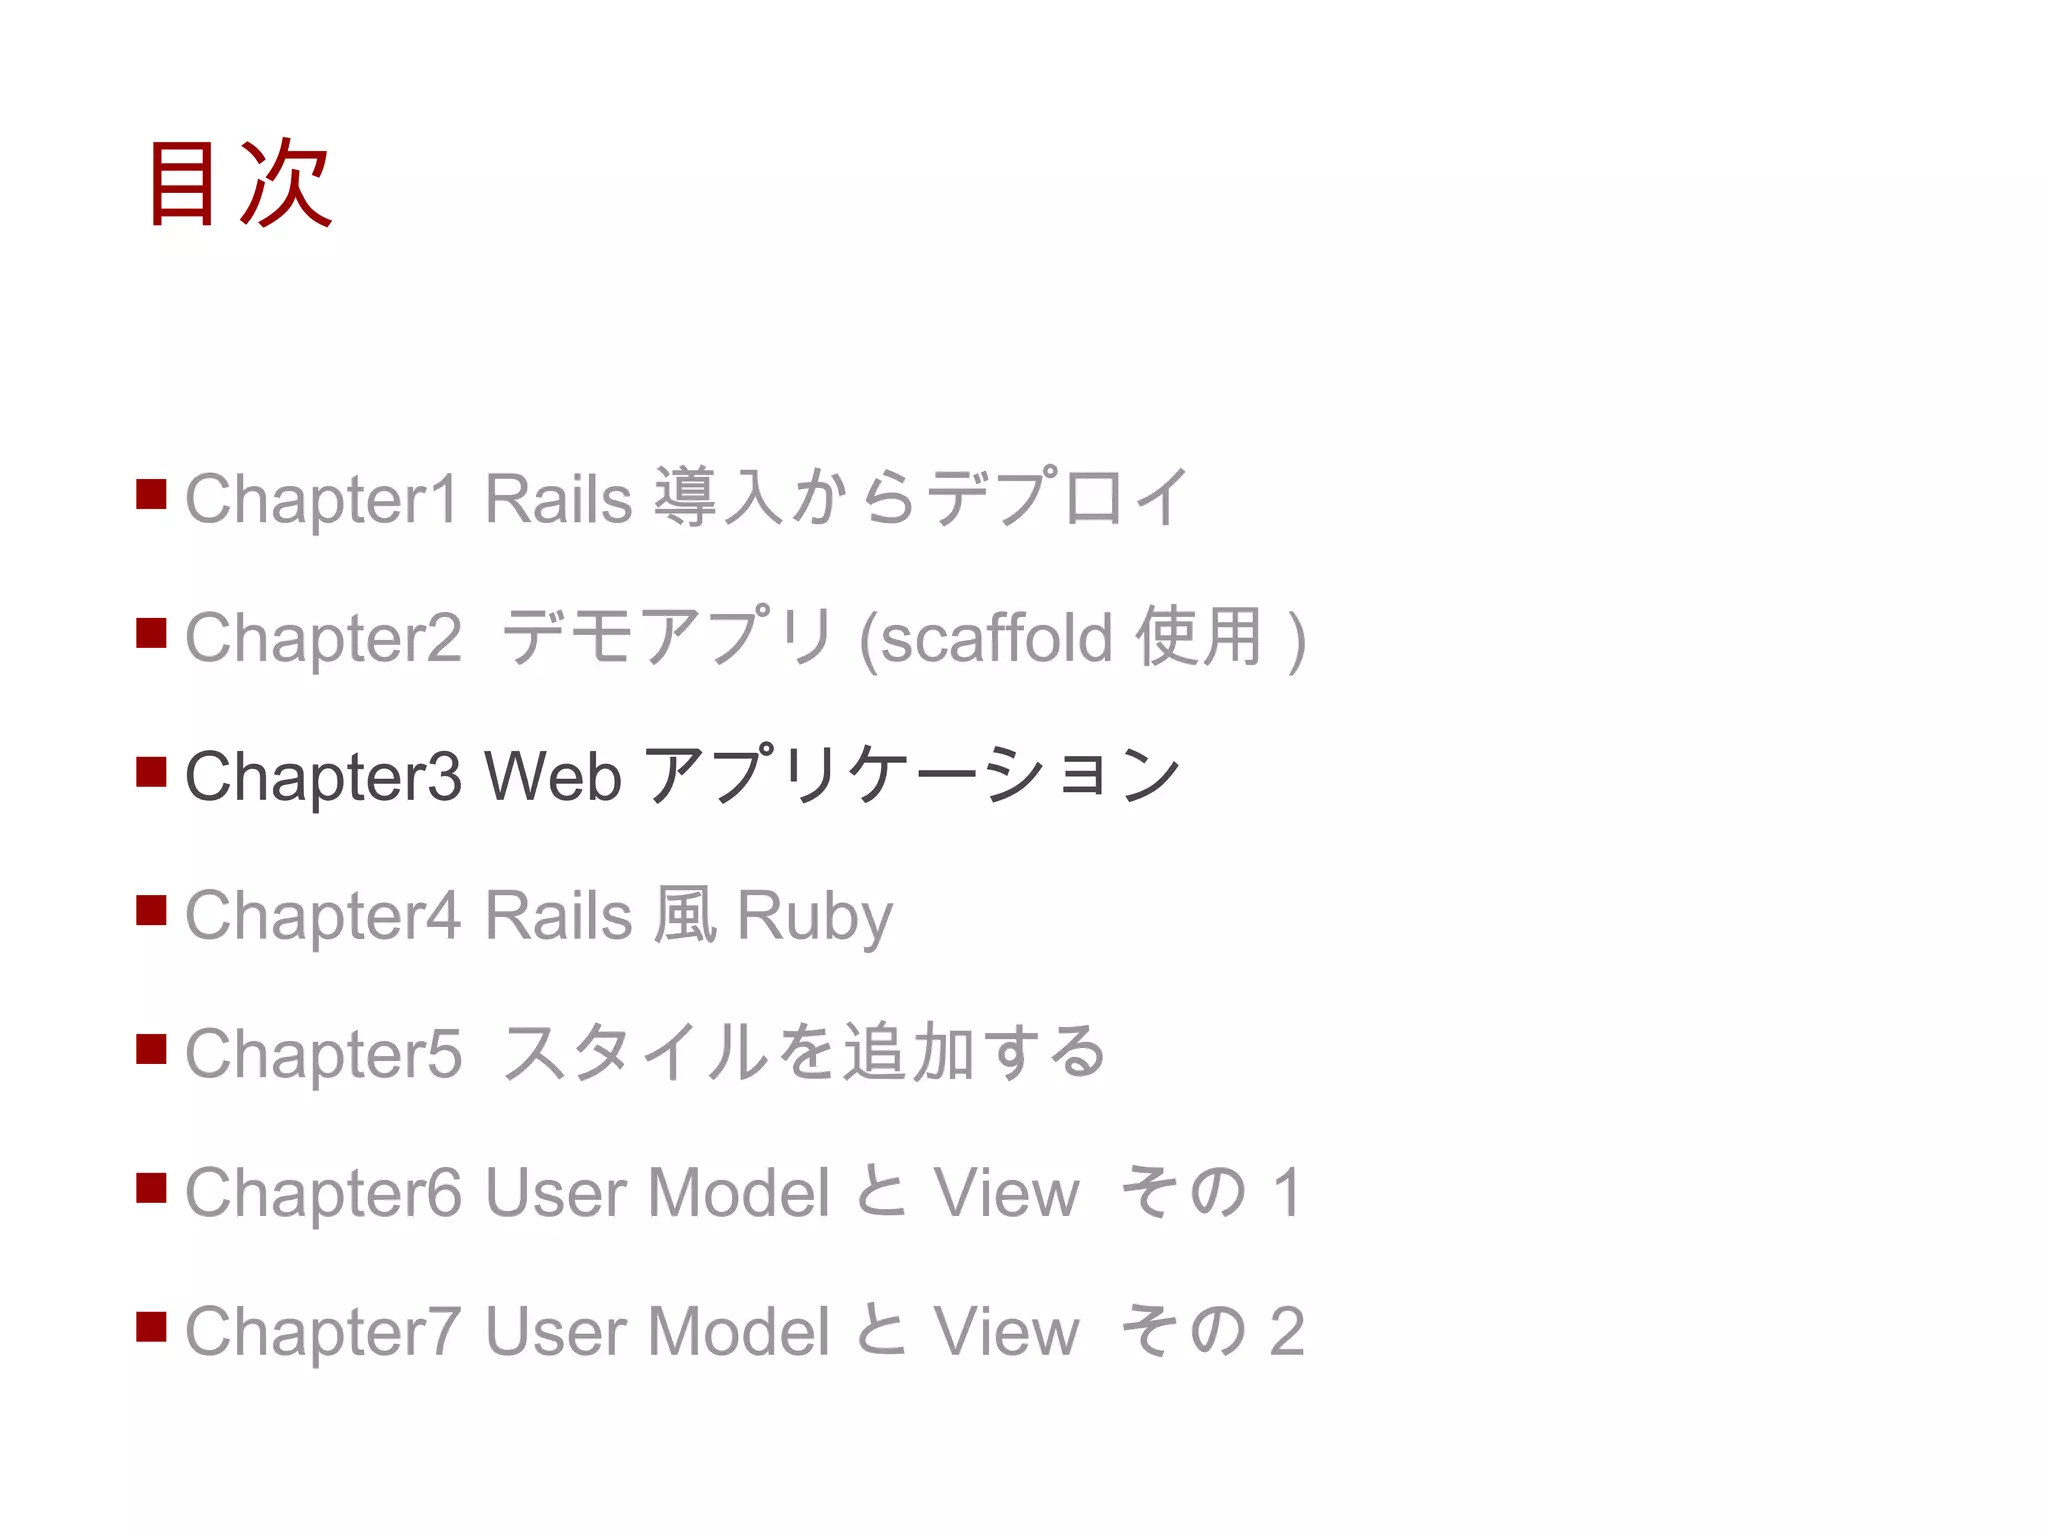
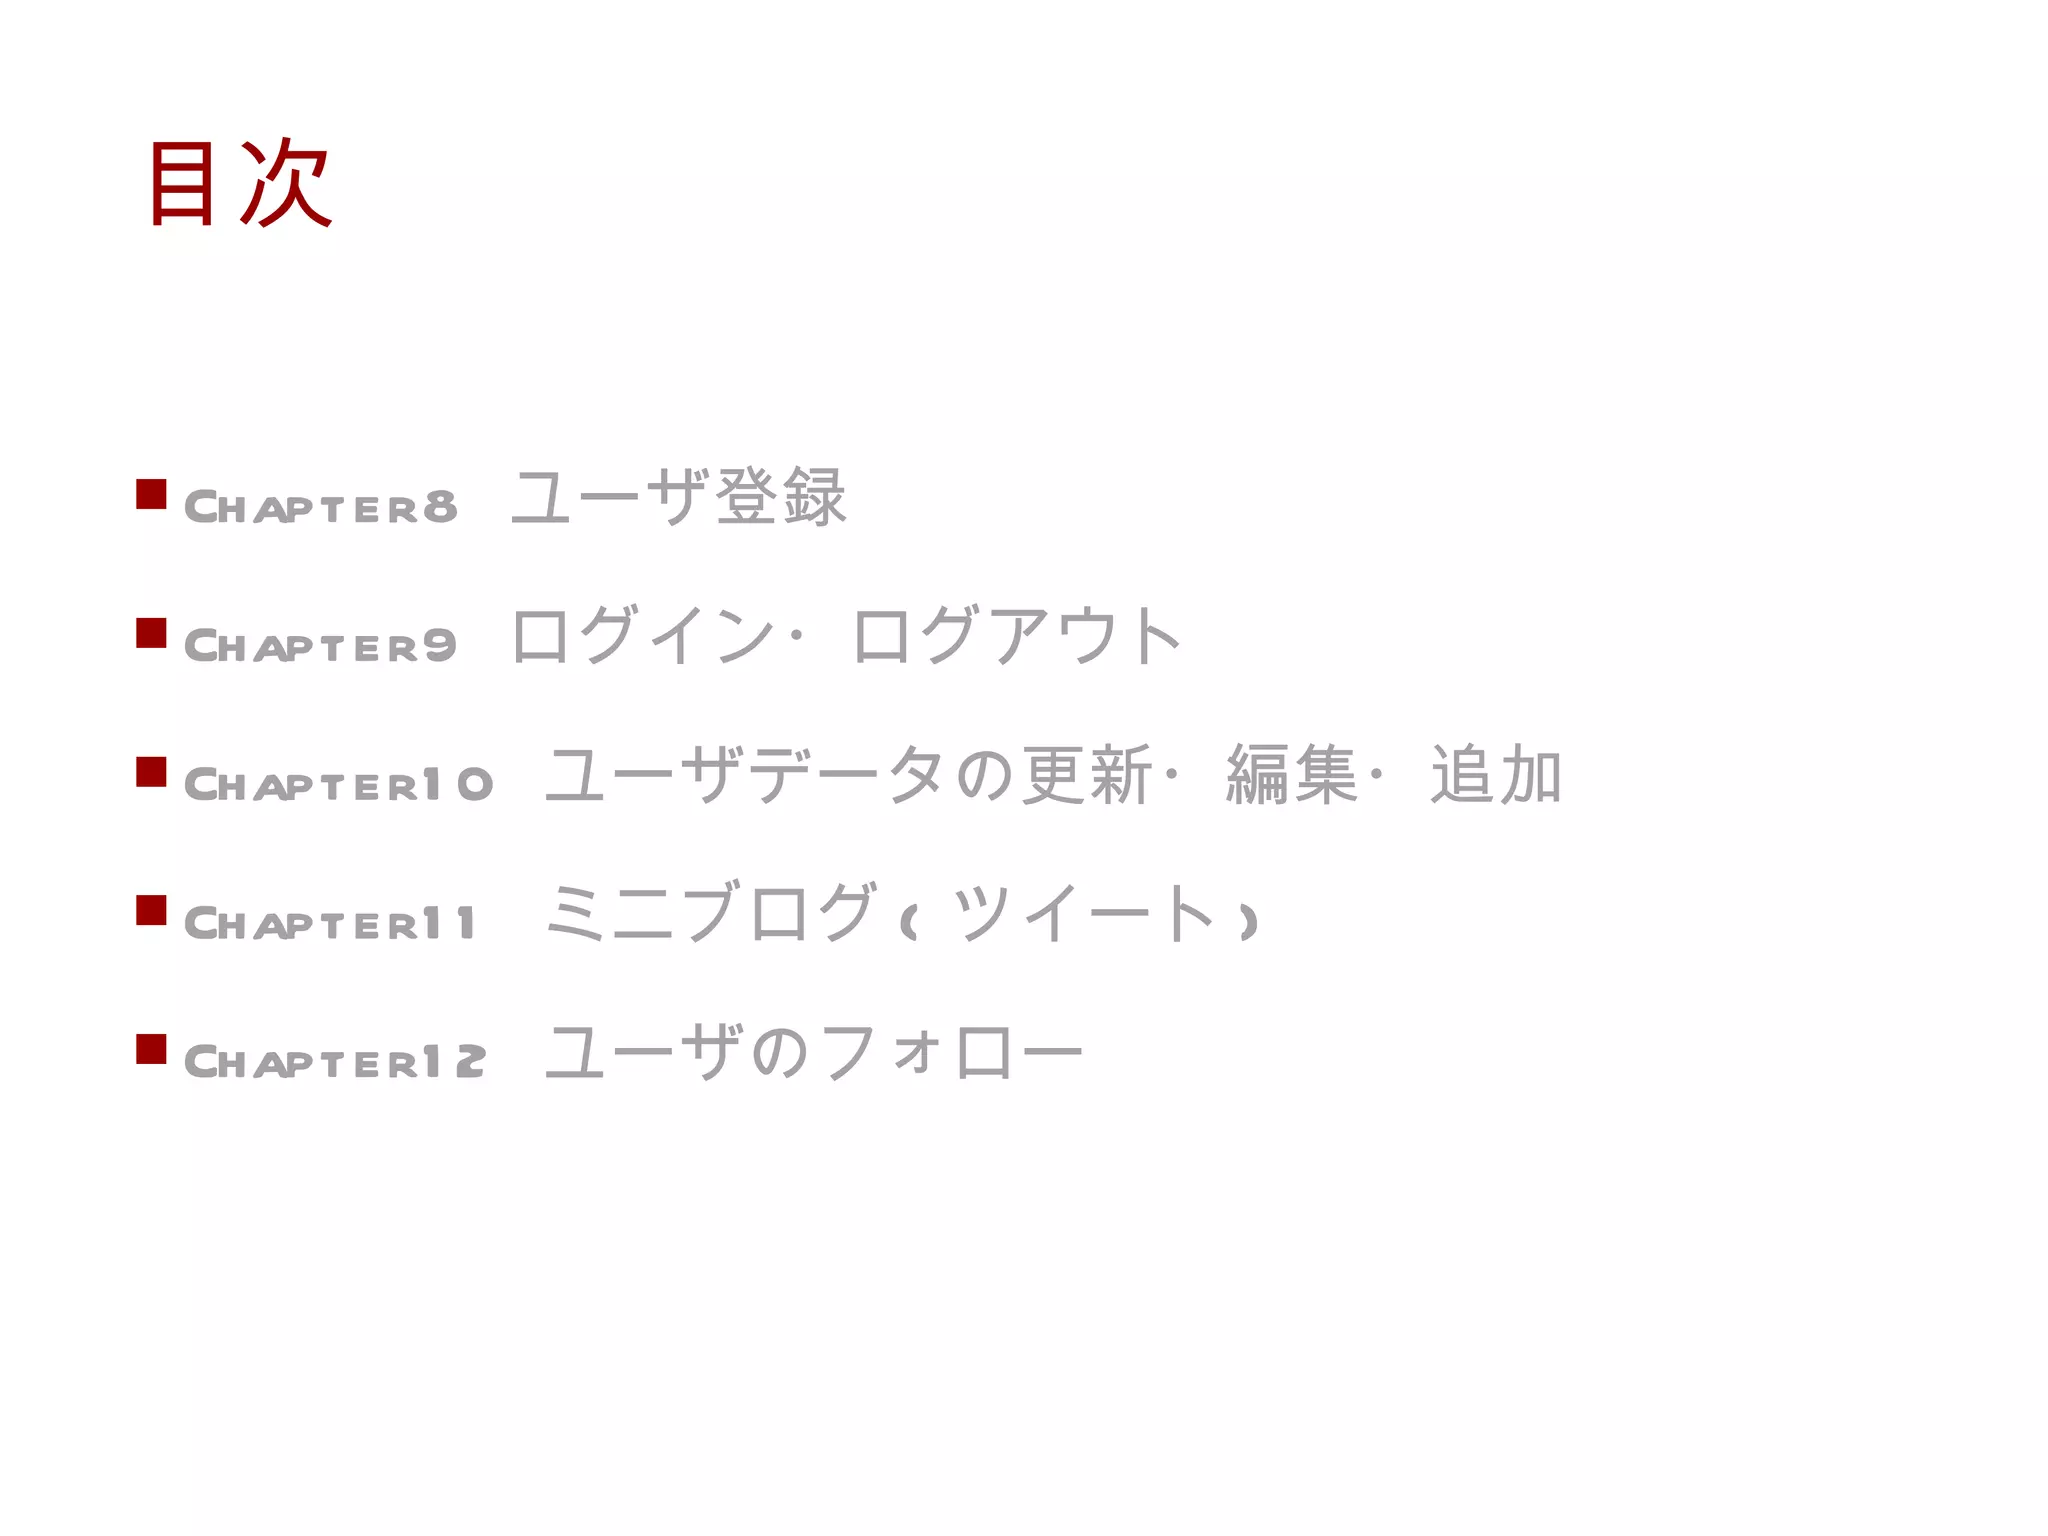
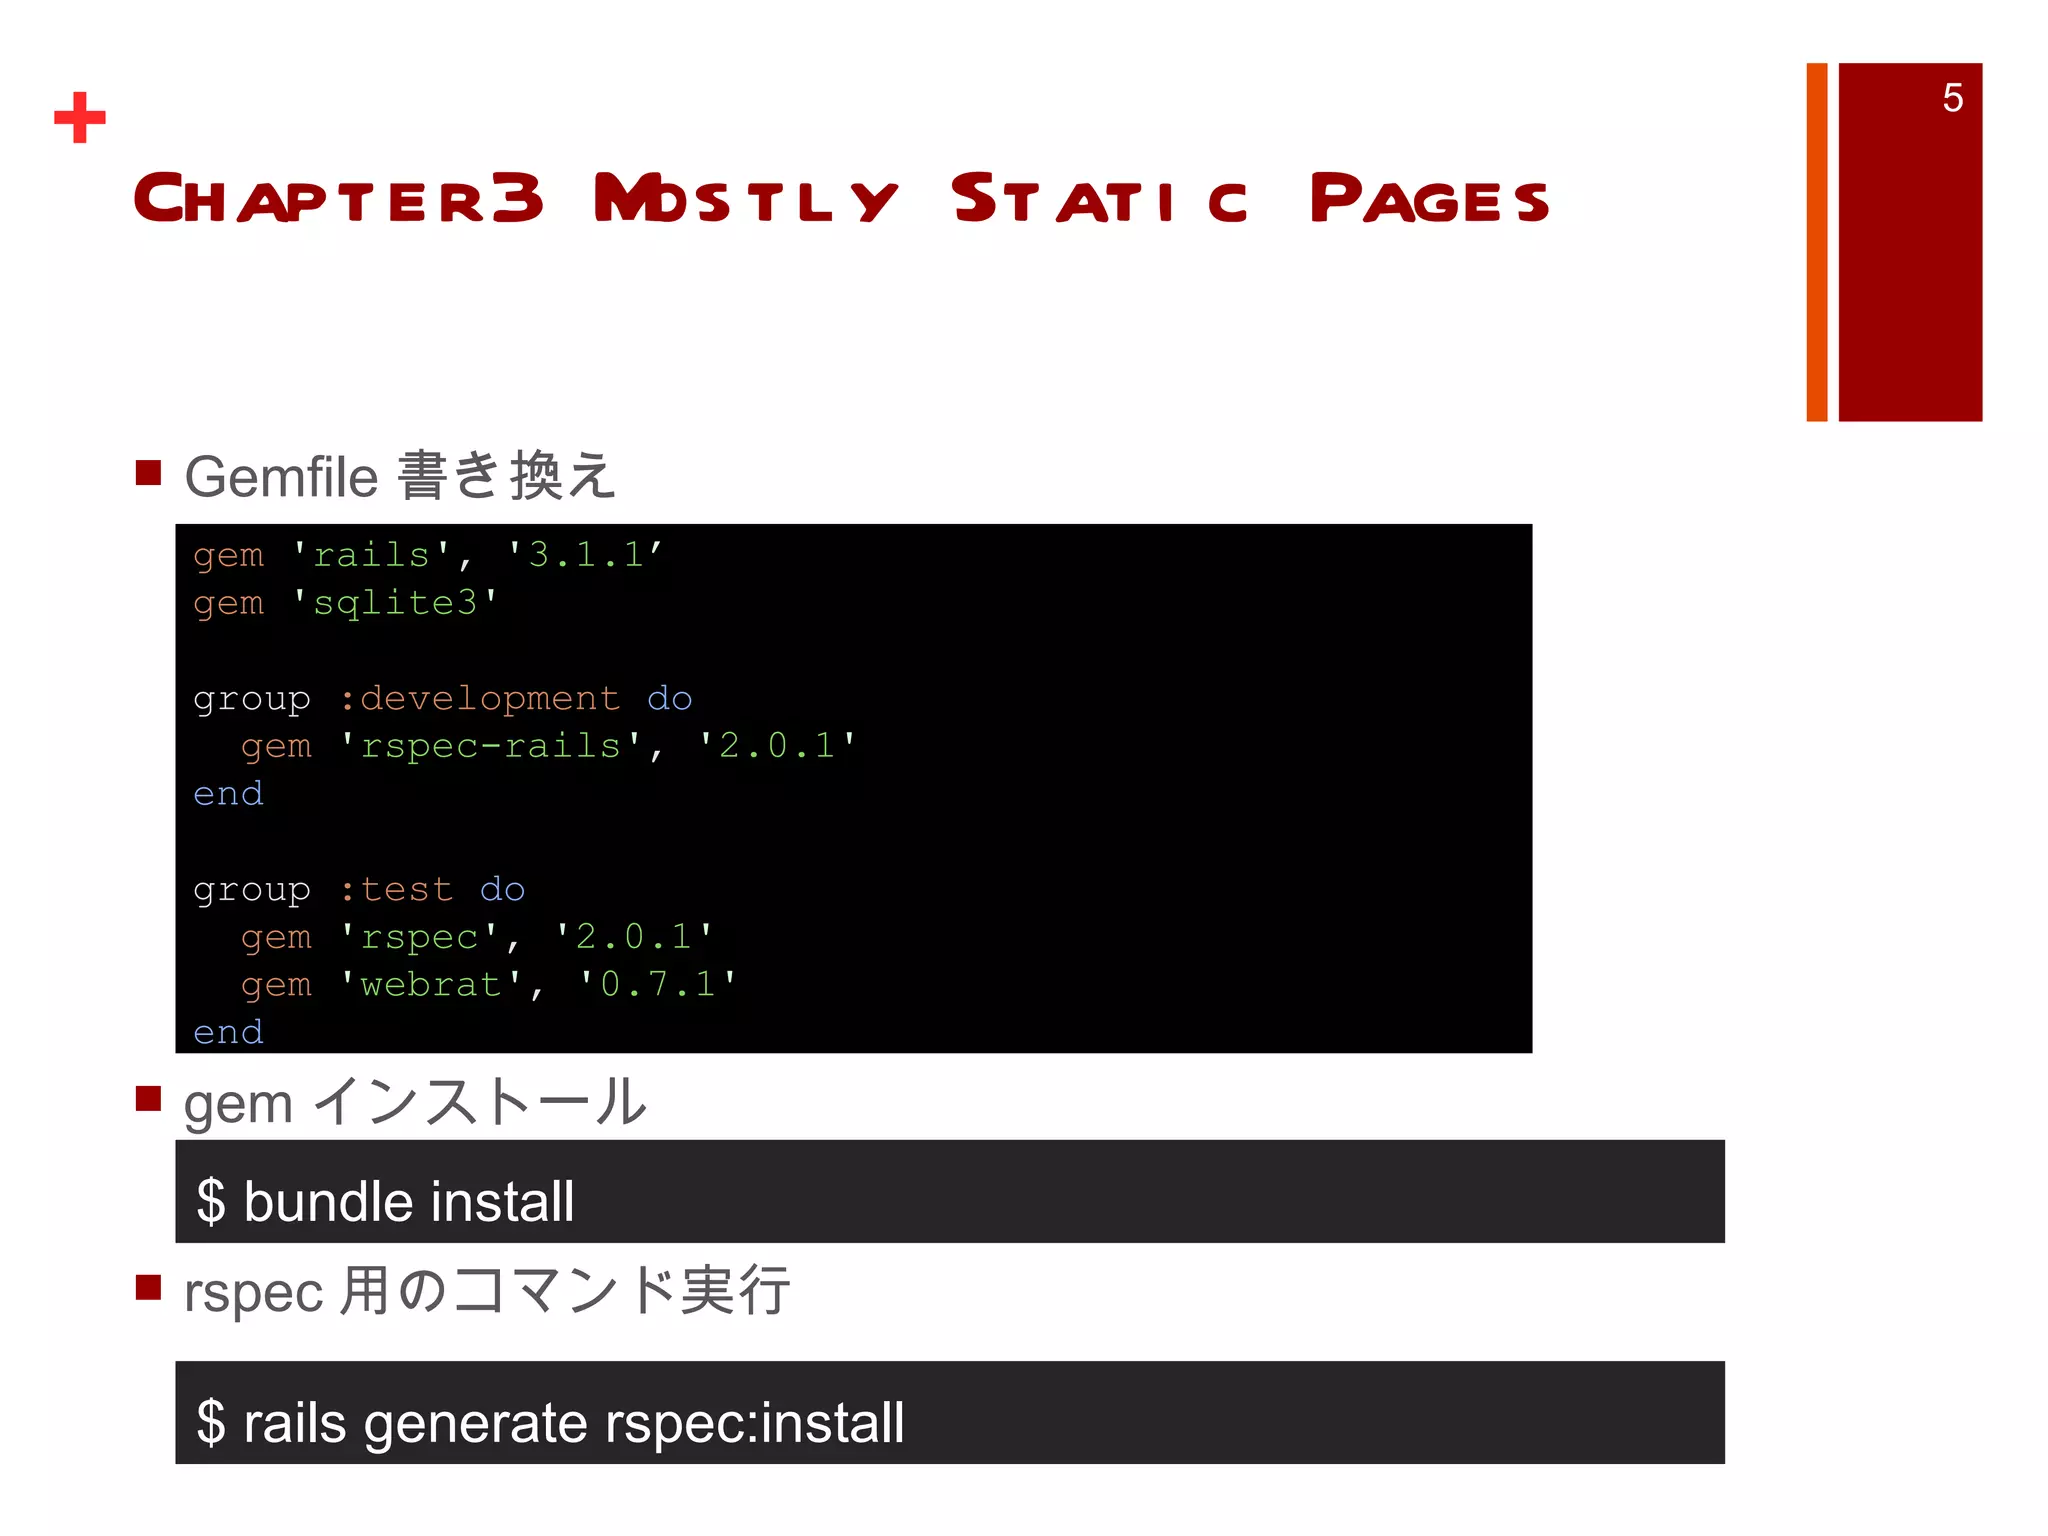
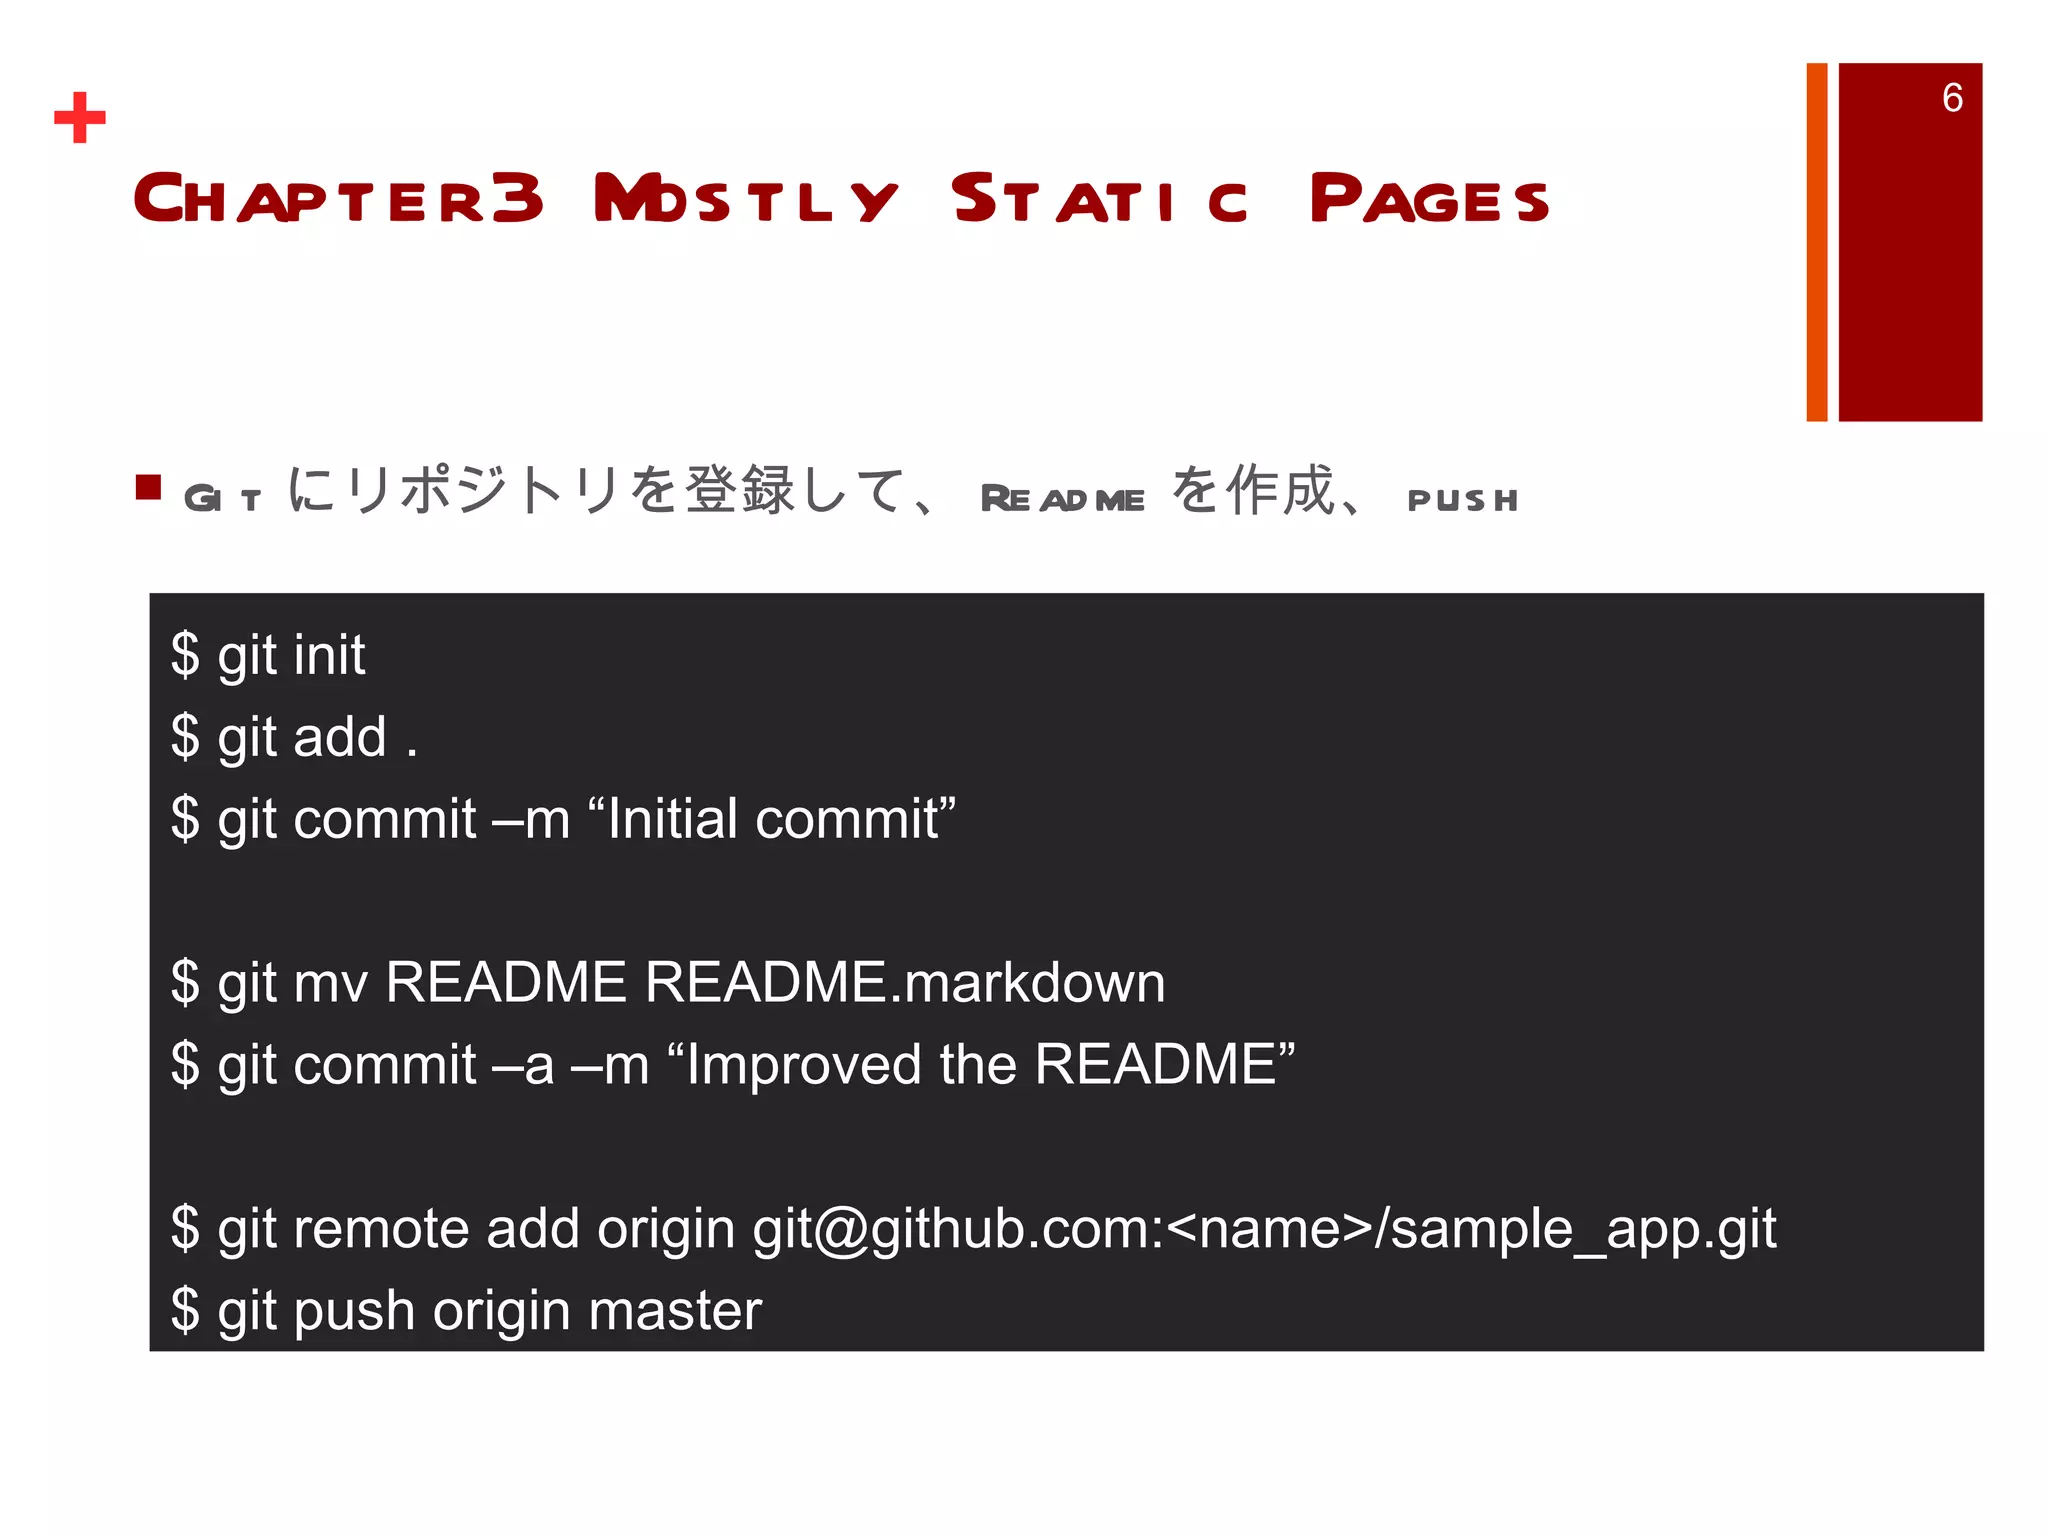
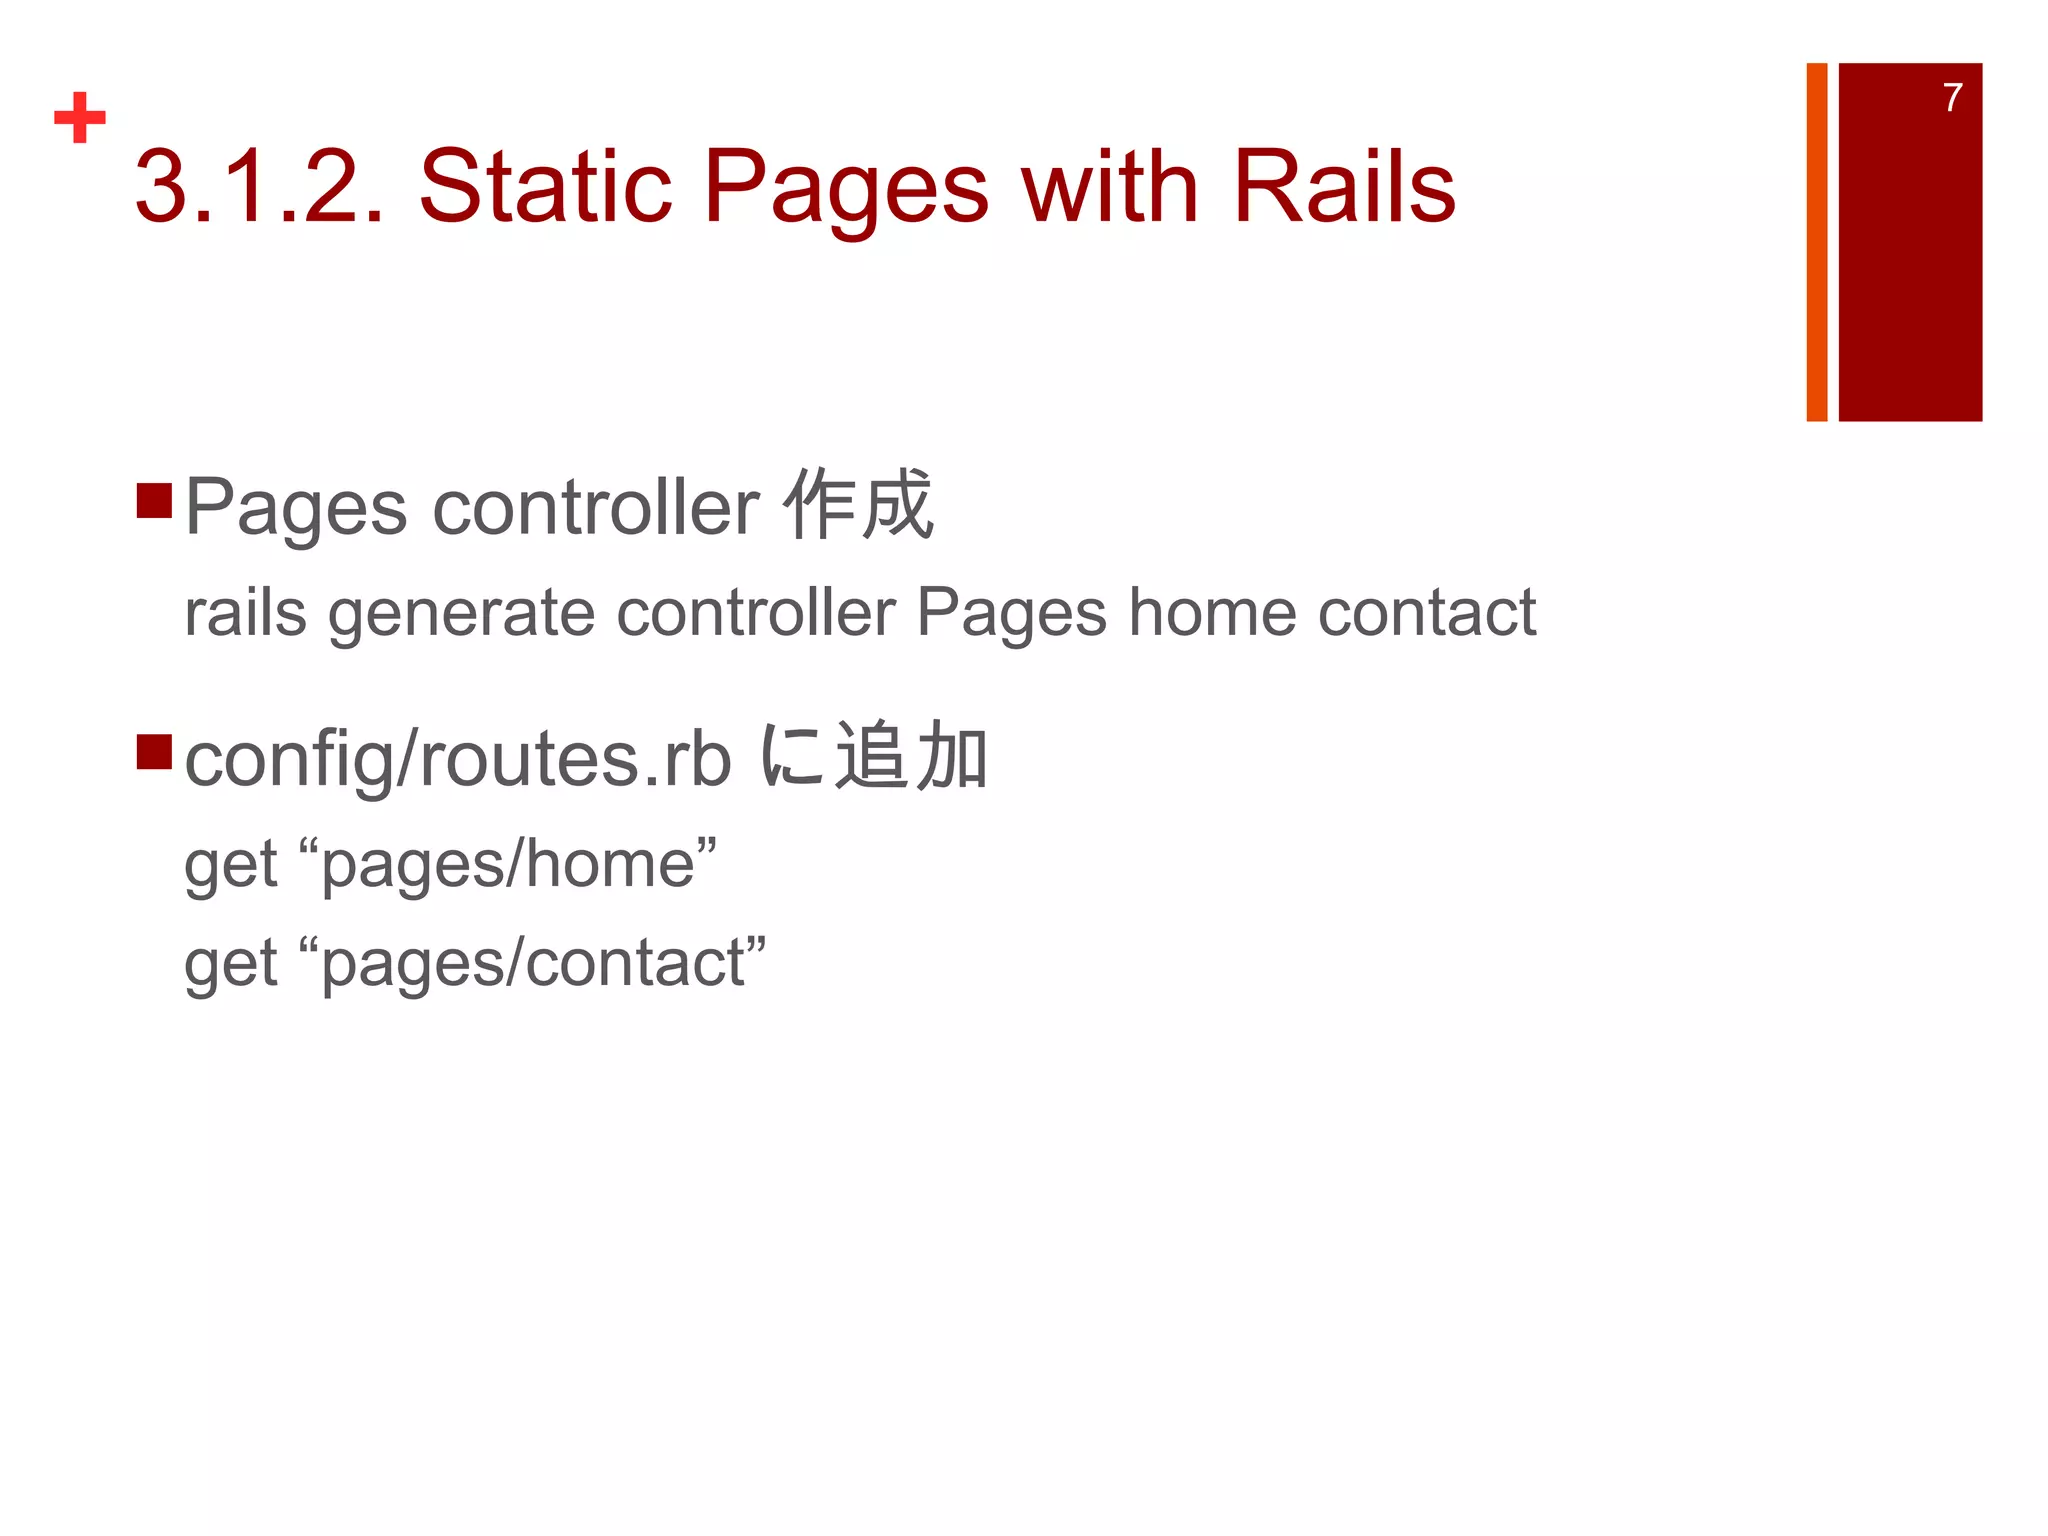
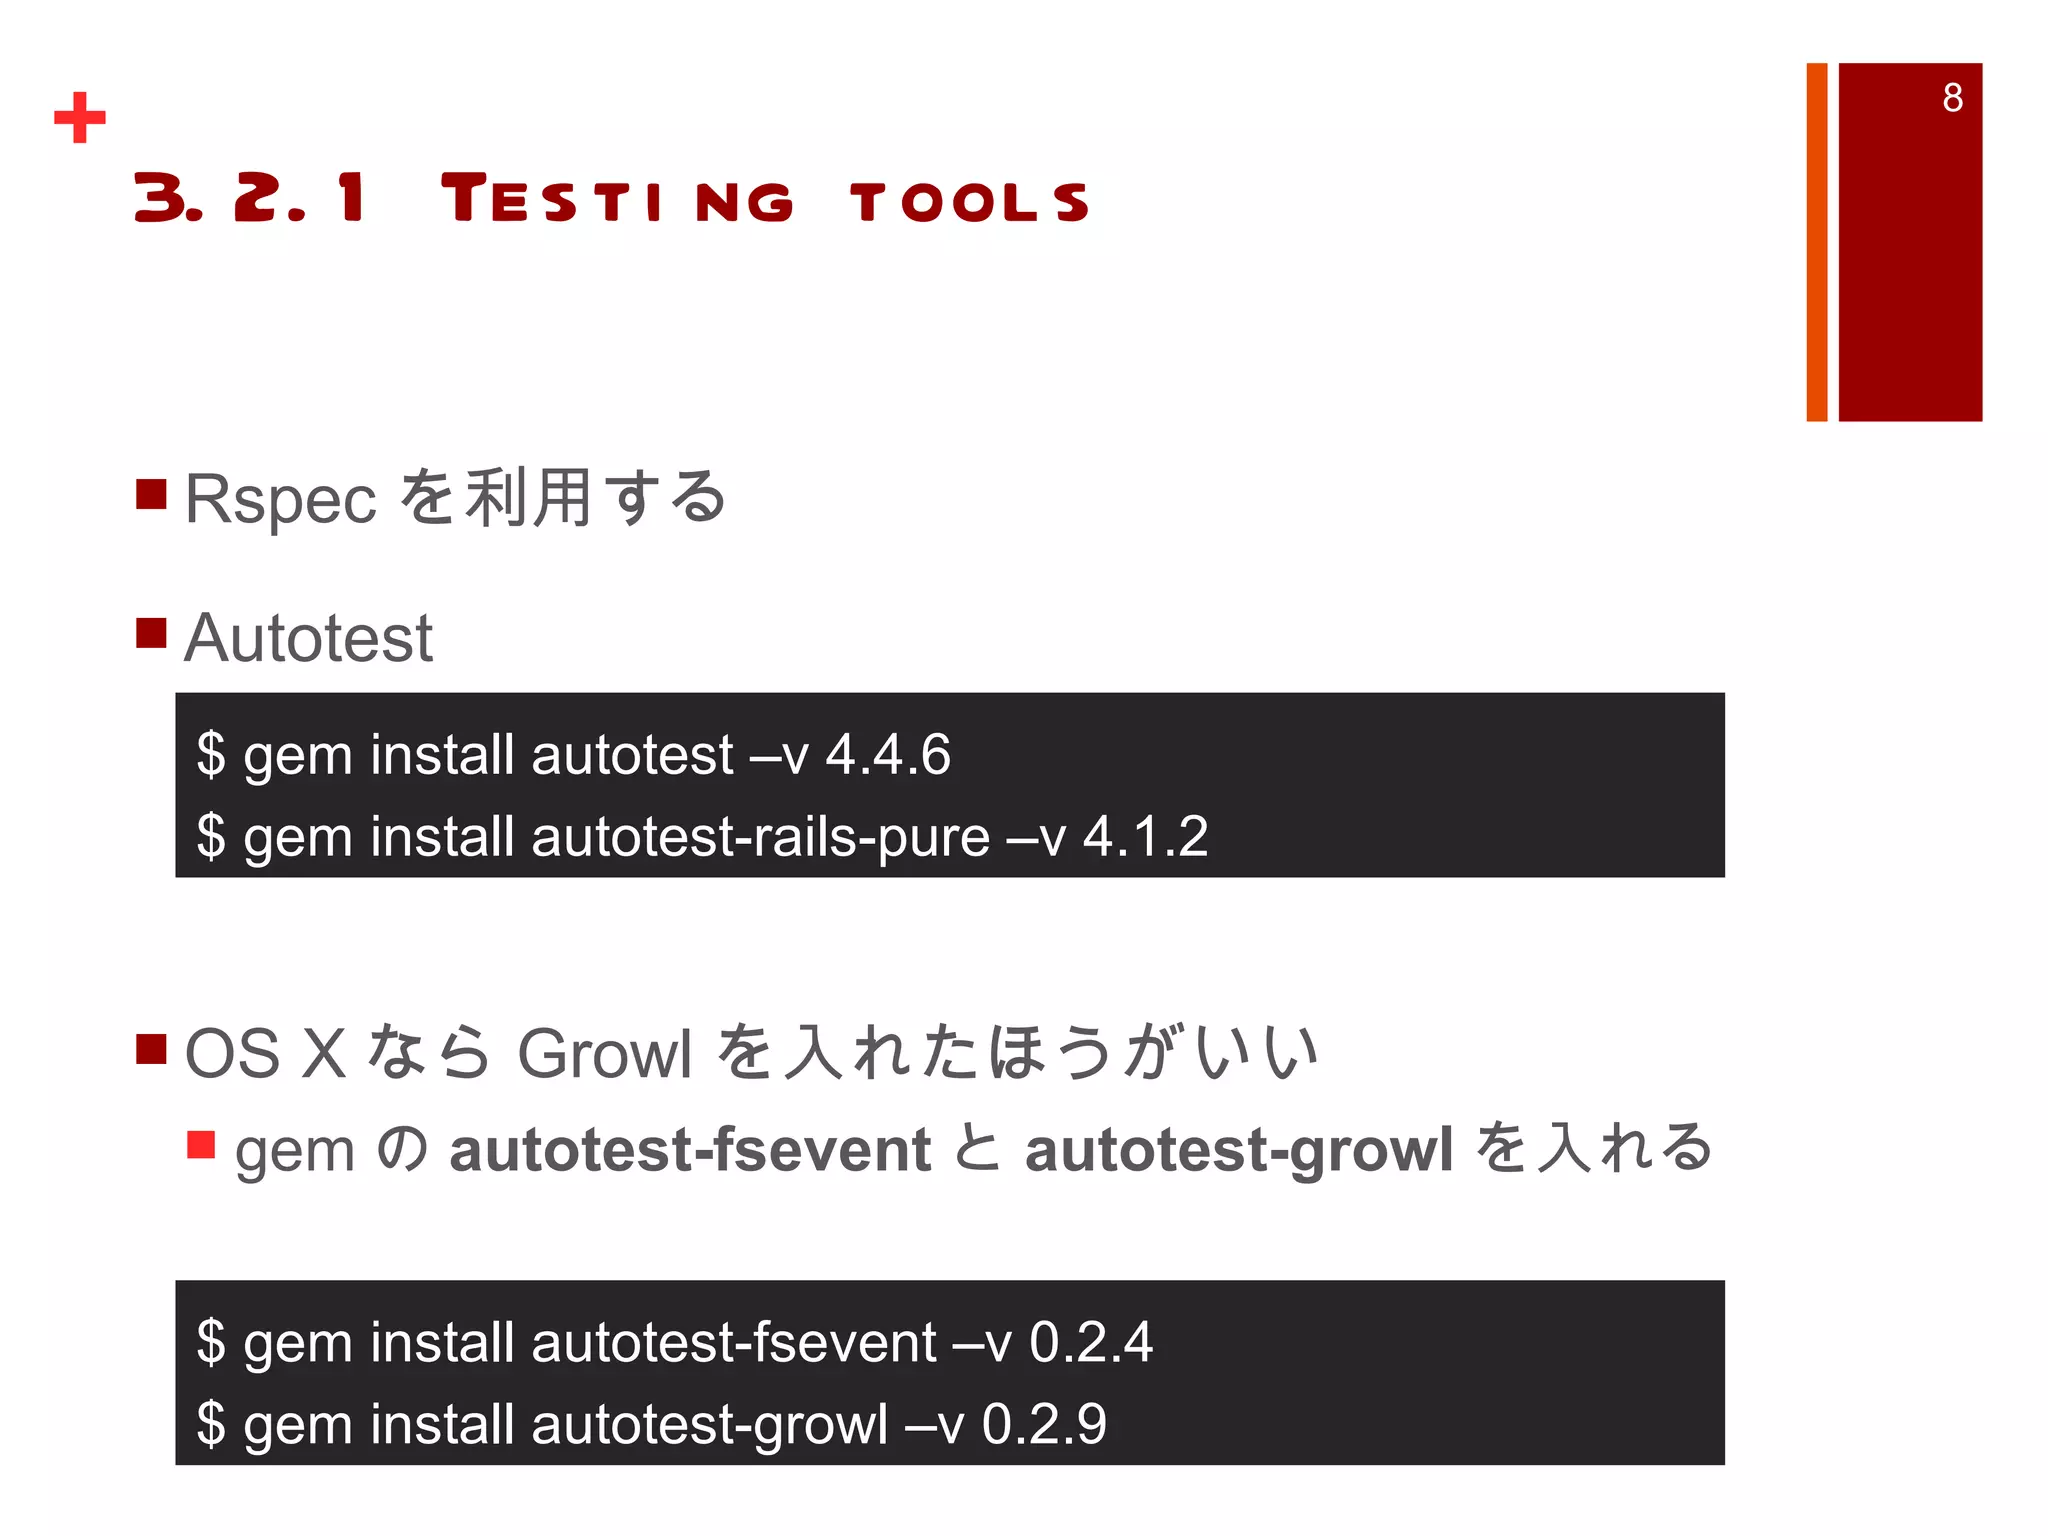
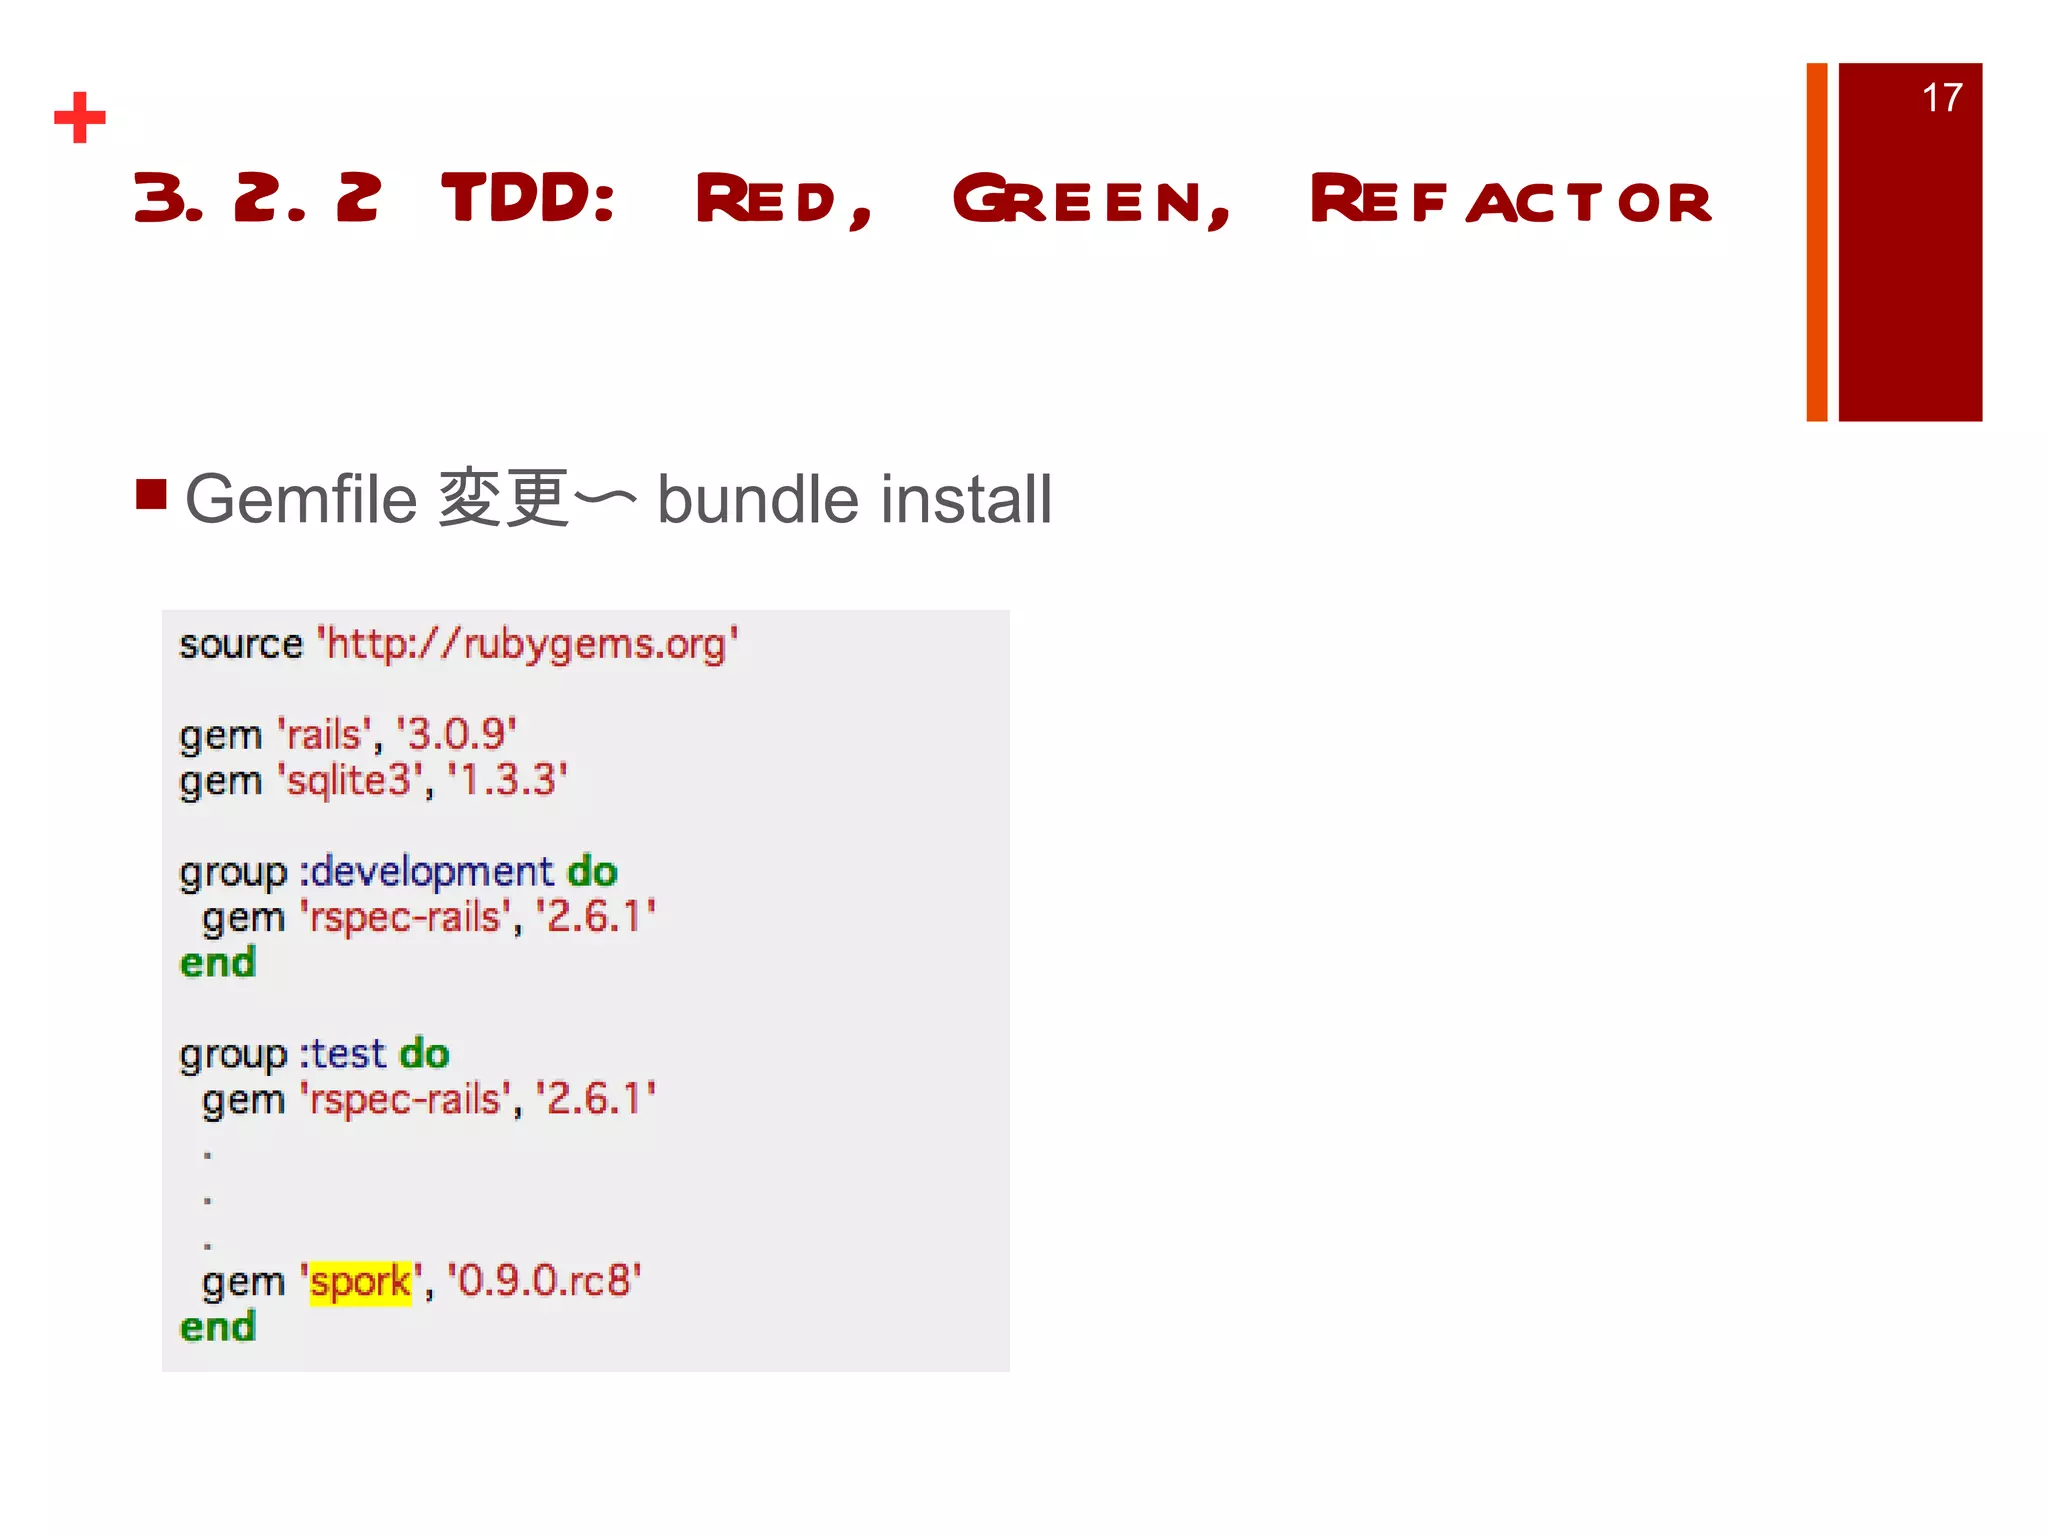
Ruby on Rails3 Tutorial Chapter3 1. 2. 目次 Chapter1 Rails 導入からデプロイ Chapter2 デモアプリ (scaffold 使用 ) Chapter3 Web アプリケーション Chapter4 Rails 風 Ruby Chapter5 スタイルを追加する Chapter6 User Model と View その 1 Chapter7 User Model と View その 2 3. 目次 Chapter8 ユーザ登録 Chapter9 ログイン・ログアウト Chapter10 ユーザデータの更新・編集・追加 Chapter11 ミニブログ ( ツイート ) Chapter12 ユーザのフォロー 4. Chapter3 Mostly Static Pages scaffold を用いない、 Web サービスの作成 デフォルトでは Test::Unit が使われる為、 -T をつけて test ディレクトリ自動生成させないようにする Rspec を使ってテストを書くため、現段階では test ディレクトリは必要ない $ rails new sample_app –T 5. Chapter3 Mostly Static Pages Gemfile 書き換え gem インストール rspec 用のコマンド実行 $ bundle install $ rails generate rspec:install gem ' rails ' , ' 3.1.1 ’ gem ' sqlite3 ' group :development do gem ' rspec-rails ' , ' 2.0.1 ' end group :test do gem ' rspec ' , ' 2.0.1 ' gem ' webrat ' , ' 0.7.1 ' end 6. Chapter3 Mostly Static Pages Git にリポジトリを登録して、 Readme を作成、 push $ git init $ git add . $ git commit –m “Initial commit” $ git mv README README.markdown $ git commit –a –m “Improved the README” $ git remote add origin git@github.com:<name>/sample_app.git $ git push origin master 7. 3.1.2. Static Pages with Rails Pages controller 作成 rails generate controller Pages home contact config/routes.rb に追加 get “pages/home” get “pages/contact” 8. 3.2.1 Testing tools Rspec を利用する Autotest OS X なら Growl を入れたほうがいい gem の autotest-fsevent と autotest-growl を入れる $ gem install autotest –v 4.4.6 $ gem install autotest-rails-pure –v 4.1.2 $ gem install autotest-fsevent –v 0.2.4 $ gem install autotest-growl –v 0.2.9 9. 3.2.1 Testing tools Mac OS X の場合 アプリケーションのルートに .autotest 作成 それ以外 .autotest 私の環境 (OS X Snow Leopard) では autotest コマンドでエラーがでたため、下の方にした require ‘autotest/growl’ require ‘autotest/fsevent’ require ‘ autotest-growl ’ require ‘ autotest-fsevent ’ 10. 3.2.1 Testing tools Windows ユーザは Windows 向け Growl いれてみるといいかも Linux ・ Windows で Growl のような通知させたい場合は参考に http://fredschoeneman.posterous.com/pimp-your-autotest-notification autotest が実行できて、 Growl での通知があると便利! (Ruby マークが信号機みたいに見える… ) 11. 3.2.2 TDD: Red, Green, Refactor TDD においては、まずテストを失敗させてから ( 赤 ) ->それが通るよう ( 青 ) にコードを書く すでに書いてしまったコードに対してテストを書くのではない 12. 3.2.2 TDD: Red, Green, Refactor Pages コントローラ作成 自動で spec ファイルも作られる テスト作成 spec/controllers/pages_controller_spec.rb $ rails generate controller Pages require ' spec_helper ' describe PagesController do describe " GET 'home' " do it " should be successful " do get " home " response .should be_success end end end 13. Box 3.2 HTTP response codes HTTP リクエストを送ると、 HTTP status が返って来る 200: 成功 301: リソースが別の場所に移動してしまっている状態 curl がインストール済みならコマンドラインから見れる RSpec で response.should be_success と書くときは、 status code が 200 のレスポンスであるということ $ curl --head www.google.com HTTP/1.1 302 Found … 省略… 14. 3.2.2 TDD: Red, Green, Refactor rspec spec/ でテストを実行出来る この段階でテストが失敗するなら rake db:migrate bundle exec rspec spec/ それでもだめなら再インストール gem uninstall rspec rspec-rails bundle install 15. 3.2.2 TDD: Red, Green, Refactor RSpec の実行は rake spec でもいい rspec spec/ ->stack trace を表示してくれる rspec spec -> してくれない RVM がおかしくなったら 一旦使っていた gemset 削除して、 gem の再インストールしてみる 16. 3.2.2 TDD: Red, Green, Refactor Spork(https://github.com/timcharper/spork) RSpec は毎回 Rails 環境を読み込んでいるため遅い Spork は 1 度環境を読み込むだけ Autotest と一緒に使いやすい 17. 18. 3.2.2 TDD: Red, Green, Refactor spork の設定 spec/spec_helper.rb 変更 require “spork” と Spork 節が 2 つ増えている $ spork --bootstrap 19. 3.2.2 TDD: Red, Green, Refactor require ' spork ' Spork .prefork do ENV [ " RAILS_ENV " ] ||= ' test ' require File .expand_path( " ../../config/environment " , __FILE__ ) require ' rspec/rails ' Dir [ Rails .root.join( " spec/support/**/*.rb " )].each {| f | require f} RSpec .configure do | config | config.mock_with :rspec config.fixture_path = "#{ :: Rails .root } /spec/fixtures " config.use_transactional_fixtures = true end end Spork .each_run do end 20. 3.2.2 TDD: Red, Green, Refactor bundle exec spork で起動 spork を使わない場合と使う場合比較 合っているはずのテストが通らないときは、 Spork を ctrl + c で止めて再起動すべし $ time rspec spec/ … Finished in 0.29592 seconds 5 examples, 0 failures, 3 pending real 0m11.099s user 0m7.833s sys 0m1.632s time rspec --drb spec/ ..*** Finished in 0.21522 seconds 5 examples, 0 failures, 3 pending real 0m1.075s user 0m0.368s sys 0m0.125s 21. この後の 3 章の内容 view の title が正しいかテストする application.html.erb に <%= @title %> を埋め込んでしまう アクション内に @title=hoge とページ毎のタイトルを代入しておく @title で埋め込んだ文字列と想定する文字列を比較テスト 22. 23. Editor's Notes #7 この後 3.1 では static なページに付いての説明があり、 index.html を自分の好きな物の表示に変えるには (route) など有りますが、省略 #14 http://w3g.jp/others/htaccess/redirect 301 Moved Permanently とは、そのリソースが恒久的に別の場所へ移動したことを伝え、今後は移動先のリソースへと要求するように促します。移動先の URI は絶対 URI ( http:// からはじまる)で記述します。 #20 画面の関係上、コメント削除 require を増やして、 Spork の部分を 2 箇所増えてる


![3.2.2 TDD: Red, Green, Refactor require ' spork ' Spork .prefork do ENV [ " RAILS_ENV " ] ||= ' test ' require File .expand_path( " ../../config/environment " , __FILE__ ) require ' rspec/rails ' Dir [ Rails .root.join( " spec/support/**/*.rb " )].each {| f | require f} RSpec .configure do | config | config.mock_with :rspec config.fixture_path = "#{ :: Rails .root } /spec/fixtures " config.use_transactional_fixtures = true end end Spork .each_run do end](https://image.slidesharecdn.com/rubyonrailstutorial3-111014120840-phpapp02/75/Ruby-on-Rails3-Tutorial-Chapter3-19-2048.jpg)