E portfolio guide how to upload and manage files
•Download as DOCX, PDF•
0 likes•924 views

PACE University ePortfolio - How to upload and manage files.

Recommended
More Related Content
What's hot
What's hot (18)
Similar to E portfolio guide how to upload and manage files
Similar to E portfolio guide how to upload and manage files (20)
More from Iris Hershenson
More from Iris Hershenson (14)
Recently uploaded
Recently uploaded (20)
E portfolio guide how to upload and manage files
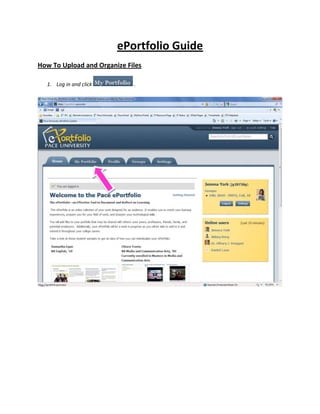
- 1. ePortfolio Guide How To Upload and Organize Files 1. Log in and click .
- 2. 2. Click
- 3. 3. This brings you to your files space on ePortfolio. Only you can see your file section. After reading and agreeing to the copyright notice, check the box next to “Upload File”.
- 4. 4. Click and find a file on your computer that you would like to upload
- 5. 5. After you select the file, it will begin uploading and will appear in the file section.
- 6. 6. To add a description about the file, or to change the name of the file, click . Here, you can also add a tag. When you’re finished, click .
- 7. 7. Create folders by typing a label for your folder in the box underneath the file upload box. After you’ve created a title, click
- 8. 8. To move a file inside a folder, click and drag a file icon on top of a folder icon.
- 9. 9. To display a file on one of your ePortfolio pages, click
- 10. 10. Click under the page you would like your file displayed on.
- 11. 11. Under the “Content Box Types Available” heading, click the gray tab titled .
- 12. 12. Place your cursor on the File(s) to Downloadicon. Drag and drop it anywhere you like on the page, below the gray bar underneath the heading, “ YOUR E-PORTFOLIO PAGE:”. When you release the mouse button, a pop-up window will appear.
- 13. 13. Find the file you want to upload, then click across from it. You can also upload a file directly from your computer. You can create a title for the file in the “Block Title” box. Click the “Save” button.
- 14. 14. The file will now appear on your page. For any questions or problems, click on the Help button in the upper right hand corner of the ePortfolio (it’s on each page) and check out the FAQ’s. Contact Beth Klingner (bklingner@pace.edu) or Martina Blackwood (mblackwood@pace.edu) for further assistance.