Create and Publish a High Quality Screencast
•
1 like•484 views

An overview of screencasting

Recommended
More Related Content
Recently uploaded
Recently uploaded (20)
Featured
Featured (20)
Create and Publish a High Quality Screencast
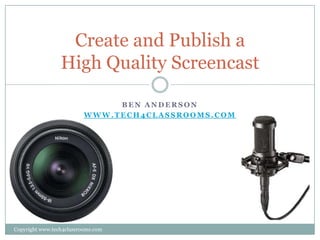
- 1. Create and Publish a High Quality Screencast BEN ANDERSON WWW.TECH4CLASSROOMS.COM Copyright www.tech4classrooms.com
- 2. The Basic Steps to Screencasting Outline or storyboard your presentation List your key points to talk about Set size of the screen area you want to record Check the levels on our microphone – make certain audio is strong. Record your presentation Copyright www.tech4classrooms.com
- 3. Choosing a Microphone Get a good quality microphone - $30 to $100 USB Headset Mics – Logitech, Planetronics make some very good quality inexpensive mics Podcasting Mics Samson makes a high quality USB mic. Pro Audio Mics Shure, Audio Technica Blueball, etc. Copyright www.tech4classrooms.com
- 4. Using a Microphone Check levels before recording Understand quality vs. poor quality waveforms Watch for clipping – audio highs and lows beyond what the recorder can manage. Watch for pops Copyright www.tech4classrooms.com
- 5. Publishing Your Screencast After you’ve recorded your screencast, you need to convert the file to a video format that can be viewed on the Web. MP4 – best choice for web and mobile devices SWF - FLV - WMV Silverlight - Copyright www.tech4classrooms.com
- 6. Sharing Your Screencast Once saved as a video file, your screencast can be shared on a variety of websites. Screencast.com YouTube TeacherTube Facebook Blip.TV Any website or blog Screencasts can also be shared on mobile devices. Copyright www.tech4classrooms.com
- 7. Free Screencasting Resources Visit www.tech4classrooms.com to find more free resources for Screencasting and lots of other technology programs. Free Technology Resources for Schools www.tech4classrooms.com Copyright www.tech4classrooms.com