Download to read offline
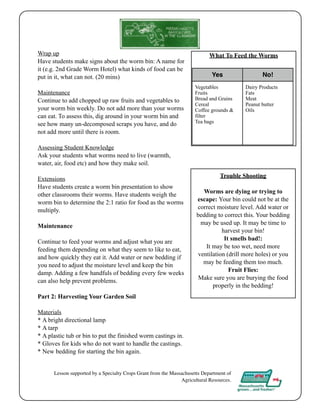

This document outlines an educational activity for grade 2 students to create and maintain a worm bin in the classroom, highlighting the role of worms in soil health and gardening. Students will learn about worms' needs, the soil food web, and how to use compost to benefit their school garden. The activity includes assembling the worm bin, ongoing maintenance, harvesting compost, and understanding plant-worm interactions through guided questions and hands-on engagement.


