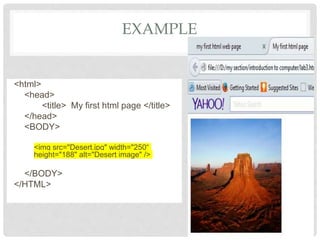
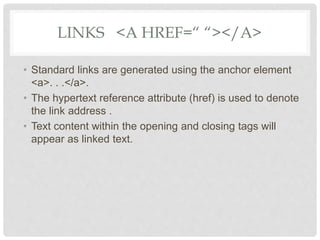
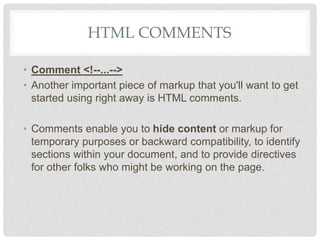
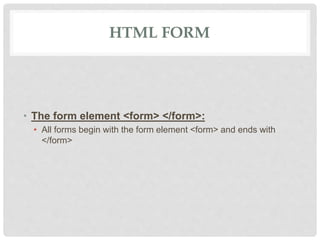
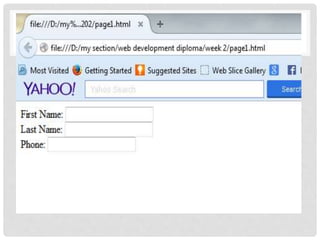
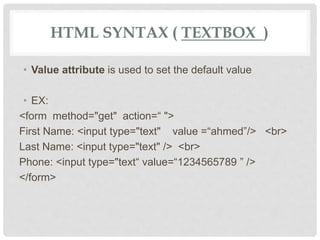
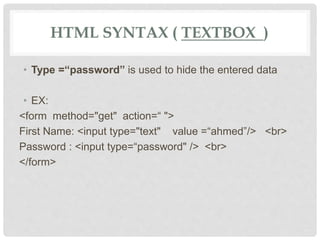
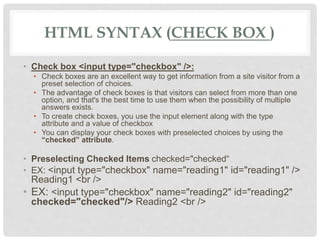
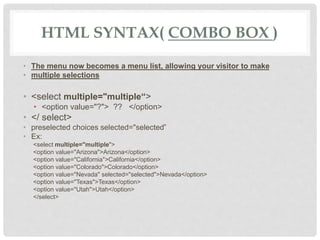
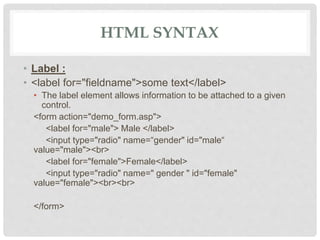
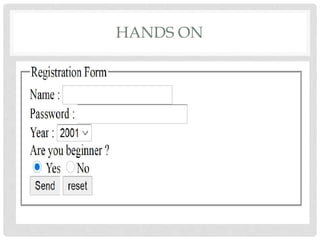
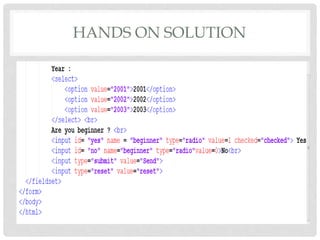
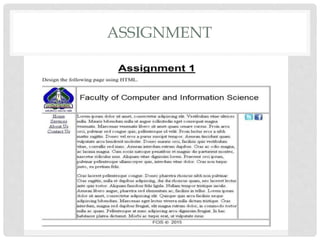
2. CREATING A BASIC STARTING
DOCUMENT
• <HTML>
• <HEAD>
• <TITLE> my first html web page </TITLE>
• </HEAD>
• <BODY>
• <!-- Here we will put the page elements -->
• </BODY>
• </HTML>
3. IMAGE ELEMENT <IMG />
• When working with images, the element you'll be using
is img.
• It doesn't require a closing tag. It's written in HTML as
<img /> .
• The next thing you'll want to do for your image is add
width and height values.
• “Alt” is the text that will appear if the image is not exist.
4. <html>
<head>
<title> My first html page </title>
</head>
<BODY>
<img src="Desert.jpg" width="250“
height="188" alt="Desert image" />
</BODY>
</HTML>
EXAMPLE
5. LINKS <A HREF=“ “></A>
• Standard links are generated using the anchor element
<a>. . .</a>.
• The hypertext reference attribute (href) is used to denote
the link address .
• Text content within the opening and closing tags will
appear as linked text.
6. <html>
<head>
<title> My first html page </title>
</head>
<BODY BGCOLOR="#FFFFFF"
TEXT="#FF0000" >
<p>
introduction to computer course
</p>
<a href="http://www.google.com">
open Google web site
</a>
</BODY>
</HTML>
EXAMPLE
7. HTML COMMENTS
• Comment <!--...-->
• Another important piece of markup that you'll want to get
started using right away is HTML comments.
• Comments enable you to hide content or markup for
temporary purposes or backward compatibility, to identify
sections within your document, and to provide directives
for other folks who might be working on the page.
8. HTML FORM
• The form element <form> </form>:
• All forms begin with the form element <form> and ends with
</form>
9. HTML SYNTAX ( TEXTBOX )
• Textbox <input type=text/>:
• Input textboxes are used for a number of form needs, including any
time you want someone to type out his name, address, and so forth.
• To create a textbox, you use the input element along with the type
attribute and a value of text.
• EX:
<form method="get" action=“ ">
First Name: <input type="text" /> <br>
Last Name: <input type="text" /> <br>
Phone: <input type="text" />
</form>
10.
11. HTML SYNTAX ( TEXTBOX )
• Value attribute is used to set the default value
• EX:
<form method="get" action=“ ">
First Name: <input type="text" value =“ahmed”/> <br>
Last Name: <input type="text" /> <br>
Phone: <input type="text“ value=“1234565789 ” />
</form>
12.
13. HTML SYNTAX ( TEXTBOX )
• Type =“password” is used to hide the entered data
• EX:
<form method="get" action=“ ">
First Name: <input type="text" value =“ahmed”/> <br>
Password : <input type=“password" /> <br>
</form>
14.
15. HTML SYNTAX (CHECK BOX )
• Check box <input type="checkbox" />:
• Check boxes are an excellent way to get information from a site visitor from a
preset selection of choices.
• The advantage of check boxes is that visitors can select from more than one
option, and that's the best time to use them when the possibility of multiple
answers exists.
• To create check boxes, you use the input element along with the type
attribute and a value of checkbox
• You can display your check boxes with preselected choices by using the
“checked” attribute.
• Preselecting Checked Items checked="checked“
• EX: <input type="checkbox" name="reading1" id="reading1" />
Reading1 <br />
• EX: <input type="checkbox" name="reading2" id="reading2"
checked="checked"/> Reading2 <br />
16.
17. HTML SYNTAX (RADIO BUTTON)
• Radio Button<input type=“radio" />:
• The advantage of Radio Button is that visitors can select one
option.
• To create check boxes, you use the input element along with the type
attribute and a value of checkbox
• You can display your radio buttons with preselected choices by
using the “checked” attribute.
• Preselecting radio Items checked="checked“
• <input type="radio" name=“gender" value=0 /> male <br />
• <input type="radio" name=“gender" value=1
checked="checked" /> female <br />
18.
19. HTML SYNTAX( COMBO BOX )
• Two types of form menus exist: drop-down and list.
• Form menu (drop-down )
• <select>
• <option value="?"> ?? </option>
• </ select>
• preselected choices selected="selected”
• Ex:
<select>
<option value=“sport"> sport </option>
<option value=“news“ selected="selected“ >news</option>
</select>
20.
21. HTML SYNTAX( COMBO BOX )
• The menu now becomes a menu list, allowing your visitor to make
• multiple selections
• <select multiple="multiple“>
• <option value="?"> ?? </option>
• </ select>
• preselected choices selected="selected”
• Ex:
<select multiple="multiple">
<option value="Arizona">Arizona</option>
<option value="California">California</option>
<option value="Colorado">Colorado</option>
<option value="Nevada" selected="selected">Nevada</option>
<option value="Texas">Texas</option>
<option value="Utah">Utah</option>
</select>
22.
23. HTML SYNTAX
• Label :
• <label for="fieldname">some text</label>
• The label element allows information to be attached to a given
control.
<form action="demo_form.asp">
<label for="male"> Male </label>
<input type="radio" name=“gender" id="male“
value="male"><br>
<label for="female">Female</label>
<input type="radio" name=" gender " id="female"
value="female"><br><br>
</form>
24. HTML SYNTAX
• Grouping Form Fields
• <fieldset>
• <legend> header for the field
• </legend>
• Some fields
• </fieldset>
• You can break down areas of the form into specific
sets of fields using the fieldset element.
• you can use the legend element to add a header for
each of those sections, further providing context.
25. EXAMPLE
• <fieldset>
• <legend> user name and password
• </legend>
• user Name: <input type="text"/> <br>
• Password : <input type="password" /> <br>
• </fieldset>
26. HTML SYNTAX
• Text Area:
• <textarea>........ </textarea>
• The <textarea> tag defines a multi-line text input control. Always a
good idea to add this information.
• The size of a textarea can be specified by the cols and rows
attributes, or even better; through CSS' height and width
properties.
• Don’t have a value attributes
27. HTML SYNTAX
• Form buttons:
<input type="submit" />
<input type="reset"/>
• The reset button clears the form when it is clicked.
• The submit button submits the data in the form, which uses the
information in the method and action attributes in the form
element itself to send the data to the server for processing.
28. HTML SYNTAX
• The Div tag <div></div>:
• The <div> tag defines a division or a section in an HTML
document.
• The <div> tag is often used to group block-elements to format
them with styles.
• The div element is very often used with CSS to layout a web
page.
• Browsers usually place a line break before and after the div
element.