The document discusses how to use vector PDF files to create faster and more accurate earthwork estimates in a software program. Key points include:
- Vector PDF files contain lines and curves that can be selected instead of traced to create annotations.
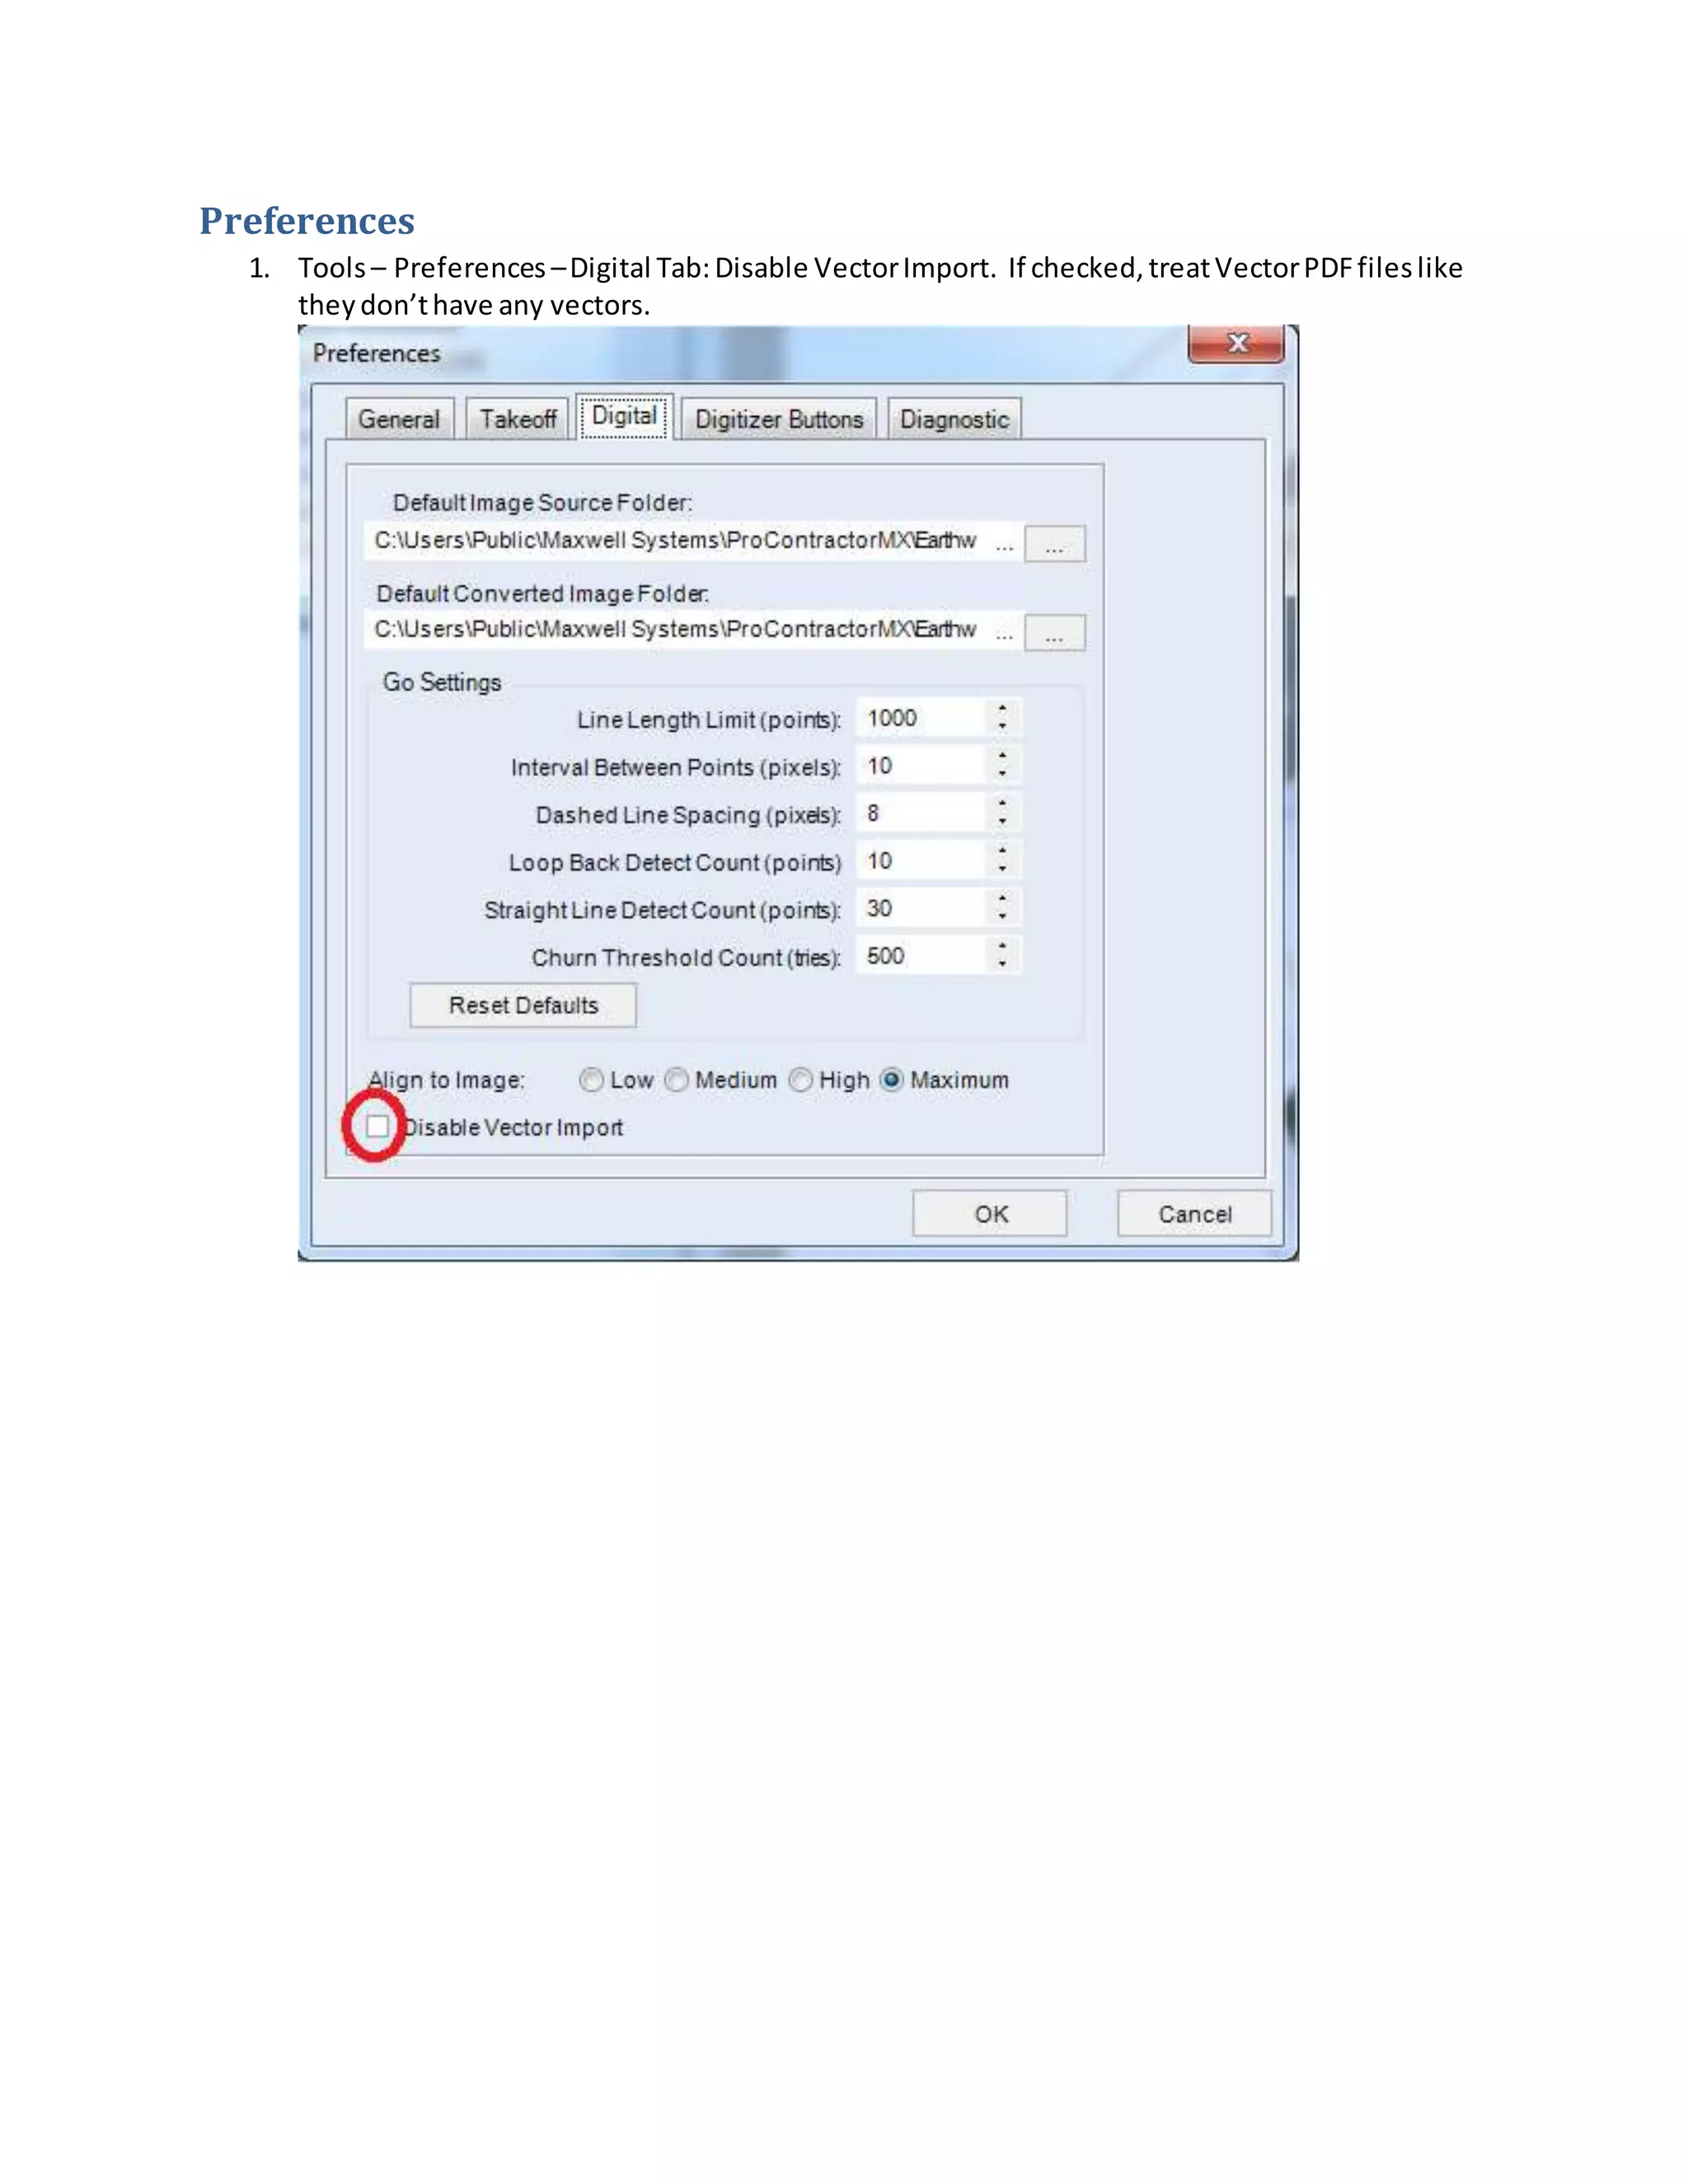
- Not all PDF files contain vectors, and some may contain both vectors and images.
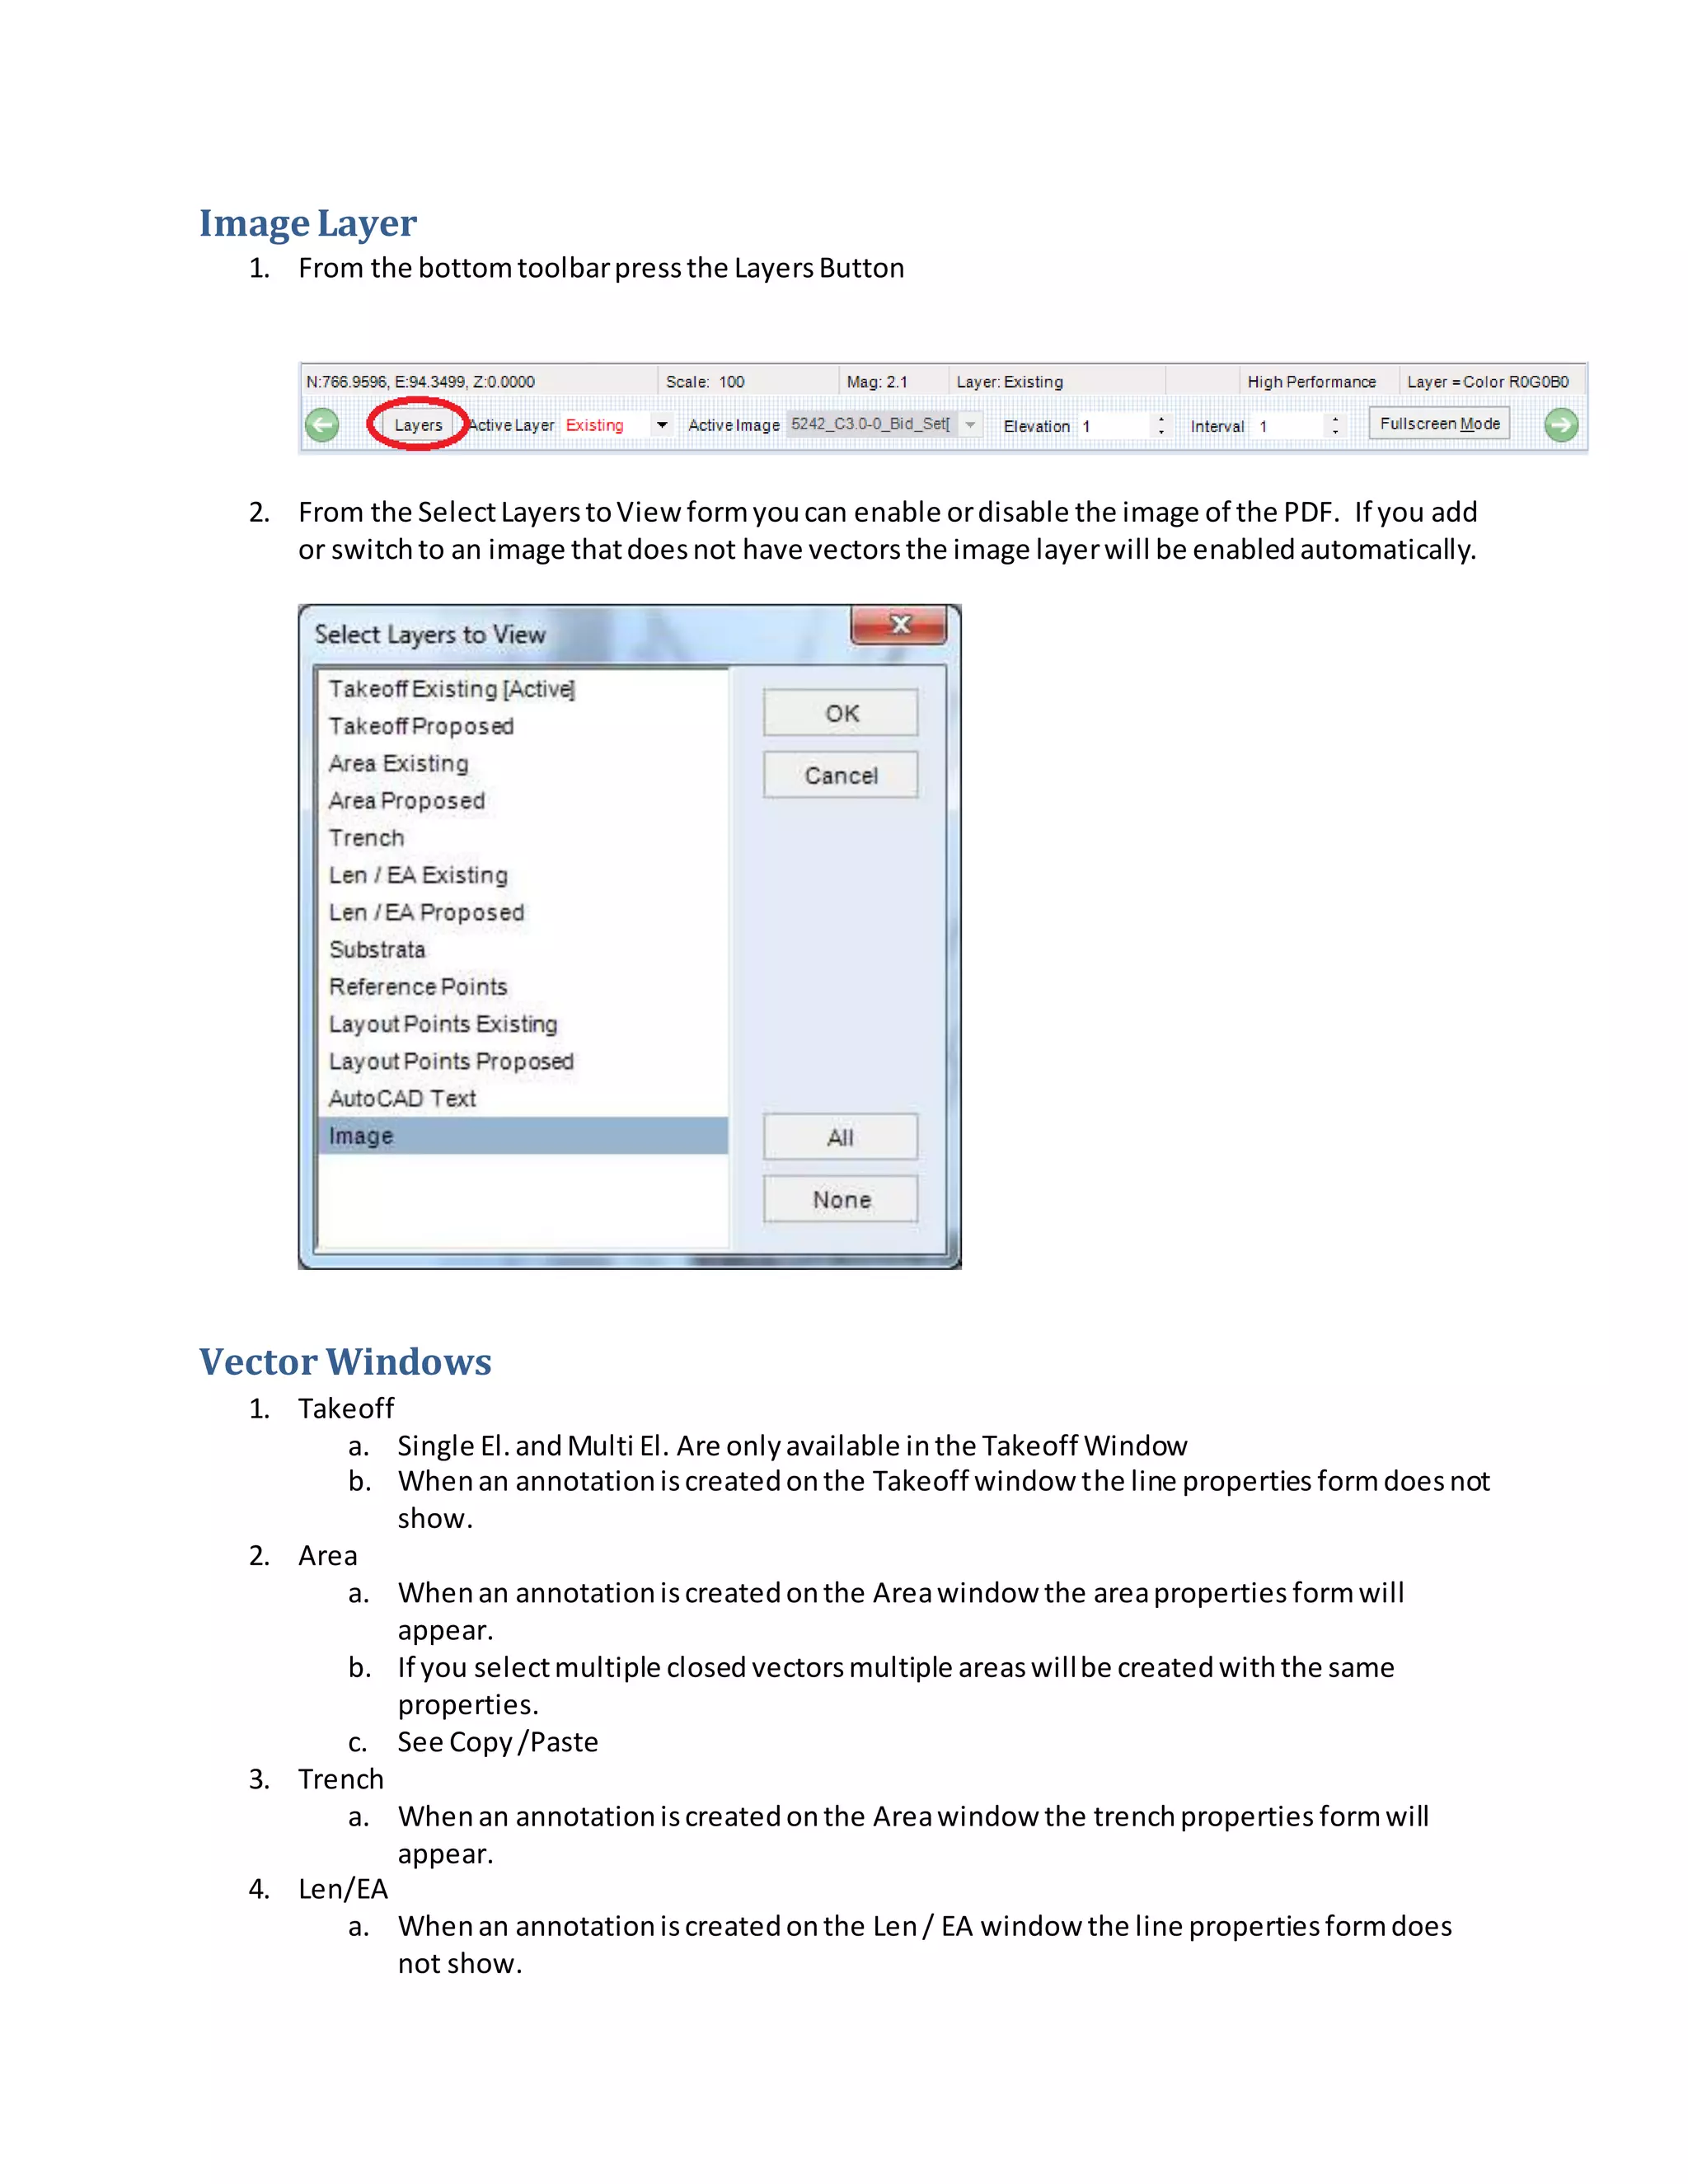
- Vectors are automatically imported if available when adding a PDF file.
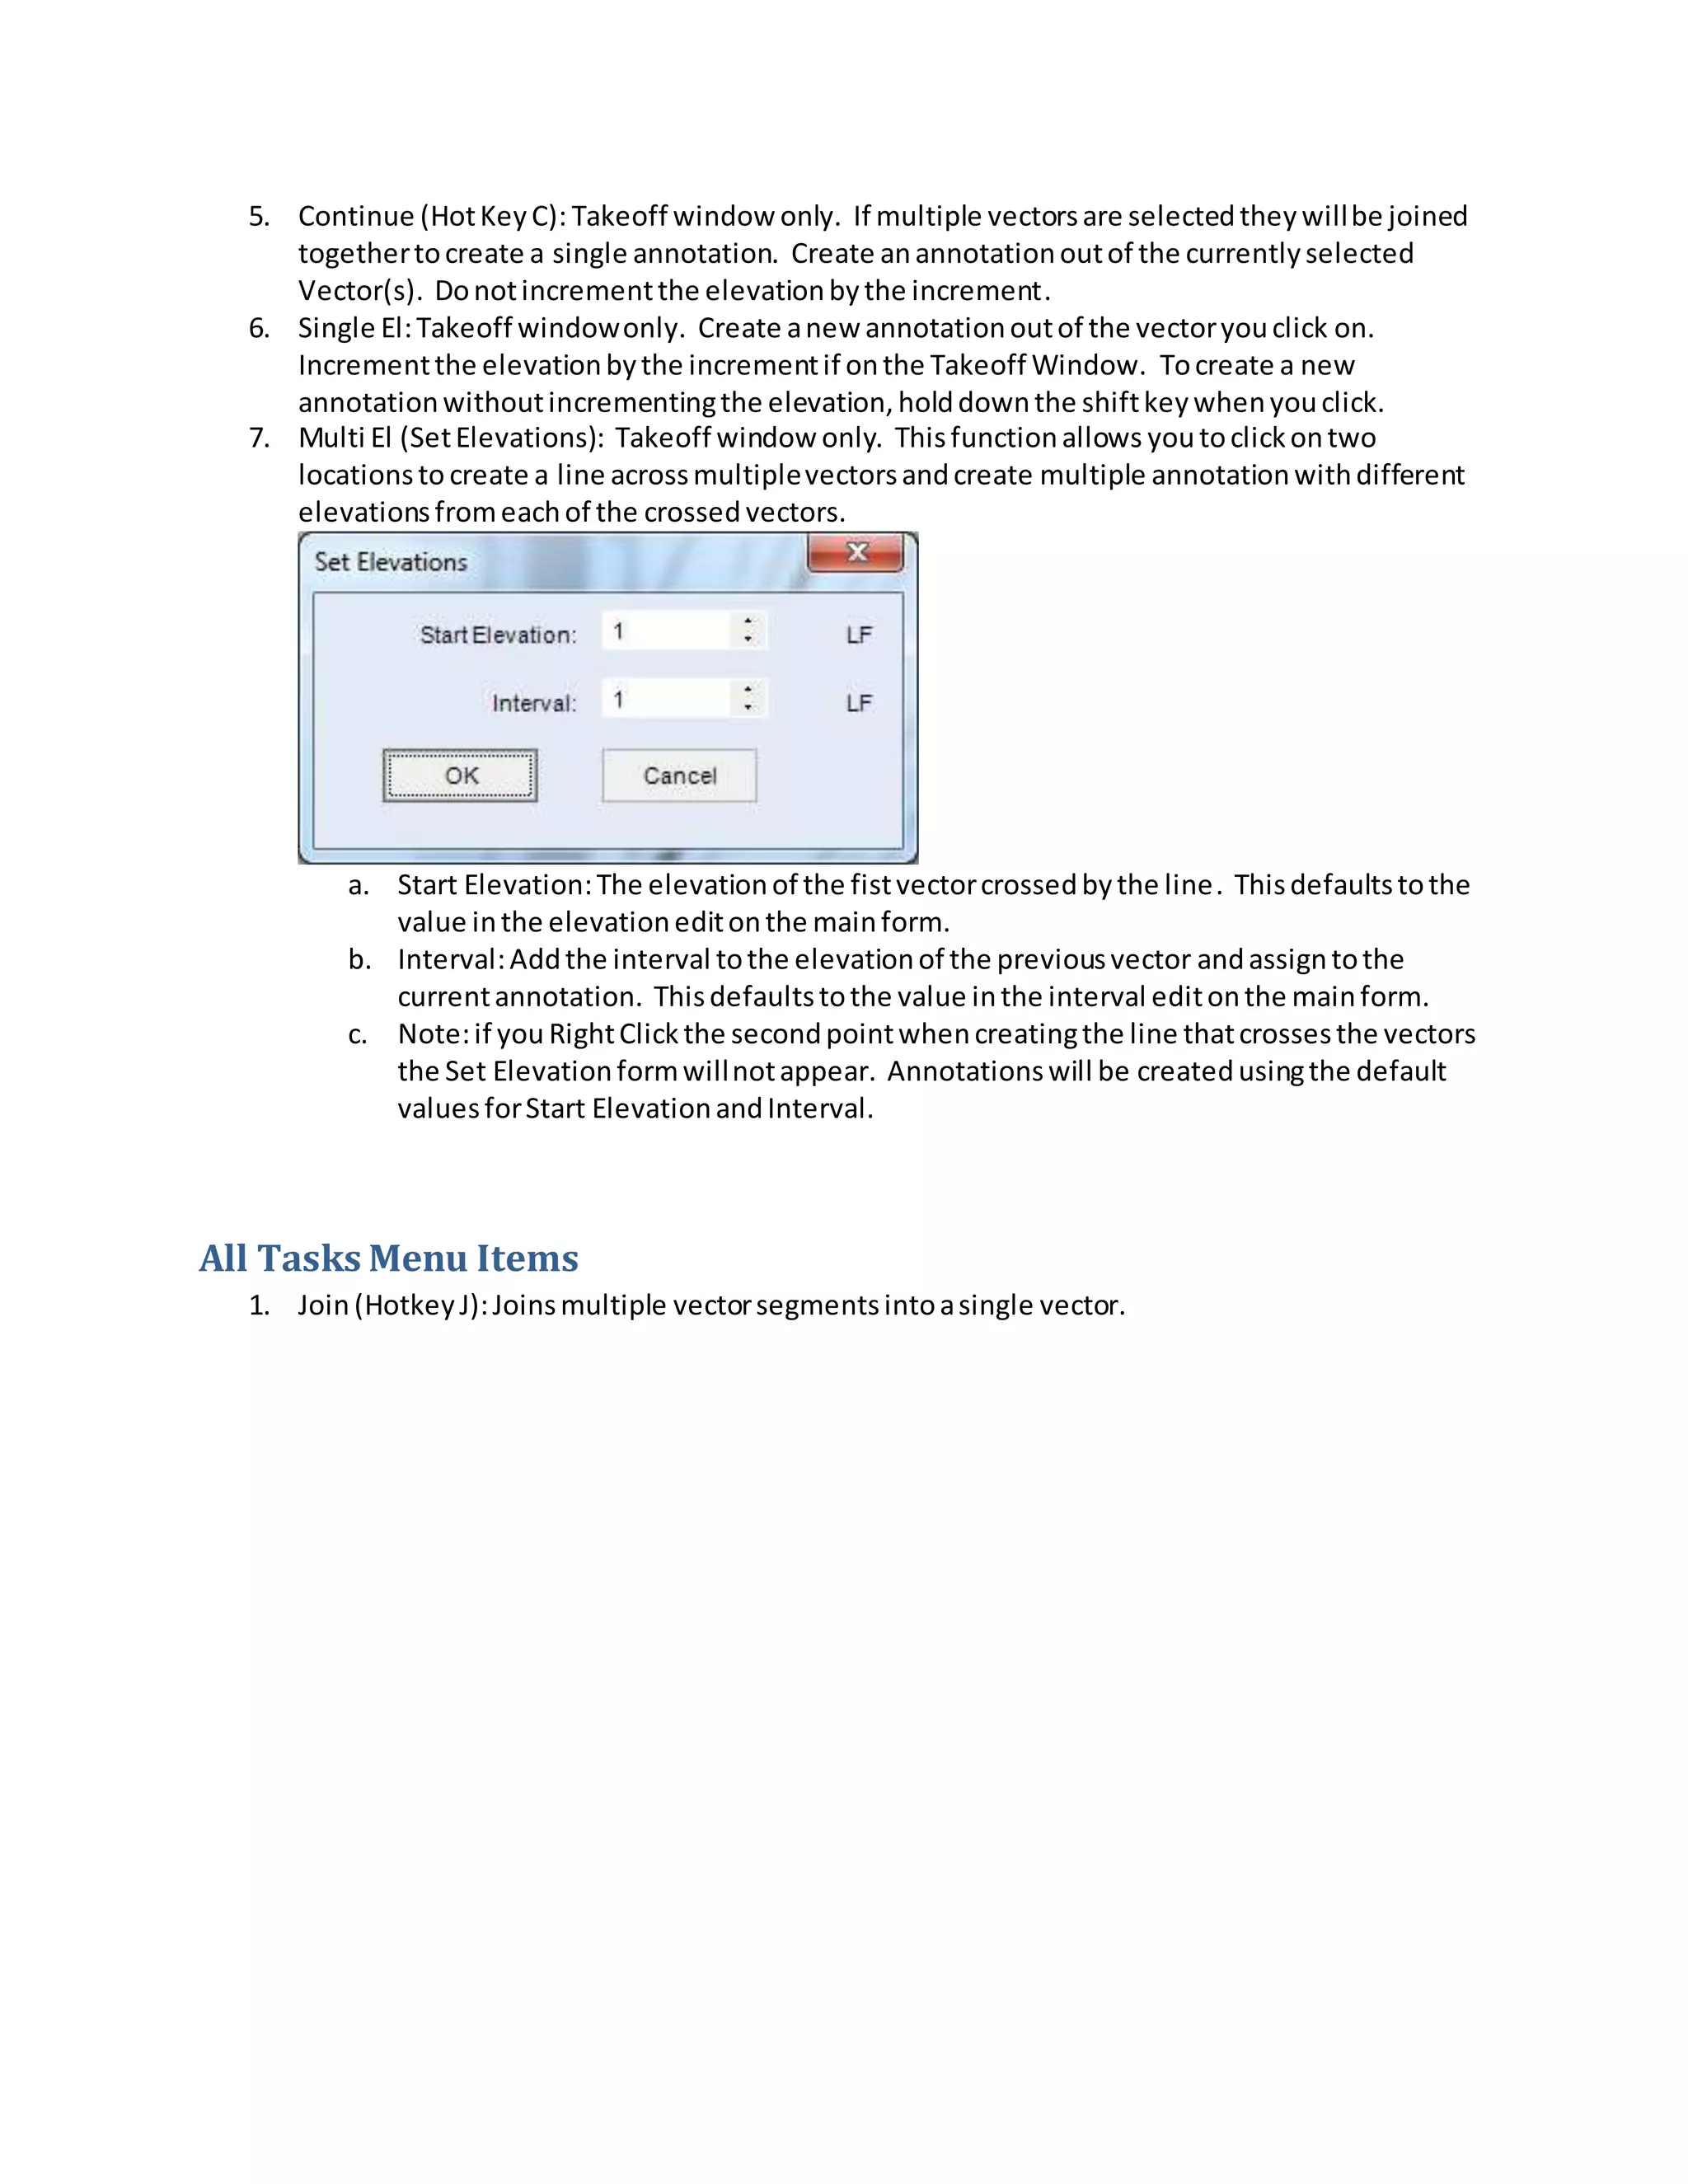
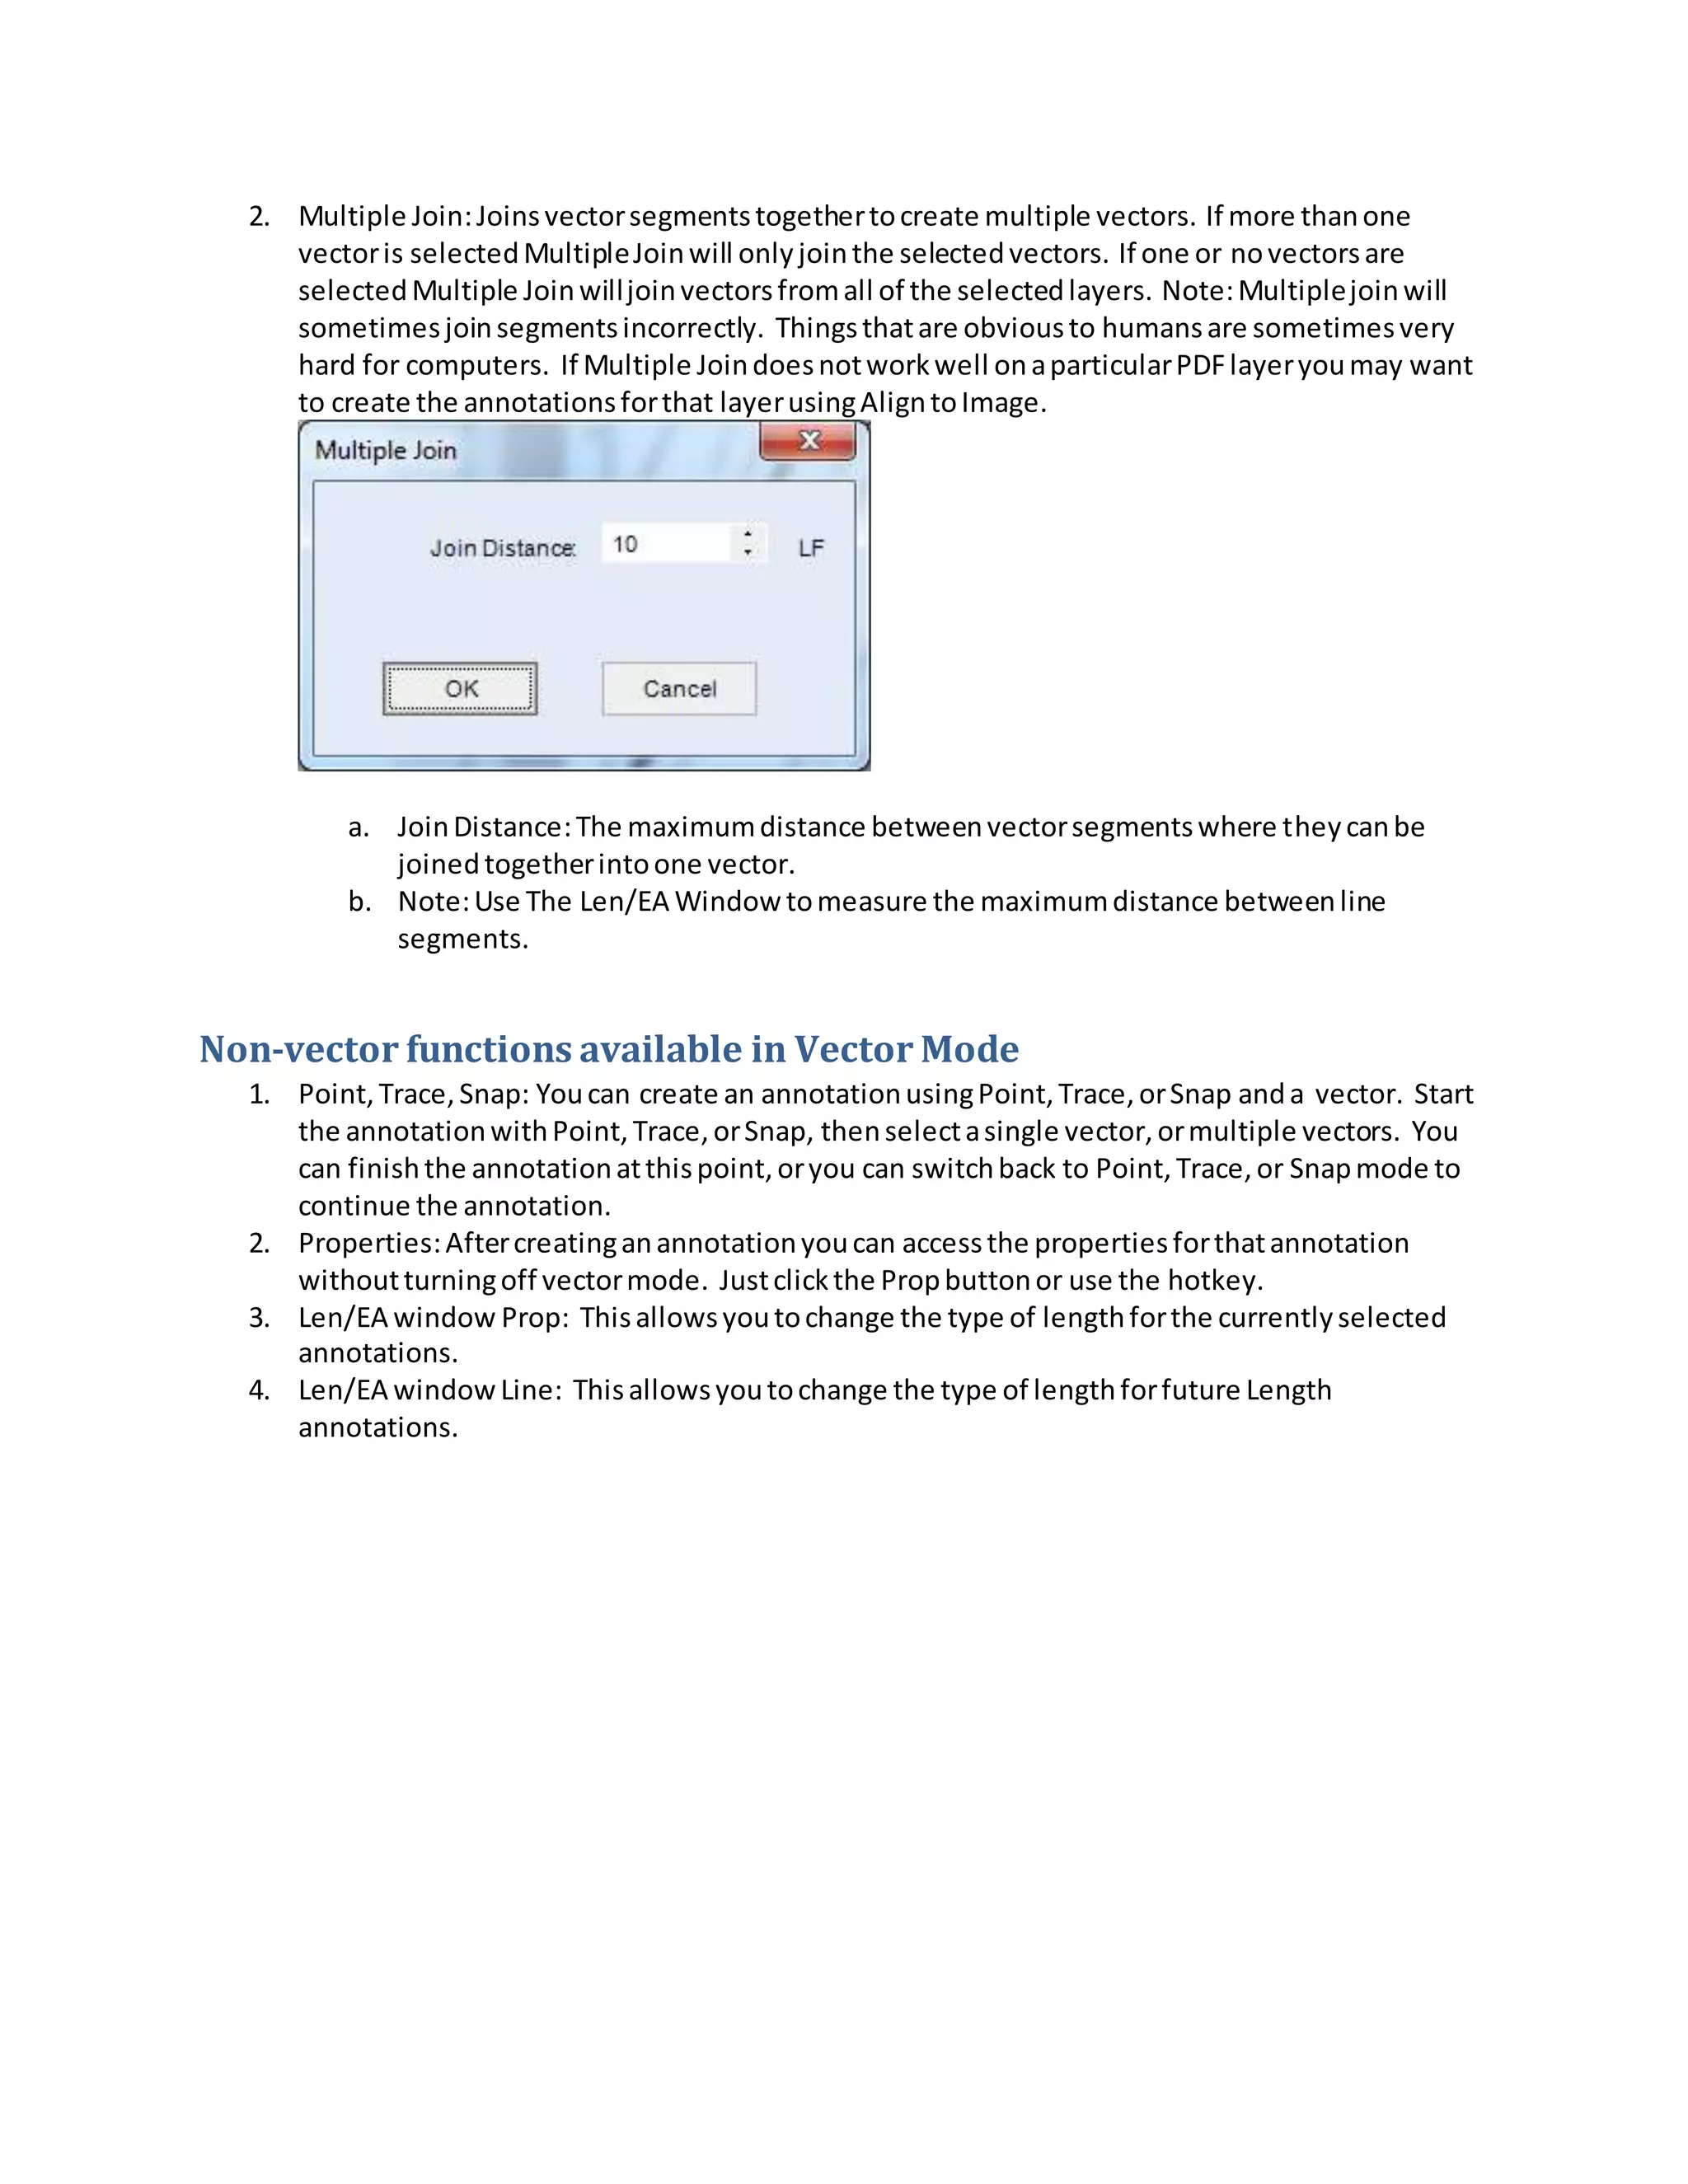
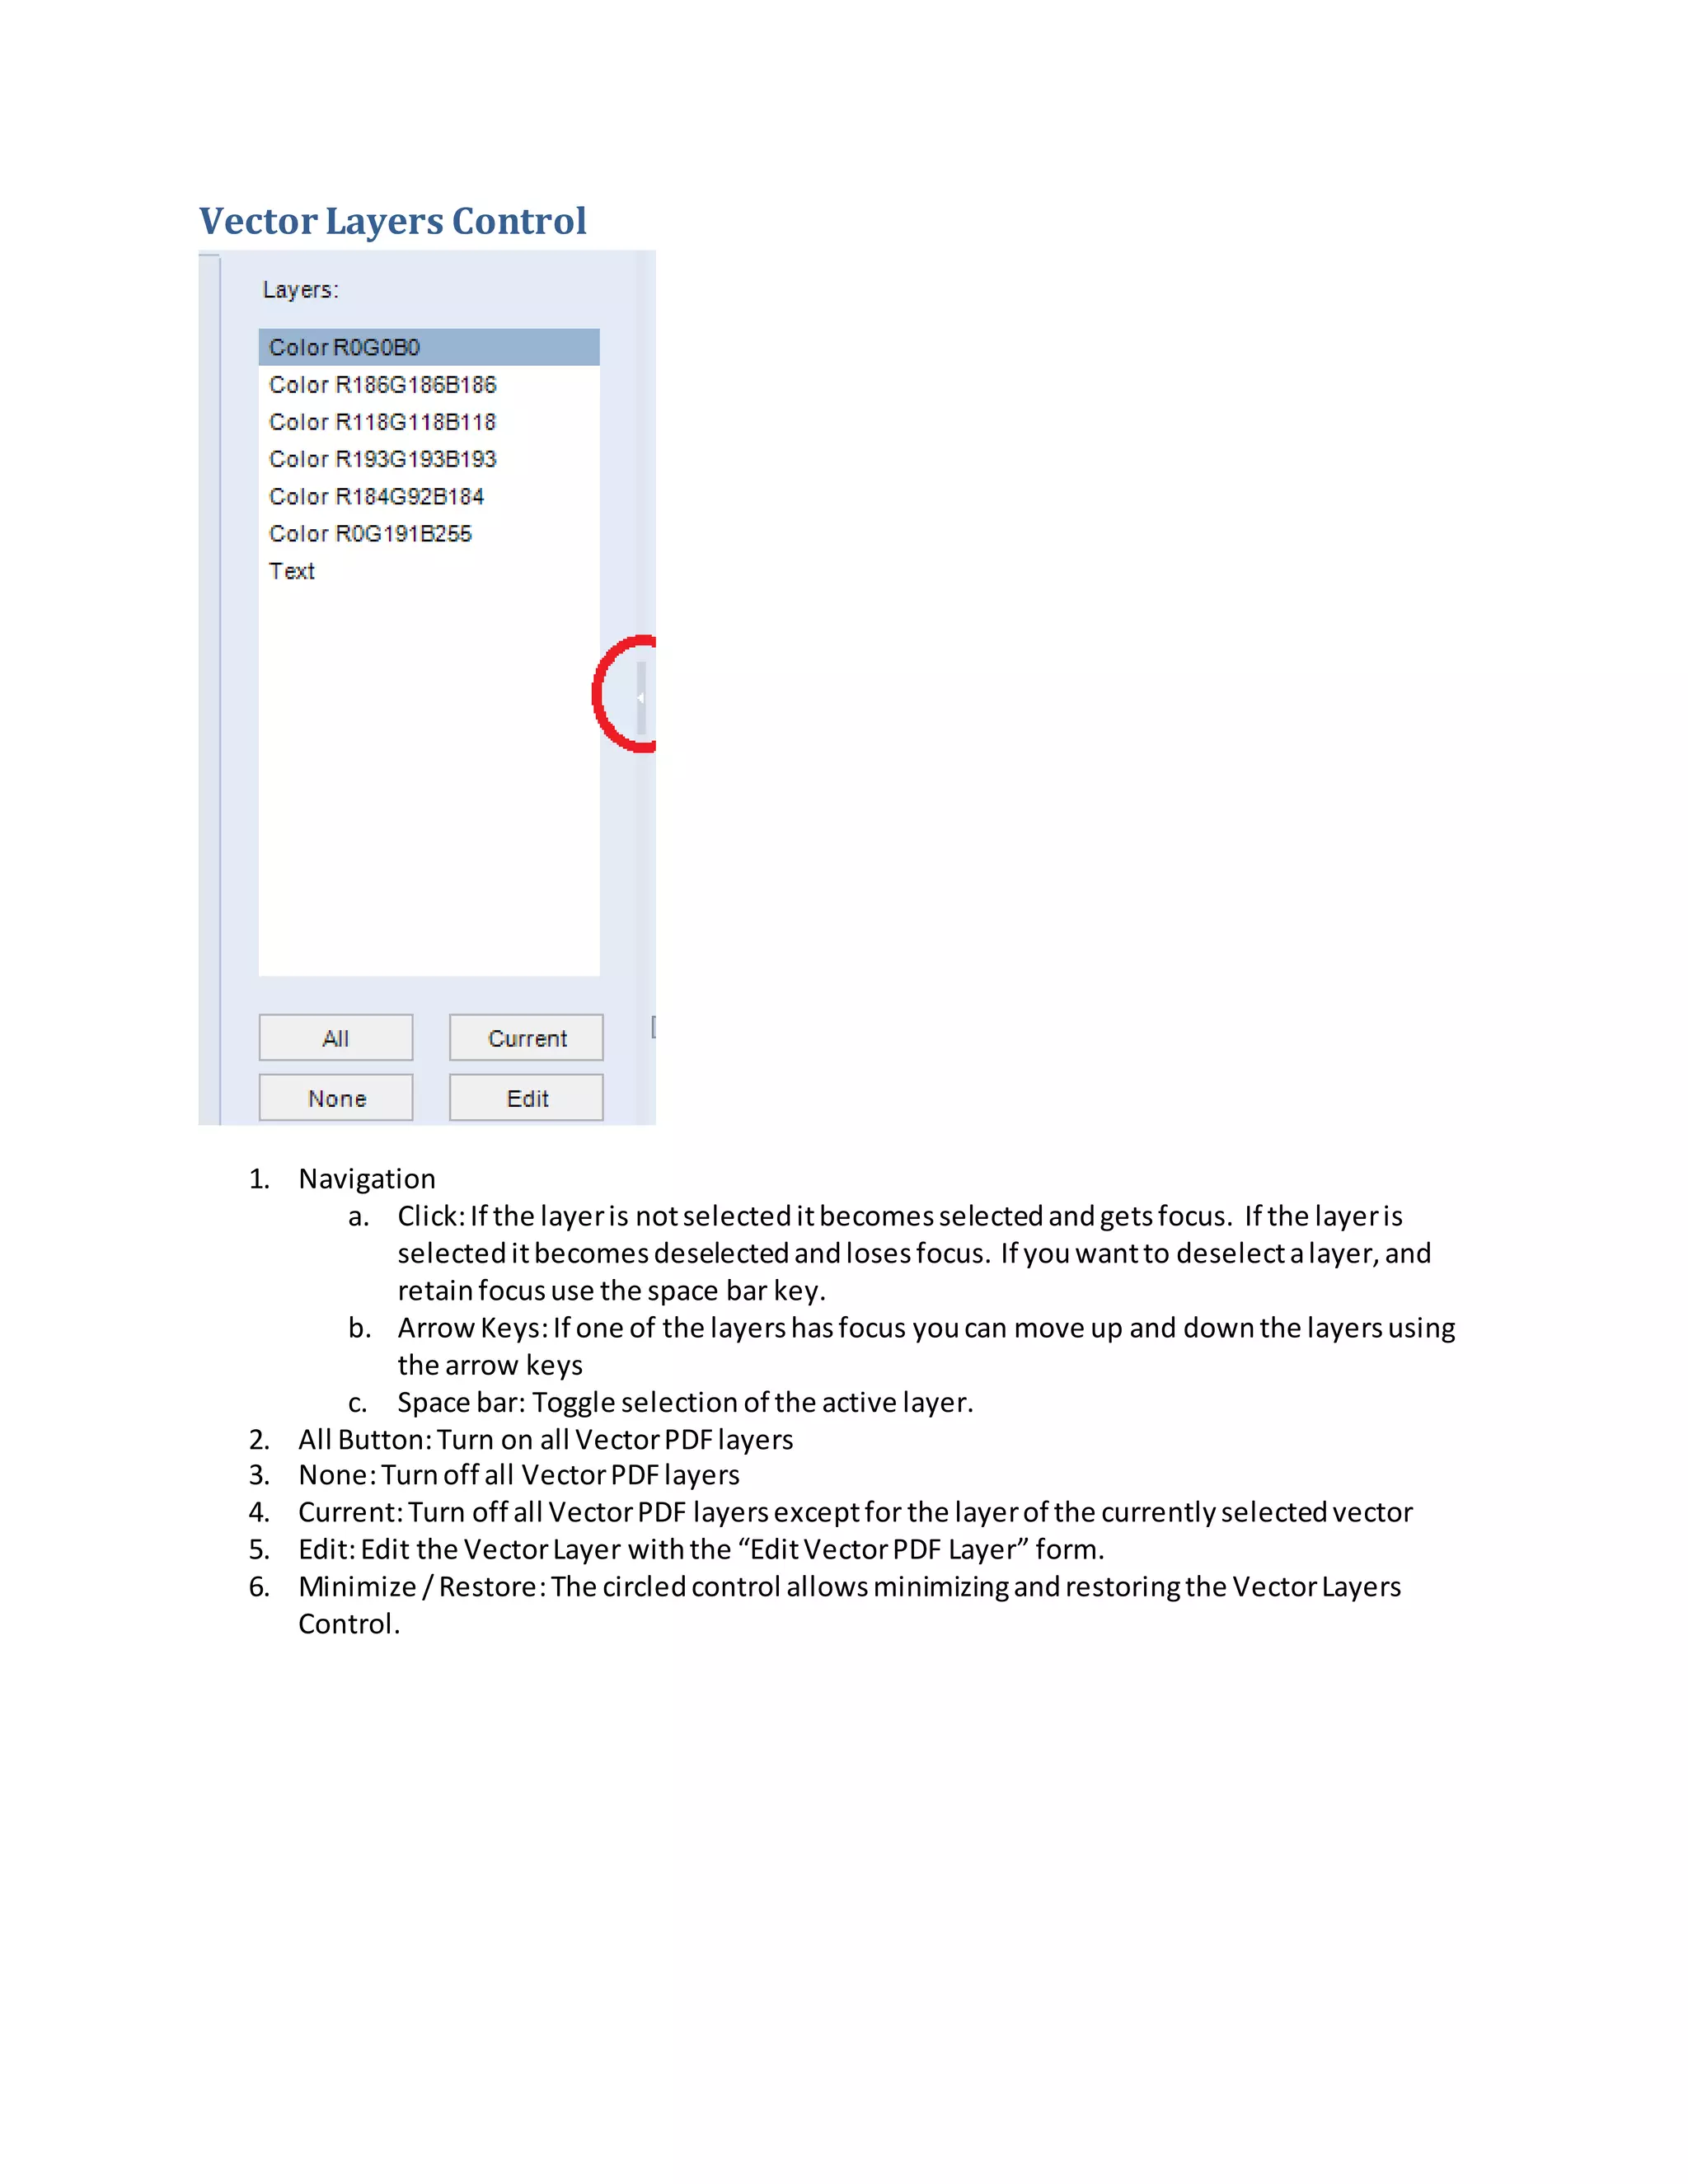
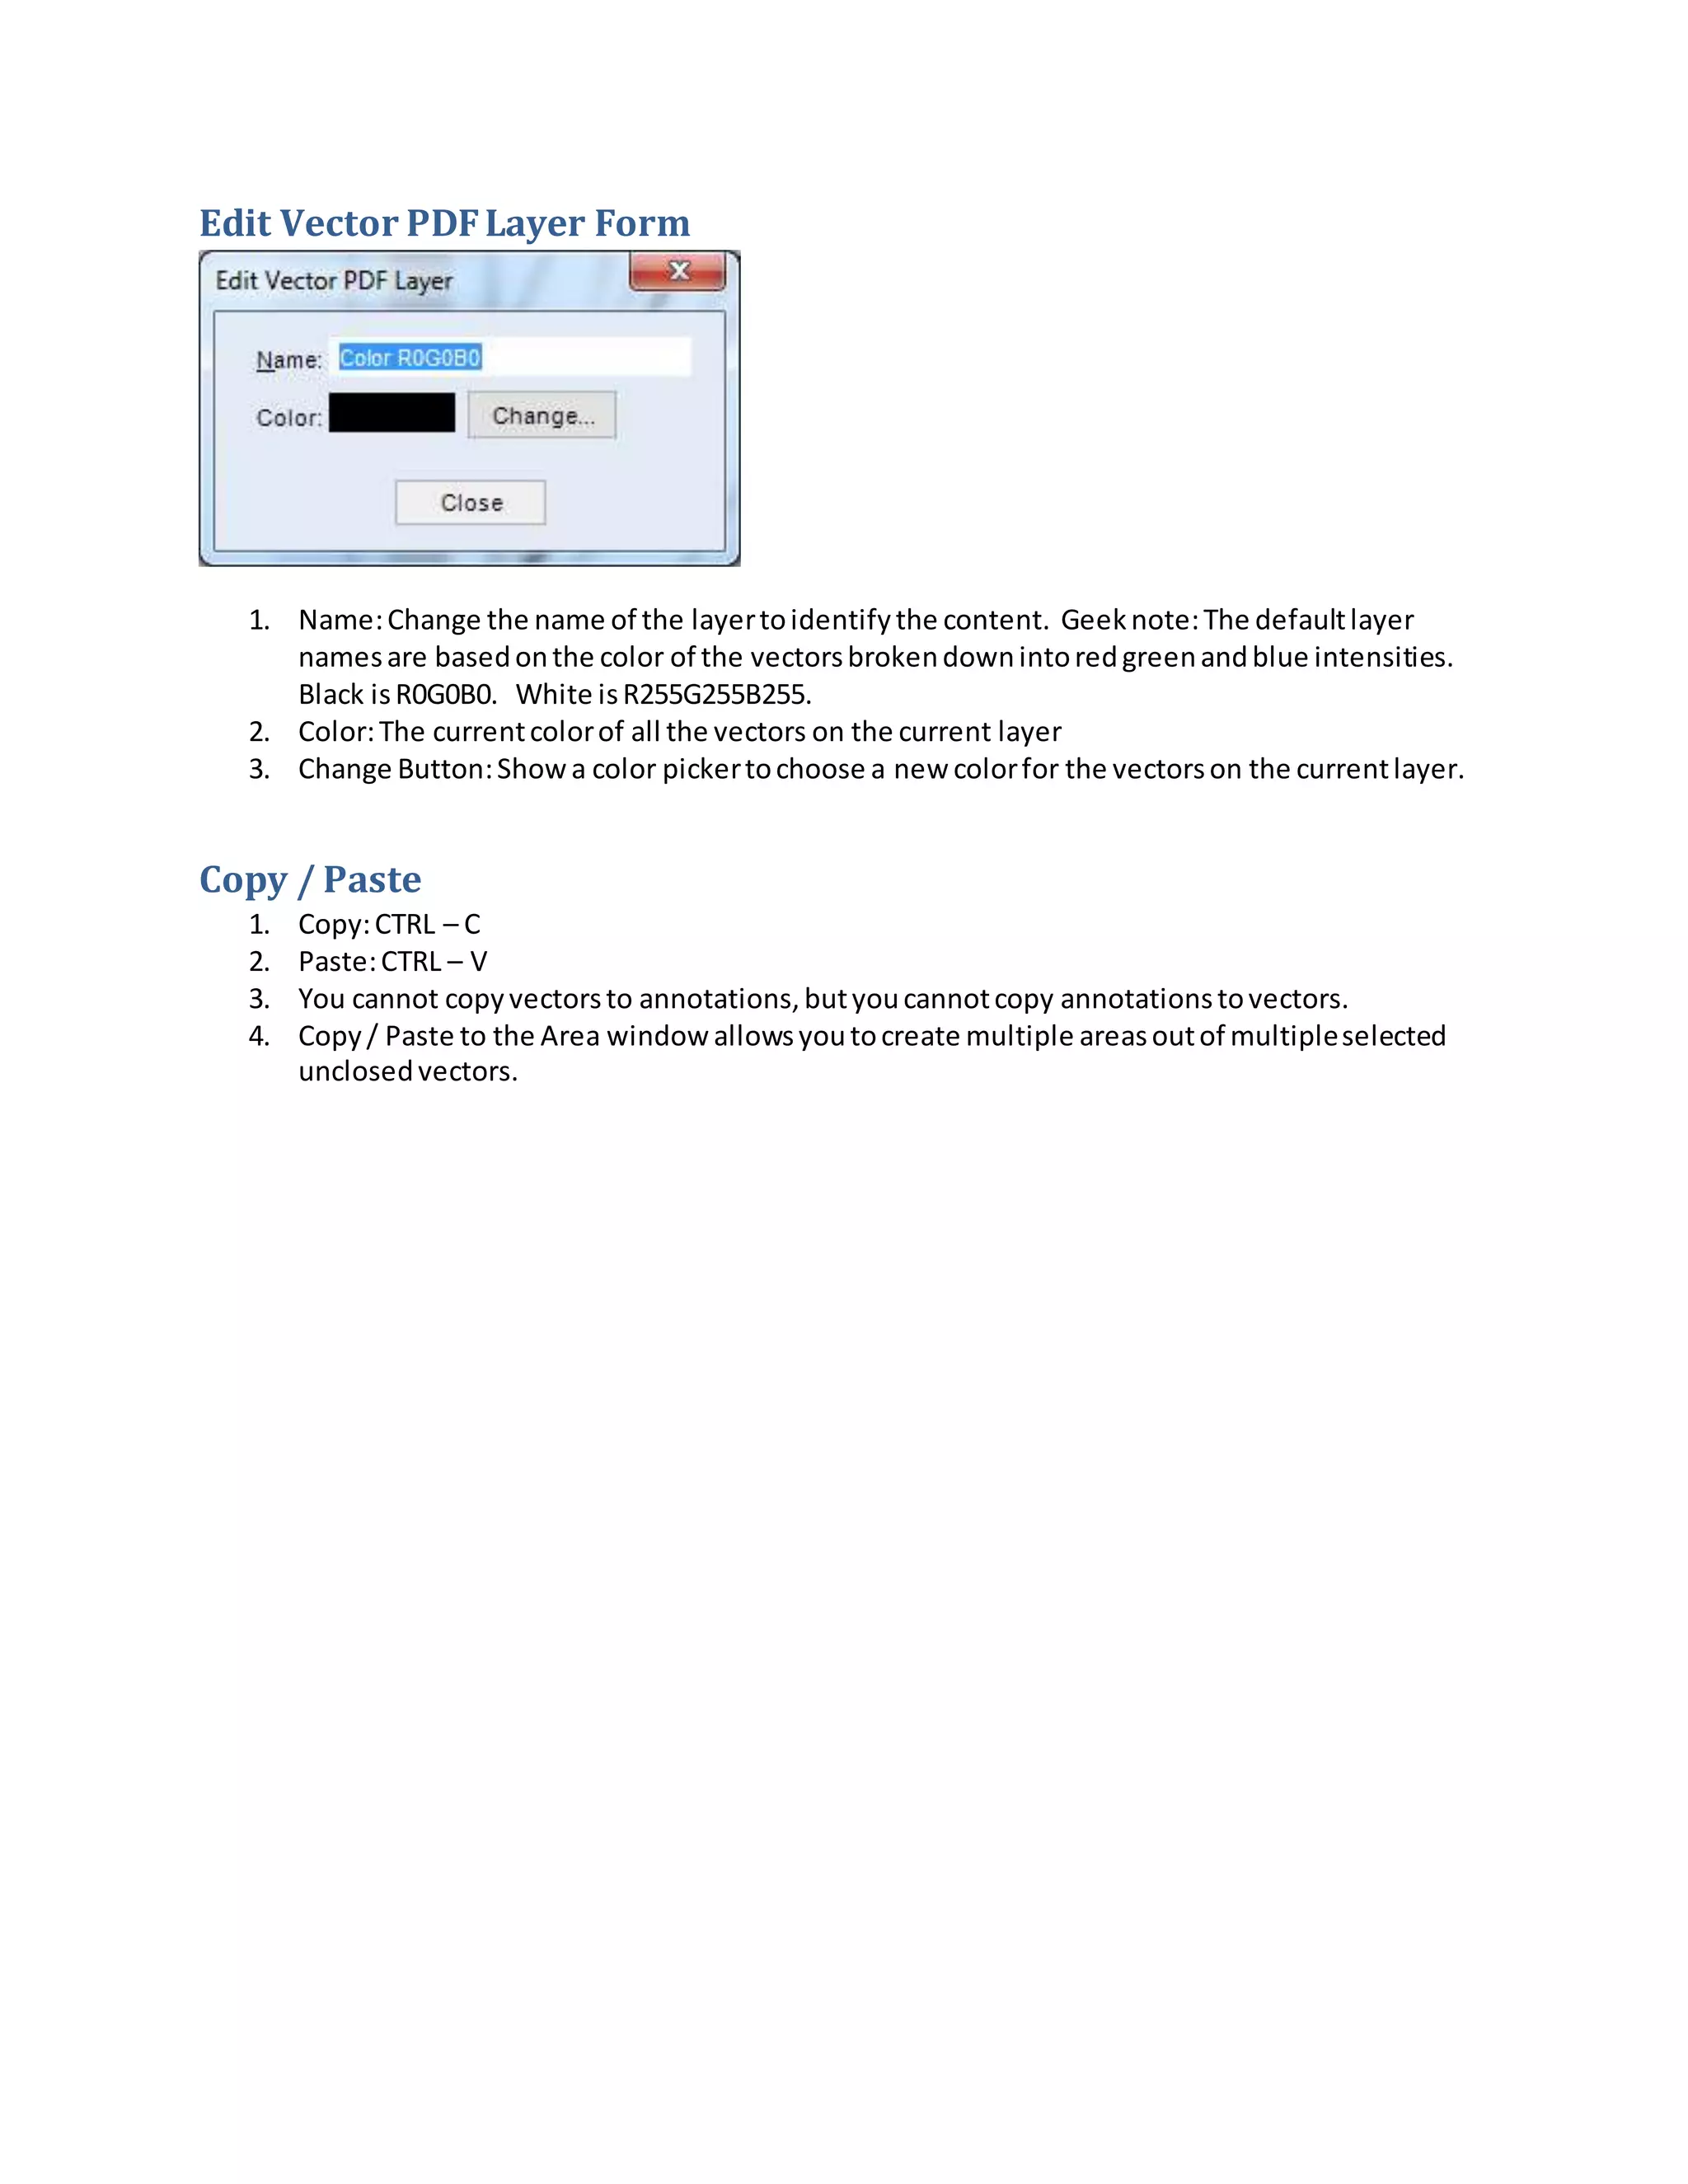
- Tools are provided to select, join, and create annotations from vectors to estimate quantities.
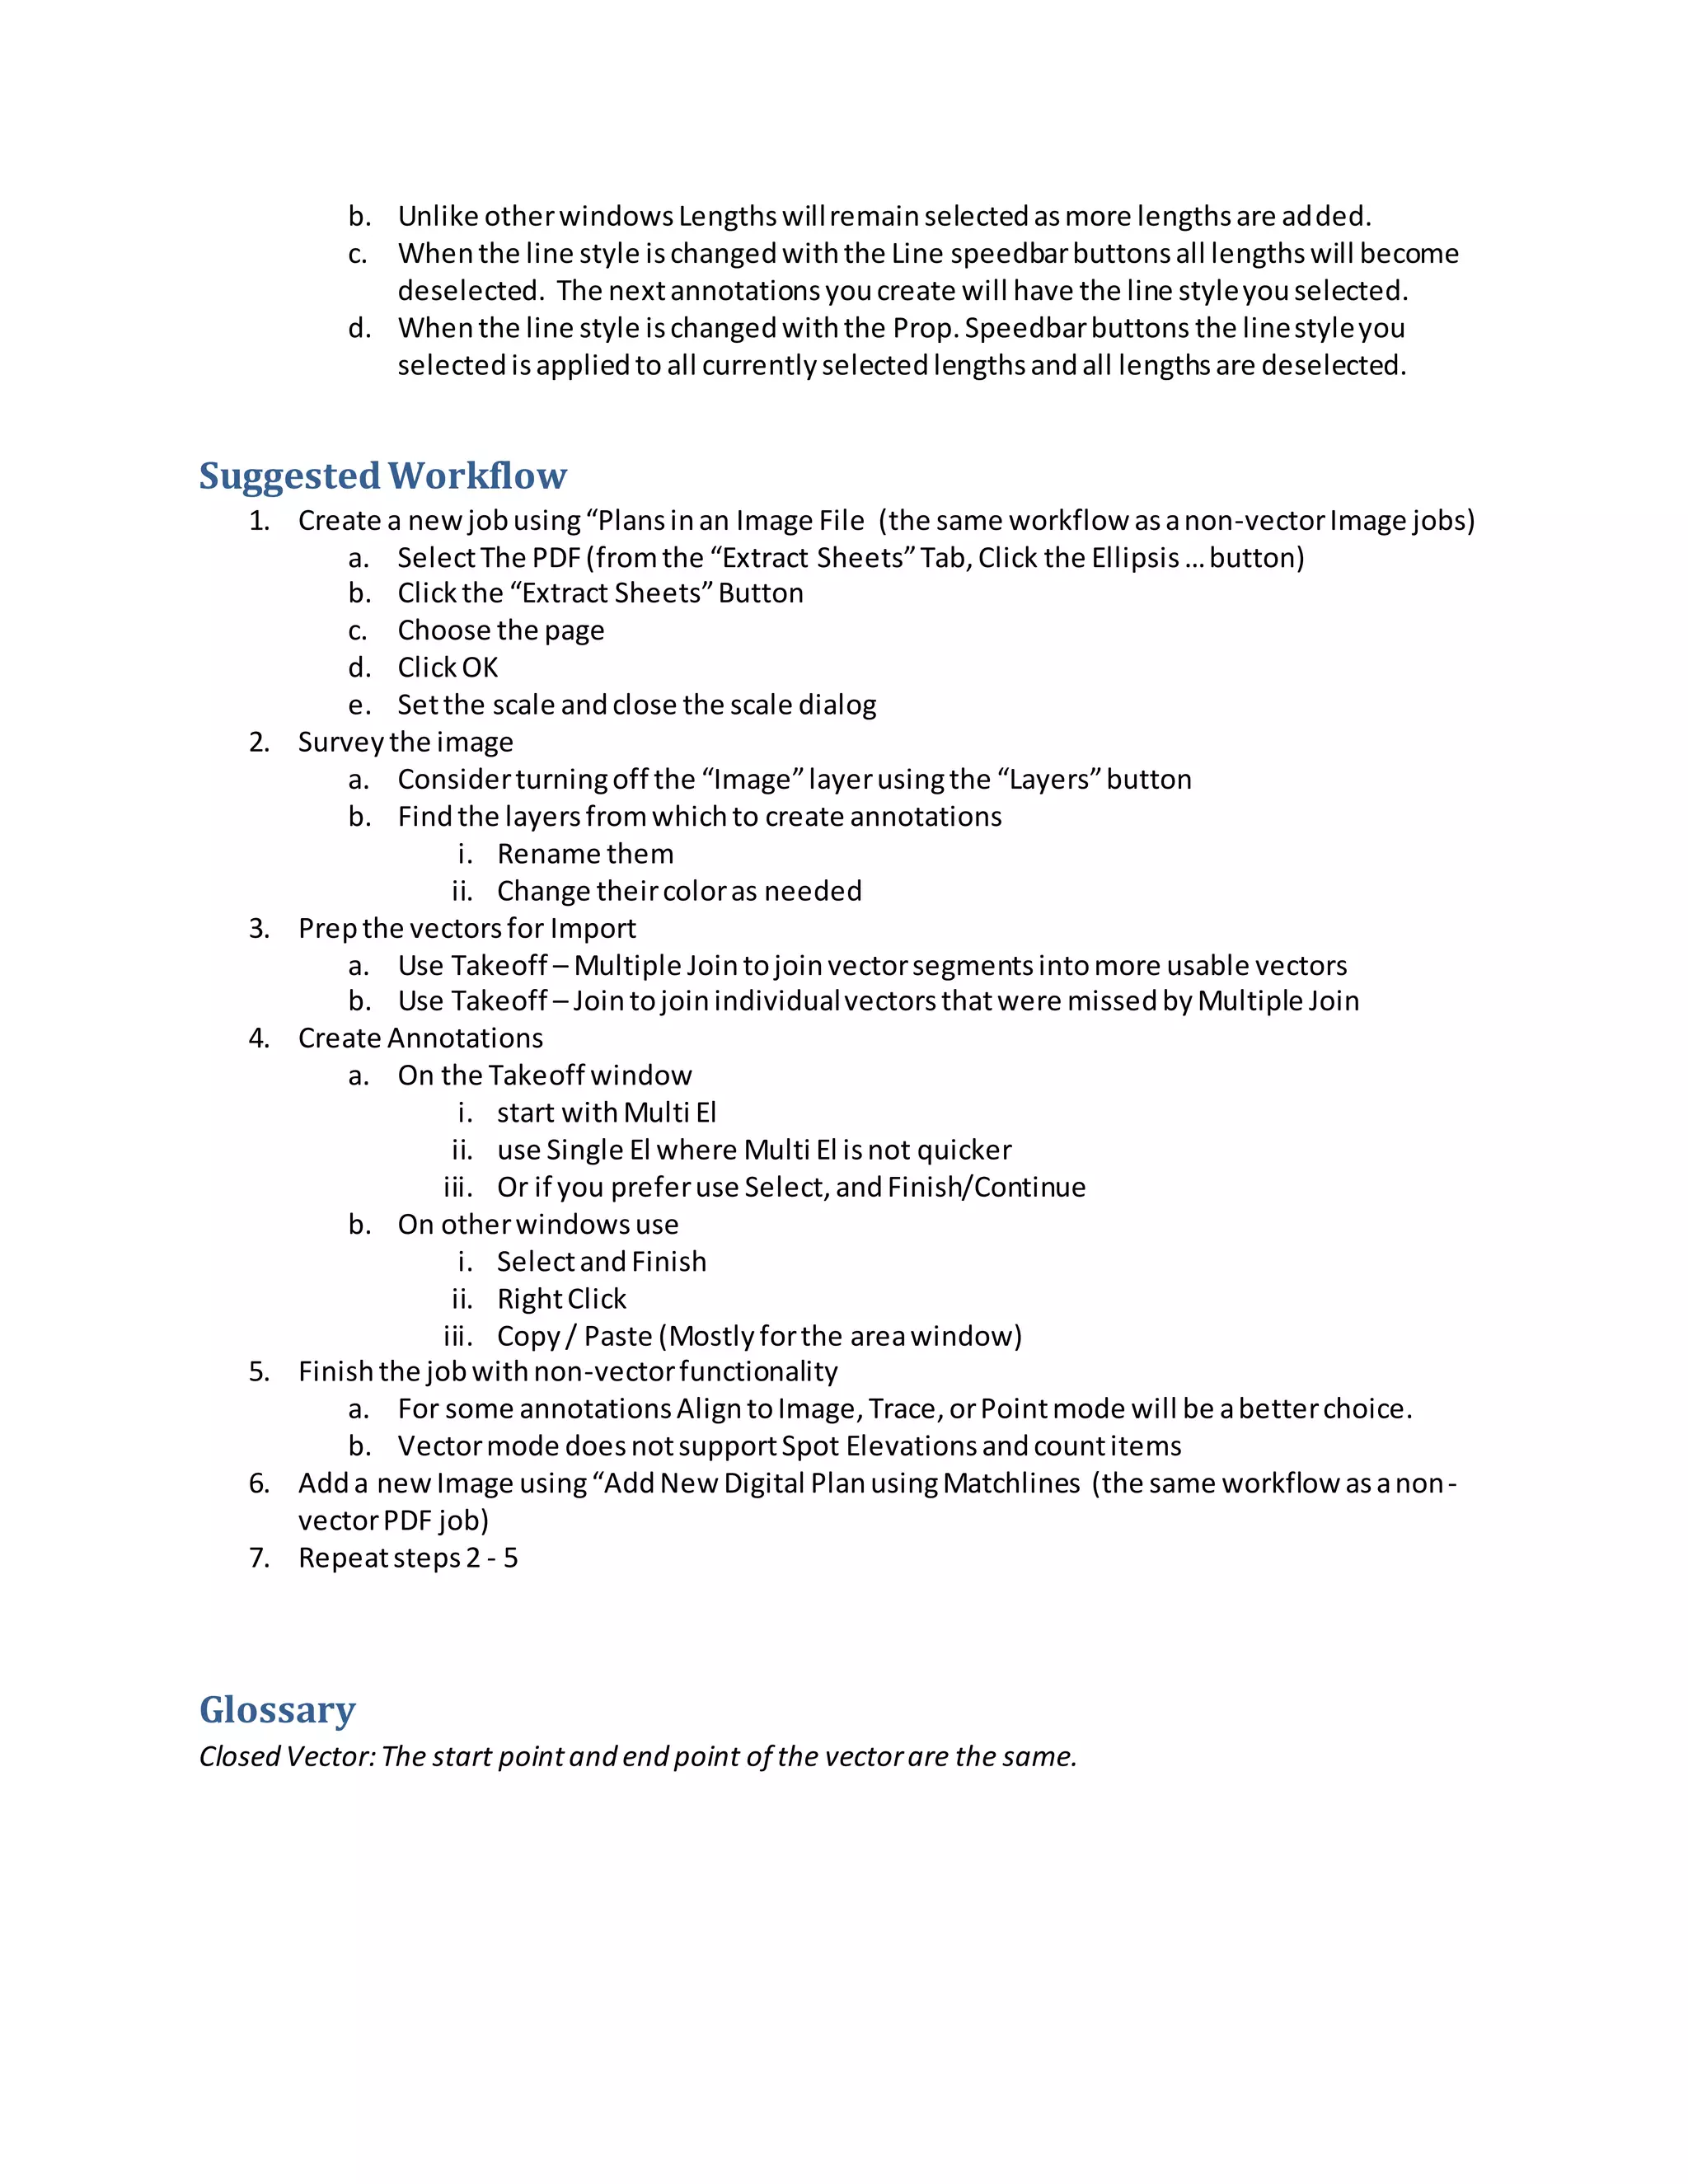
- Suggested workflow involves preparing vectors, creating annotations using different selection tools, and finishing with non-vector tools as needed.