Download to read offline

![Hardware Manual, v1.0
#include <stdio.h>
#include <unistd.h>
#include <asm/io.h>
#define BASEPORT 0x378 /* lp1 */
#define STATUS BASEPORT+1
#define CONTROL BASEPORT+2
int writePort(int p){
outb(p, BASEPORT);
outb(0x00, CONTROL);
usleep(1000);
outb(0x01, CONTROL);
usleep(1000);
outb(0x00, CONTROL);
}
int main(int argc, char* argv[])
{
int i, j;
/* Get access to the ports */
if (ioperm(BASEPORT, 3, 1))
{
perror("ioperm"); exit(1);
}
j = atoi(argv[1]);
i = atoi(argv[2]);
writePort(j);
writePort(i);
printf(" port %d --> %d n", j, i);
}
This sample code allows you to select a port 128-255 (in fact only 0 to 2 can be
selected) and write a value to the attenuator. Remember that you are using 0-3
in decimal to first select the attenuator and 128-255 to write a value of
attenuation. Let’s say you want to select Port 1, and write 0 dB, you do:
writePort(1);
writePort(128);
If you see the circuit, Port 0 is directly connected to the Attenuator, whereas
Ports 1 and 2 are inverted. In other words, when selecting 128 will write 0 dB to
the Port 0 but will write 0xFF to the ports 1 and 2. It’s a little confusing but you
can fix that by adding another inverter to Port 0.](https://image.slidesharecdn.com/usermanual-ramon-100731084558-phpapp02/85/User-manual-ramon-9-320.jpg)

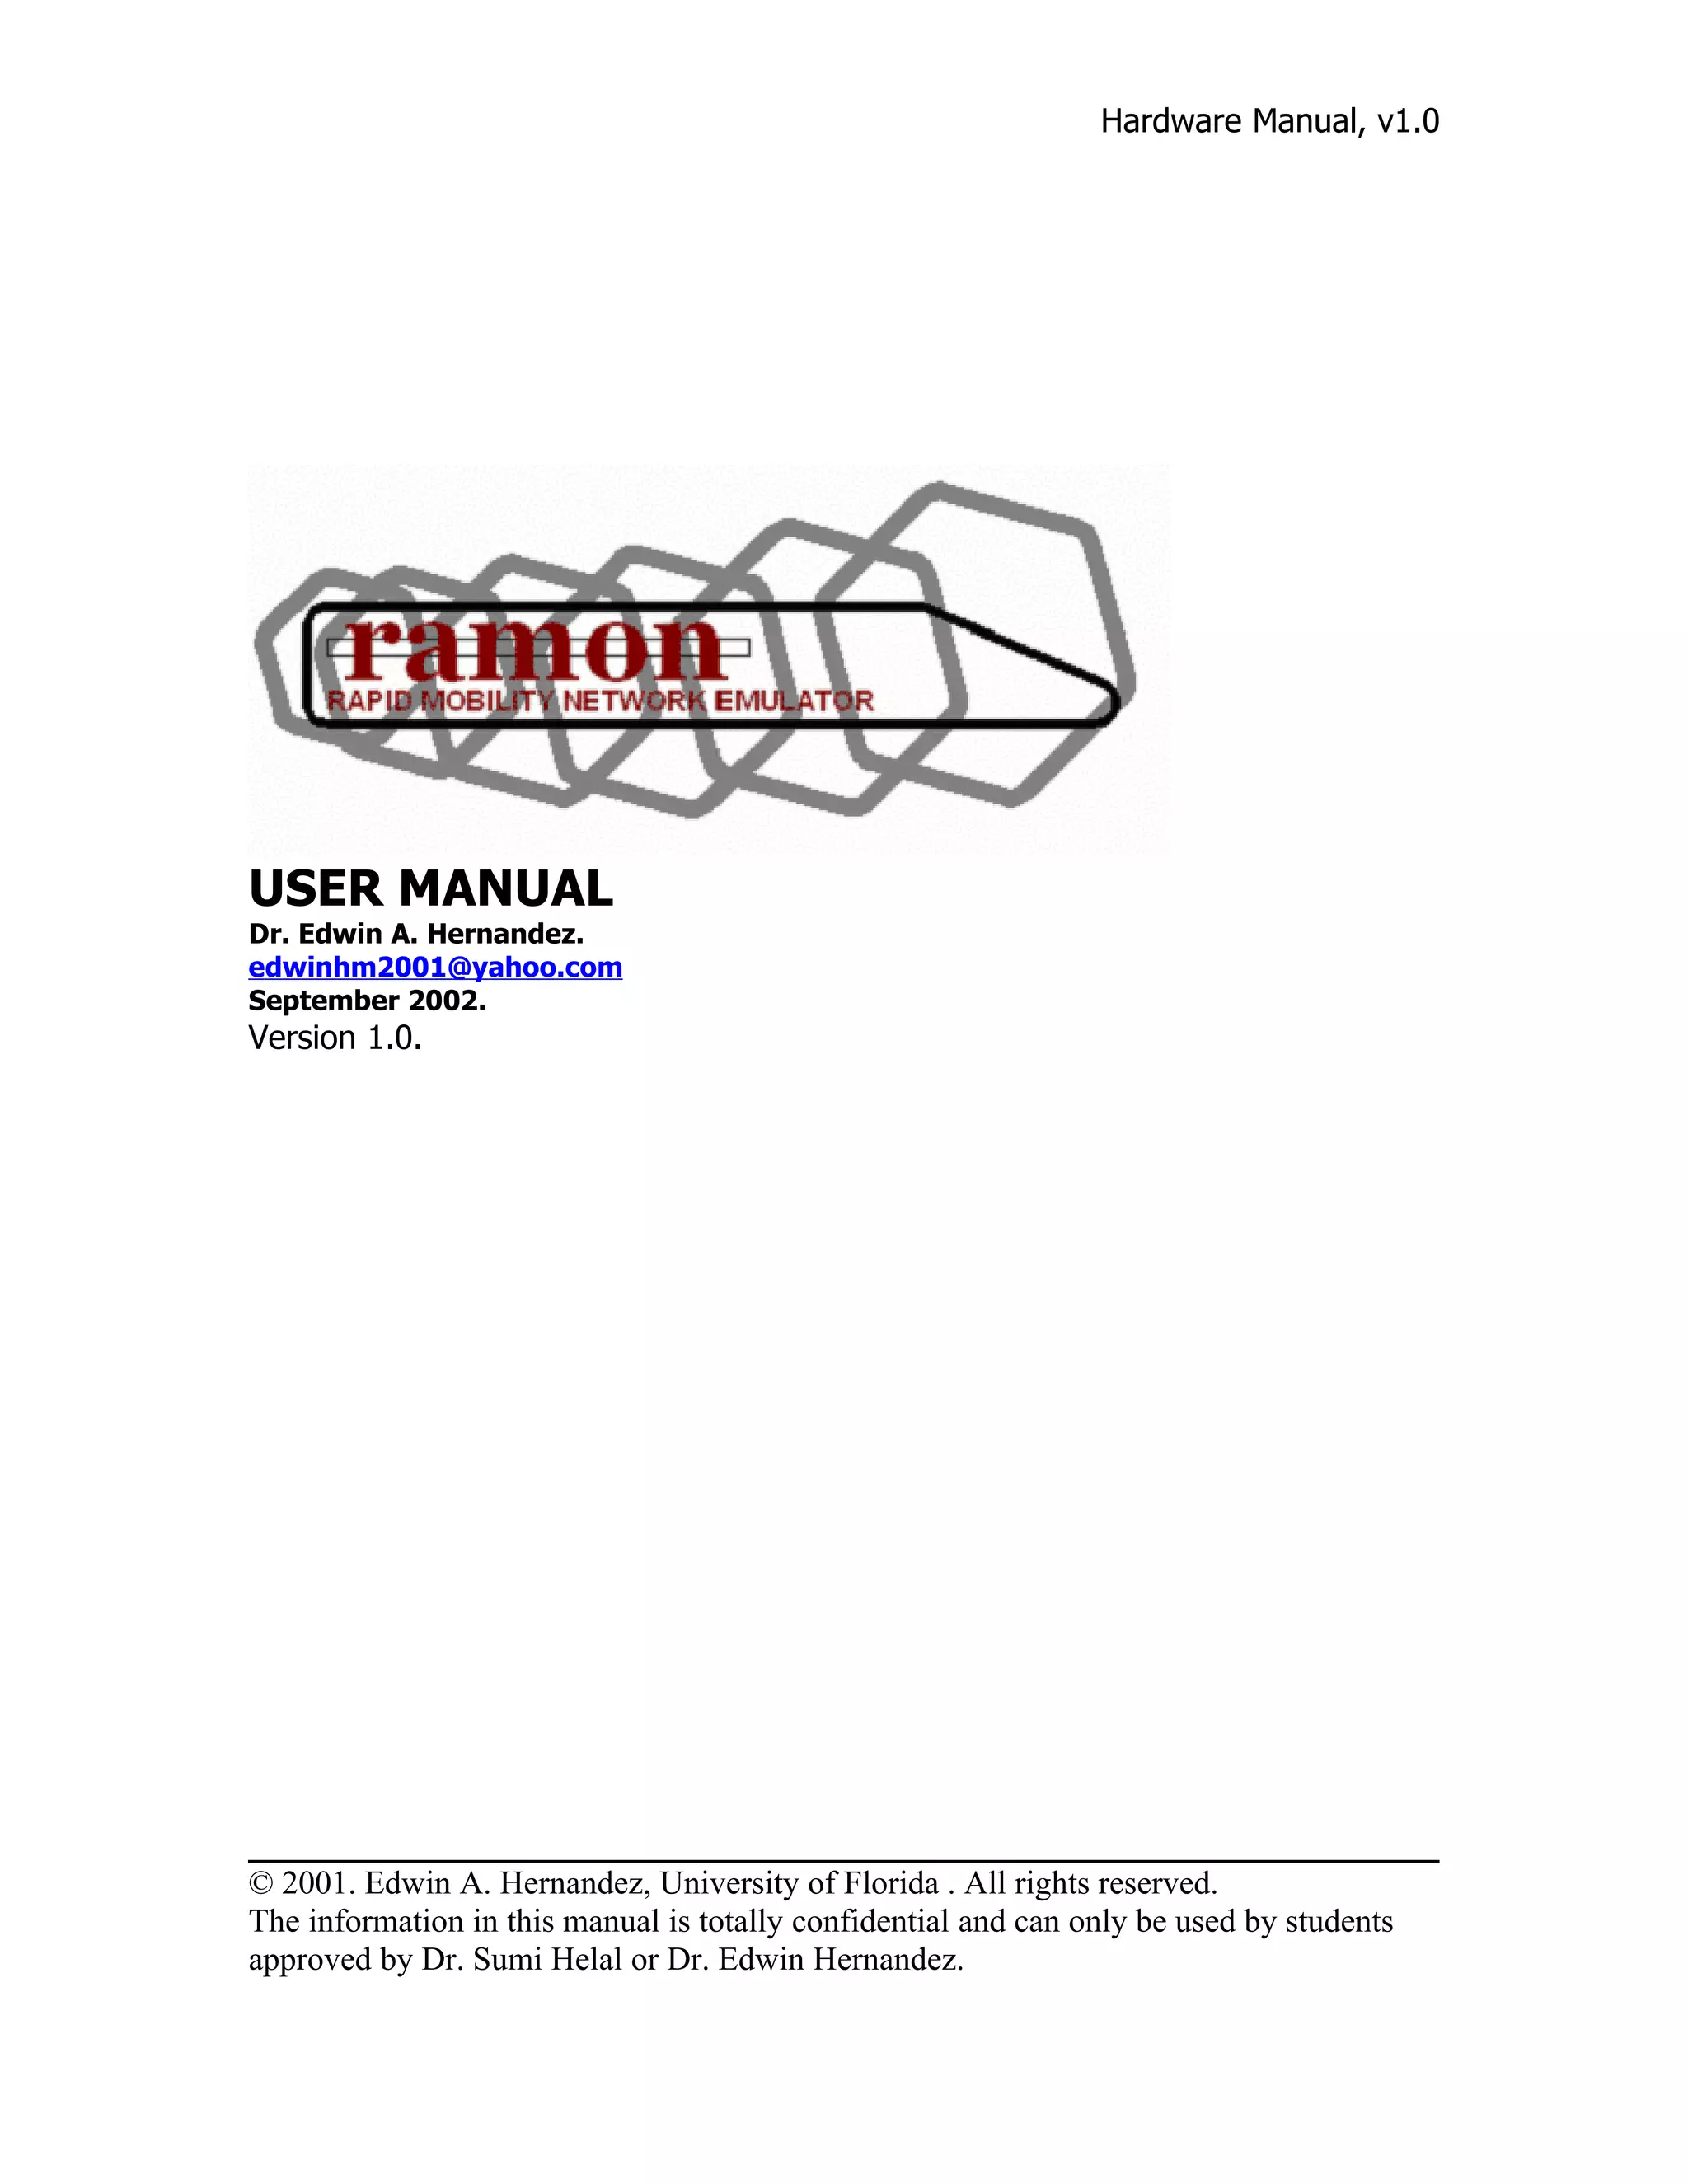
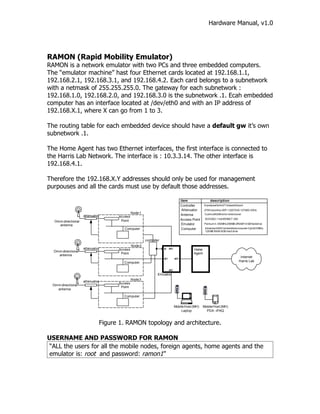
This document provides instructions for using RAMON, a network emulator with multiple PCs and embedded computers. It describes the IP addressing of the emulator machine and embedded devices. It also provides information on required software, usernames/passwords, and example emulation scripts to simulate network conditions between different nodes.