Download as PDF, PPTX
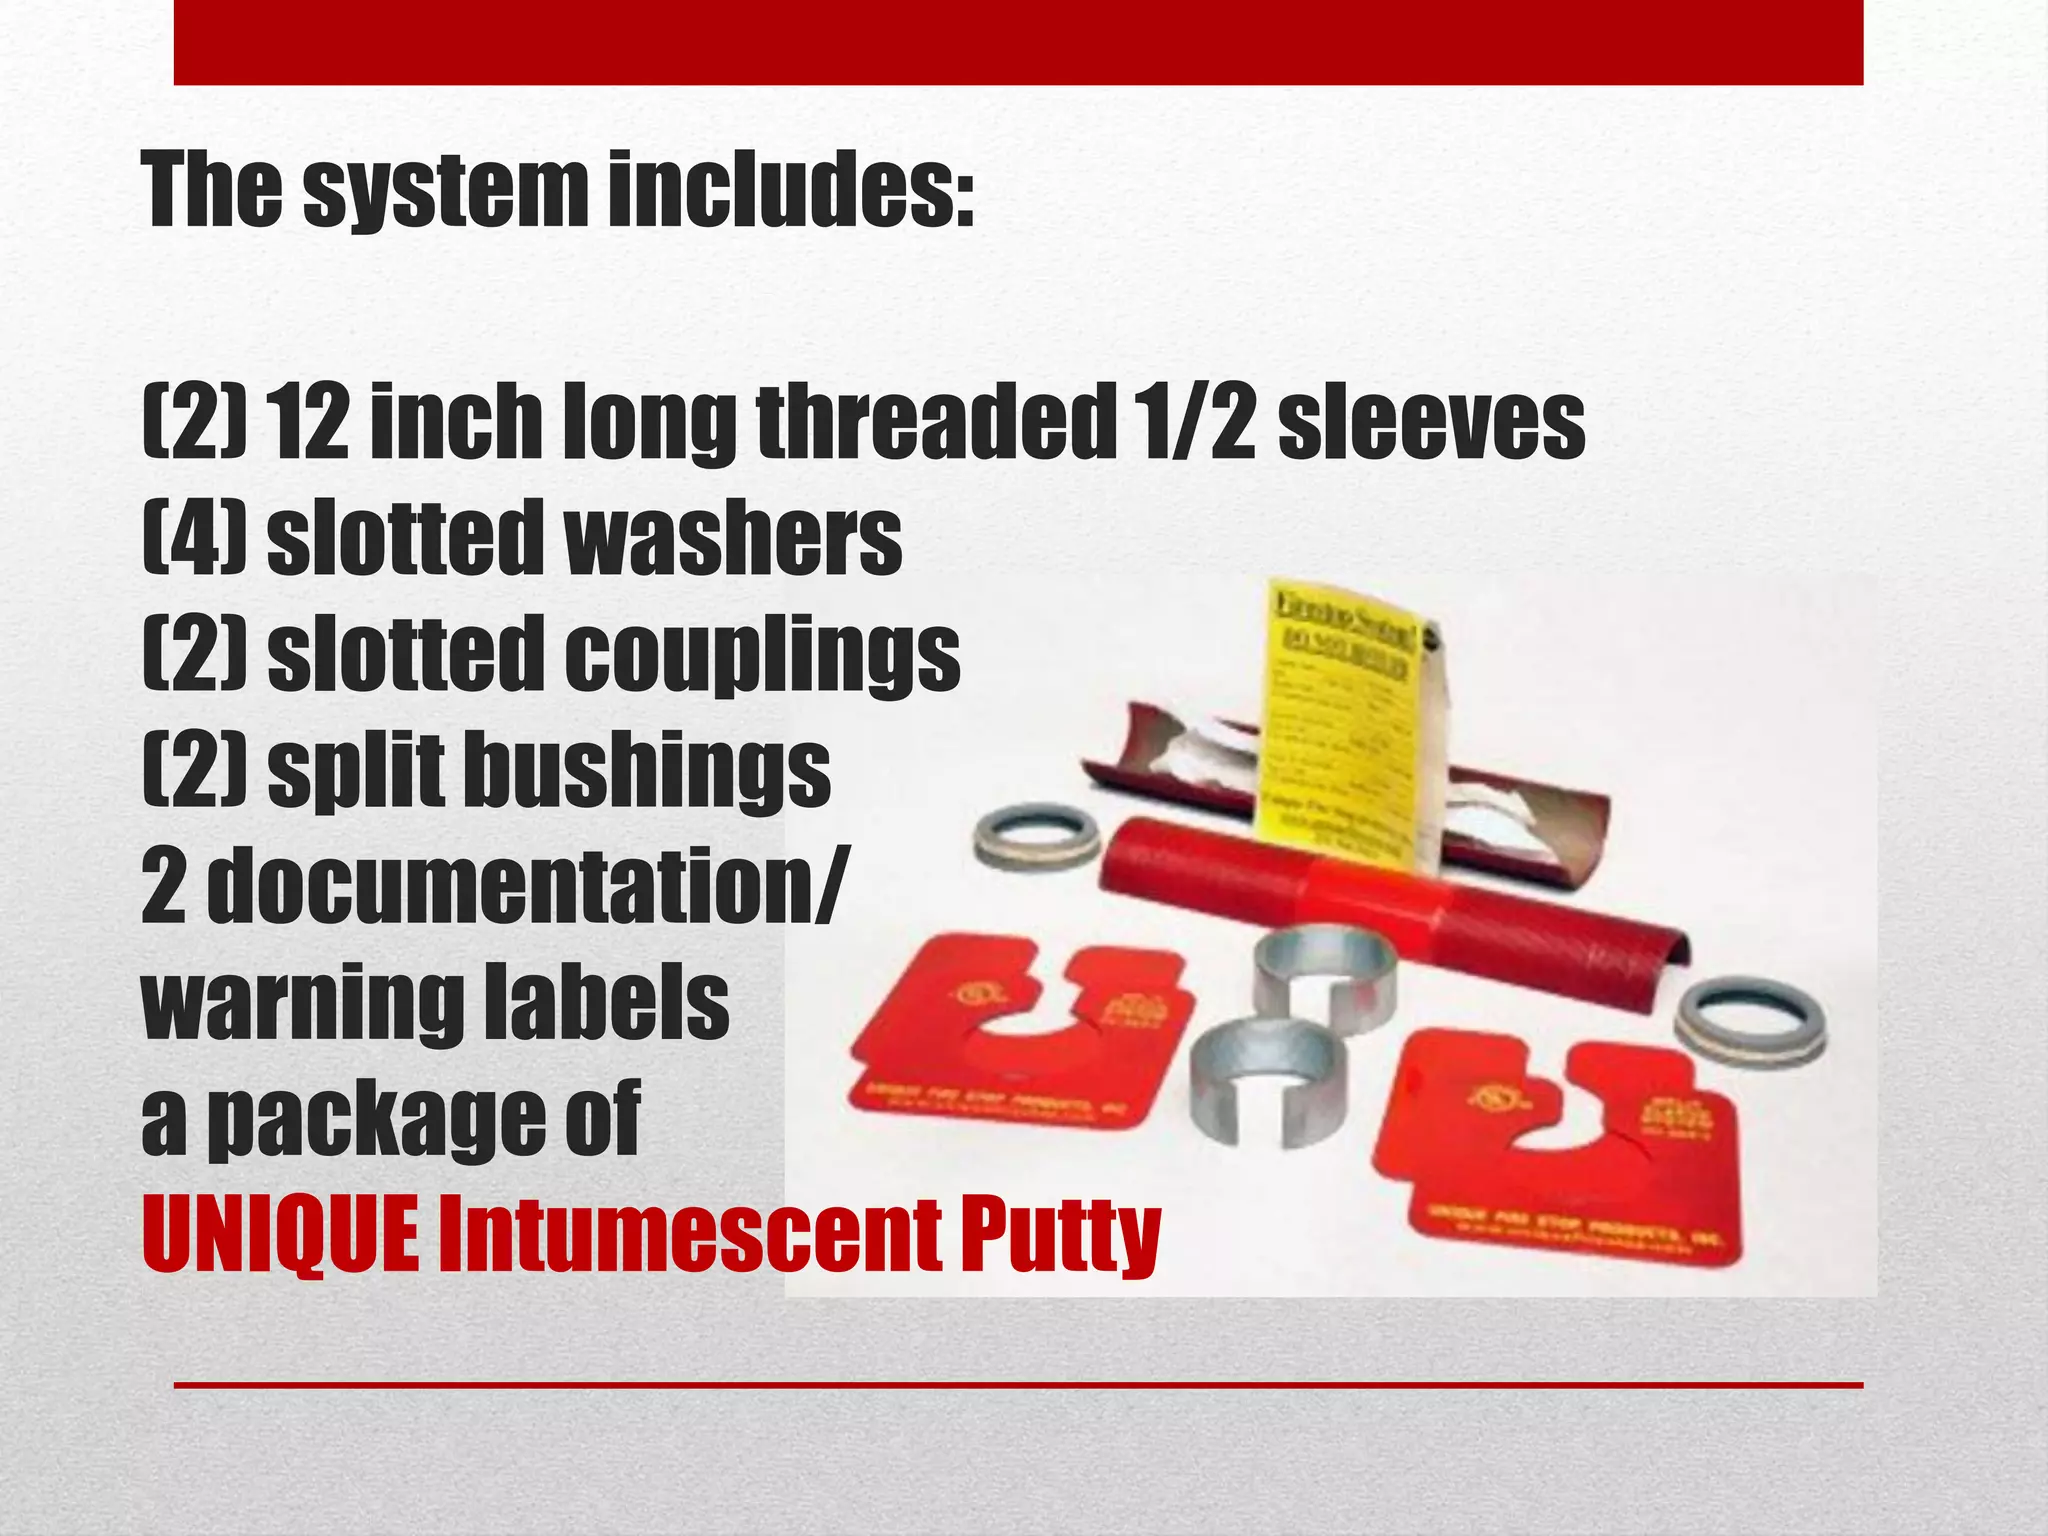
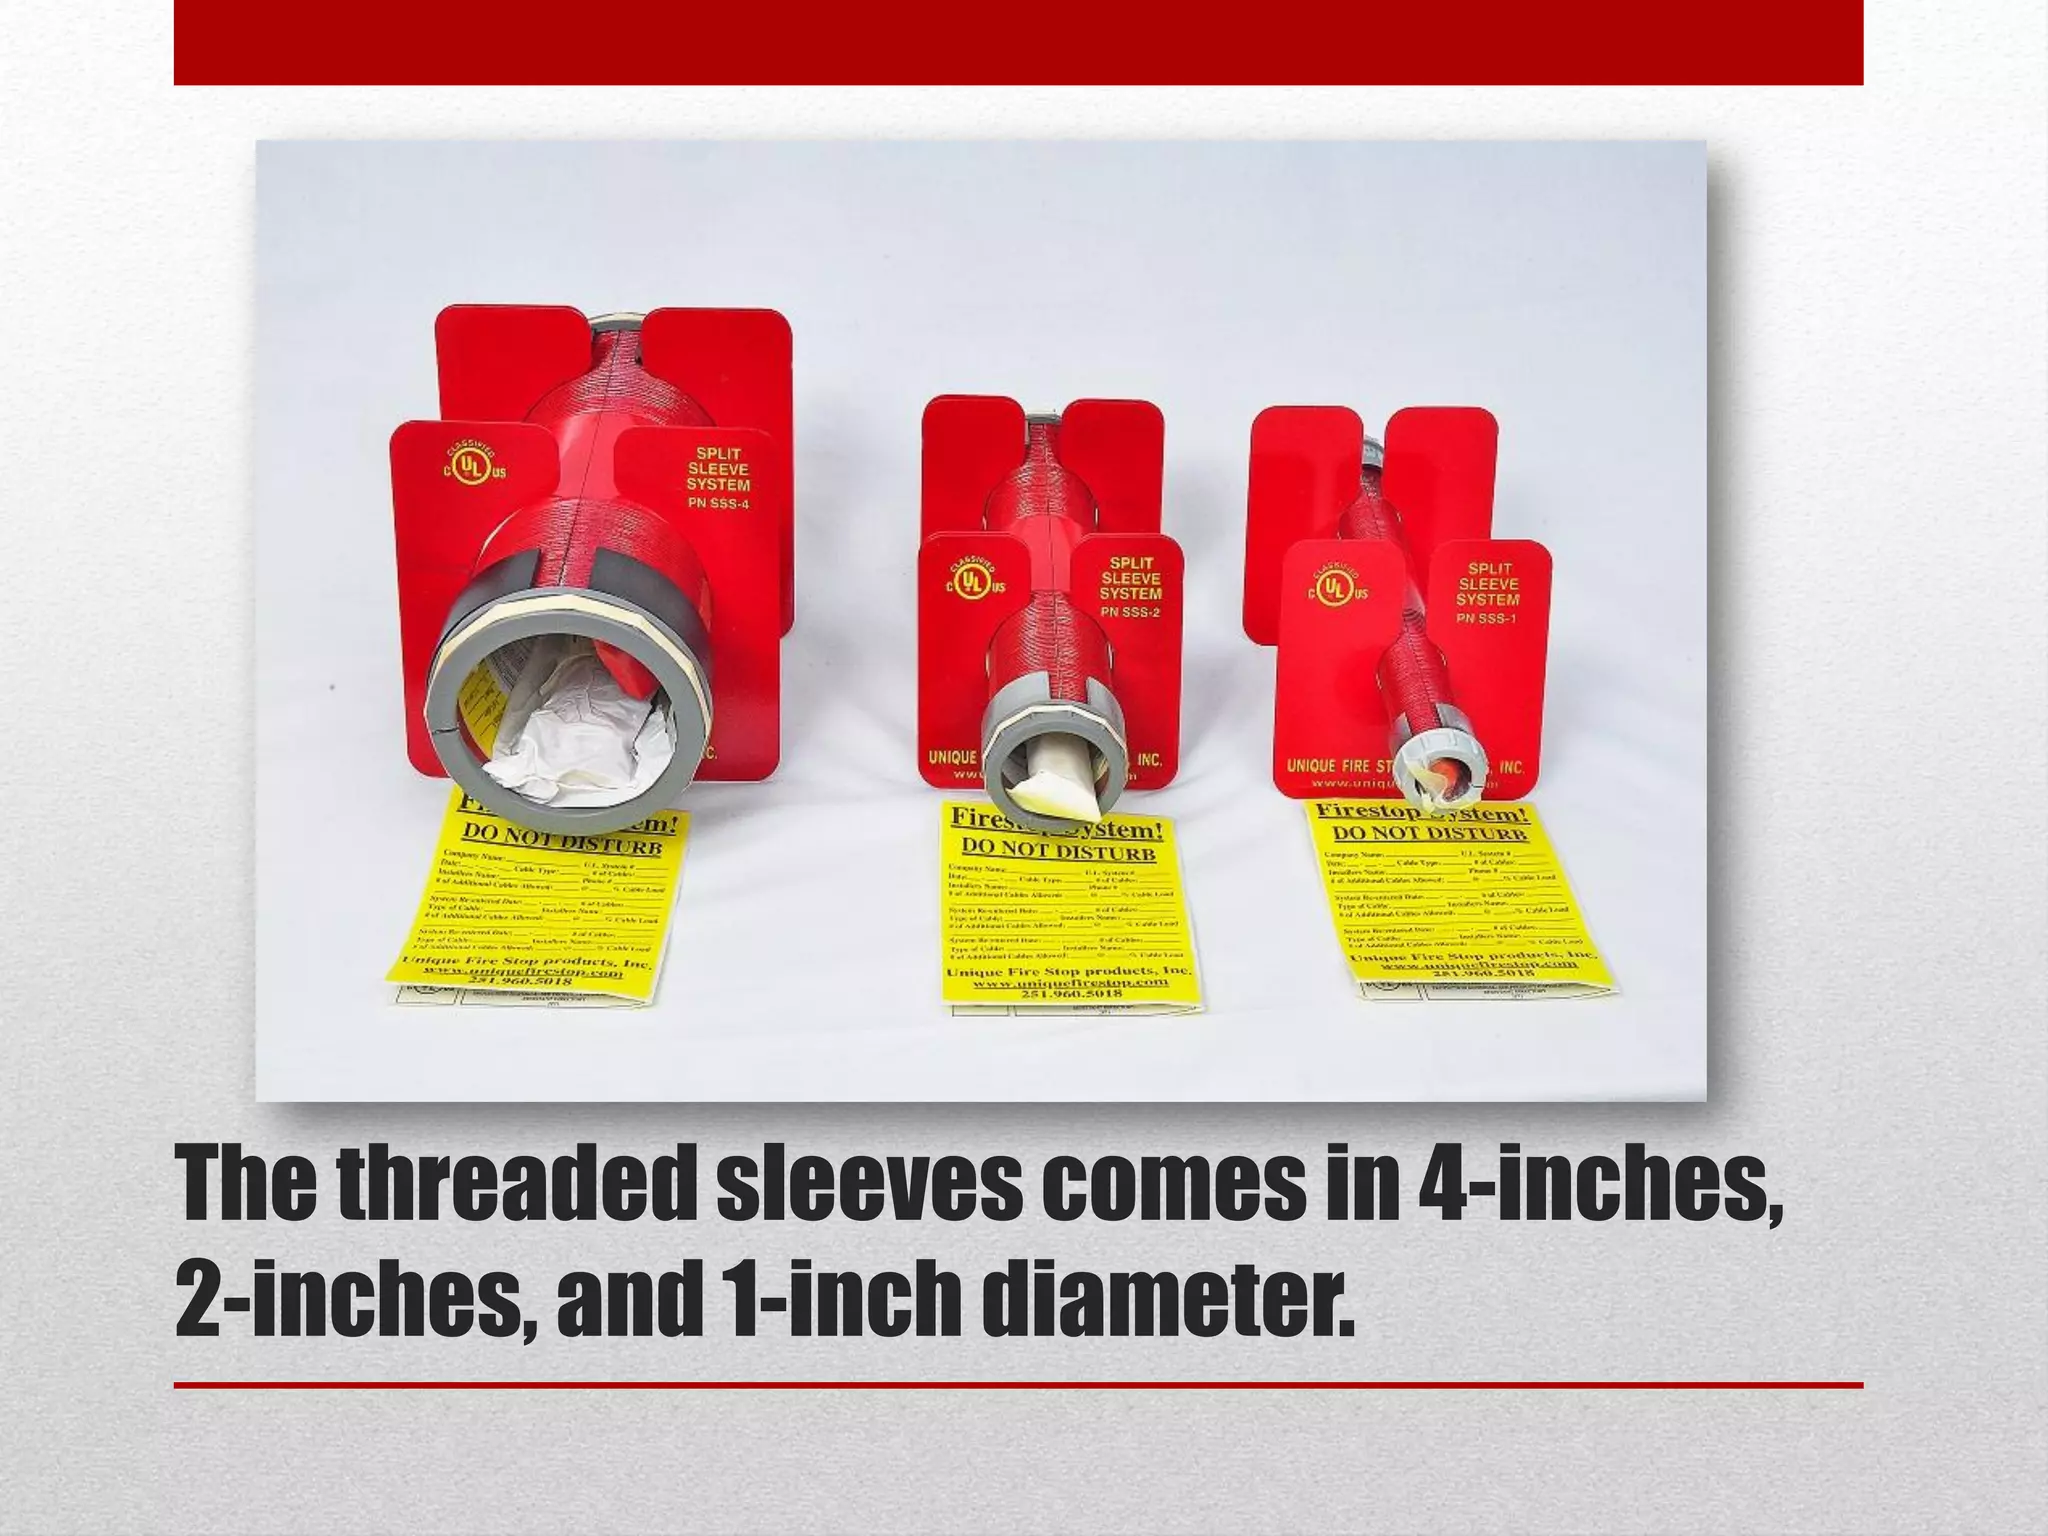
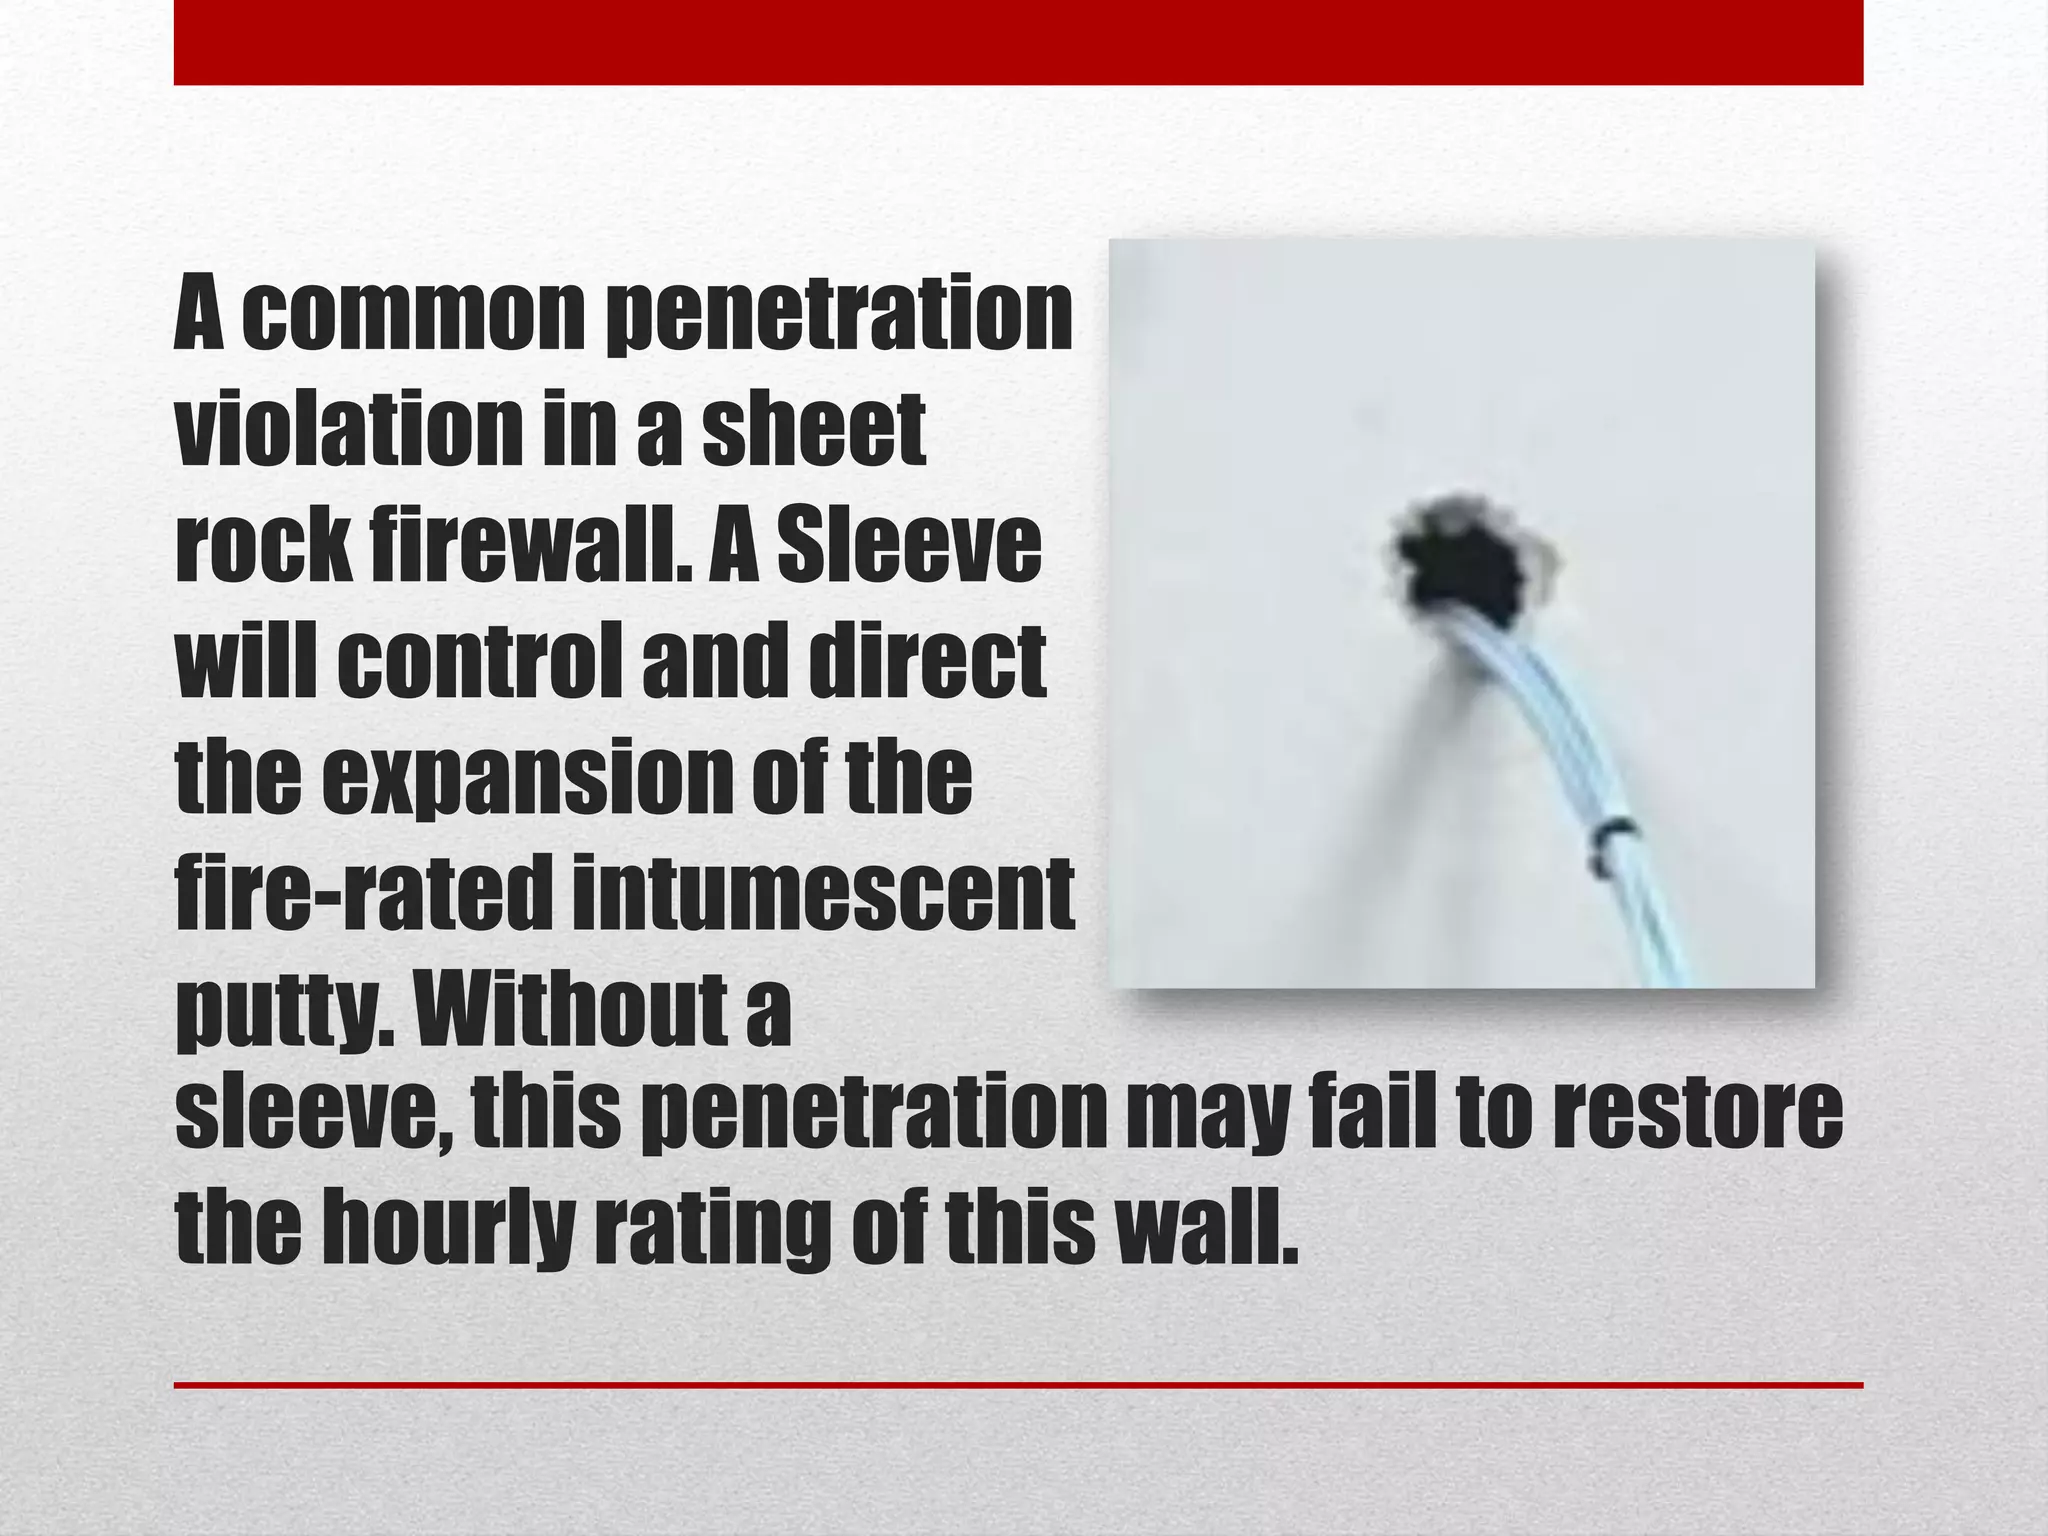
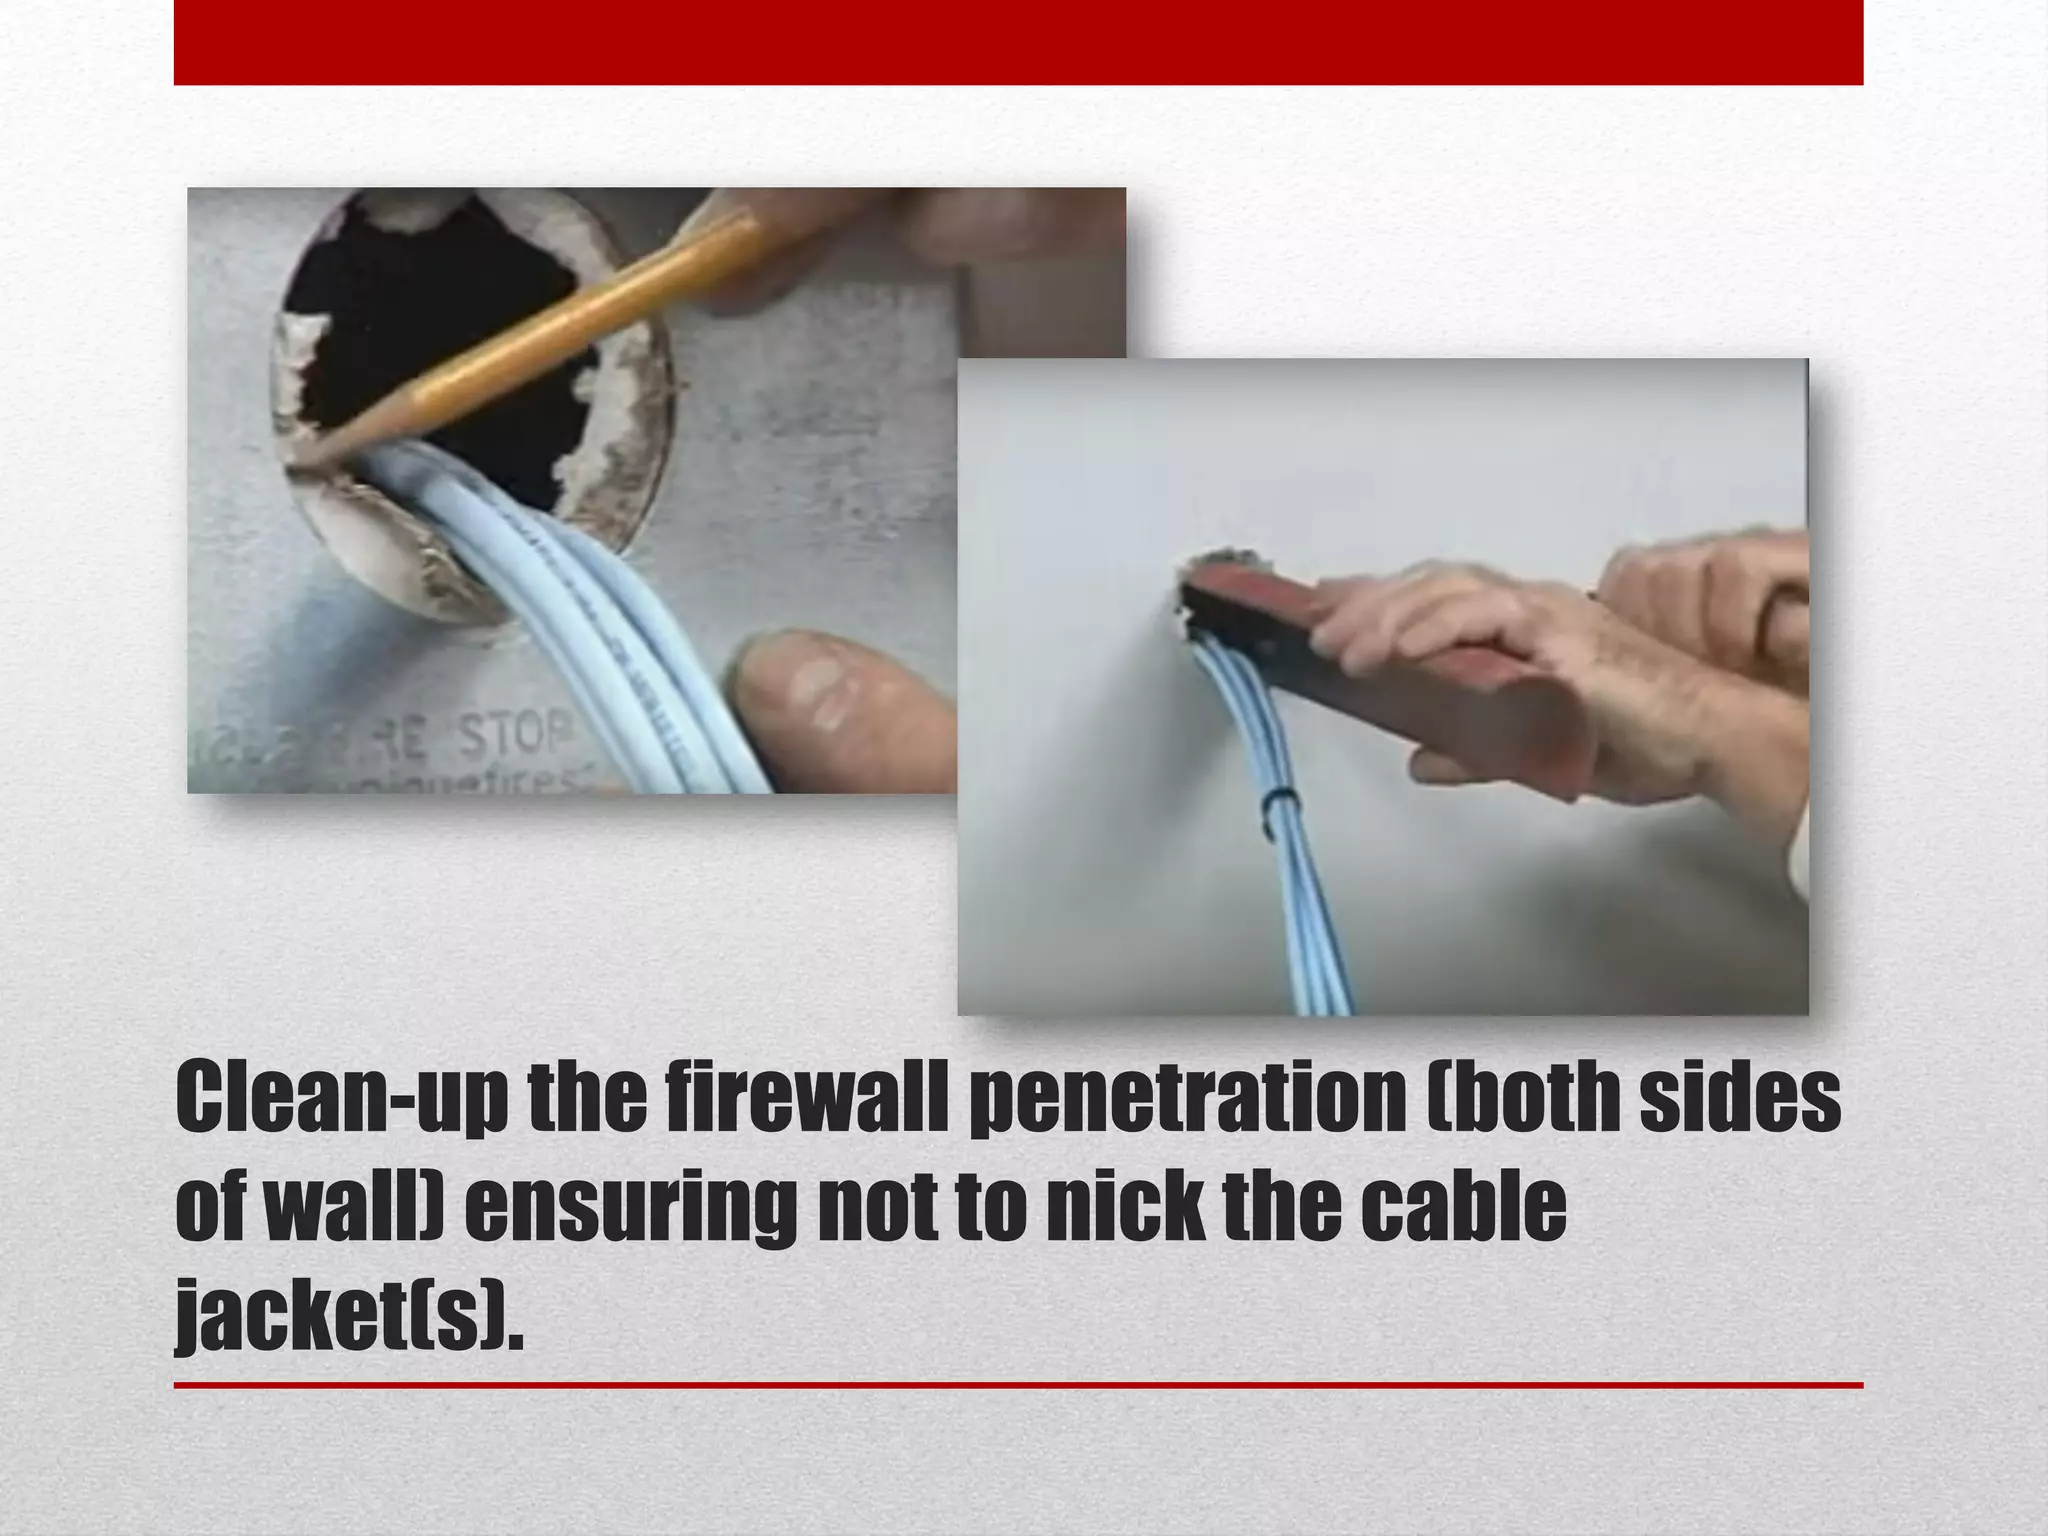
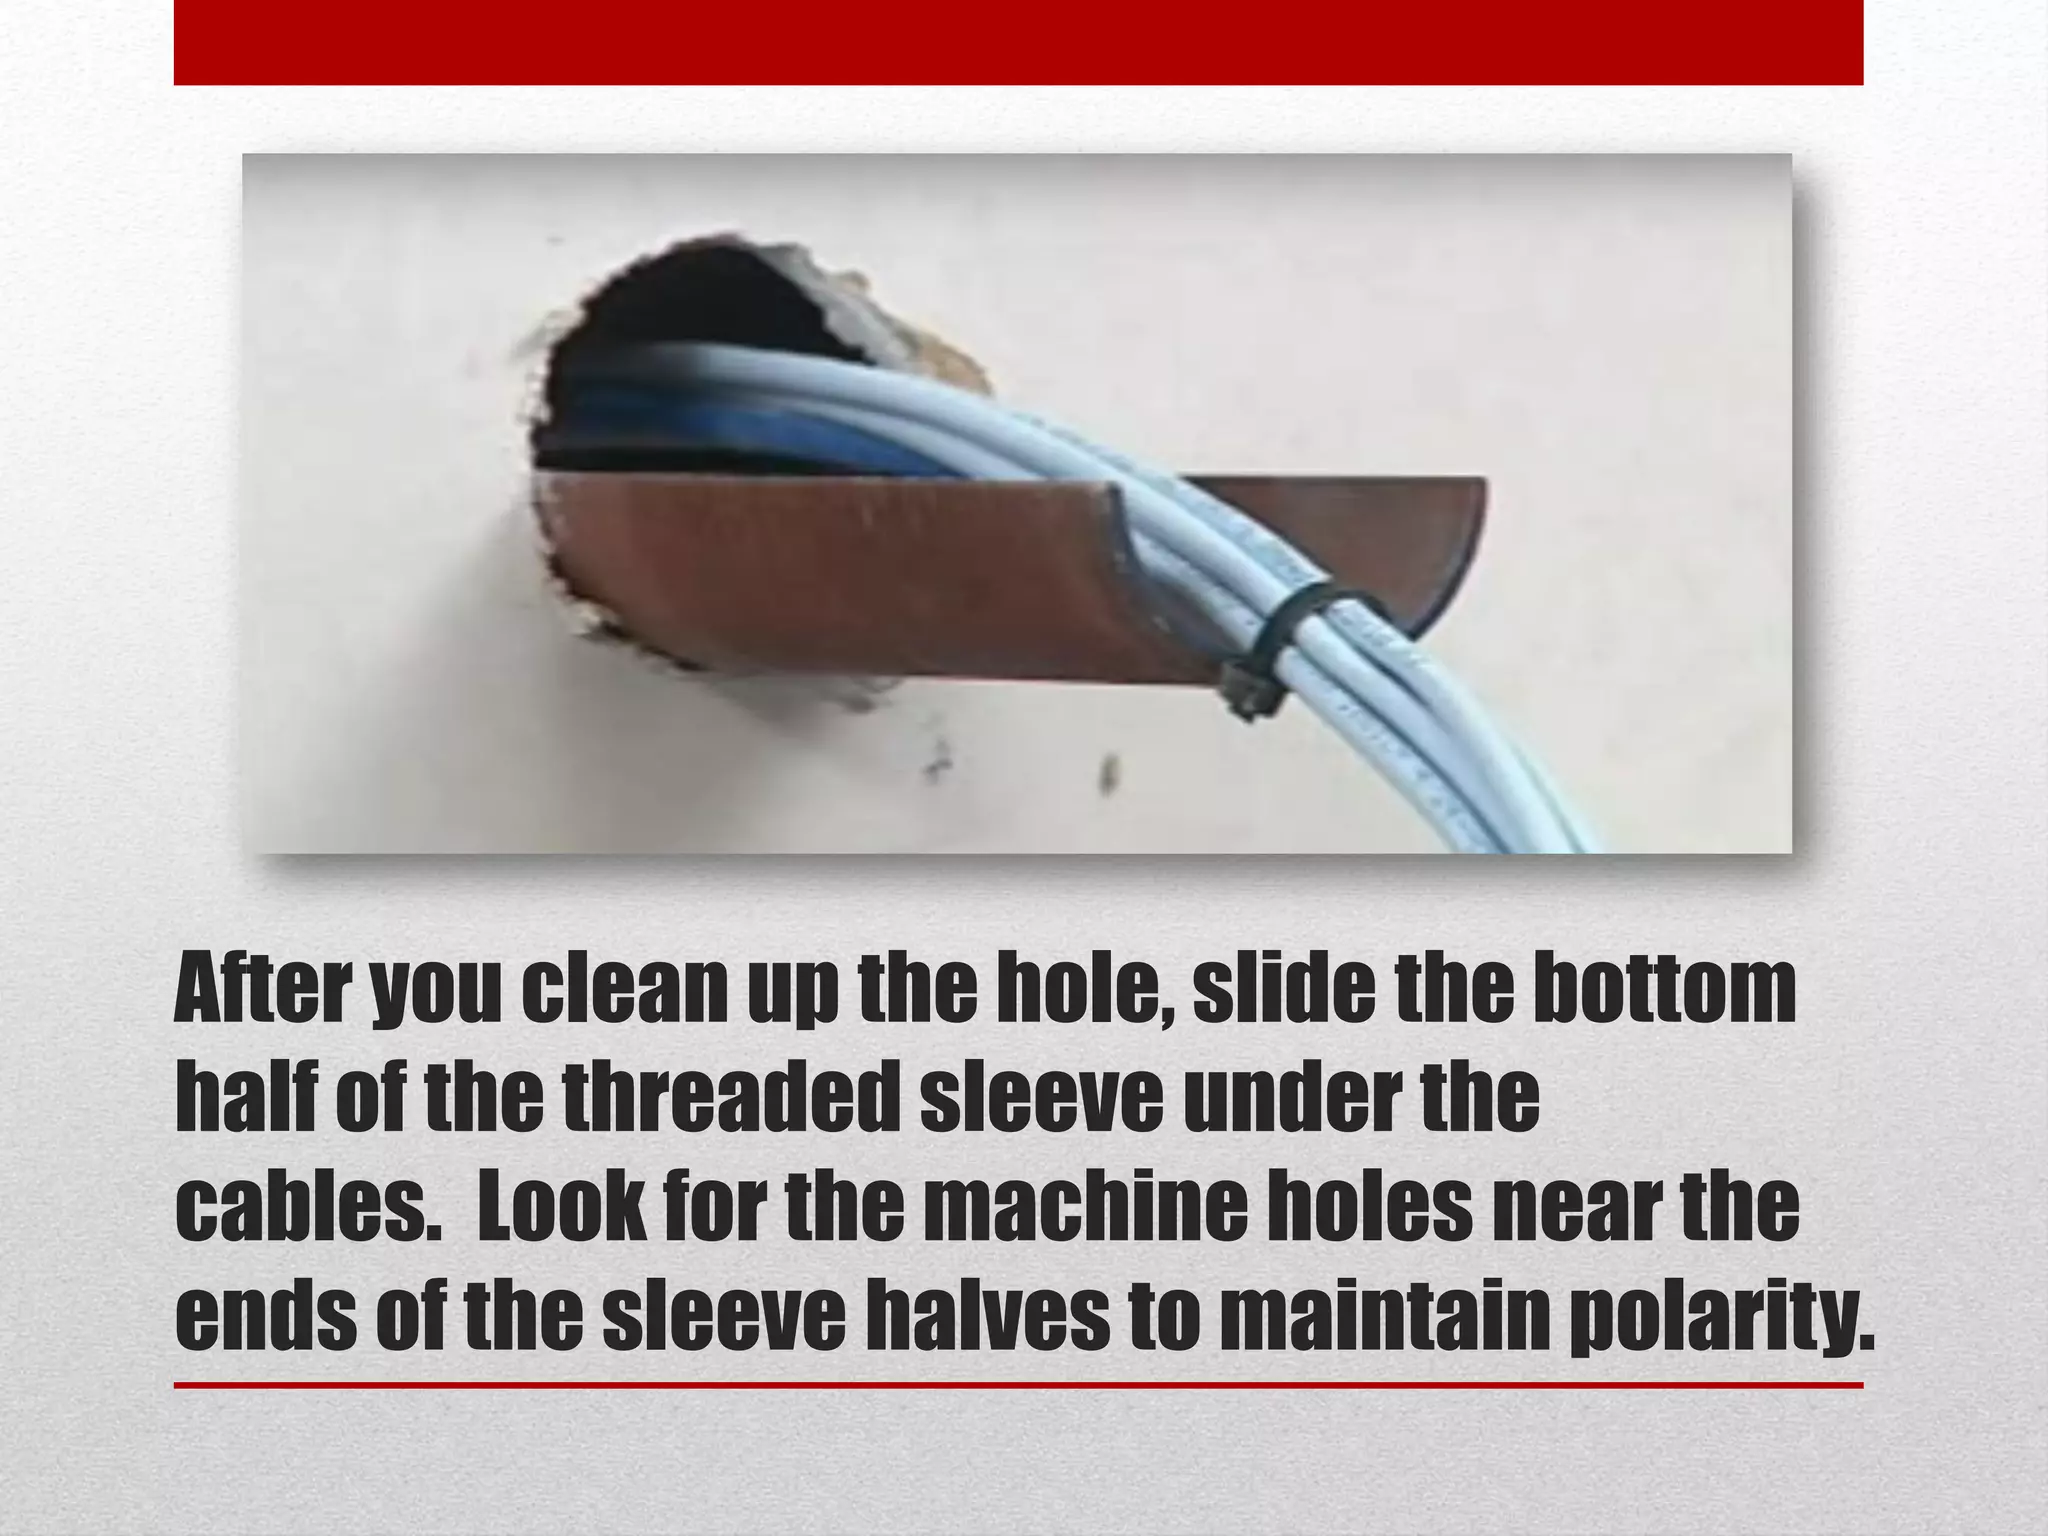
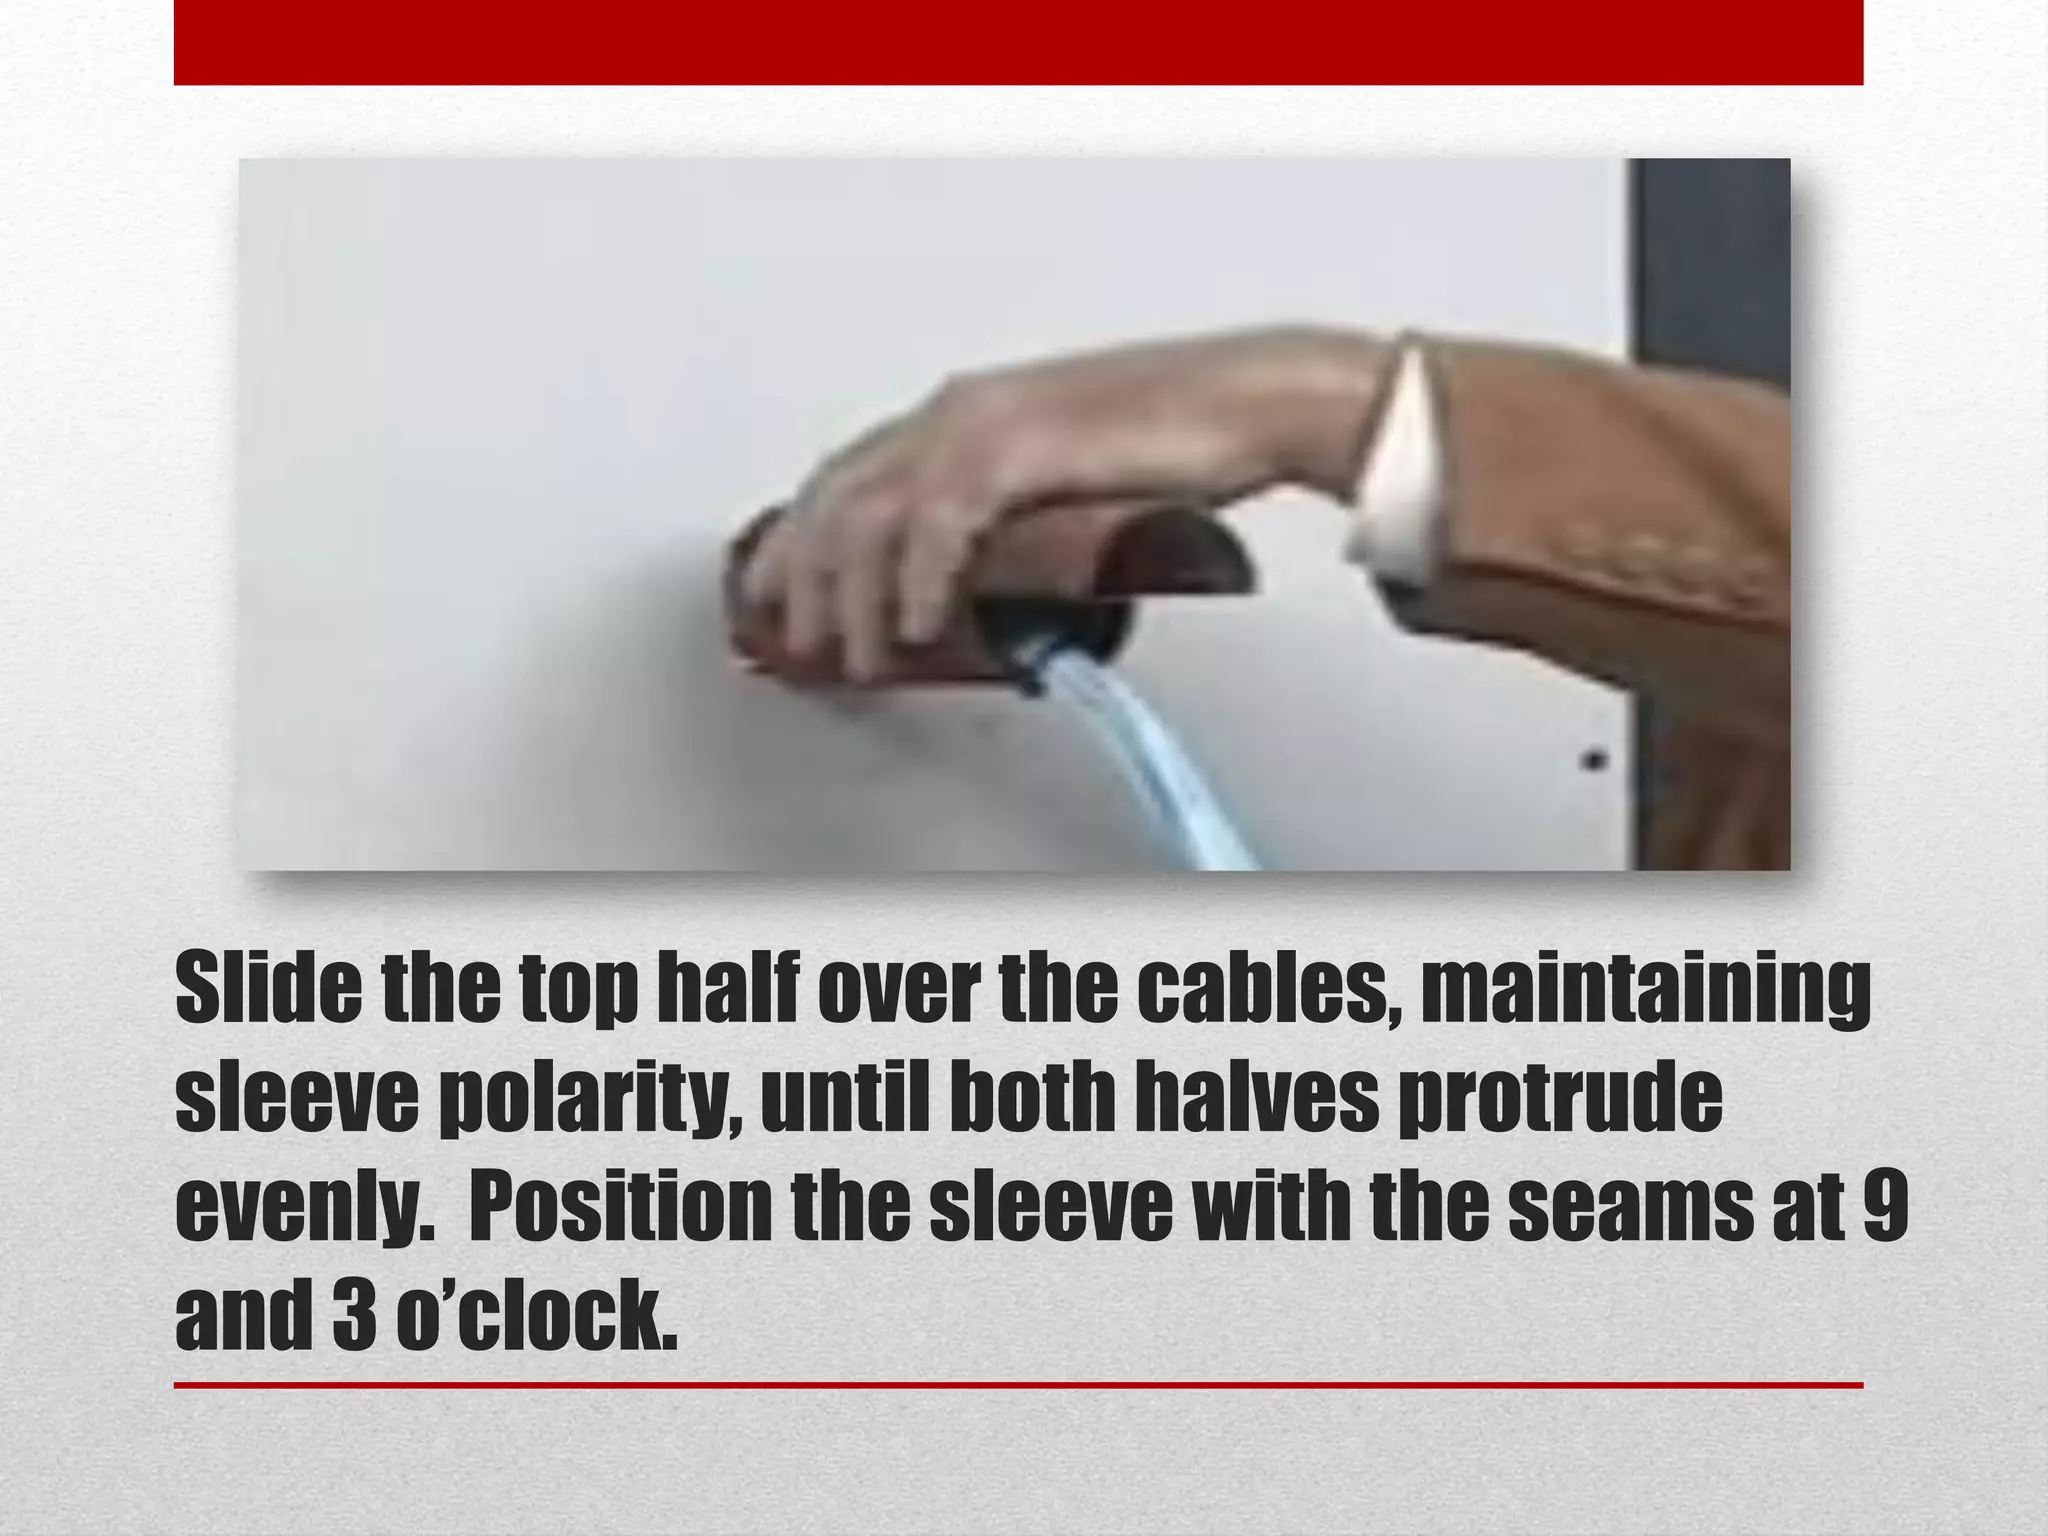
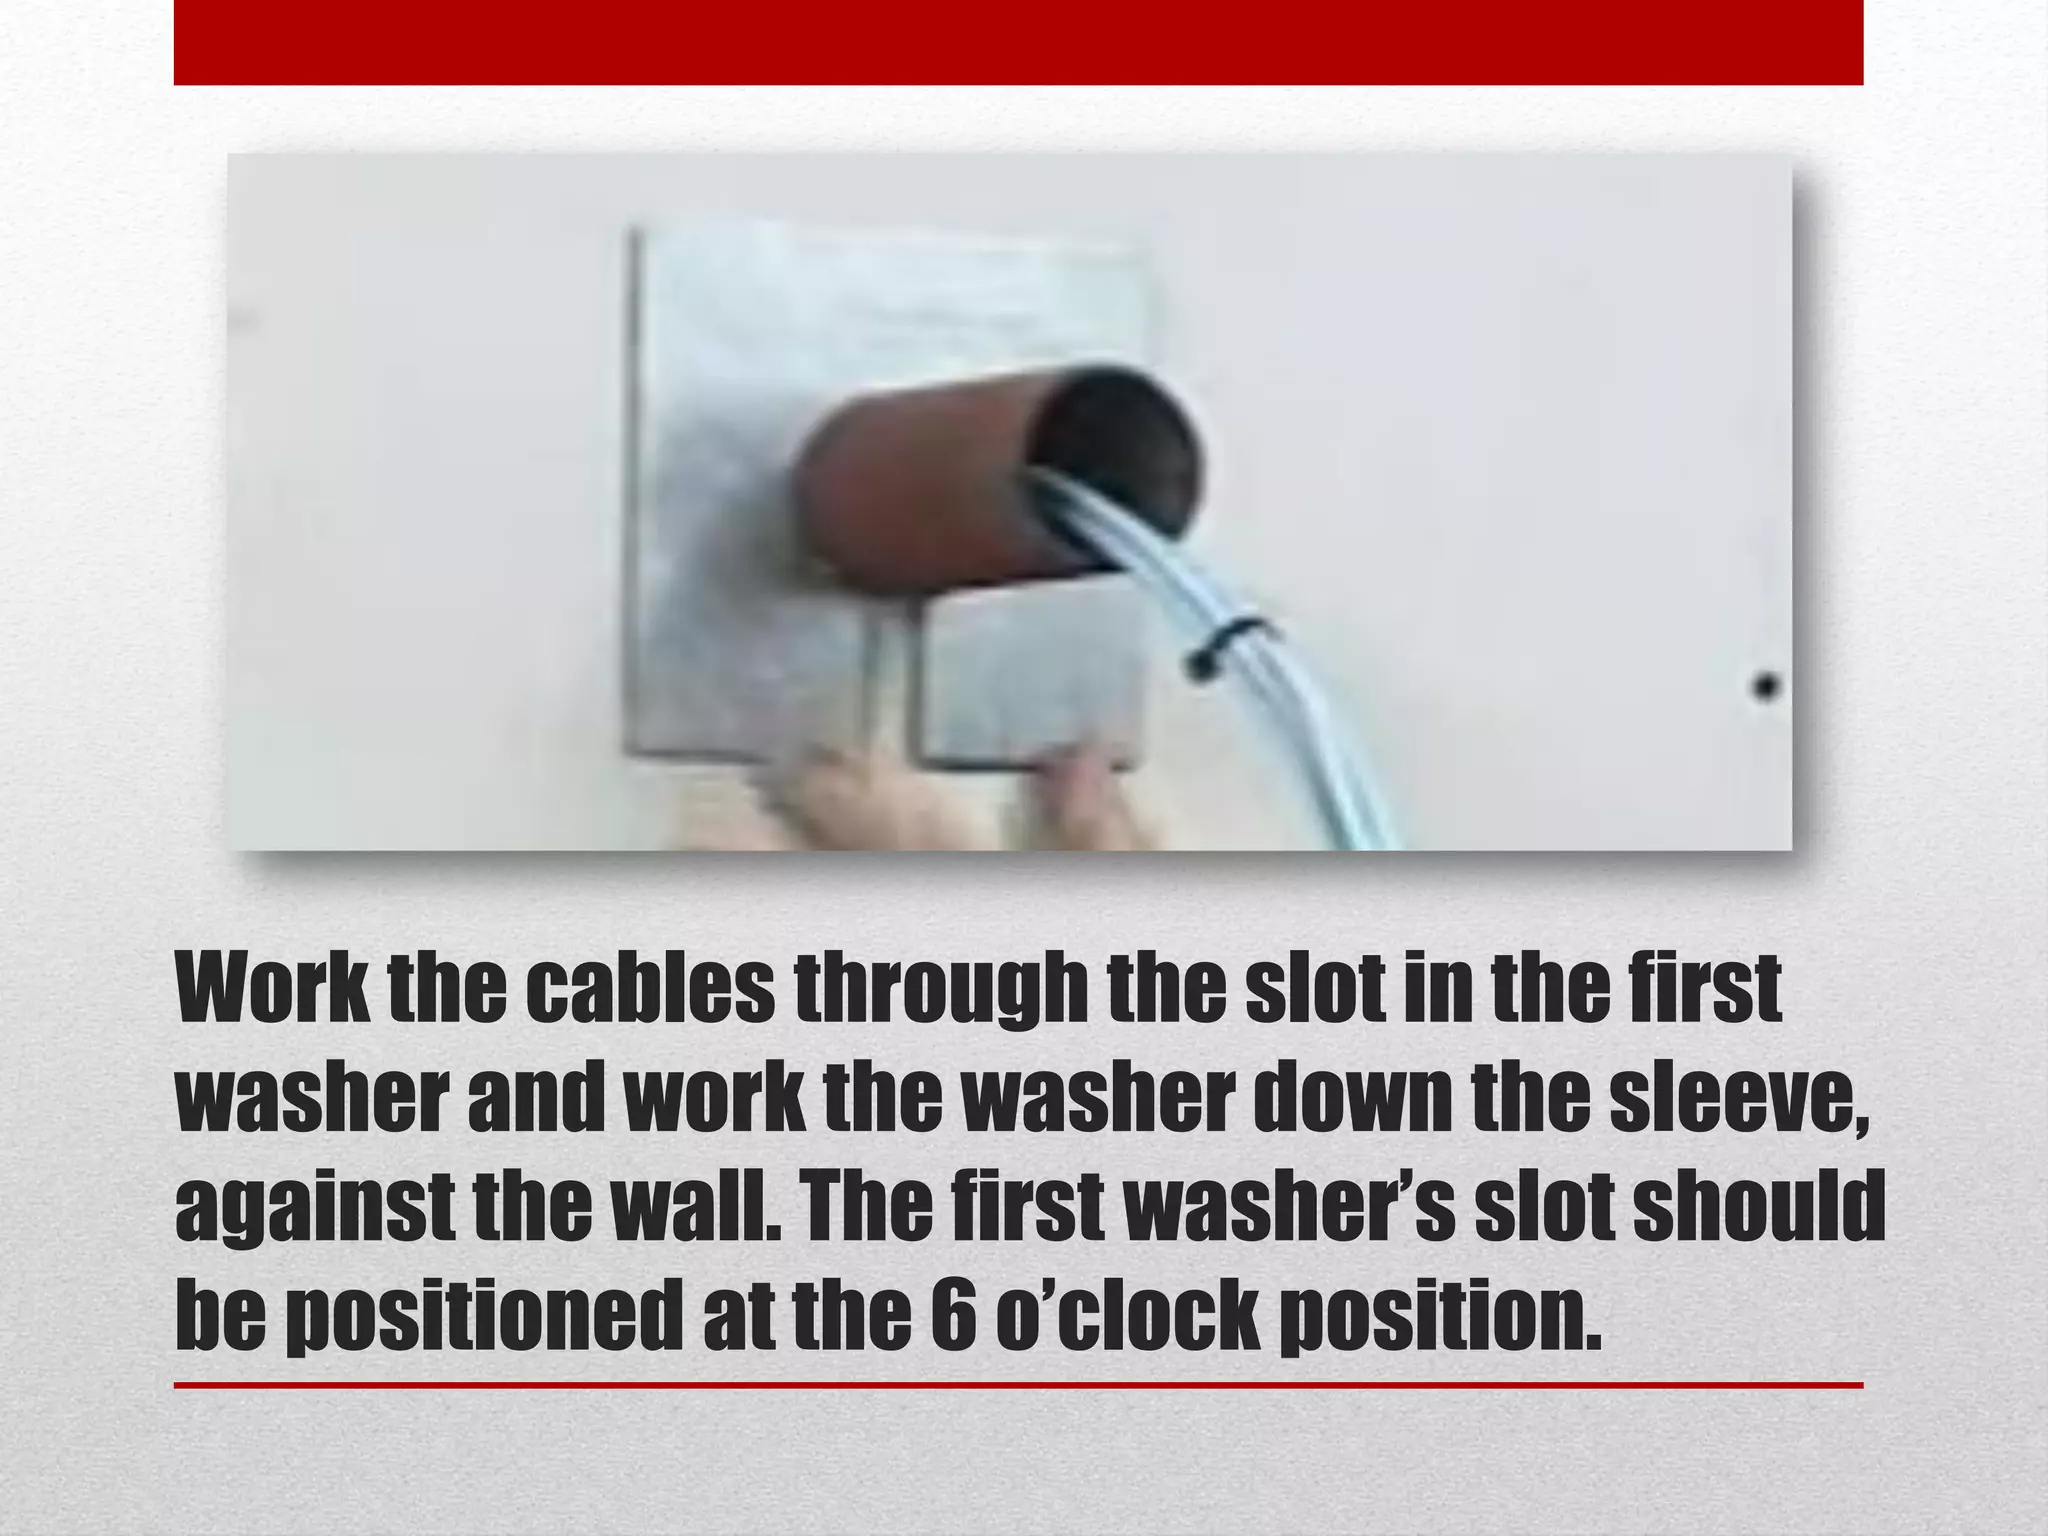
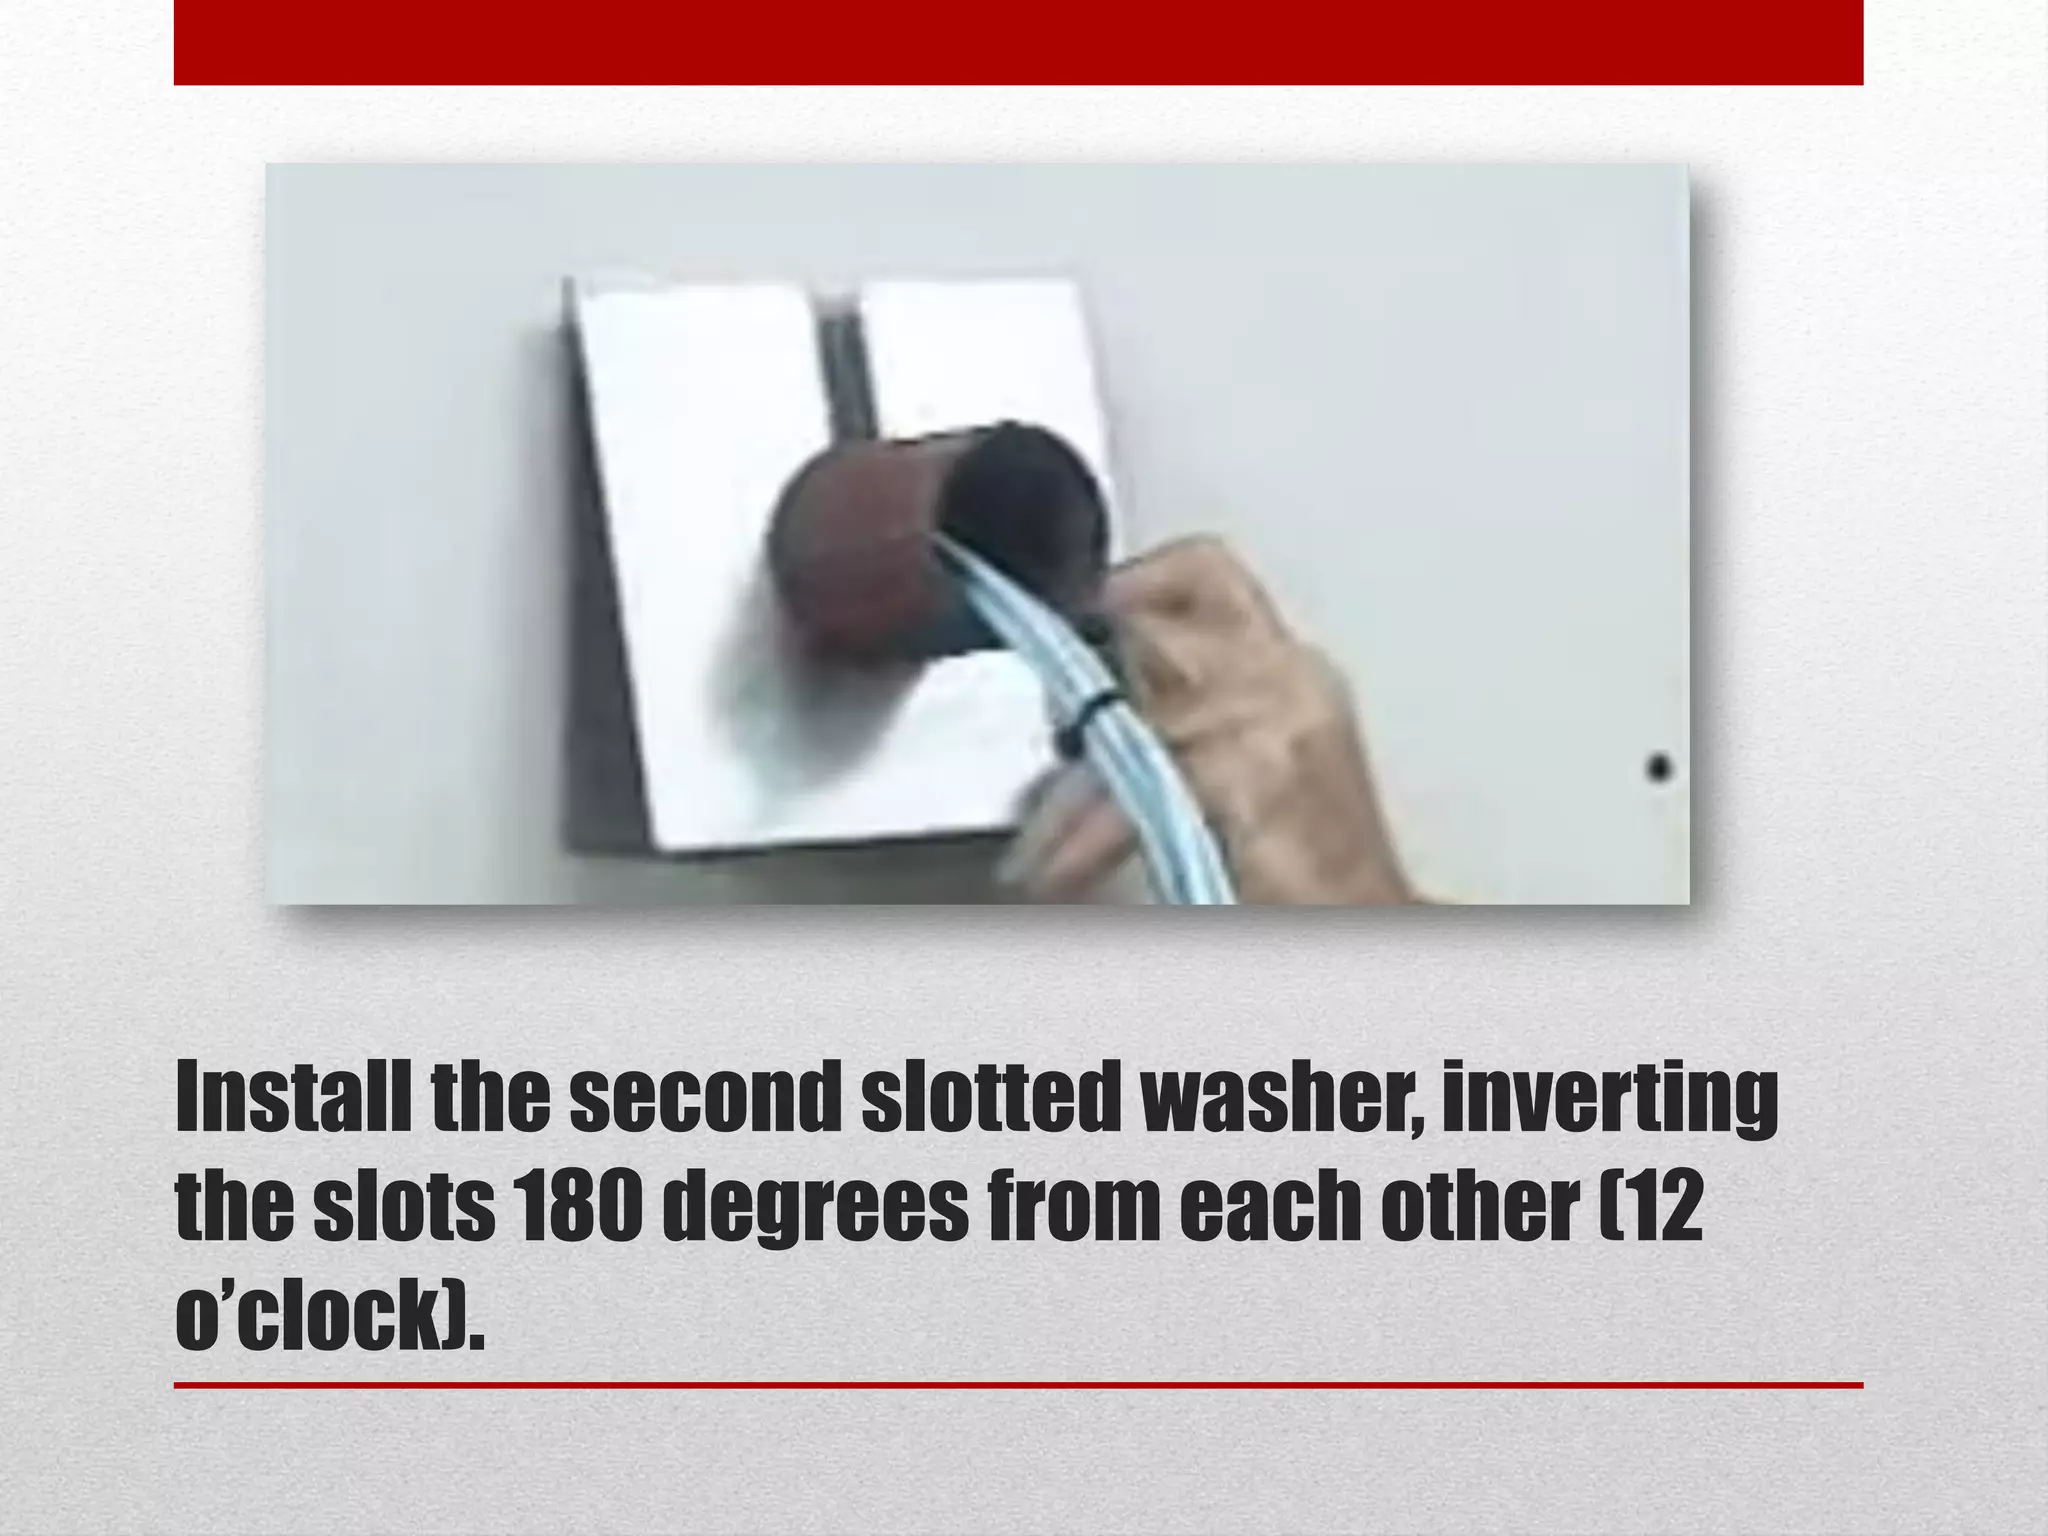
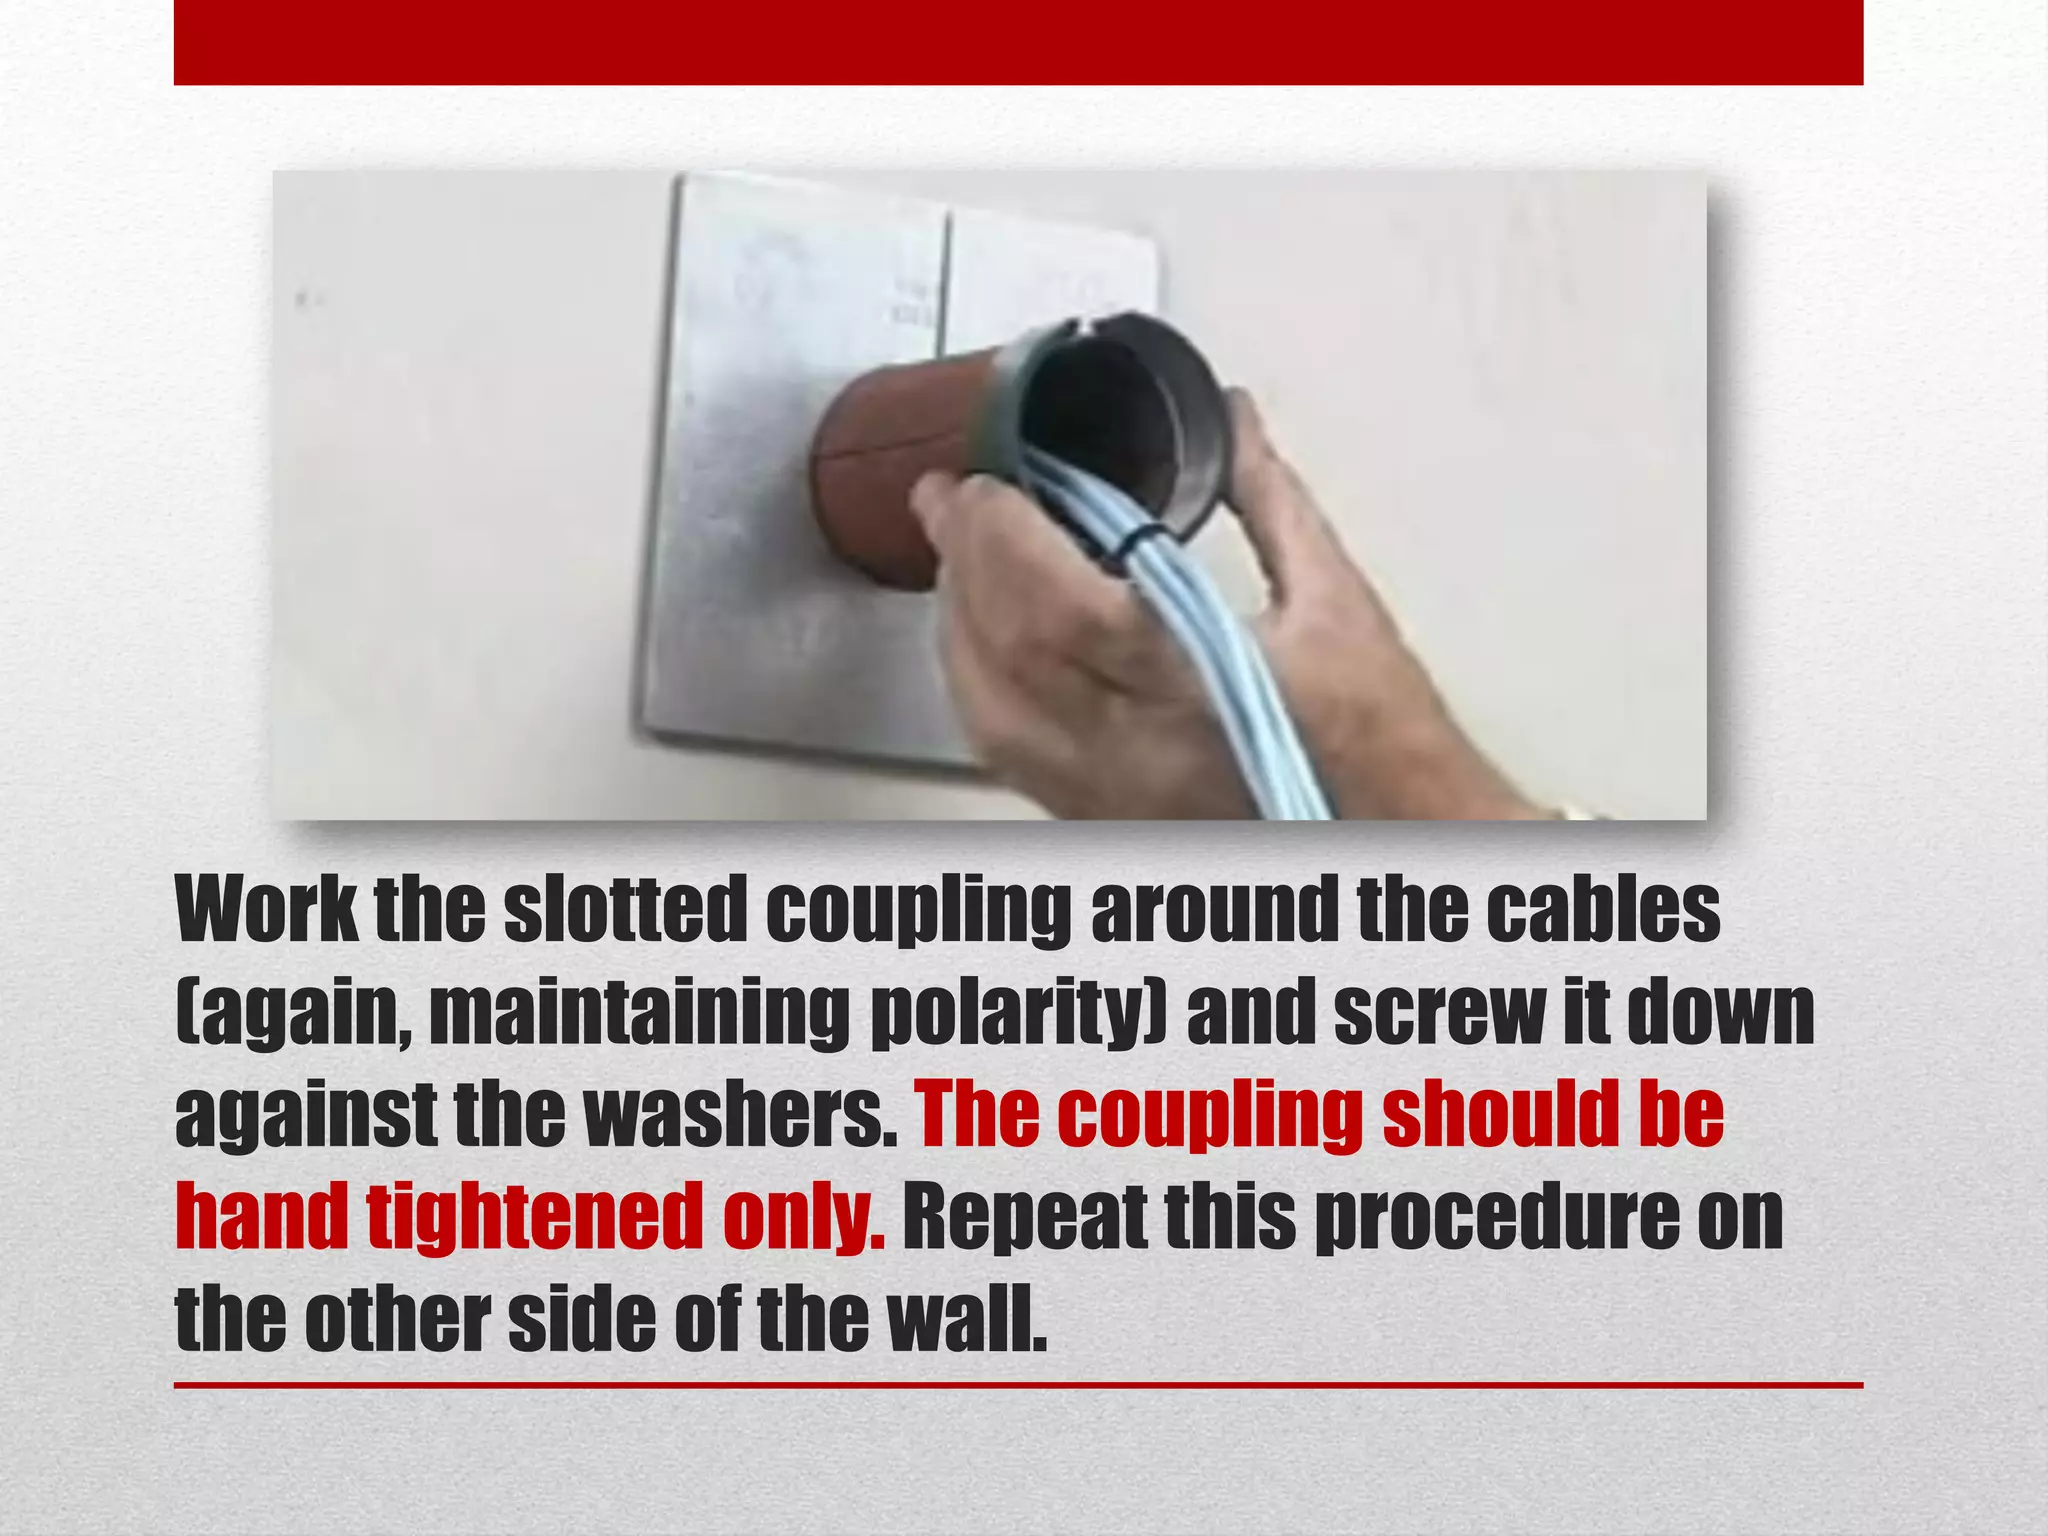
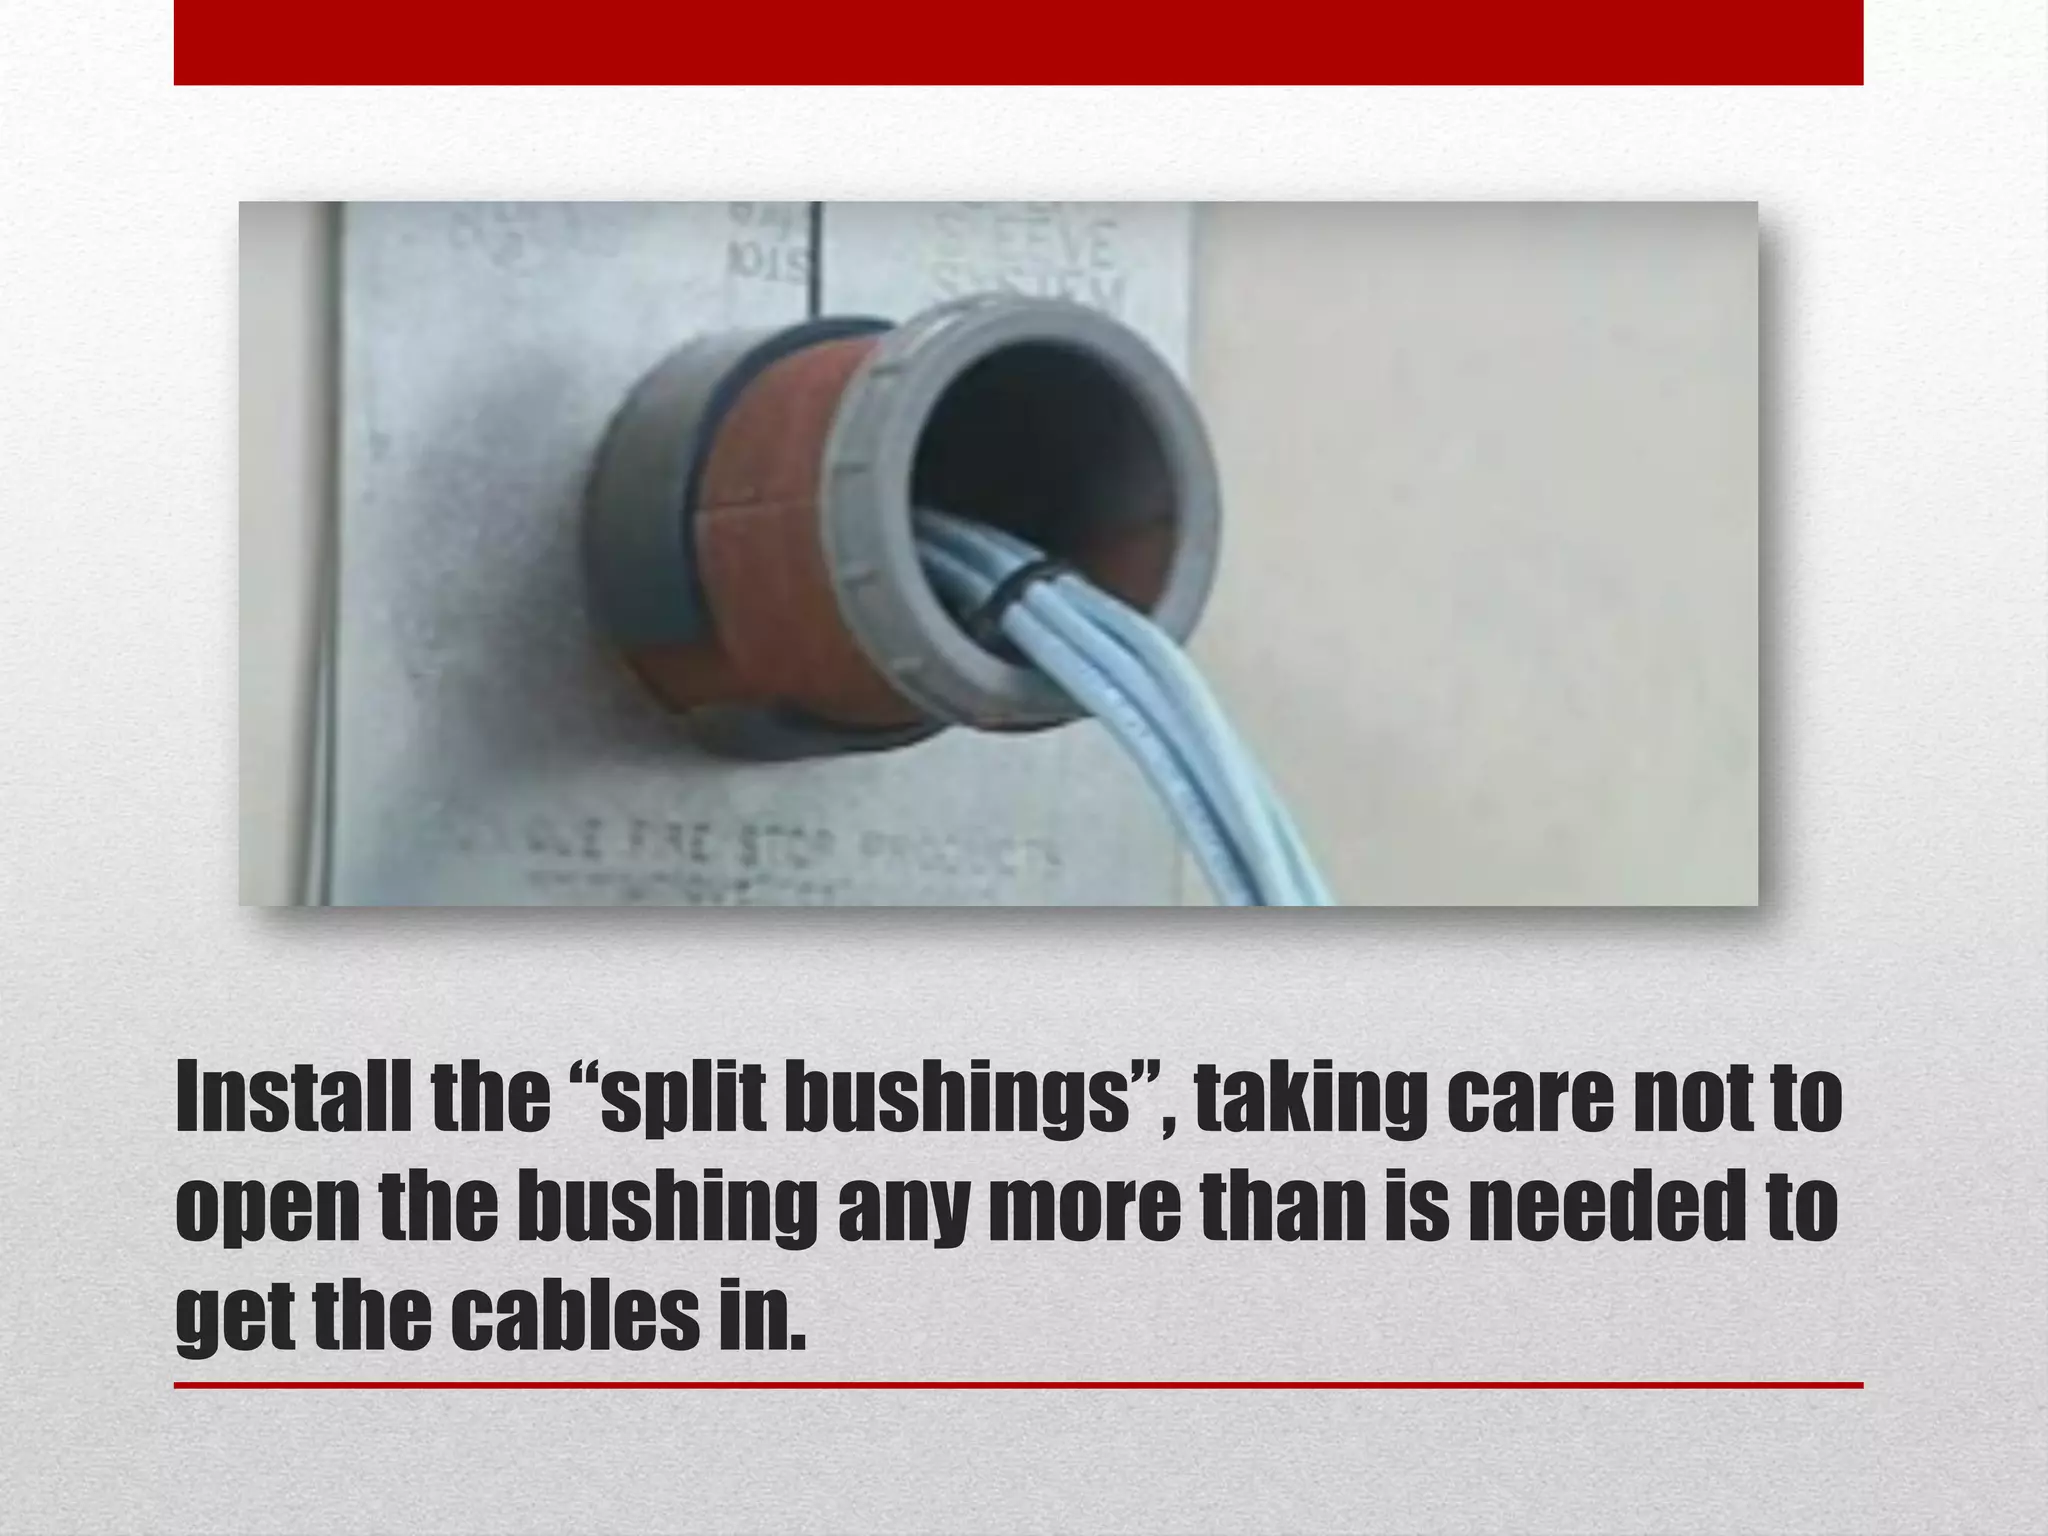
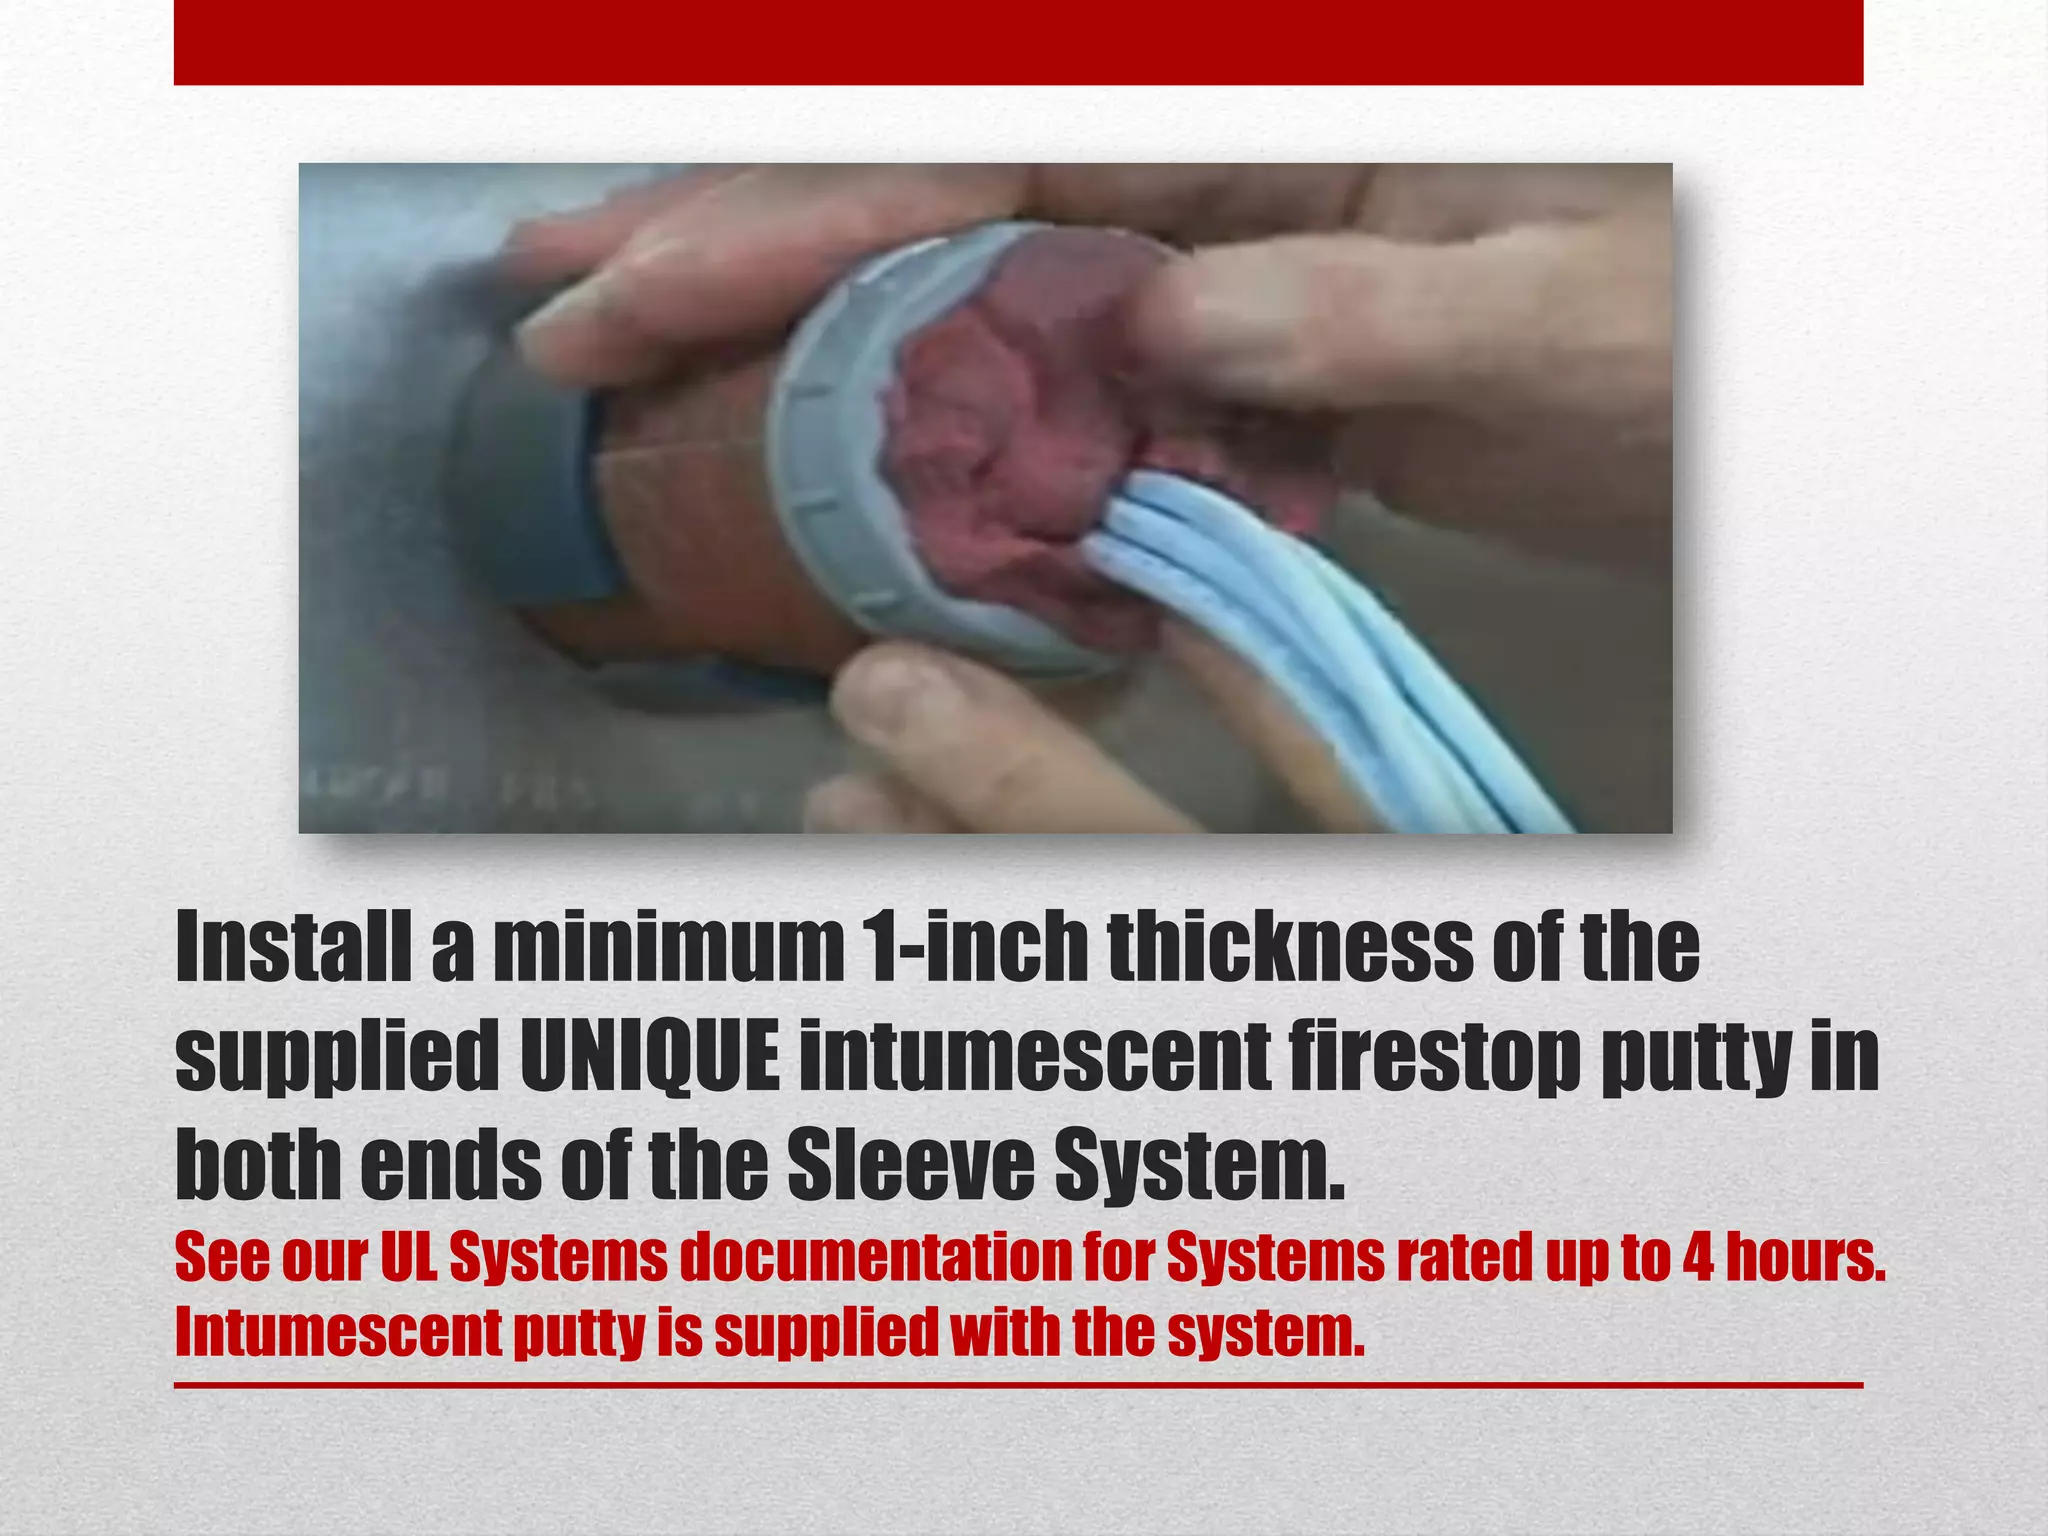
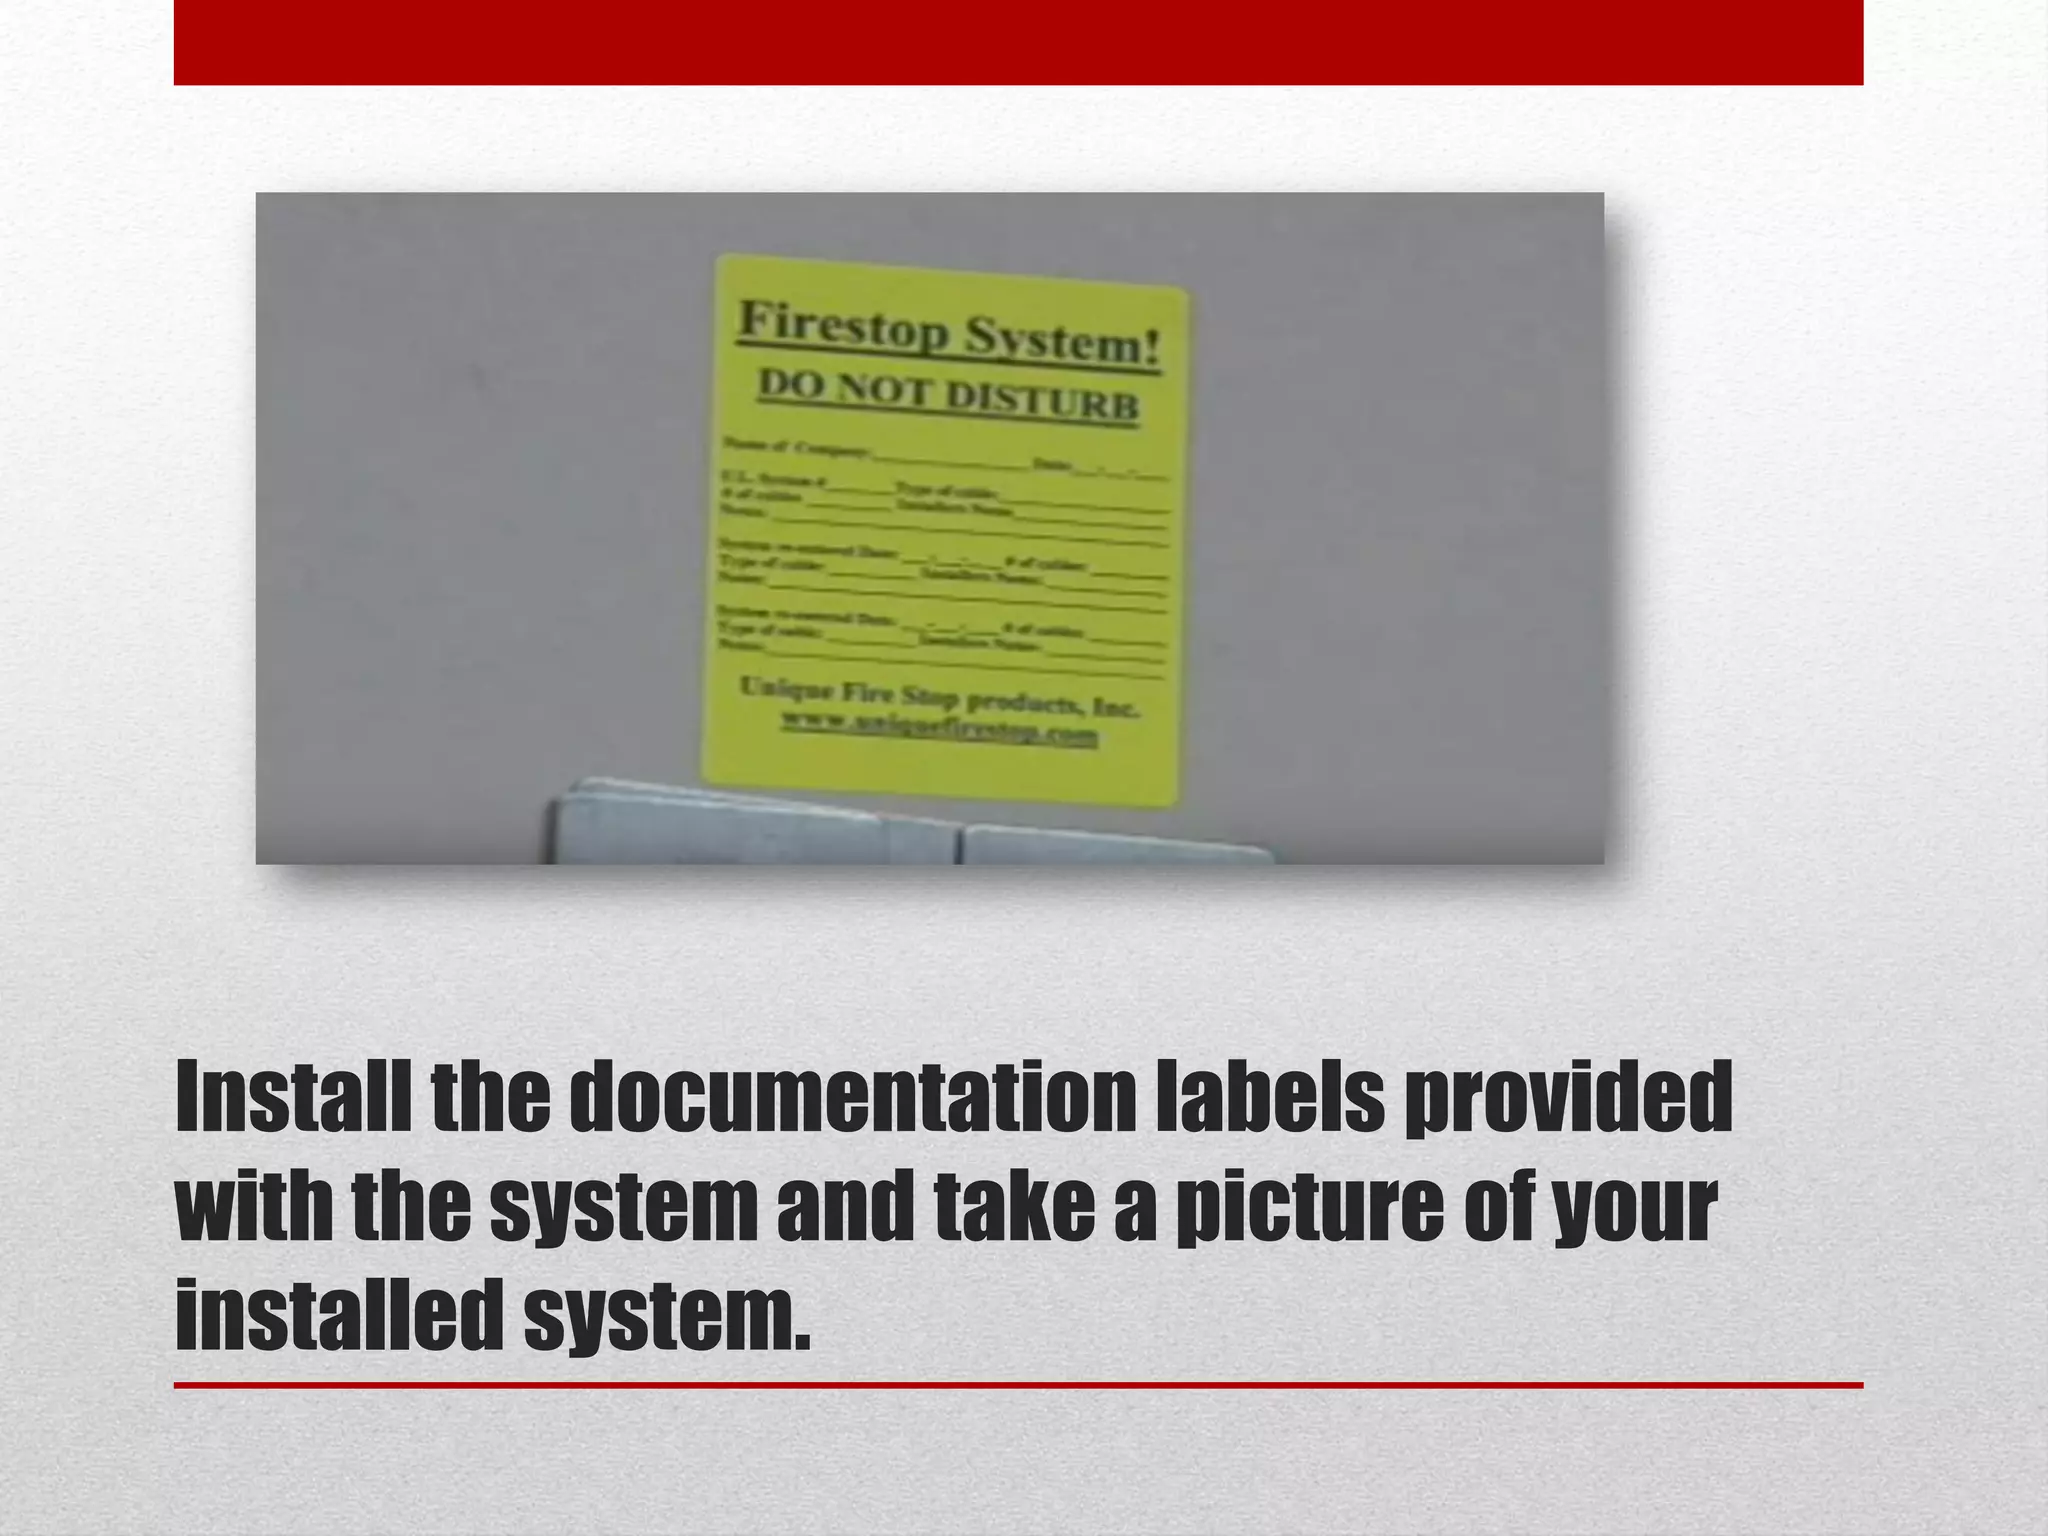

The Split Sleeve Firestop System is a UL-tested retrofit solution for firestopping and smoke sealing cables installed without a sleeve through firewalls. The system includes threaded sleeves in various diameters, washers, couplings, split bushings, putty, and labels. To install, clean the penetration, insert the sleeve halves around the cables maintaining polarity, add washers and couplings on each side, fill with putty, and apply labels.


![Servermax Cabinets 61 Data Sheet[1]](https://cdn.slidesharecdn.com/ss_thumbnails/servermaxcabinets61datasheet1-091218161733-phpapp02-thumbnail.jpg?width=640&height=640&fit=bounds)


