Download to read offline


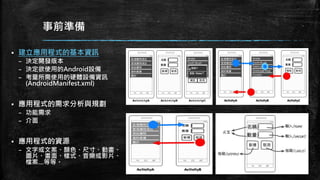

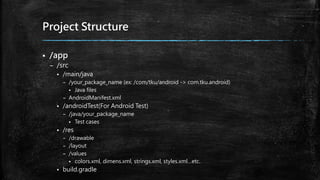
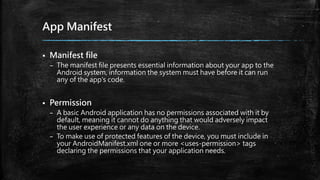
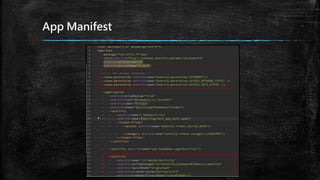
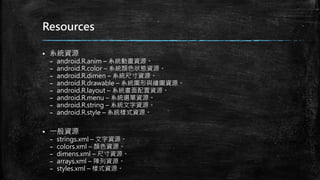

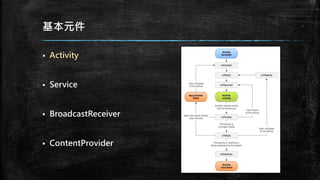
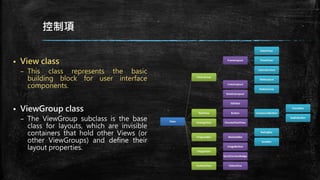
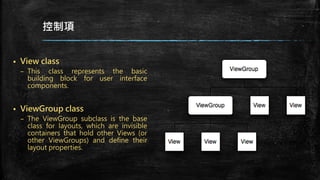
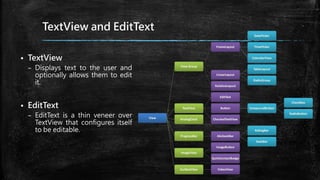
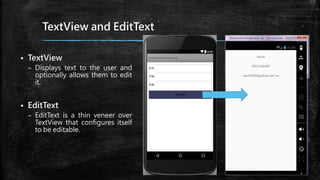
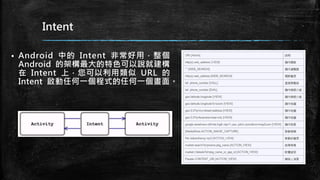


This document provides an overview of how to develop Android applications. It discusses preparation steps like determining the app version and required permissions. It also covers basic app components like activities, services, and broadcast receivers. The document explains common Android views like TextView, EditText, and different layouts like LinearLayout, RelativeLayout and FrameLayout. It demonstrates how to use intents to launch activities. Finally, it provides examples of setting up app resources and creating a sample app project to practice the concepts.


