Downloaded 154 times
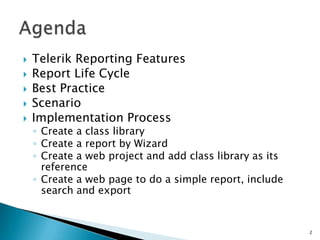


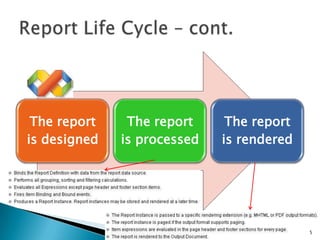


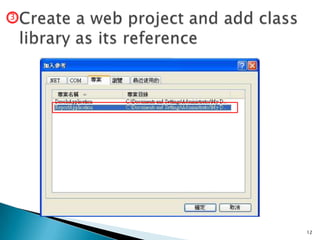


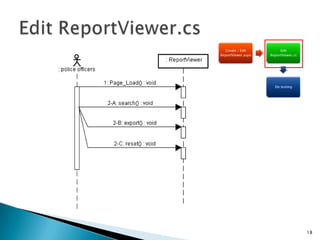


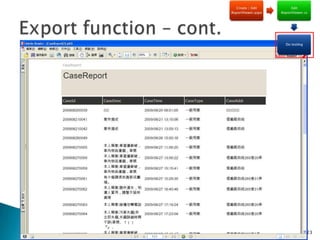

This document discusses Telerik Reporting and provides an overview of its key features and implementation process. It outlines the report lifecycle including data sources, report rendering, and output formats. It recommends structuring solutions by creating a class library for report logic and data, then creating web or windows applications that reference the library. The implementation process involves using the report wizard to create a report, adding the library as a reference to a web project, and building a page for report viewing, searching, and export.